
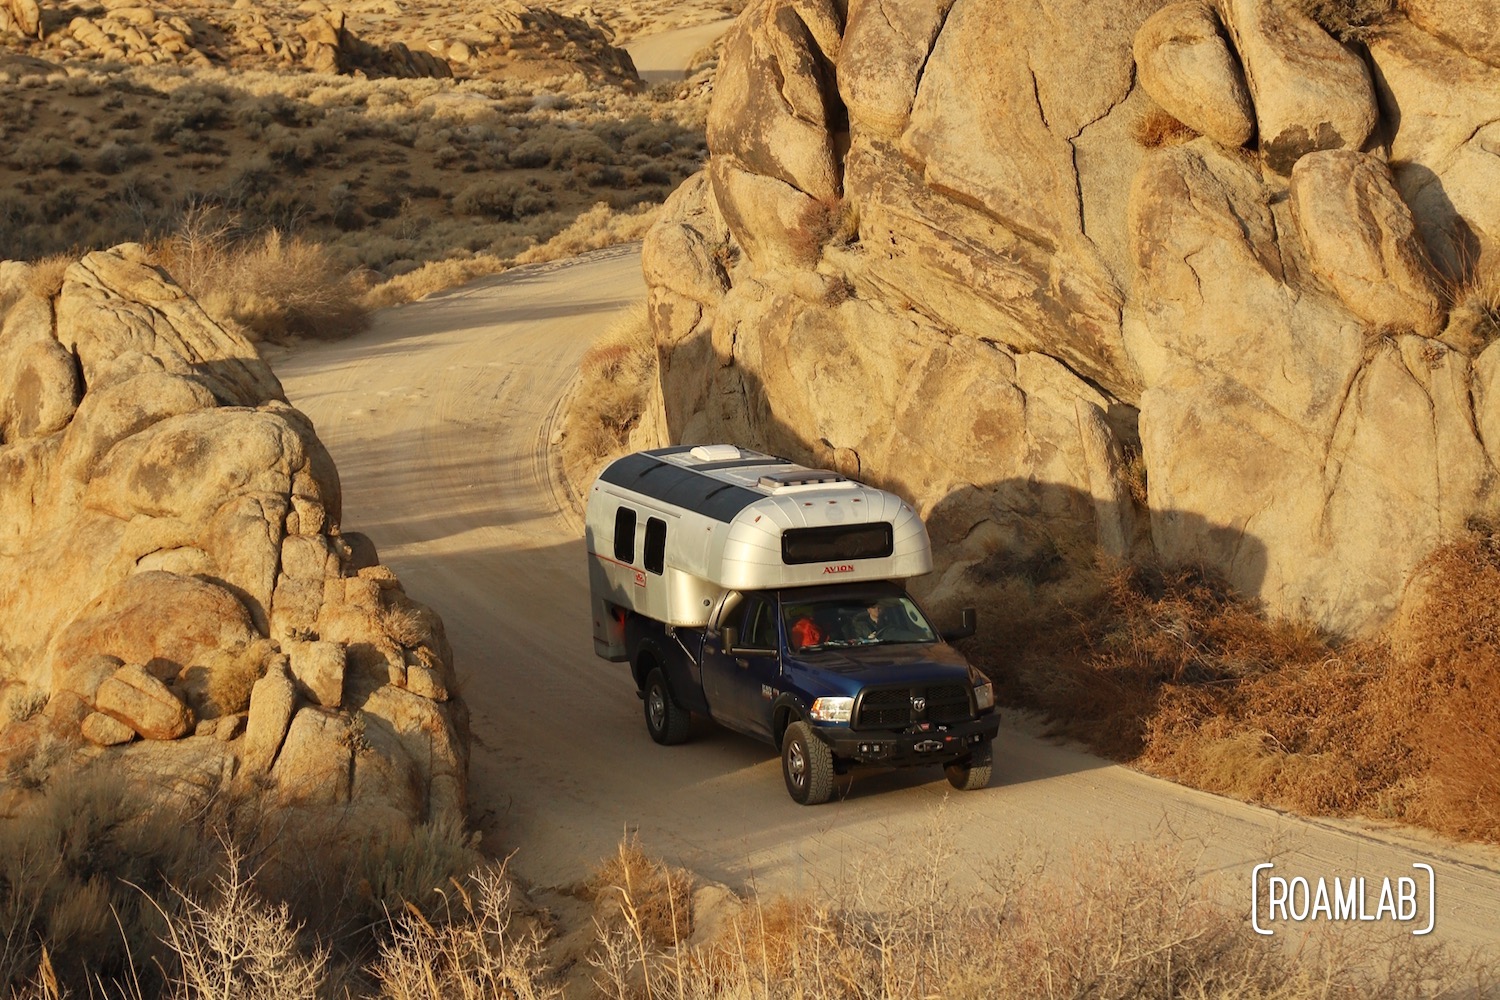
Wiring From Scratch Avion Ultra C11 Truck Camper
I am a firm believer in not allowing the perfect to be the enemy of the good. While having a completely renovated camper is preferable, we don’t want to spend years in one place, building a dream camper when we could take the process in stages and travel as we work. We are prioritizing replacing rotten flooring, old wiring, and insulation so that we can reinstall the inner walls and travel as we complete the rest of the camper. Even in its gutted state, this camper is better than the shell we were living in before.
A Little Background
After stripping out the interior of our 1970 Avion Ultra Truck Camper, it is time to rewire the beauty. I took a few hardware classes in grad school so I have a small scale understanding of circuitry, but this is a first for me. I have read a fair bit on upgrading or patching RV electrical systems. But I have yet to come across anything comprehensive regarding a full, top to bottom rewiring project. So, that is why I am writing this post: this is my proposal. I hope that, in listing my hypothesis, others—far more knowledgeable than I—can point out my mistakes, misconceptions, and direct me to better resources, products, or just offer some advice.
Where Does Power Come From?
As many overviews of camper wiring will observe, there are five major potential power points to consider when wiring the camper:
- Shore Power – from some 50-AMP or 30-AMP hookup
- Truck Alternator
- Batteries
- Solar Panels
- Mobile Generator
At the moment, I’m concerned with setting up a system that supports shore, truck, and battery power but will be wired to support solar and maybe a generator in the future.
I haven’t settled on the refrigerator or heater, but I assume that they have sufficiently similar specs that I can go ahead and wire up the outlet for now. In the future, I can just hook into those wires with the appliance.
My Shopping List
After a fair bit of research, I understand my shopping list covers:
- Power Sources
- Surge protector
- Fuse Box (or not?)
- 120VAC to 12VDC three-stage converter
- Battery Monitor / Recording Meter
- DC to AD Inverter
- tons of wiring
I already have the basics: wire cutter / stripper, multimeter, etc.
110-Volt 50-AMP Shore Power Inlet
My understanding is that shore power comes either in 50 AMP or 30 AMP hookups but that it is easier (and safer) to step down from 50 to 30 than to step up from 30 to 50. But, it seems that the occasions when one would have to step up to 50-AMPs is rather rare and building for 30-AMPs is less
At the moment, the inlet for shore power is a cable hardwired into the camper. The cable is held in the drivers-side lower rear portion of the camper, near the bumper. This is very far from where the batteries would logically be stored. It appears that the location was chosen so that the breaker box would be in the closet. But. given that I intend to rearrange the floor plan of the camper, is there a major reason to keep the inlet in the far back corner?
I will be replacing this single, hardwired cable with an inlet plug. This will free up the location of the inlet, as the cable to connect to shore power can be stored most anywhere. As such, I am considering moving the inlet further forward, to line up with where the batteries will be stored.
What to buy is a different question all together. Most inlets appear to be black or white. But if it is exposed on the camper…I’d rather silver. So far, I have found this, but man, is it expensive!


Truck Hookup
The truck alternator is our most constant and reliable source of charge. We can be in the middle of nowhere and still charge our batteries so long as there is gas in the engine. This hookup is not only a source of power, but the means by which the the break lights and blinkers on the camper are controlled by the truck (the Avion camper covers up the truck’s lights). As important as it is, it appears that this is one of the most simple components as the seven pin hookup is industry standard, often referred to as the umbilical or “pigtail. As such, I’m planning to just get a basic plug such as this one.
Fuse Box
I’m right in the middle of removing the old Avion Ultra fuse box. It has clearly seen better days. Moreover, since those days, circuit overload protection has changed. From products I see online, I can buy a breaker system (breakers serve the same purpose as fuses but simply flip themselves off when overloaded, thereby not requiring replacing every time someone thinks they can be clever with a blow dryer) built into a converter. As such, I would assume that this would be preferable…


120-Volt AC to 12-Volt DC Three-Stage Converter
This converter takes shore power—which should be 110 volt AC, more about that when discussing the surge protector—and converts it to 12 volt DC, which charges the batteries and powers most camper appliances. In reading this blog post, It seems that I can choose between 45-, 60-, and 80-amp models. These amp values are dependent on what I’m planning to charge. The more batteries (and high amp) in play, the longer it takes a low amp converter to charge the batteries. From this post on RV.net, I get the impression I may be swaying to a 60-amp converter. But I need to settle on my batteries first.
I see that certain solutions, like the Parallax Power 5300 Series 50 Amp Service Power Centers combines the converter with a breaker system, thereby also solving my question of what fuse box to buy…I think?
Why Three Stages
Apparently, a lot of factory truck campers only have a single stage converter (at least, as of 2004 when this forum post was written). This is a problem, as the batteries we will use have three stages to reach full charge. So, these converts don’t make optimal use of the battery. Instead, we should have a three-stage converter to support the needs of the battery.
Positioning
I have only occasionally seen reference to the importance of positioning certain components relative to each other. However, as far as I’ve read, it is critical to have the charger as close to the batteries as possible. When charging the batteries, it is critical to apply voltage at certain levels relative to the battery’s state. Resistance in the wires can result in voltage loss, and the longer the wires, the more that is lost. That can result in a significant inconsistency between what the charger anticipates and what the battery really needs. So, minimizing that distance minimizes the threshold for error.
Currently I’m leaning towards a Progressive Dynamics converter. Not only was it the brand that supplied the converters original to the Avion, but they continue to have a good reputation among RVers. The PD4060 60 Amp Inteli-Power Mighty Mini Power Center appears compact and should power the two 12-volt batteries that I am leaning toward.


Surge Protector
Here’s a biggy. Not all campers come with a surge protector built in. Yet, from what I have read in some forums, older RV parks can have very unreliable voltage from their hookups. As we intend to boondock and then duck into civilization every once and a while, we want to be able to take our charge where we can get it…safely. Thus, we want to introduce a surge protector to protect our camper and our computers! I’m a little confused, though, when shopping around, as they seem to just be extensions for the hook up wire such as this listing. I can’t seem to find something for hardwiring into the camper. Perhaps this is something that can come as part of a Power Center (combining the converter and breaker box)?
Batteries
There are a lot of types of batteries and battery arrangements. Since we have completely stripped our truck camper, limitations like the battery box size are not an issue. Instead, what matters to us is creating a system that allows us to spend days off the grid, boondocking. So having the right battery situation is critical. As our main use case would be charging two computers, running lights, and a few fans. We intend to be powering the refrigerator and stove on propane (while the truck is not in motion). I don’t think amperage is our main limitation, it’s amp-hours. Our goal is to allow the optimal amount of battery use for boondocking situations while taking cost and space into consideration.
Battery Types
When powering RVs, there are three main battery type contenders: wet cell, gel cell, and AGM batteries.
Wet Cell Batteries
Wet cell batteries are cheaper but dangerous because they off-gas hydrogen which can be explosive in enclosed areas. So, to use these batteries, you must store them somewhere that vents out of the camper. (AGM batteries also off-gas but at much lower rates.) In addition, as the name would suggest, wet cell batteries need to stay wet, which requires regular maintenance checks to keep the water level balanced.
Gel Cell Batteries
Gell cell Batteries are considered the “no maintenance” equivalent of the wet cell batteries. While they do not require the same maintenance as wet cells, that is a compromise made on life span. A well maintained wet cell battery will have a longer lifespan than its gel equivalent. To top it off, gel cells also off-gas and require ventilation.
Absorbent Glass Mat (AGM) Batteries
Instead, we’re willing to spend the extra cash for the AGM batteries. AGMs pretty much do not offgas and do not require the maintenance of the wet cell batteries. They also charge faster than the wet and gel cell batteries. This has to do with their lower resistance levels, so less energy is converted to heat. Many testimonials also note that AGMs have longer lifespans, though, whether this is a matter of the battery or poor maintenance on previous non-AGM batteries is anyones guess. The down side? they are much more expensive.
Since we aren’t using them to start a truck or such, the type of AGM battery we want is true deep cycle batteries to withstand repetitive discharges up to 80 percent or more numerous times, and still provide amperage at their rated capacity according to this blog post. Wet and Gell cell batteries also can be true deep cycle. The challenge is to make sure, when selecting any of these varieties, that the battery is true deep cycle and not just the marine deep cycle, which isn’t as rugged.
| Battery Size | Amp hours | Voltage |
|---|---|---|
| Group-24 | 70-85 amp hours | 12 volts |
| Group-27 | 85-105 amp hours | 12 volts |
| Group-31 | 95-125 amp hours | 12 volts |
| 4-D | 180-215 amp hours | 12 volts |
| 8-D | 225-255 amp hours | 12 volts |
| Golf Cart | 180 to 225 amp hours | 6 volts |
| L-16, L16HC etc. | 340 to 415 amp hours | 6 volts |
Battery Arrangements
From multiple forums and blog posts I’ve read, it is best to have two batteries—either two 6-volt golf cart batteries wired in series or two 12-volt batteries wired in parallel. Why two 6-volt batteries are better than one 12-volt battery appears to be because the two 6-volt batteries in combination can put out more amperage for the 12 volts than a single 12-volt battery. By that logic, it would be better to buy four 6-volt batteries, wire each pair in series and then connect those in parallel rather than just wire two 12-volt batteries in parallel.
Though, I have also read that lead acid batteries do not play well in parallel. While, conceptually, two brand new batteries of the same make and model when wired in parallel should operate in perfect concert, in practical use, one will tend to drain and charge not in perfect sync with the other and lower overall performance. That being said, I’ve only read that once.
HOWEVER, the problem with two 6V in parallel is that, if one battery goes, you are sunk. Two 12V batteries mean either could still function, just at a lower amperage. Given our boondocking intent, this is a major consideration. Instead, I’ve come across 12V parallel circuits where the batteries are connected with an A, B, A+B switch so that power can be easily accessed by any configuration of batteries.
Cautionary Notes on Battery Maintenance
- “When replacing your batteries, remove the negative cable first because this will minimize the possibility of shorting the battery when you remove the other cable…then reconnect the cables in reverse order,” From The 12 Volt Side of Life
- “Thinly coat the terminals and terminal clamps with a high temperature grease or petroleum jelly (Vaseline) to prevent corrosion.” From The 12 Volt Side of Life
In the meantime…
At the moment, I’m considering starting with a single 12V battery. The truth is, we are taking this build in stages. Early on, we don’t need the amperage of two 12-V in parallel. Therefore, we’re going to buy one 12V AGM battery as it is less expensive but still does not off-gas. A cheaper battery (probably from Sears) with a shorter lifespan is acceptable given it is a stopgap. Also, several RVer’s have noted that their first battery tends to have a shorter life as they learn how to properly handle it. This also gives us more opportunity to determine our long term load as we gradually add new items to the circuit. I read something in passing that the Cabella’s batteries are made by Trojan. That warrants further research.
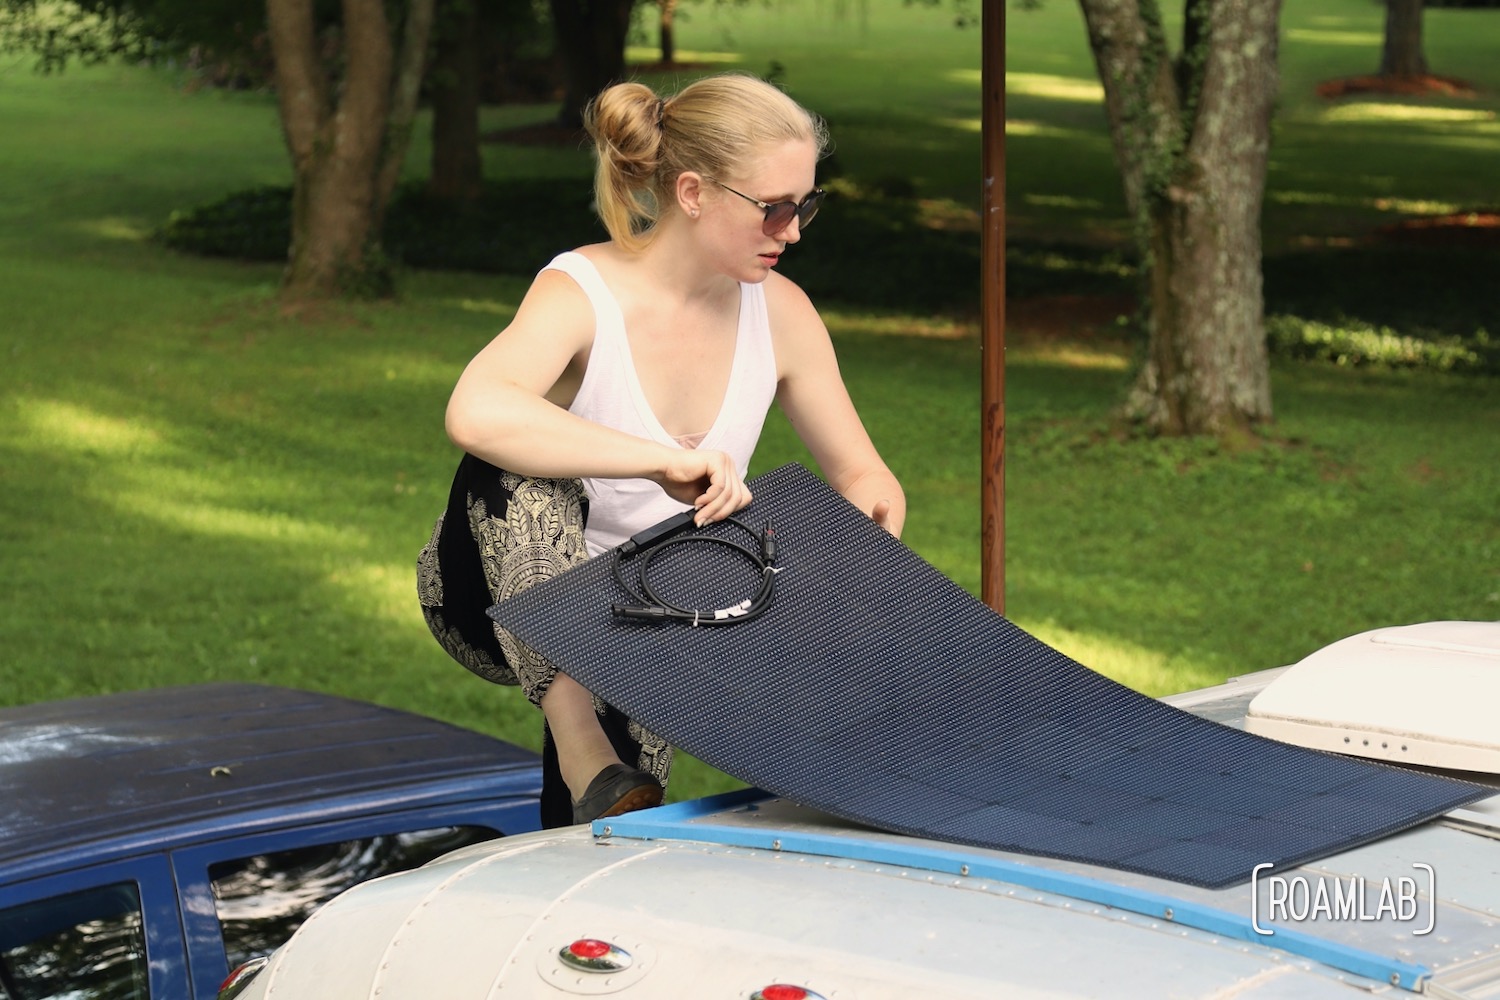
Solar Panels
We fully intend to add solar panels to our rig. Given our desire to boondock, these seem a logical extra source of power. That said, they can be an expensive investment, so, right now, I just want to wire the rig in preparation for adding solar panels. So far as I’m aware, this just involved laying the wires for the solar panels…?
Solar Panel Tilt Mount Kit
One thing we are considering biting the bullet for is going ahead and mounting the solar panel mount. Our thought is that, since we have the interior walls completely stripped right now, this could be the best opportunity to mount external equipment. This can improve our mounting options as well as sealing any holes to minimize leaks. It does seem like the mounts we’ve seen are often designed for a particular solar panel, such as these. But there are some tilt mounts that appear to be more flexible. So, we would probably go with those…
Battery Monitor / Recording Meter
Dave over at Livin’ Life pointed out that I definitely should get a battery monitor—probablyMastervolt—so that I can track the charge on the batteries.
Yet, from further research, it appears that battery monitors are of limited use. They tend to be optimisitc when reporting battery charge. But a particularly handy tool is the recording meter, which reports on battery consumption over time. This is a great early addition to a circuit to monitor our usage and get a sense of what we need before we invest in a solar array.
Currently: I’m looking at the Trimetric 2030 battery monitor, strongly endorsed by Dan from the RV.net forums. Handy Bob Solar endorses the Tri-metric 2020 and 2025 meters.
DC to AD Inverter
After my research on Charging A Laptop On 12 Volts, it’s become clear that an inverter to supply 120VAC from 12VDC is important, even when Boondocking and striving to optimize power consumption. Handy Bob Solar swears by Magnum inverters. That being said, I’ve just begun to dip my toe into this matter.
Wires
Something I don’t hear a lot about in wiring discussions is the wires. I guess this is because it’s pretty obvious for those in the know. As someone not in the know, selecting what gauge of wires to use on the camper involves a little guessing. Gauge is important because, the larger the wire is, the lower the resistance. The lower the gauge number, the larger the wire diameter is. According to Handy Bob Solar, RV wiring is a special consideration: “It is good practice to use one or even two sizes bigger wire than recommended to limit voltage drop.”
I did find reference to wiring gauges in this article with a passing reference to Northwood campers using 14 gauge wiring with the exception of the charge and ground wires where they use 10 gauge wire for better conductivity. (The wire gauge and diameter are inversely related: the higher gauge the wire, the thinner it is.) On the opposite extreme, this article about optimizing your alternator charging arrangement relies on massive, 2-gauge wires from the alternator and 4 guage within the camper because “that side of the connector will only accept 4 gauge maximum.” Even so, that’s some big wires. According to bigfootford on RV.net, “High strand count solar/welding wire is what you need.”
Moreover, when determining the wire gauge to the converter, consider the distance x2 (for back and forth) and the amperage needed, “The biggest of the two (charger current or load current) will determine how big your wire should be.” Also notes “You should fuse your battery wire for a Catastrophy. Go to a auto stereo shop that does installs. They will have fuses that are great.” I assume that the fuse / breaker box with the converter should handle that requirement unless it is important to fuse each battery individually.
Wiring Diagram
Thus far, I have only gotten my hands on one diagram, but a few considerations regarding wiring procedure have popped up:
- “neutral and ground are NOT bonded in the main power distribution box as they are in a house” from forum post
My Ask From You
I know, it’s a lot. The challenge, as I see it, is to pick the right products that go together. This is a systems approach. Rather than finding the best battery or converter or inlet, I want to find the battery, converter, and inlet that best work together. If I said something stupid: please correct me. If I missed an important point: please direct me. I would be so grateful for any product recommendations, links to any tutorials on truck camper / RV wiring, or general input.

Truck Camper Wiring Resources
- Truck Camper Adventure has some great posts breaking down batteries, hookups, and general use.
- Best Converter
- Handy Bob Solar for one man’s in-depth input on solar
- The 12volt Side of Life
* The alternative is two 6 volt batteries in parallel, but we want to boondocking, so more seems better. Right?


Eric N.
Great questions! I learned a lot earlier this year when I wired my truck camper for solar, and we just got back from 3 months on the road living and working in it. I strongly urge you to check out https://handybobsolar.wordpress.com/ — the guy is a bit curmudgeonly-sounding but has some key info. It took me several readings to fully understand.
Three key insights: you’re going to want a battery monitor; that not all battery charging is the same; and that the way electrical resistance works for 12v has implications for battery charging. I bought and installed a Trimetric TM-2030 as he suggests and this further demonstrated what he said. It’s very difficult to get an accurate picture of what’s happening with your battery otherwise.
The short version is that to get your batteries completely full requires a higher voltage and current at the end, and many sources, including cheap converters (which my camper has pre-installed) won’t do this for you, no matter how long you leave it hooked up to shore power. (BTW 50 amps seems like major overkill for a small camper like that.) If you can, get a converter you can adjust. For solar wiring, you want big thick wires to convey the electricity to your solar controller, and that, in turn, needs to be connected by even thicker, very short wires to your batteries. 10 gauge might not be thick enough for panel wiring (or rather it will work but you’ll not get everything the panels are putting out).
I’ve noticed (via my Trimetric) that my truck does not do much charging of the camper battery at all (much to my surprise), despite having a big alternator. My hunch is that there’s just not big enough wires to get enough of that juice to the camper and from the pigtail up to the battery.
From what a few other bloggers have said, the reward of tilting mounts might not be sufficient to justify the expense — you could plow that same money into more solar panels, which will make up for the difference you’d get by tilting. You could also consider a non-attached panel outside, perhaps in addition to the roof-mounted ones, so you could deploy as needed. I went with one of those but rewired so the output went straight from the panels (via appropriate-sized cable to hold to less than 2% loss) through a disconnect port right into my solar controller, rather than having the voltage conversion happen at the panels then sending that current through long wires (where it would degrade some) to the battery.
Good luck!
Lexi Goforth
Wow! So much information! I’ll definitely give that blog a read. I hadn’t come up in my searches. Sounds like getting the right converter is really a game changer. I had just been reading about upgrading the connection the the alternator, and it sounds like you are on the right track when it comes to high gauge wires. But I hadn’t heard the same regarding solar panels. So, that’s good to know, two. Do you have an integrated battery / solar monitor? Some people have mentioned it in passing but I haven’t found anything that directly addresses it yet.
Eric N.
I do think a good converter can make a huge difference, by cutting down on the amount of time you need to spend hooked to shore power (like, in a pinch, will a generator get it done?). I decided we didn’t move around enough to justify fussing with the truck wiring, and decided instead to make solar the primary option.
I use the TriMetric TM-2030 monitor and its companion solar charger, the SC-2030, and I installed both before the summer. The monitor notes all current flows (from any source — shore power, solar, truck) and keeps track of the battery with several measures, so for instance I can see how many amp hours we’ve used since we last fully charged the battery, and I can also see what we are drawing at any particular moment. When the Trimetric is connected to the companion solar charger, it will both monitor (how much juice are you getting from the sun, etc) as well as control the input — so you can use the solar output to fill the battery right to the top, for instance, which requires short bursts of higher voltage. I love the solar monitoring features, which help me position my portable panel for max amps, and will tell us if we have incoming solar power that isn’t being used for anything (e.g. the battery is full or nearly full), so we can use the extra to charge devices (etc) right then.
Eric N.
One other comment, on batteries: you might think of your battery capacity as a function of demand (how much power do you plan to use) in addition to supply (how much will you get each day from solar). If you have modest power needs and are boondocking somewhere sunny with a decent-sized panel, you might need less battery capacity than you think. Batteries are heavy and expensive.
Lexi Goforth
That is a really great point. I’ve already reconciled with the fact that I’ll have to give up my Jimmy Dean breakfast sandwiches and other microwave conveniences. I would imagine, our most extreme draw would be on days when we are coming back from a hike, all our phones/computers/etc are out of charge and we need recharging. I’m looking into DC charge cables for our computers and other high use items. Did you have a particular way that you calculated need or was it more a matter of pencil and paper calculations?
Eric N.
I’ve heard of some people running a microwave off a beefy-enough inverter, so hope is not lost for breakfast! I figured out rough figures on paper, but a lot came just from using things at different times over the first week or two with the battery monitor installed. For example, the water pump in actual use drew less than I calculated (based on the manual) because most of the time we weren’t running it at top speed, even when taking a shower.
Ultimately we tried to conserve first, then use power wisely. So we have LED lights, used propane for the stove and fridge (making coffee on the stove), ran the furnace sparingly, and got DC power adapters for the laptops and USB-powered devices. (Honestly not sure how much of a difference this made vs. 110v via an inverter, but on paper it should save like 20%.) Since you’re wiring, you could wire in LED lights easily. I also installed several 12 volt cigarette lighter-style outlets in convenient spots, which was very helpful.
What really made the difference for us was — with the help of the TriMetric — learning to think about power as a function of the time of day. By late afternoon, when you’re back from your hike, you’ve had great sun all day, your batteries are full, and that solar power is going to go to waste if you don’t use it, so it’s a perfect time to charge up, or take a shower, or whatever. We got one of those large external batteries for our USB-powered devices and used it like a sponge to soak up excess solar power, so when we would draw on that later it wouldn’t come out of our main battery. Basically if you can draw up what you use on a daily basis, then figure some multiple of that as a reserve for your battery capacity, and then take something like that plus say 20% of daily expected return from the panels. Then you can figure that at the end of each day, the sun will go down with you having a full or nearly full battery. Even if you get several days of partial-solar, you can run a little deficit each day and it still takes a while before you’re at the point you need to move or go find some shore power or something. As a practical matter this meant we ended up running out of water before the battery would have forced us to head out. We have a single 125AH AGM battery — wanted two, could only afford one — and 100 watts of solar (portable). Next season I want something more like 160-180 watts of solar, to make better use of short solar days (i.e. parked in a canyon, or in a clearing with trees nearby), but overall I’m plenty happy with how it has worked, and our trip this summer showed the battery capacity, with an appropriate amount of solar, was plenty for us.
Lexi Goforth
You’ve got me inspecting microwave options. It does seem like I only need to worry about power to last till our water runs out. Of course, picking out our new water tank (trust me, the old one has to go) is another can of worms!
Eric Pickerill
Looking forward to any future posts on the subject as I am (hopefully) in the final stages of rewiring my 62 silver streak trailer. I made my first attempt to power the trailer only to find the source I have access to has a short somewhere. I have a progressive industries hard wired surge gaurd installed which probably paid for itself in it’s first milisecond of use.. Good luck with your project.
Lexi Goforth
Oof! Yes, those shorts are so easy to happen. Is all the wire new or are you keeping some of the original wiring? So far, we have only wired the lights so that we can hook the camper to the truck and signal. Once we have completed the cabover extension, we’ll be back to finish the rest of the wiring.
Glad to hear that your surge protector has come in good use.
What model of silver streak do you have?