Reinforcing the Truck Camper Roof
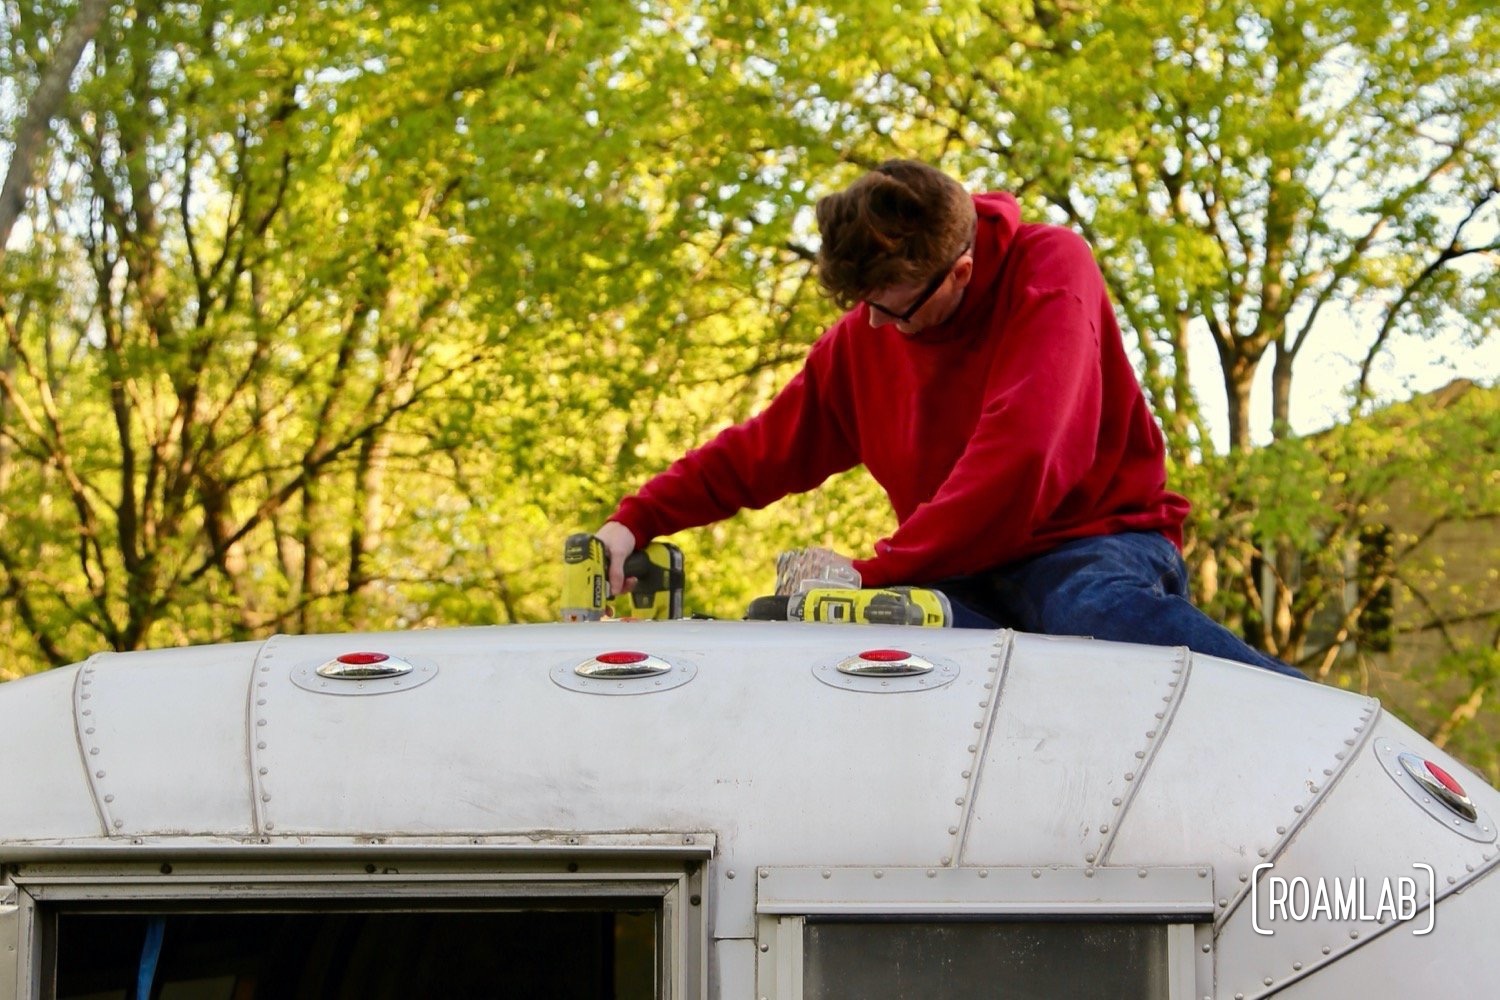
There have been a lot of lessons learned while modifying our 1970 Avion C11 truck camper. Probably the greatest, which has been reinforced time and time again, is to take your time. I understand the desire to race through a project to its end and move on, however, such projects are often more informed by what one thinks they need rather than what is actually needed. Instead, our last two years have been a cycle of gradual improvements to the Avion and then practical application as we travel across the country in a gutted camper. Would running water and power plugs improve the experience? Sure. But, if we had rushed, we wouldn’t have realized how much we like sitting on the roof and how much the roof needs better bracing in order to support rooftop activities. So, after concluding our most recent round of travels, our first order of business is to modify the roof.
The State of the Roof
The roof, as originally built, is sheet aluminum supported by extruded aluminum ribs arching from the floor, along the walls, and along the ceiling. Between each rib, running the length of the camper, are spacers of folded sheet aluminum. These spacers maintain a 1½” gap between the outer and inner walls of the camper. While these add a little shape, they supply little support. The spray on insulation between the inner and outer walls* did and will add some structural strength to the frame. Yet, we focused on replacing the sheet spaces with extruded aluminum C-channels at this stage.
Reinforcing the Roof
To reinforce the roof, we first have to remove the original spacers. This serves a dual purpose: not only will the holes be reused to secure the new C-channel braces, but the spaces has been a source of leaks will now be patched up. Before adding anything new to the mix, we blast the walls with walnut shell**. Then we will cut and install the new C-channels along with L-brackets to rivet the new channels to the original ribs.
Cutting C-Channels
Ok, so I’m a cheapskate. Rather than buying a C-Channel, we bought pieces of scrap aluminum tubes. The tubes are 1½-inches, the same measurement as the original sheet aluminum spacers. But, I am cutting them in half to convert one square tube into two 1½x¾” C-channels. It’s cheaper but rather time consuming.


Cutting L-Brackets
Riveting requires some reasonable amount of access to the rivet area in order to position the rivet gun and bucking bar. As such, I cut custom L-Brackets and drilled rivet holes that balanced the importance of a secure bond between the new C-channels and old ribs with the limitations of the tools we are using. It is rather tedious…except for that moment when I break our miter saw and am unsure if I have cut myself. (Don’t worry, I am fine aside from a few minor scratches thanks to my safety gear!)


Riveting it all together
Finally, after all the preparation, it’s time to rivet everything into place. This is, arguably, the most difficult riveting to date. As alluded to earlier, we have limited access to the brackets. Yet, everything is back in one piece and I believe we have even managed to solve a few leak points along the way! It isn’t much to look at but, I guarantee you, this is a game changer!


*We removed the original insulation in order to find leaks and clean up the camper during our original gut. We will be spaying new insulation once all structural and exterior work has been concluded. Yes, there is more to come.
** Walnut is a more gentle and environmentally friendly alternative to sand blasting. Sand blasting can scratch and damage aluminum sheet but walnut is less likely to leave any significant mark.


Bruce
Yes, these pretty much look like (piece-wise) longerons to me! Nice idea to beef up the roof. Your brackets to the ribs would carry the load through to the next section of C-channel. It looks like your brackets zig-zag where they meet the ribs with one bracket going “east” and the other bracket “west”. So the two brackets don’t sandwich the rib; they attach on opposite sides. That puts a little bit of shear stress on that rib. Sandwiching the rib between two brackets you’d need longer rivets. This gives me a lot to think about. I am so impressed by the thought and craftsmanship you have put into this. Since my first post we have purchased a 1967 C10 so my interest is now more justified. Thanks again for posting such detail.
Lexi
Congratulations on your Avion!
I acknowledge that the brackets don’t always line up. Early on, I did match them but it is tough fitting a single rivet through three pieces of extruded aluminum. As a fun aside, one of the channels does have a bit of extra help thanks to our modular rail on the outside. (https://roamlab.com/installing-a-modular-rail-system/)