It’s a riddle: I want to go rafting down a river. The speed is too great to paddle out and back so there will be a different start and end point. I have one car. How do I complete the loop by traveling upstream?
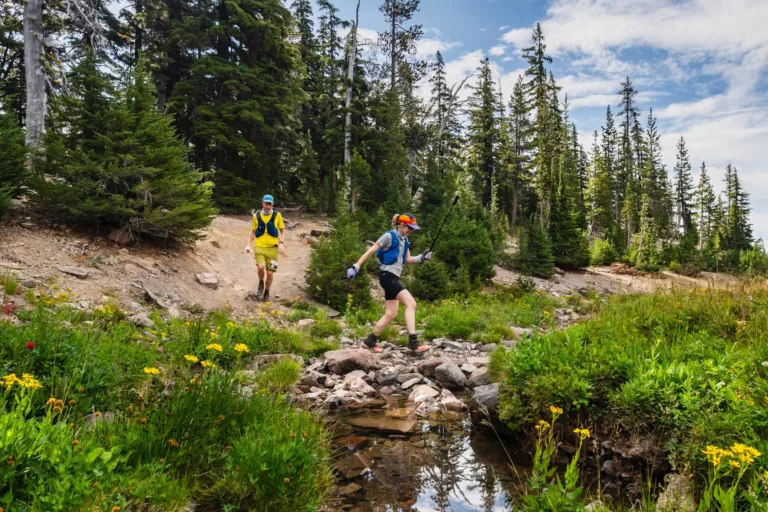
Getting pack rafts solved part of our logistics challenge when paddling. They are easy to transport and launch from awkward locations. We can put them in backpacks and hike to more remote launch points. But we are limited by the speed of our hiking. Don’t get me wrong, we can cover trails fast. We even compete in trail running events. But running with a raft, light as it may be, is another matter. And there is a better solution: enter the mountain bike and bike rafting.

What is Bike Rafting
Bike rafting combines two versatile tools for outdoor adventure—mountain bikes and packrafts—allowing you to explore trails and rivers in a seamless loop. A packraft’s lightweight design makes it easy to carry on a bike, and the bike solves the common problem of shuttle logistics by allowing you to connect a river trip with nearby trails. Together, they open up a world of exploration that would otherwise require a support team or multiple vehicles. This hybrid approach works best in areas where a trail or road parallels or loops around a river, allowing you to ride to your put-in, paddle downstream, and then bike back to your starting point.
Bike Rafting Gear
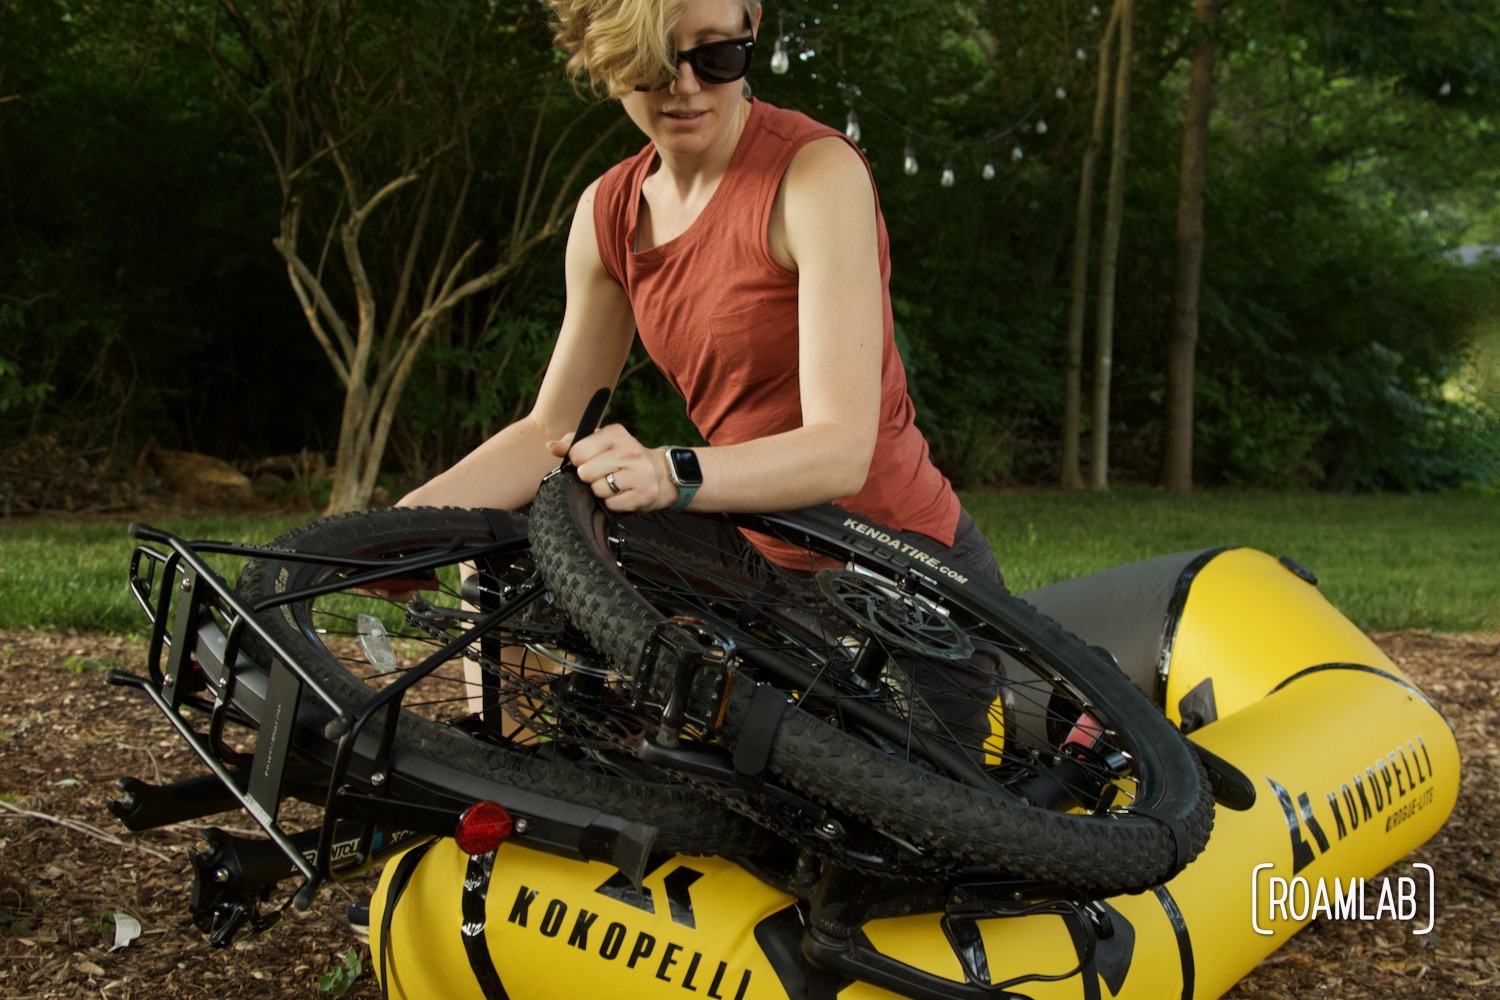
Of course, gear is the first challenge. Bike rafting requires all the gear of mountain biking and pack rafting with a little extra. At it’s most basic, bike rafters need a pack raft, paddles, PFD, bike, paddles, helmet, and straps for securing the bike to the raft and the raft to the bike. More likely, though, you’ll want additional gear to ease the process. My packing list includes:
Pack Raft Gear
- Kokopelli Pack Raft
- Paddles
- PFD (Personal Floatation Device)
- Inflation pump
- Small patch kit
Bike Gear
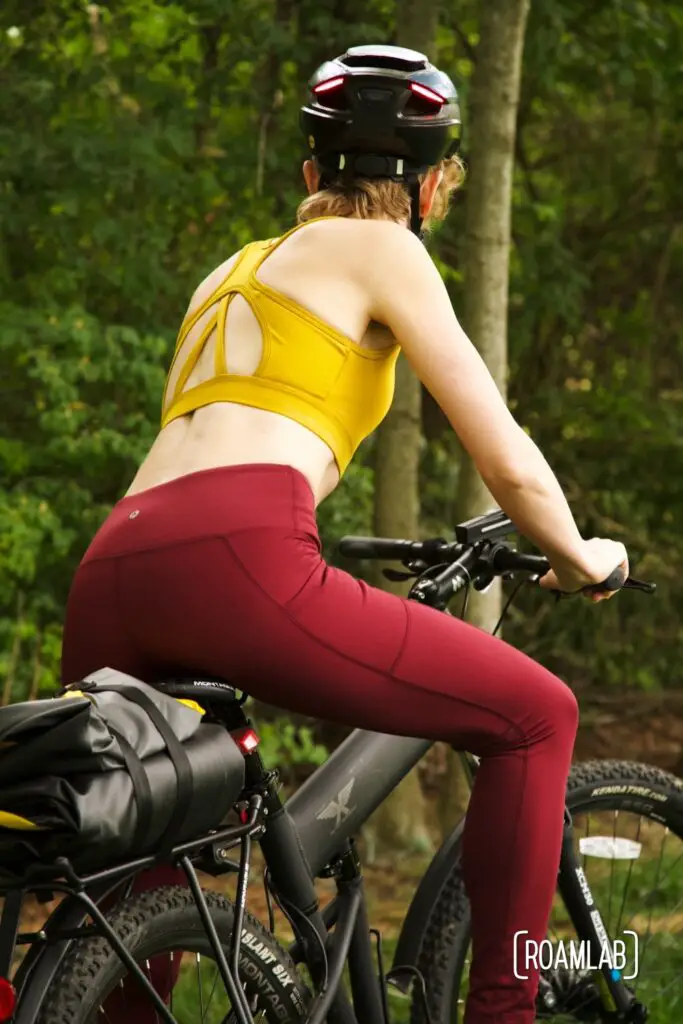
- Bike (Preferably lightweight and easy to disassemble)
- Helmet
- Small repair kit
- Paniers for storage
Everything Else
- Mounting straps
- Houdini jacket (lightweight & packable)
- Biking gloves (great for the handlebars and the paddle)
Whenever I can, I will opt for the smallest, most lightweight option. When I can’t, it’s likely due to price rather than preference.
There are other things I’d like to improve my kit. For example, I have a love/hate relationship with paniers. Right now, I often use them for shorter trips. But their solid frames for mounting to the bike are hard to store while on the raft. Instead, there are pack rafting packs designed to secure your packraft and paddles easily. Granted, while I think this would a significant upgrade, I don’t have the experience to be certain.
It’s important to remember that everything has to be carried while biking and paddling. So some things that might be easy on a bike may be too much of a hassle on a raft, and vice versa. For example, there are floating coolers. I LOVE the idea of floating down the river with lunch. But that cooler becomes a lot more cumbersome on a bike. For that reason, it makes sense to try to pick clothing and gear that is useful both on the trail and on the water: light, water-resistant, and packable.
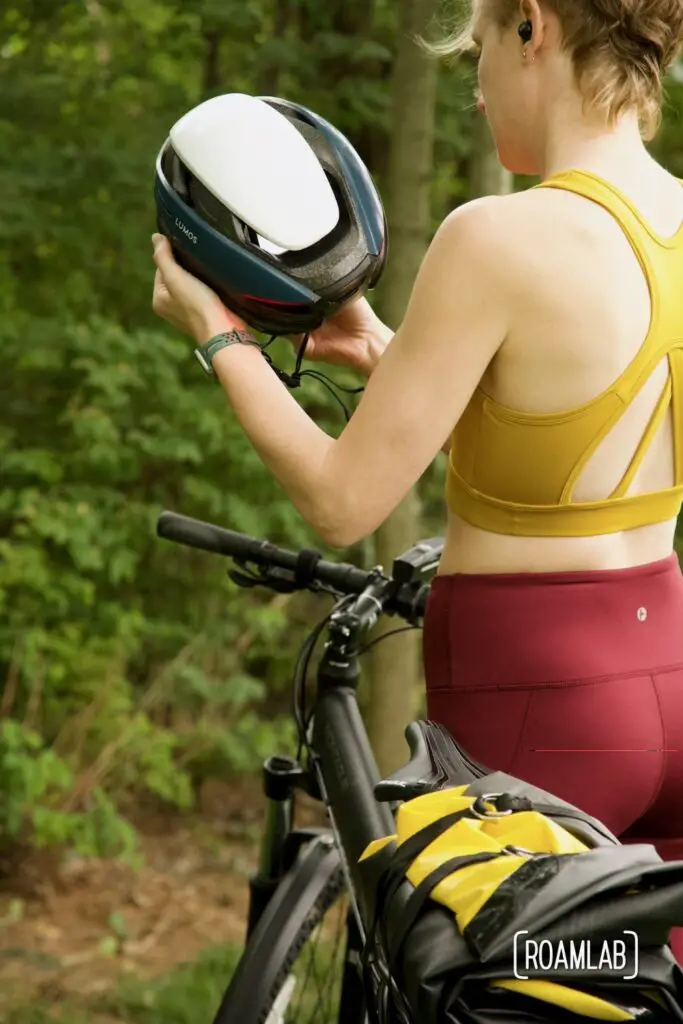
Mounting
Now comes the most challenging part of pack rafting. Because, while I prefer to focus on a physical challenge in these kinds of pursuits, the only way to lose yourself on the water or trail is not to be constantly distracted by all the other gear you are transporting. Taking the time to mount everything properly makes a difference, especially when in the middle of a lake or bombing downhill. Or, worse, a critical component may work its way off without being missed…until it is.
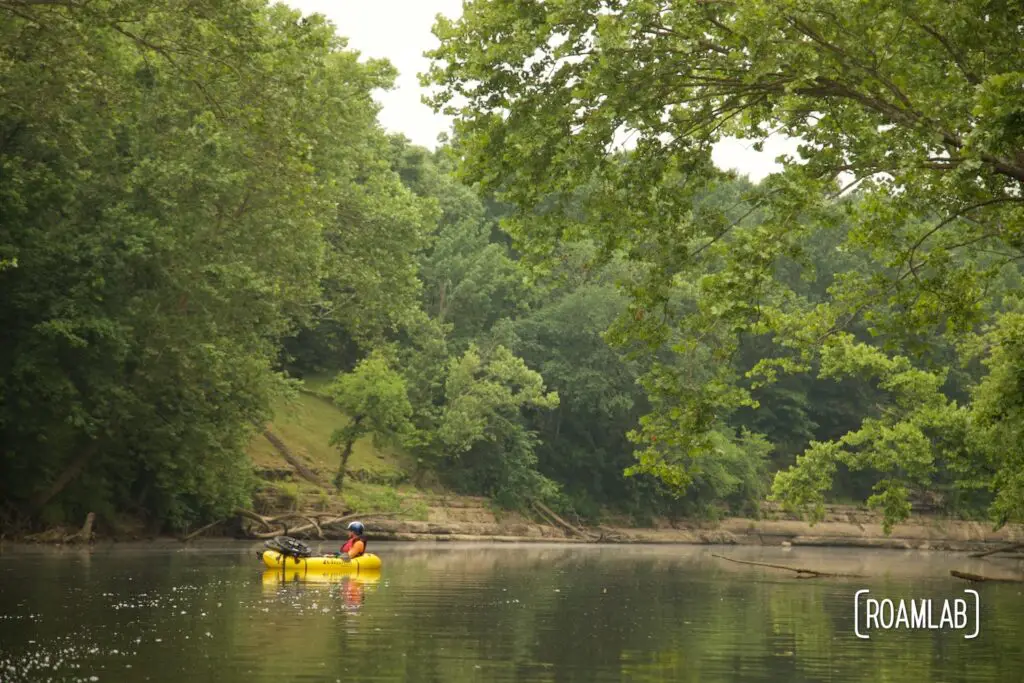
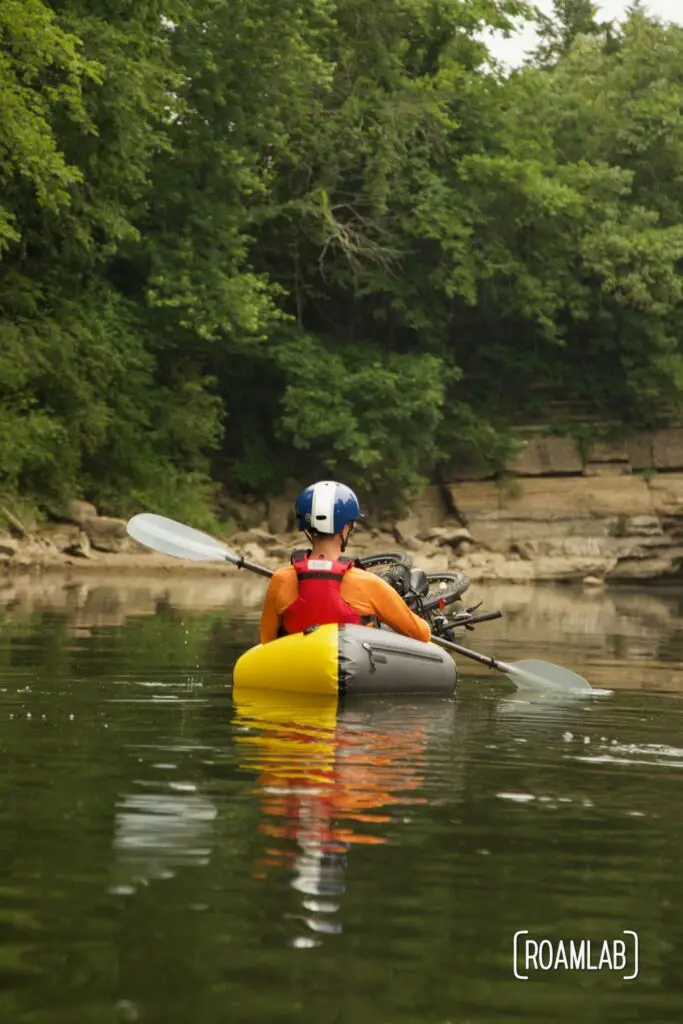
Biking with a Raft
It’s the paddles. Say what you will about transporting a big raft, they can pack down and be folded into all sorts of shapes. But securing those paddles can be a headache if you haven’t considered it beforehand. As I mentioned earlier, there are packs designed for stowing your packraft and paddles. I don’t have one. Instead, I have a rack over my rear wheel what I strap the raft and paddles to.
Rafting with a Bike
Like so many sports, the constant threat in this phase is chaffing. Sure, you might get blisters from your paddle. But puncturing holes in the raft is of greater concern. There are a lot of sharp parts on a bike like the pedals. Some people will put socks on their pedals for mitigation. Often, I’ll use something smooth/soft in between the bike and the raft, such as my panniers. A hole in my paneer is a bummer, but not an emergency.

Planning Your Bike Rafting Route
Every rule of planning a rafting trip or a bike outing applies to bike rafting and then some. There are a lot of resources for biking trails and maybe a little less for rafting. Rarely, is there a resource to be found that addresses bike rafting. So it falls on us to plan a route that responsibly blends the two activities.
Not all biking areas are good for rafting and not all rafting areas are good for biking. Some routes will inherently be a compromise. Nothing beats talking to someone with experience rafting / biking in that area, but we rarely have that option. Bike rafitng is a sufficiently niche sport that even park rangers can be of limited help. So it will be key to do as much research as possible ahead of time.
1. Find Multiple Rafting options
Generally, I’ll start by identifying several viable rafting areas, which tend to be the limiting factor when planning a bike rafting trip. What is that section of the river rated? What will the conditions likely be at the time of year I am visiting? Are there any detailed descriptions of rafting on that stretch of river?
It’s key to be aware of my extra limitations. Just because I can raft down a particular river, it doesn’t make it safe to raft down that same river with a bike and additional gear strapped to it. When in doubt, I’ll keep looking for an alternative.
2. Understand River Conditions
Research the river’s flow rate, class of rapids, and any hazards along the way. Check local water gauges or call outfitters for current conditions. A river with manageable flow and minimal whitewater (Class I or II for beginners) is ideal, especially if you carry your bike on the packraft.
Seasonality and recent weather are key variables. It may be a dry time of year but surprise rainstorms a few days ago could have a normally easy river in dangerous conditions.
3. Evaluate the Terrain
Consider the terrain of the biking portion. Will you be riding on paved roads, gravel trails, or singletrack? Factor in elevation changes, technical difficulty, and trail conditions. A steep or overly technical trail might be manageable on its own, but adding a packraft and gear can make it significantly harder.
4. Identify Access Points
Locate clear access points for both your bike and raft. The put-in and take-out should be easily accessible by bike and offer safe places to launch and exit the water. Pay attention to parking options if you’re driving to your starting point.
5. Plan the Loop
The beauty of bike rafting is that it allows for loop routes, minimizing the need for car shuttles. Ideally, your biking leg and paddling leg will form a complete circuit. If a full loop isn’t possible, consider a point-to-point route with public transportation or a safe parking area at one end.
6. Check Regulations
Make sure you’re aware of any local regulations. Some rivers may require permits, and certain trails might have restrictions on bike access. Also, check for seasonal closures or wildlife considerations in the area.
7. Factor in Time and Weather
Estimate how long each leg of the trip will take and build in extra time for transitions. Consider daylight hours, weather conditions, and potential headwinds on the river or trail. Always have a contingency plan in case of delays.
8. Prepare for Emergencies
Plan for the unexpected. Share your route with someone who isn’t going on the trip, and carry navigation tools (GPS, map, and compass) as well as a first-aid kit. Be prepared to handle a flat tire, a damaged raft, or unexpected river obstacles.
9. Do a Test Run
If it’s your first bike rafting trip, start small. Test your route on a shorter stretch of trail and water to get a feel for managing transitions and carrying your gear. This will help you identify any weak points in your setup or plan.
With proper planning, a bike rafting route can transform into a seamless adventure, allowing you to explore landscapes in ways few others can.

Getting Out of the Loop and To the Point
Of course, bike rafting isn’t just for day loops. Once one has the gear, it can make for extended trips, combining both to cover greater distances. You can cross islands, rivers, mountains and lakes without outside support and gear.
We look forward to embarking on a multiday trip in the future. But, in the meantime, it feels good to just get out on the water and trails whenever we can. Happy bike rafting!