While, windows, fans, air conditioners, and heaters are all valuable tools when managing the temperature of your living space, one of the most important and practical considerations in any camper remodel is the insulation. Aside from specialized all-season campers, most RVs have very thin walls. So getting the most insulation over every square inch can make a world of difference to your comfort and general energy consumption. After three winters in our Avion without insulation, we know how fast the heat from our Little Buddy heater dissipates once we turn it off to go to sleep. So, we finally bite the bullet and insulate our Avion C11 truck camper.
To complete this project, we wind up buying three Handi-Foam E-84 Two-Component Kits on three separate occasions. While we have read complaints of some that they did not get as much foam as anticipated, we simply underestimated how much square-footage we had to cover. As tedious as this three stage process has been, it means we benefit from imposed waits between each application as we wait for the next kit to ship. Time to consider what we did well, what we did poorly, what we still need to do, and how we can best accomplish it. By our third kit, I can say, we really got the process down to a point that I’m comfortable to share our lessons learned so, hopefully, you can complete your own application in one go.
Why Spray Foam?
There are many ways to insulate your camper. Common, cheaper, and generally simpler methods of insulation include foam board or fiberglass batting (the stuff that looks like itchy cotton candy). While closed cell spray foam has a much higher R-value than batting, it is pretty much equal in insulation ability with foam board. So why resort to a messy and more expensive insulation such as spray foam? Because it does so much more.
Spray Foam Is A Structural Foam!
We have traveled in our Avion for a couple years now without insulation. While the sheet aluminum walls of our camper are durable, they are also very pliable. This is great while building the camper. But once we are ready to live in it, we don’t want the ceiling to warp in while I walk on the roof or the walls to flex when we push on them. We finally have the camper in the form we like it, and we want it to stay that way.
Spray foam insulation not only has a high R-value for minimizing heat transfer but it is also a structural foam, reinforcing the aluminum walls so that they stop flexing and create a more solid structure.
For A Love Of History: Avion vs. Airstream
As a brief historical aside, the spray foam also was a major part of Avion’s marketing back when this camper was made. At the time, spray foam—now a general product on the market—was cutting edge technology invented by NASA’s space program. Avion marketers would urge potential buyers to compare the Avion and the Airstreams by pushing against their outer walls. Airstreams would flex because they use (and continue to use) the cheaper fiberglass bat insulation while Avions did not flex because they used the structural foam insulation. Reapplying the inner walls of our truck camper with structural foam is a nod to the enduring quality of Avion craftsmanship.
Spray Foam Optimizes the Insulation Value For Every Inch Of the Camper
Foam board is a very common alternative when insulating campers. And for campers with flat, rectangular walls, there is good reason to opt for the cheaper and simpler material. But when dealing with the curves of an Avion, fitting foam board is tedious and imperfect. There will always be gaps while trying to fit a curve with a flat material. This is likely why Airstream uses bat insulation. It has a much lower R-value but it fills the curves more easily. This is also likely while some more frugally minded installers may opt for a mix of foam board and spray foam, using the spray foam to fill in the gaps that the foam board cannot fill. Regardless of rational, closed cell spray foam optimizes every inch of the camper to get the maximum insulation possible.
Spray Foam Can Also Act As A Sealant and Vapor Barrier
A vapor barrier, as the name may indicate, is a protection against damp. In most houses, this is commonly plastic sheeting installed to decrease risk of rot. While our camper is . no longer made of materials capable of rotting, the moisture is still an issue, regarding leaks and condensation. Aluminum is a terrible material where condensation is concerned. The metal easily absorbs the cold outside temperature so that warm air from our mouths and other sources will condense on the colder metal. A vapor barrier decreases the amount of water at play to condense. As for spray foam, after application, it forms a skin that also seals the foam and camper interior from moisture, acting as an all in one vapor barrier.
Shopping List
There are many spray foams on the market. Aside from the specification that it should be a closed cell insulating spray foam, we did not notice much difference in the price or specifications between the brands. Our personal experience is with the Handi-Foam E-84 Two-Component Kits, and that is what we link to in the below shopping list. If you do buy through Amazon, you’ll probably notice the grand total of two negative reviews. I don’t know the context of their complaints, but I would assume that they were not following directions. We did not have similar problems. But we are happy to hear about reader’s experiences with this and other brands in the comments.
- Spray foam
- Extra fan nozzles
- Painters cloth (or cardboard)
- Masking tape
- Plastic sheet
- Painters suit
- respirator / mask
- eye protection
- gloves
- booties
- Work light
How Much Spray Foam To Buy
The spray foam is sold in application kits rated for the number of square feet of insulation that should result in optimal conditions. If you are a beginner, conditions already are not optimal. There will be goofs, there will be waste. So anticipate a little uncertainty and be sure to order a little more than you initially think you would need. Also, remember that you are buying for the square footage of the surface you are spaying, not your camper’s floor plan. That means the square footage of your ceiling and walls combined. For our truck camper, we wound up buying three 200-sqft kits. I’m sure a professional would not have needed as much, but we used all of it.
Setting Up To Spray
First and foremost, it is important to remember that this spray foam in messy. While propelled at a strong force, some will fall on the ground and some will float as a mist on air currents. (You want to be working in a well ventilated space so, yes, there will be an air current) Given that the walls and ceiling all need insulation, everything else must be completely covered. This foam is designed to be stiff and durable. If it was easy to remove, it wouldn’t be very effective.
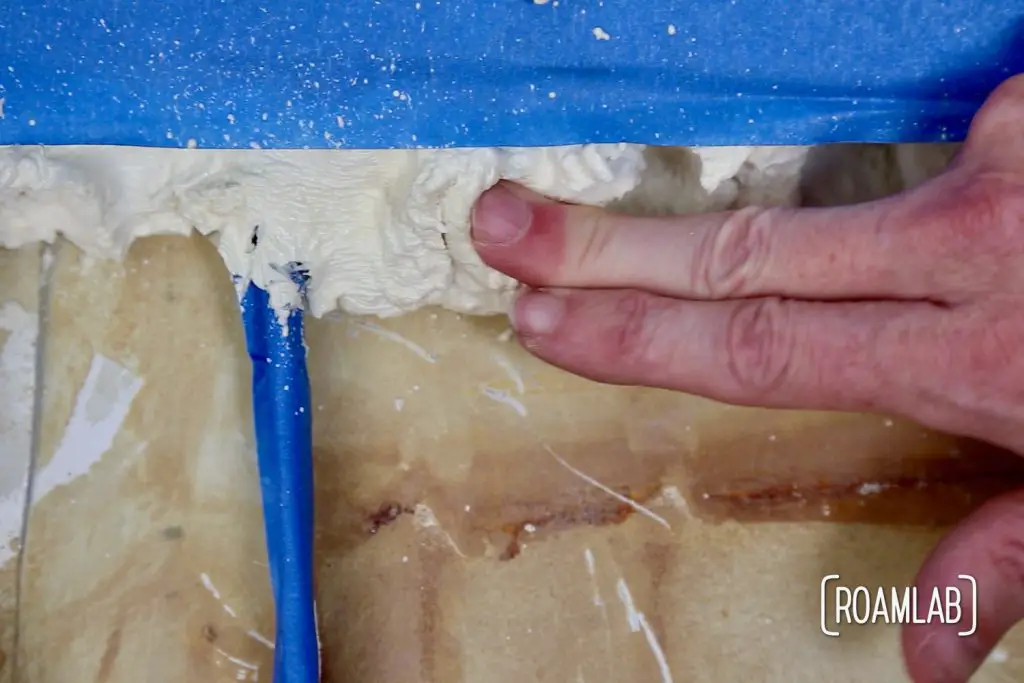
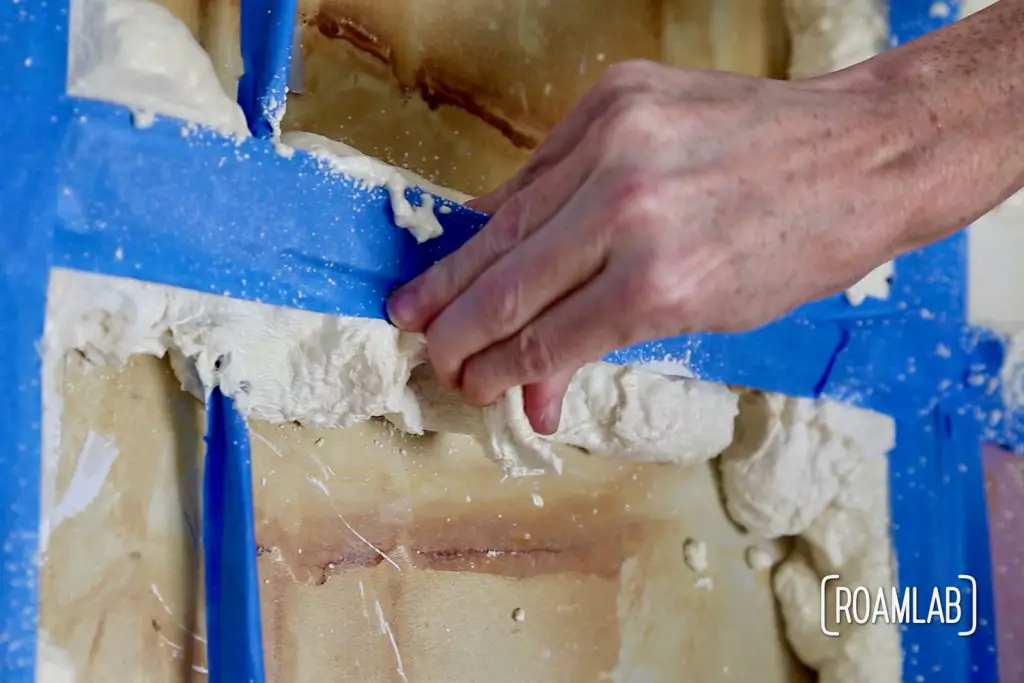
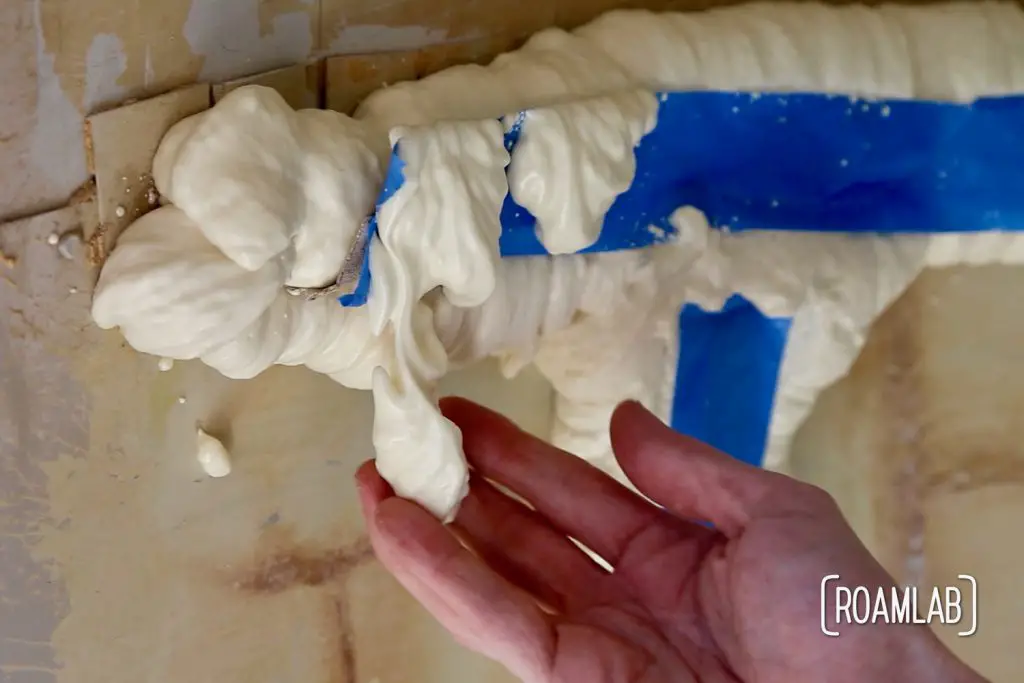
Masking Tape
You are going to use a lot of masking tape. It is useful for detailing as well as holding the plastic baggies, plastic sheet, and cardboard in place. Be liberal with your use of it where-ever you don’t want the foam to stick because scraping the foam away after the fact is a nightmare.
Cardboard
Cover the floor with cardboard. We have seen others use painters cloth and we followed suit on our first application. However, we quickly discovered that, at some point while spraying, it is almost inevitable that you will step on a sticky piece of foam that has fallen on the floor and drag the painters cloth with your foot, exposing corners and edges of the floor that are meant to be protected and distracting you from your time sensitive spray work. So avoid the distraction and use cardboard or some other solid surface less likely to lift with your foot.
Plastic Sheet
Cover windows with plastic sheet. The clear sheet bought at most home improvement stores can be nice, as it still allows sunlight in, but we often resorted to black trashbags as they are convenient, cheap, and can serve multiple purposes.
Plastic Baggies
Cover smaller detail pieces like electrical plugs and wires with plastic bags. While you want to protect the windows, you still want to allow for some air circulation while spraying. so, we made a point to leave the hatch open and cover the frame and pane separately to allow air flow.
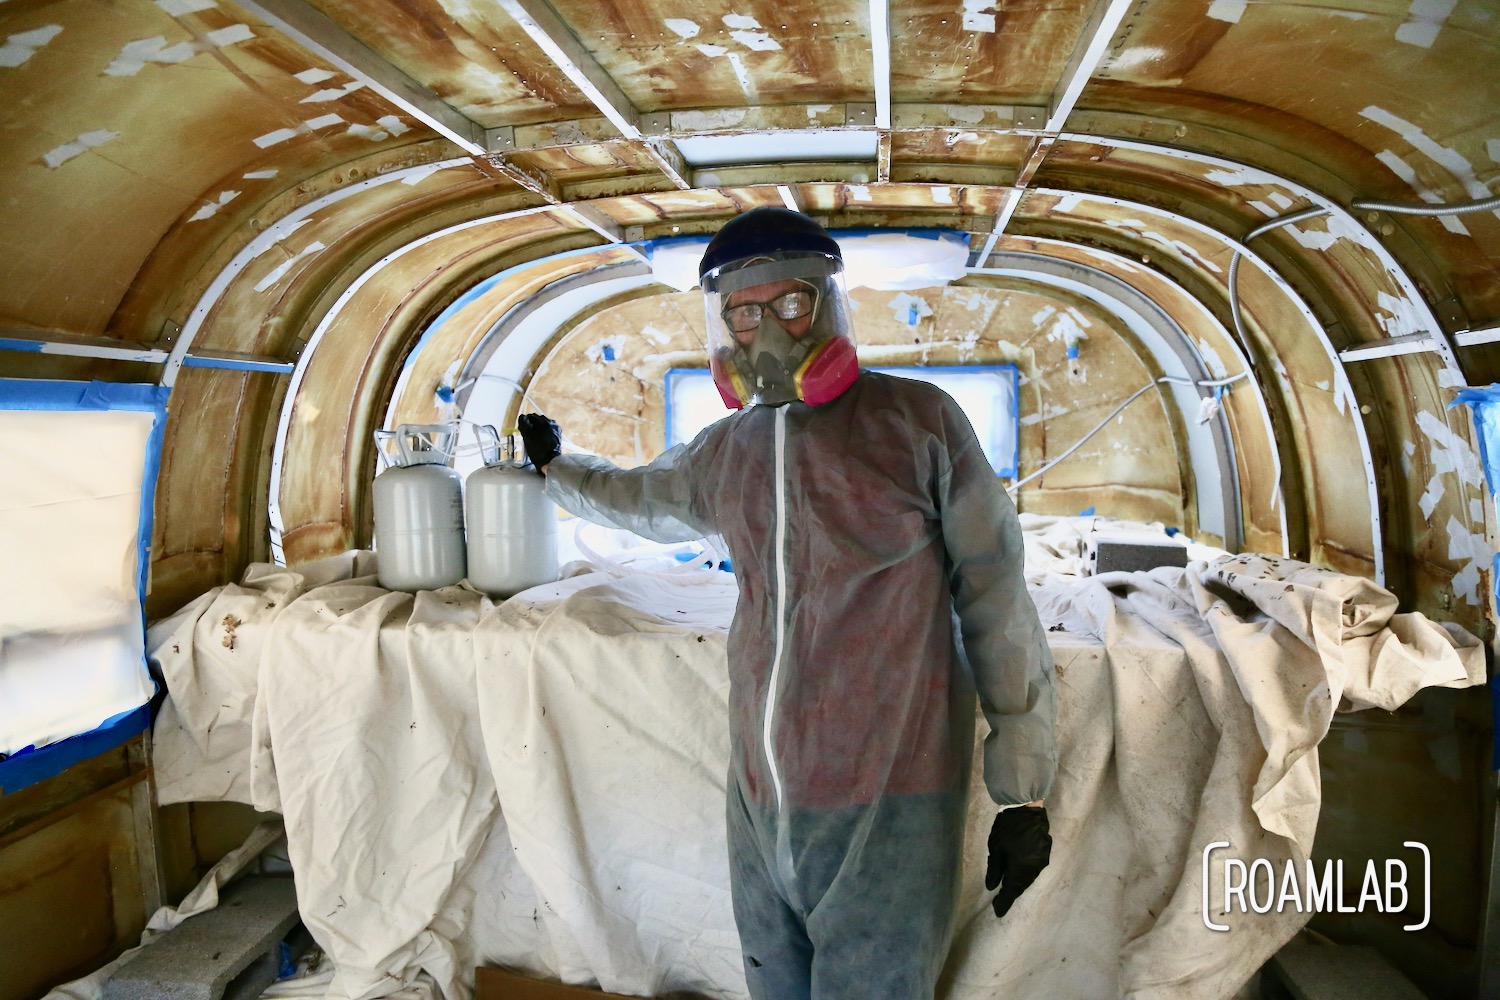
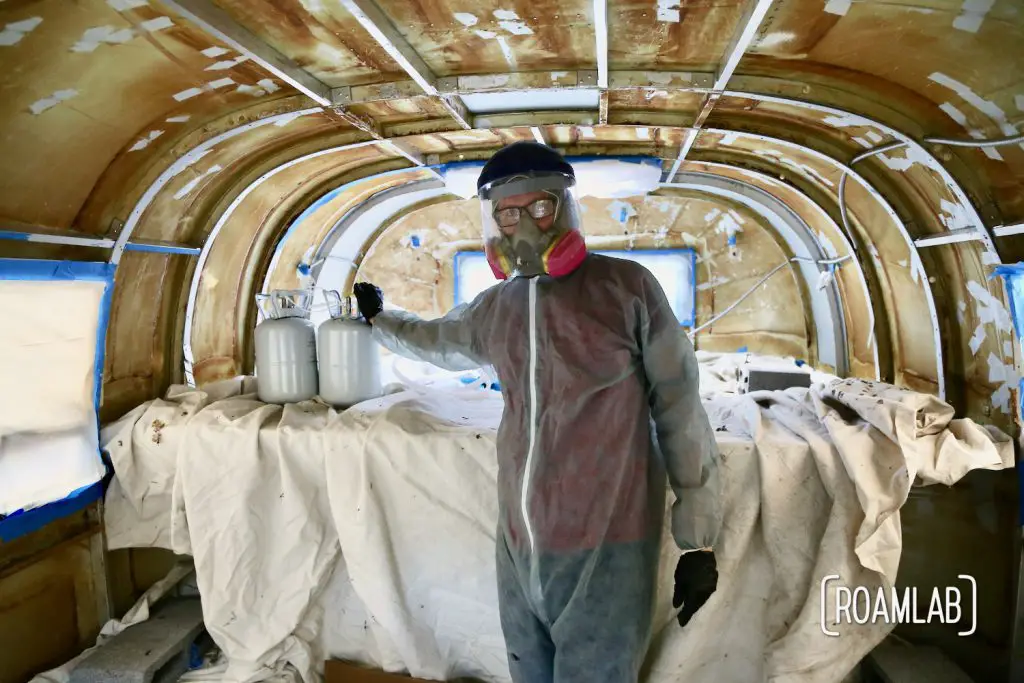
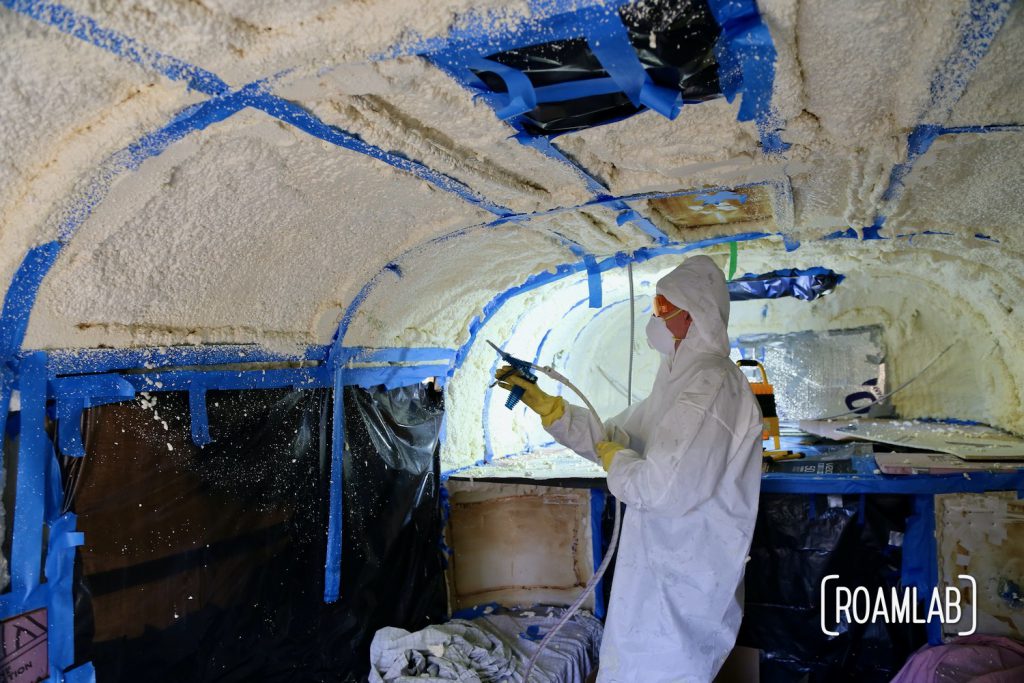
Preparing yourself
Be sure to cover anything and everything that you may want to survive the encounter. Hair, clothes, and shoes are all incredibly difficult to clean.
Should you get foam in your hair, don’t try to remove it immediately. The foam will be annoying, but it will be far worse if it is slathered across multiple strands of hair. Instead, let the foam dry. Then, delicately work the foam out of your hair. In hindsight, I would note that this is a case where skipping a shower may play to your advantage. Greasy hair is much more difficult for anything to stick.
Plan Ahead
Insulation is something that often becomes critical when the weather becomes cold. But, at that point, you are facing poor application conditions. Our spray foam is optimally applied at 80°F. Some may have temperature controlled work spaces large enough to house a camper. We do not. Others have compensated for colder temperatures by wrapping the tanks in an electric blanket and running a space heater. Still, applying spray foam in and enclosed space is messy and complicated. So, the fewer objects in your work area that better. We made sure to have all our equipment and materials in place and monitored the weather forecast for the best days to apply.
If it looks like the temperature isn’t going to get very close, keep in mind that pretty much everything you are working with is relatively small and doesn’t need any heavy duty specialty equipment. If you have a friends driveway available in a warmer temperature, this may be a good time to arrange a quick little visit. We applied our first round of insulation in Tennessee. When we realized the importance of temperature, we decided to apply the final two coats in California, where there were still a few 80°F days before the winter set in.
Spraying
There are two core considerations while spraying: (1) Ideal application procedure and (2) practical considerations while spraying insulation. In the first part, we consider where, when, and how we should be applying the foam. In the second part, we consider the practical realities that ensure the quality of the foam being applied.
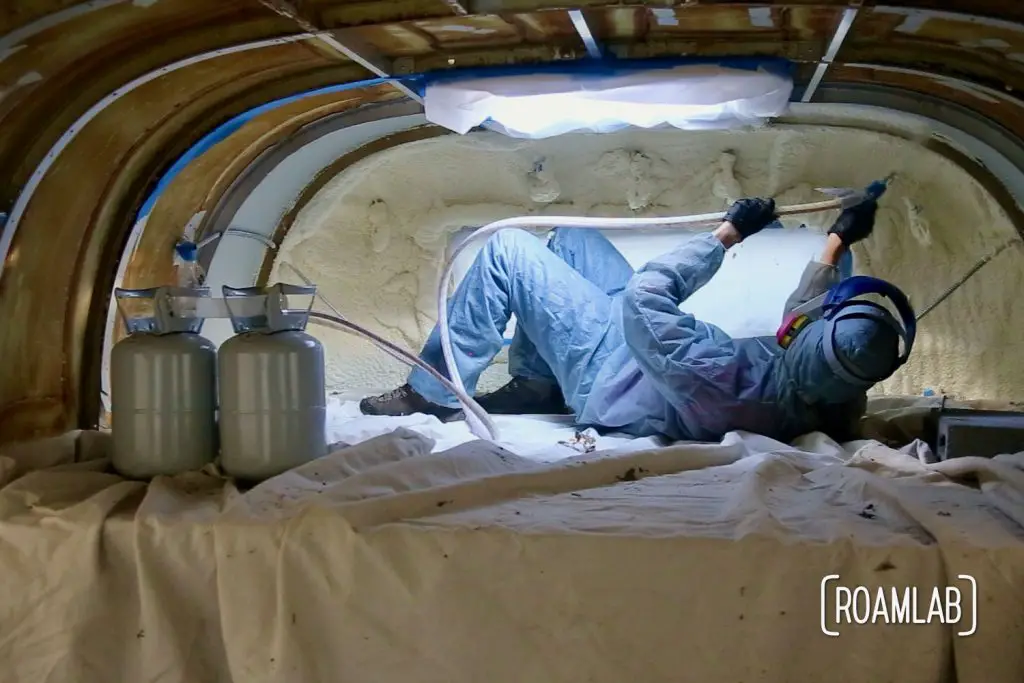
Ideal Application Procedure
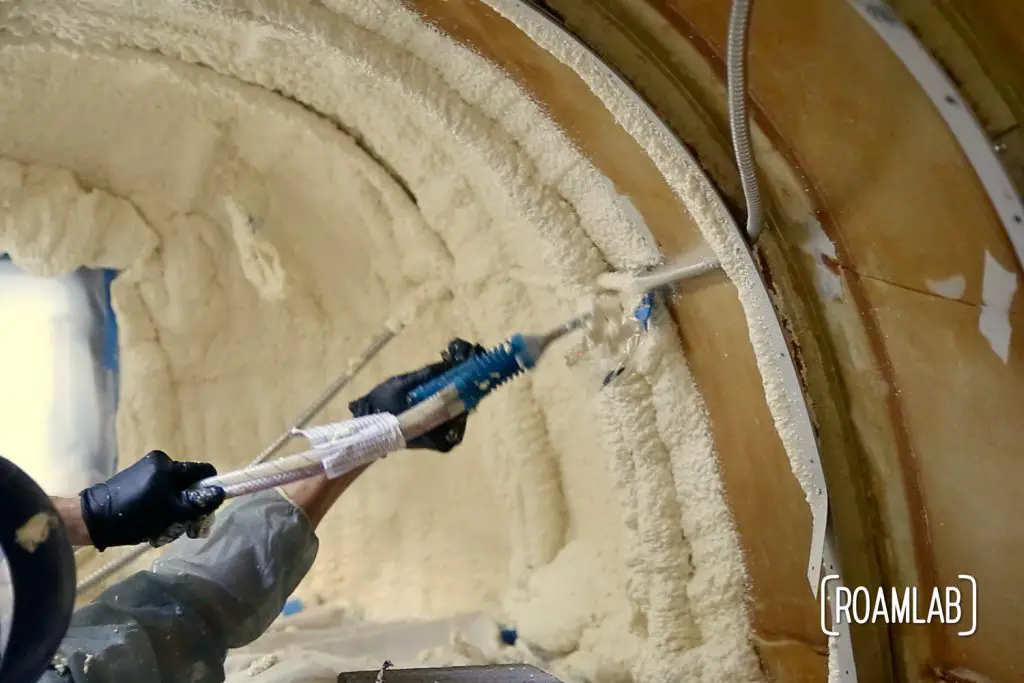
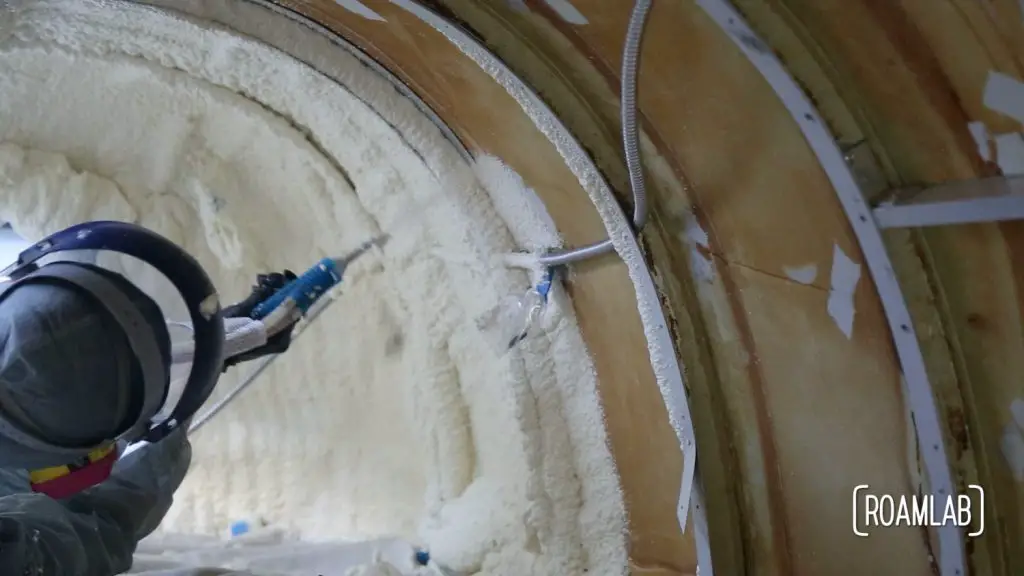
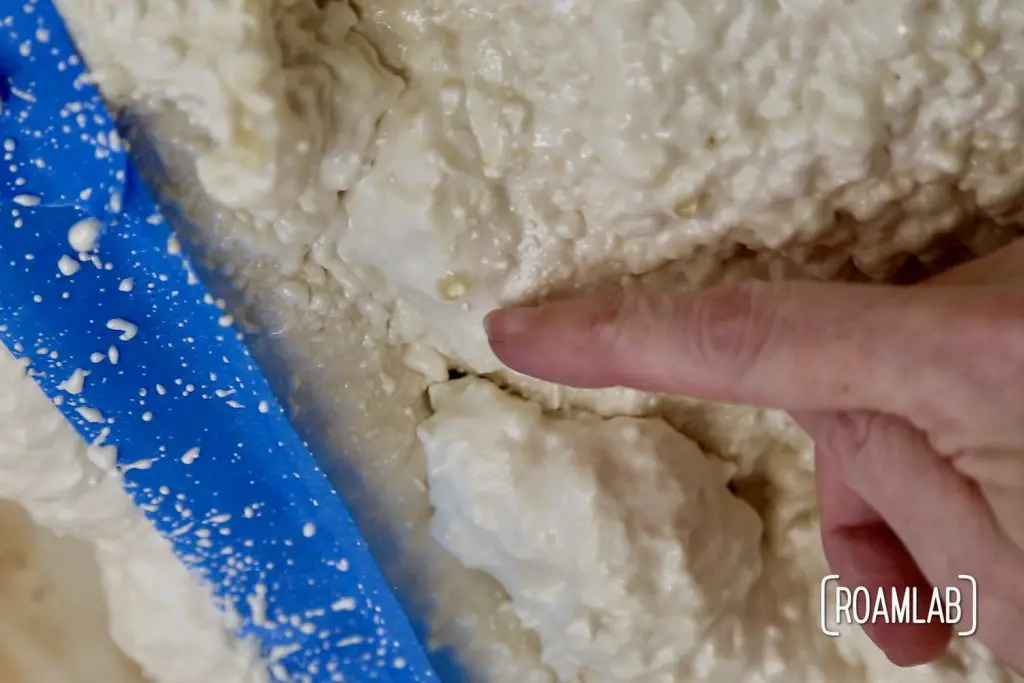
When spraying, you are generally filling a series of rectangular cavities outlined the camper’s ribs. To ensure an even insulation, structure, and water tightness, the first order of business is to ensure an even coating of foam on the outer aluminum wall. Spraying out of order can lead to the foam creating air pockets and and compromise the utility of the foam. Therefore, the first step while spraying is to outline the edges of each “box” using a nozzle meant for detail work. Next, use a fan nozzle to evenly layer foam to fill the center of the “box.” It is actually advantageous to let a layer skin over rather than fill an entire “box” with insulation in one go. This skinned over section will act as a vapor barrier in case layers on top of it are over applied and have to be cut away later.
By first spraying the edges of each “box” and then switching to a fan nozzle and filling each box, with progressive layers, you should wind up with a full and optimal arrangement of insulation—ensuring the highest R-value for your camper possible.
Practical Considerations While Spraying Insulation
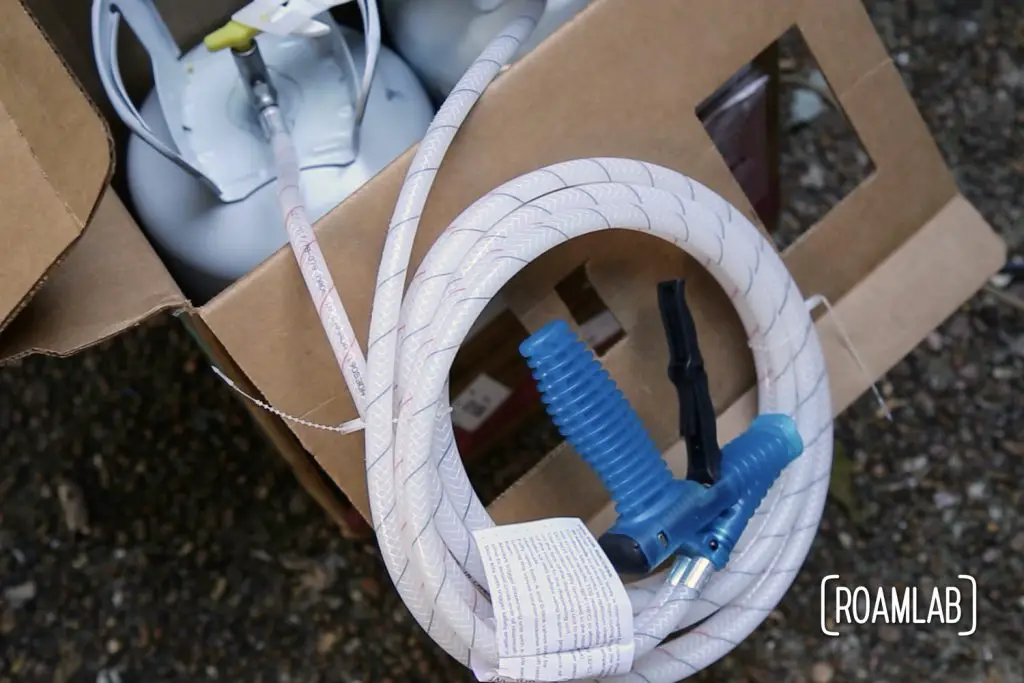
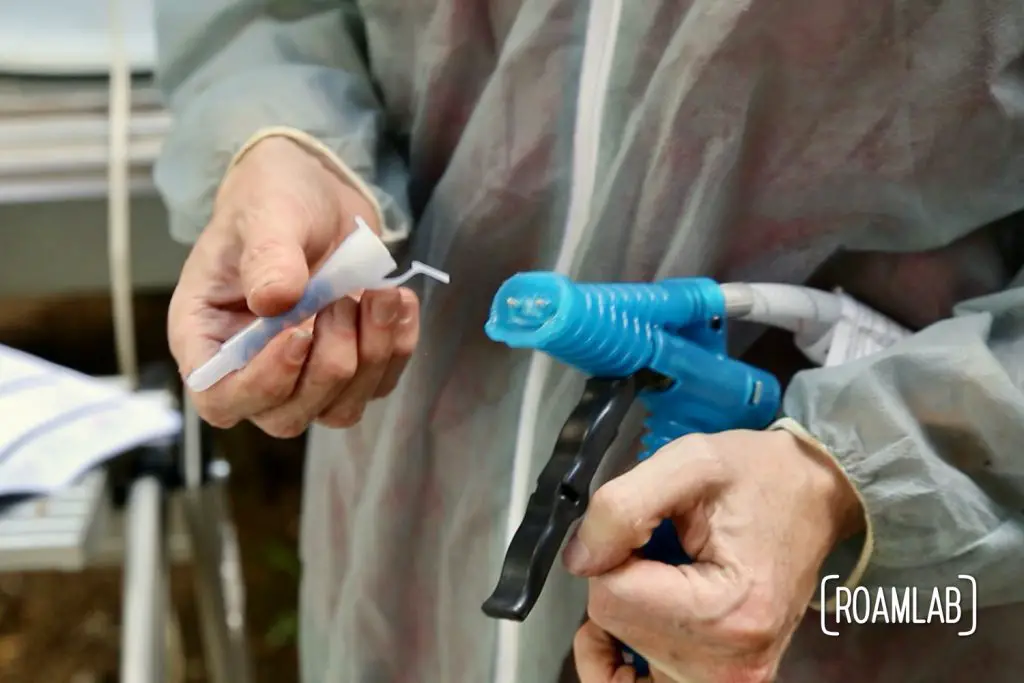
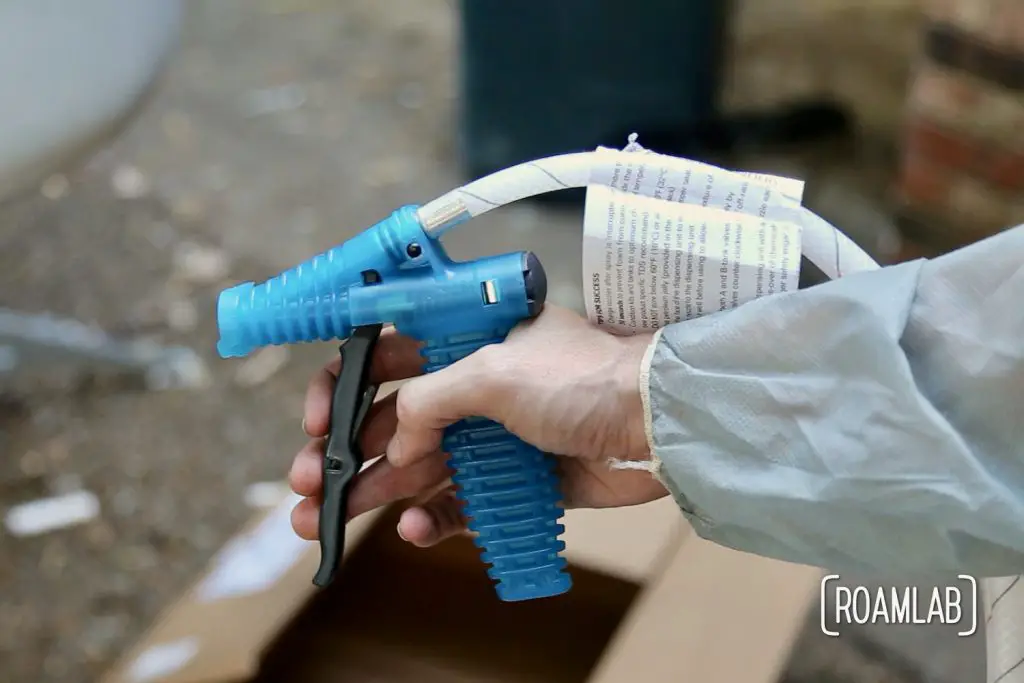
To understand the practical considerations of spraying, it pays to understand the mechanics of the spray equipment. The insulation being applied is composted of equal parts solution A and solution B. For strong, effective insulation, it is critical that these two parts are mixed equally and throughly. Up to the point of the application gun, these two parts are kept in separate hoses. It is not until the solution enters the nozzle that part A and part B begin to mix. The nozzle is designed to thoroughly mix the two parts before they are applied to your surface. Paying attention to the state of the nozzle can make or break your application experience
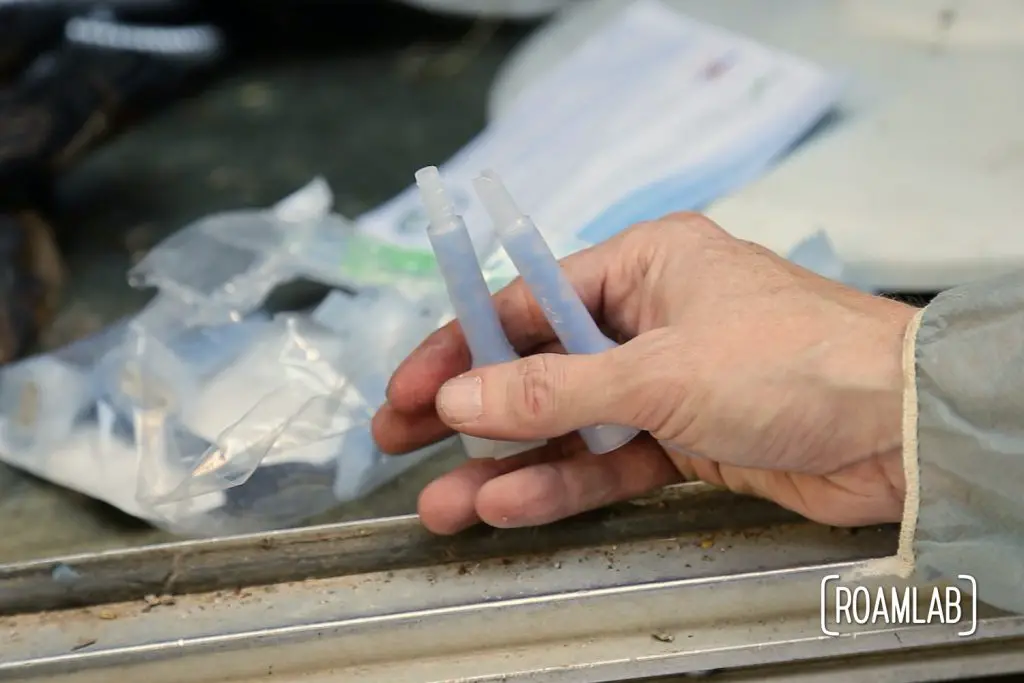
Why Replace a Nozzle
So long as the foam mixture continues to flow, the nozzle works well. But each time you pause, this fast acting spray will gradually clog up the nozzle while it sits. In the best case, this means that the nozzle completely stops up and you have to switch it out. In the worst case, one side of the nozzle gradually becomes closed off so that the spray is less and less evenly mixed as you continue to work. Unevenly mixed form will have to be removed.
Of course, you have to stop occasionally while you move between patches or just pause to consider what you should do next. Fortunately, your kit comes with multiple nozzles. So you can switch out nozzles once one has become clogged. Unfortunately, the kit we used only came with three fan nozzles and three detail nozzles. For a professional, this is more than enough. But for two beginners, the scarcity of nozzles meant we were very conservative with the nozzles we had and we tended to over use them to the point of compromising the quality of the foam applied. The foam we sprayed at the beginning was notably better than the foam we applied near the end of the bottle. This is why we strongly encourage you to buy additional nozzles. It’s better to take your time and have to replace a lot of nozzles than rush and apply inferior product.

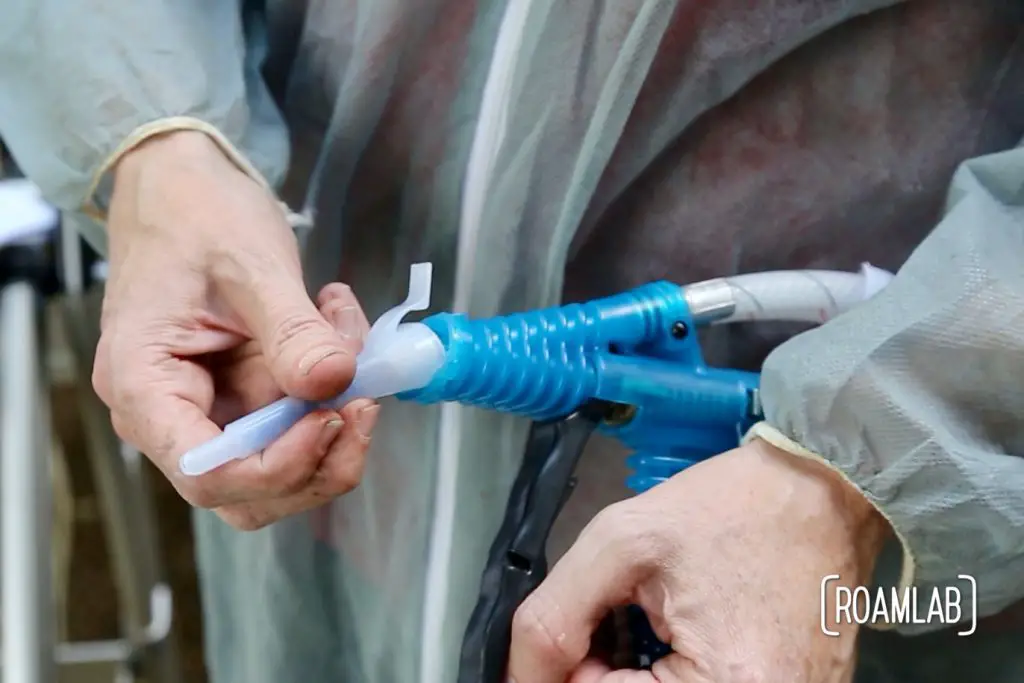
When to replace a Nozzle
The application instructions that came with the kit specify that the nozzle on the application gun should be good to use so long as you don’t pause between applications for more than 30 seconds. In our experience, however, we have found that there isn’t some magical threshold at which everything is still good. Clogging is not just the result of time elapsed by frequency of stops. The shorter the spurts of foam, the more frequent stops, all combine to gradually clog the nozzle. And even a partially clogged nozzle is a bad nozzle.

All The Same, Take Your Time
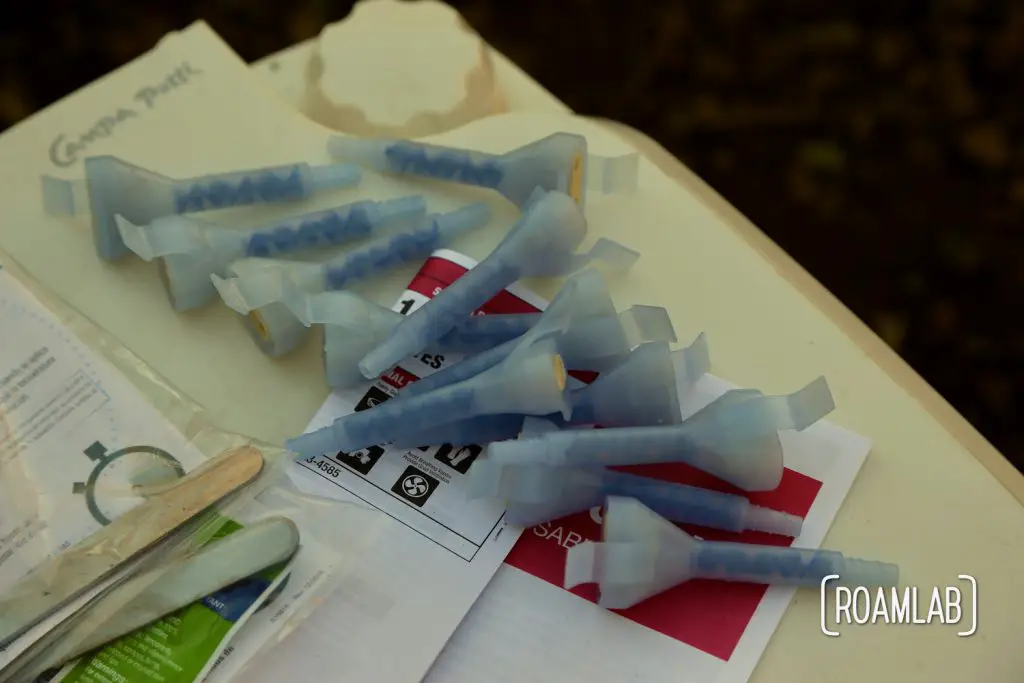
Now, the short amount of time a nozzle is usable and the limited number of nozzles available initially lead us to treat the process of applying insulation as a race against time. And, while it technically is, the worst thing you can do is rush. There is only so much foam in the box. Over applying leads to waste. Under applying defeats the purpose of the application. Rushing the process tends to lead to gaps, oversights, and simply getting tangled up in the spray foam hoses.
This is why we advise buying an extra set of fan nozzles. We never ran short on the detail nozzles, but our limited number of fan nozzles lead us to make some terrible decisions. By our final applications kit, however, we reach a point of zen. Before each nozzle is used, we talk about our priorities for the nozzle. We discuss what is a reasonable amount to cover. And how we can minimize pauses to move the spray kit or ourselves. Once we start spraying, we hyper focus on what we have agreed to accomplish. Once that section is done, we stop, replace the nozzle, assess our work, and agree what the priorities will be for the next nozzle.
Be Aware of Your State of Mind
If you start to feel stressed, lightheaded, or overwhelmed. Stop. While the dried foam will be inert, the fumes during application can be noxious. If you have ever been scuba diving and experienced nitrogen narcosis (“raptures of the deep”) or even just been drunk, you probably understand what bad decisions you can make while your brain is not operating at full capacity. Get outside and take a breather. This is a good opportunity to step away from spraying and take stock of your progress. What is working, what isn’t working. You probably should bring in a fan to help air circulation in the work space.
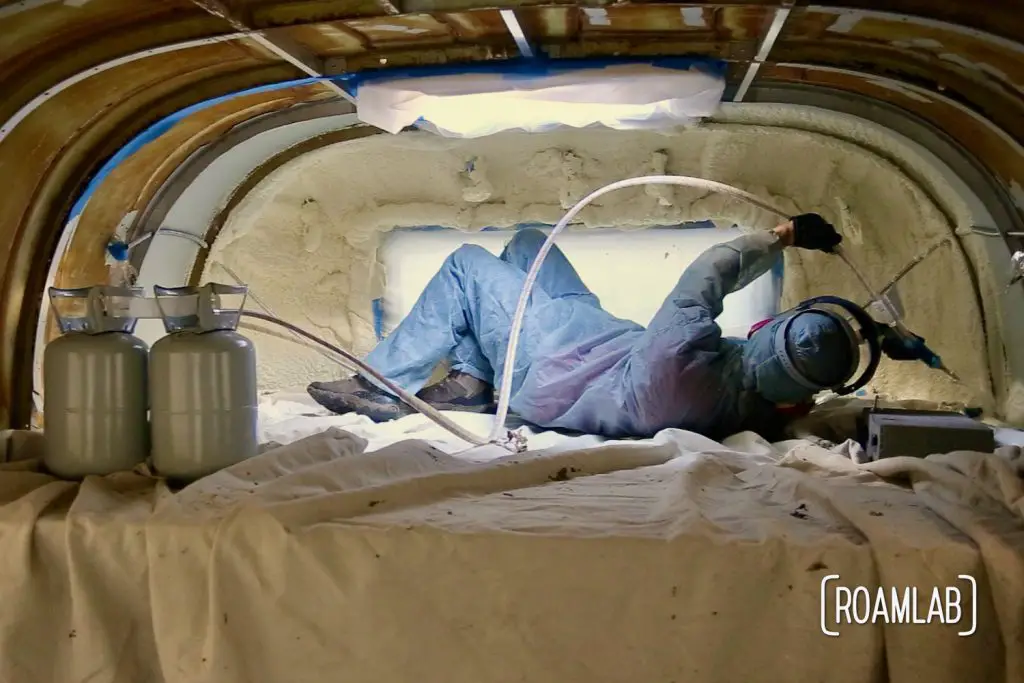
Working With A Buddy
While spraying is generally a one person job, if you have a second person available, it can really help to have an observer. While Chris sprays the foam, I point out missed patches, move things out of the way, help untangle the tubes to the spray foam canisters, and take the odd picture or video. Chris focuses in the moment on spraying while I keep account how well the sprayed foam is curing and where he should spray next. The goal is to stay out of the way as much as possible and only interject when sections are clearly being overlooked or give feedback once a nozzle is finished and it is time to discuss what worked, didn’t work, and what can be done to improve the next round of application.
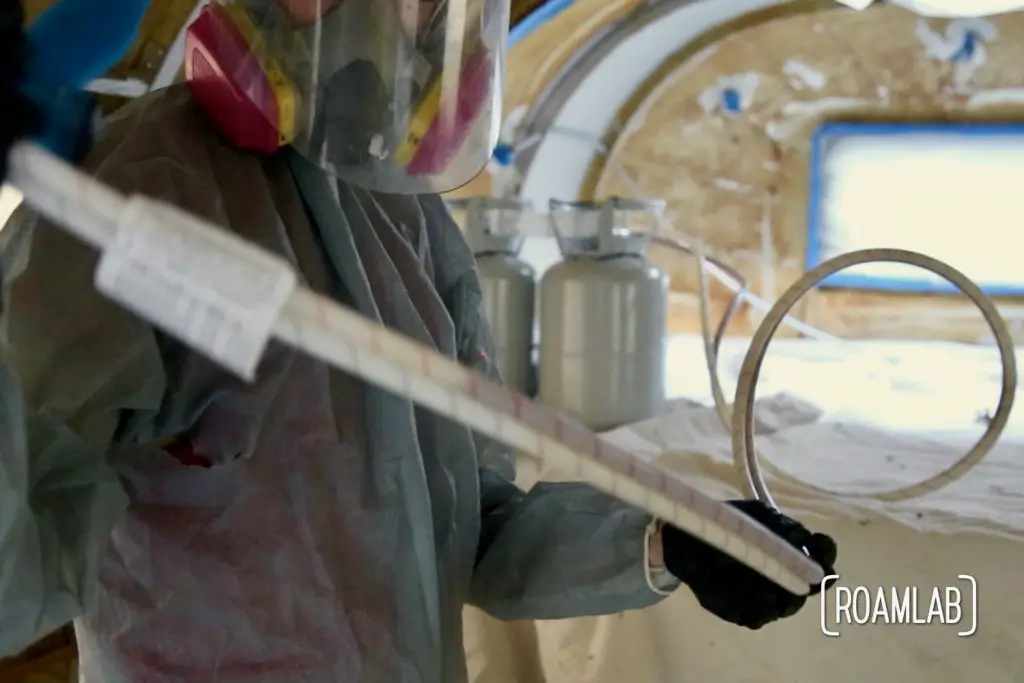
Gear For The Observer
Keep in mind, every person in the camper should be fully kitted out with masks, eye protection, and body coverings. As the observer, I also carried a long stick to point out missed spots. Its hard to speak through the masks and hear through the hoods, so using a stick is the simplest way to direct attention without derailing the spray process and wasting time.
The Danger of Spraying Too Much
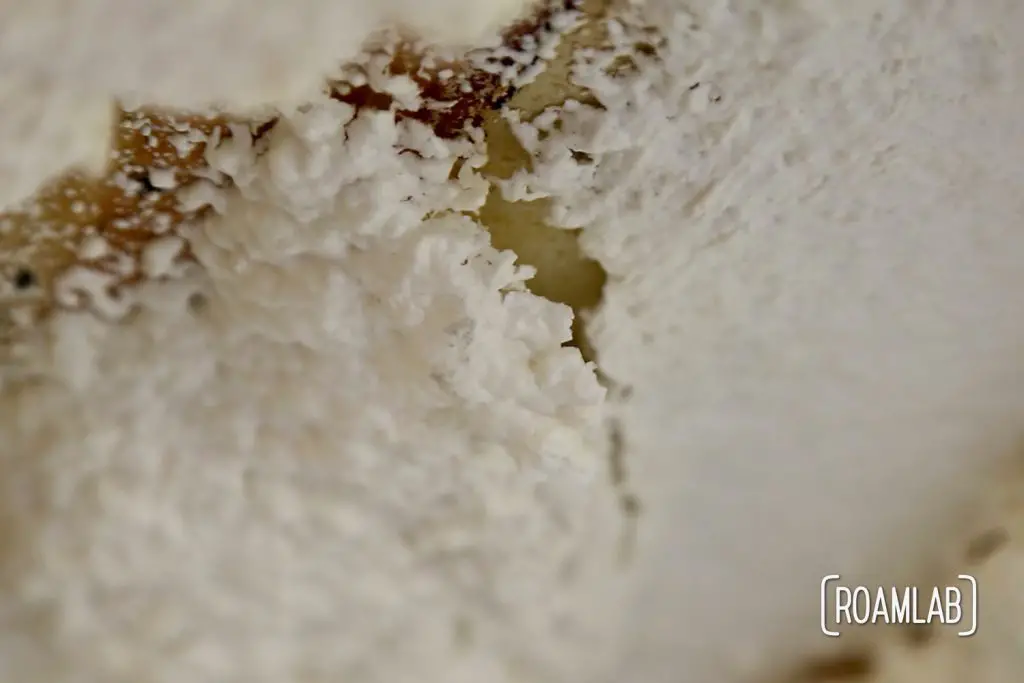
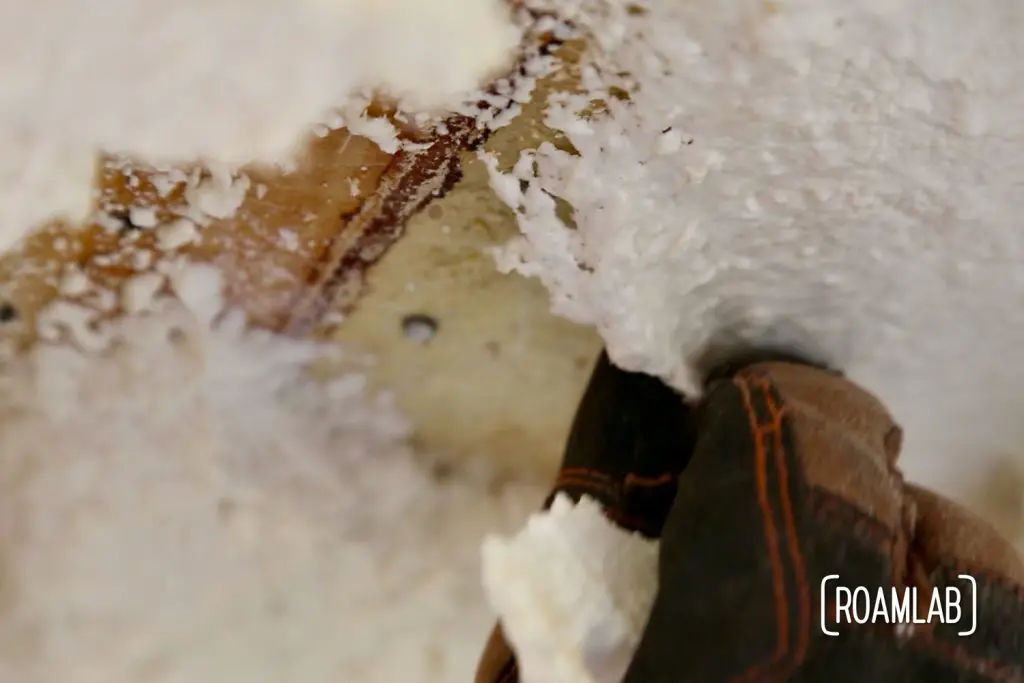
As the canisters become lighter, you may notice a point when only one fluid is spraying or an uneven amount is coming out. Stop. Either the nozzle has become clogged and needs to be replaced or you are out of one of the two parts needed to spray. I have a mentality of “waste not, want not.” But this is not a case where it is worth trying to get every last drop out of those canisters. When unevenly mixed, the foam will not properly cure. It can be soft and spongy or oily and drippy. Either way, you will need to remove any unevenly mixed foam before applying a new, properly mixed layer. After all, if you wanted soft foam, you might as well have saved money and used bat insulation.
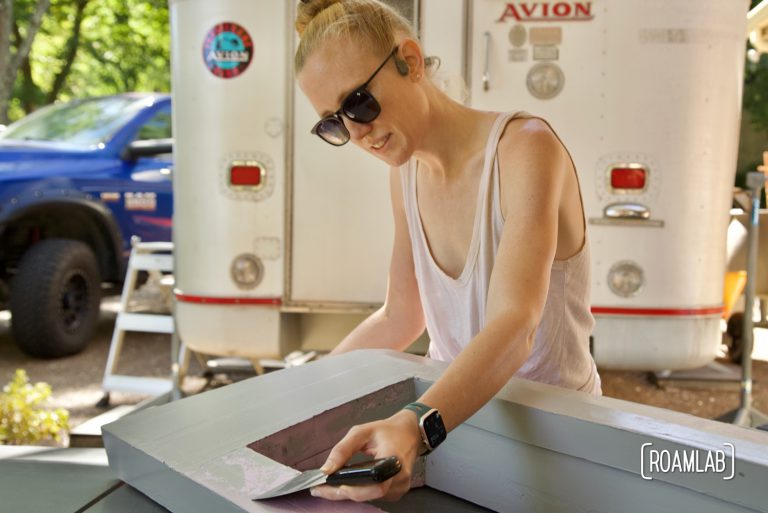
Cleanup
No Application is perfect. Some foam will expand beyond the thickness of the walls and need to be cut back. For this, we use a hacksaw blade and an orbital sander. Between the two, we managed to even out the foam. But we will go into more detail on that, at a different date.

Thanks for the detailed account of this part of your adventure! I’m impressed that you took this on yourselves. If I were going to use spray foam this would save me a lot of trouble in figuring it out for myself, but seeing the amount of work and mess it is reinforces my decision to use polyisocyanurate panels. The panels do have some drawbacks and I like the idea of the spray foam reinforcing the aluminum, but I’m not sure I have it in me to spend that much time in a hazmat suit in 80° temperatures!
Thanks Grant! I get your thinking. It is a lot of work and was a little crazy at the time. But we would do it all over again if necessary. The difference that foam makes is impressive. Granted, you also have the option of working with a professional to do the spraying for you. I’d be curious, if you chose this route, to know what quotes you got. We were determined to do it ourselves but I have heard professionals claim that their foam is better and cheaper.
I wasn’t that impressed with the original foam insulation in our ’65. I’m sure modern products are better. There were places that were pretty thin. It also seemed to absorb water where the skin leaked, and was host to a large colony of ants.
Yeah, our camper definitely had some thin spots as well. After having sprayed ourselves, I get the impression that the thin portions of the original camper has more to do with a hasty application process than the foam itself. But decades in a camper is a hard use for any insulation. Even so, we really notices how much more flimsy the walls were when we removed the old insulation.
Lexi:
I really enjoyed your closed cell foam article and would love to pick your brain about replacing my floor and wings.
Bruce
Hey Bruce!
We are happy to share and answer any questions to the best of our abilities.