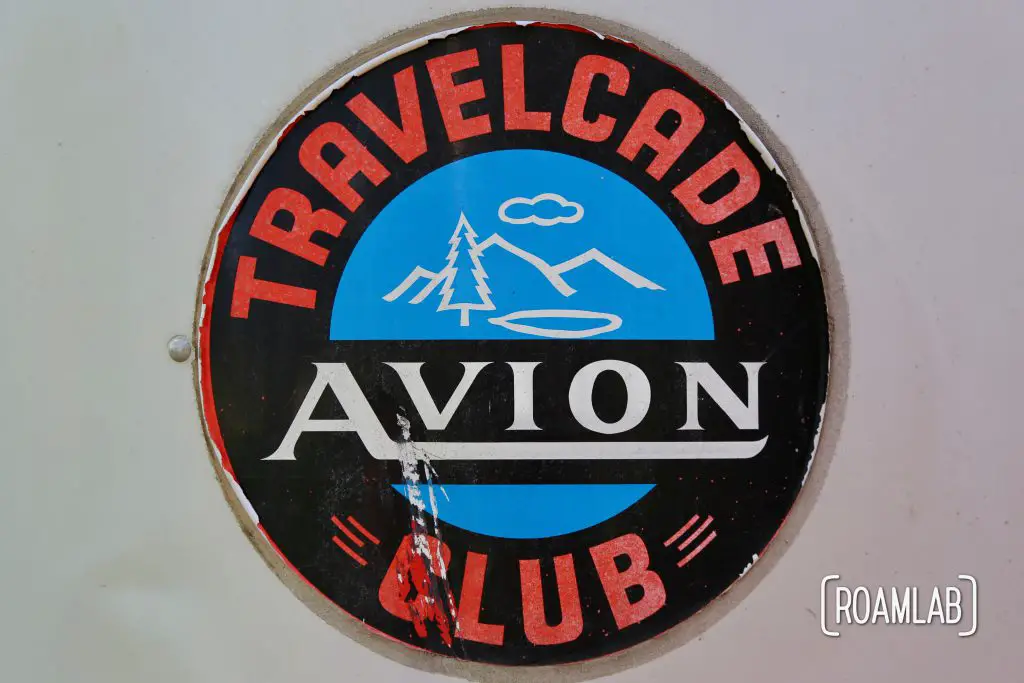
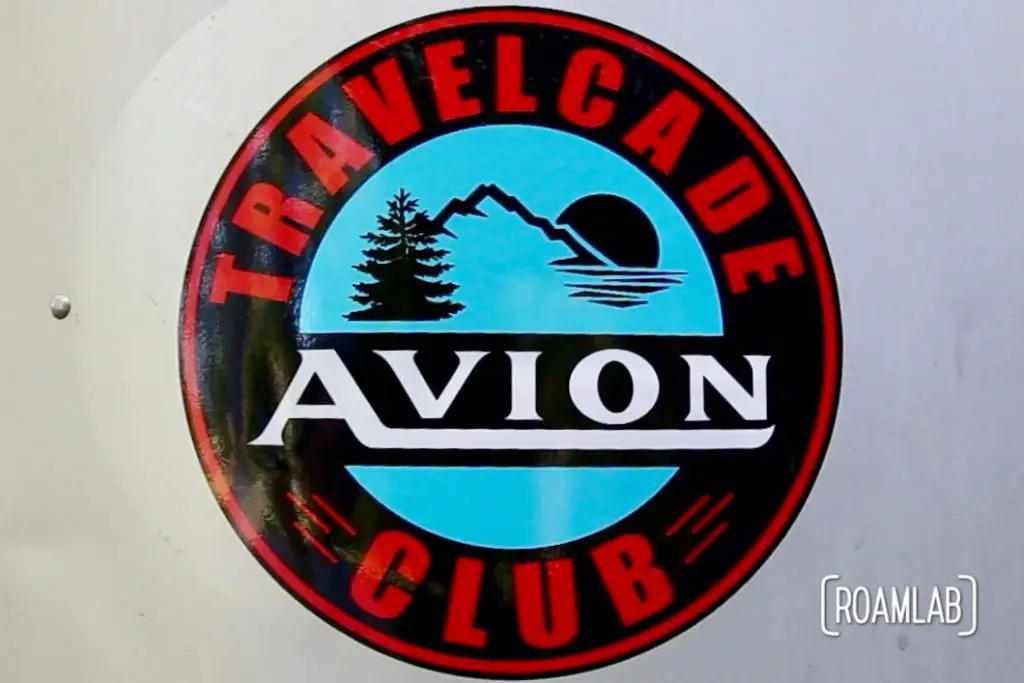
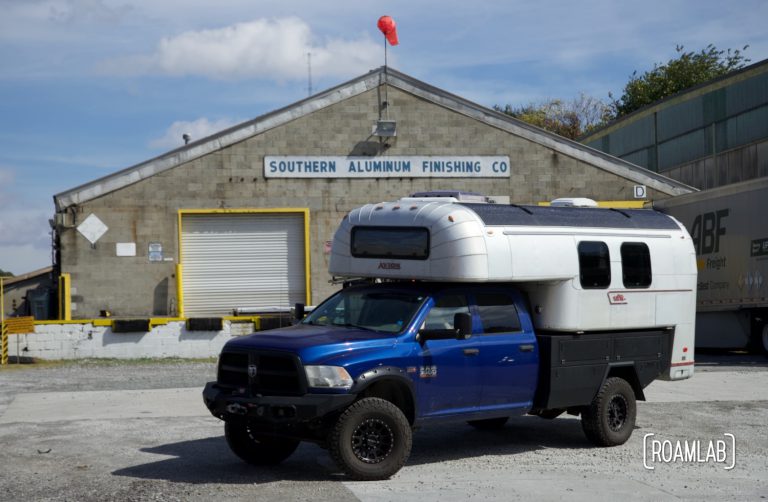
Like most classic campers, our Avion truck camper came with many stickers to mark its identity and affiliation. One of the classic stickers is for the Avion Travelcade Club. While the club is long gone, the sticker is a piece of history – faded, peeling history. So, we decide it is time to replace the old sticker with a new, vinyl reproduction.
Applying vinyl stickers can be a tricky proposition. This sticker is strong and durable, but we really only have one chance to get the application right without risking tearing the sticker while adjusting it. So, we are very meticulous when preparing to apply the sticker to the surface of the camper.
Additional Tools & Materials
Before you begin the process of applying the sticker, make sure you have the following tools at hand:
- A squeegee (preferably just a little larger than your sticker)
- Cleaning Materials (dish soap, water, isopropyl alcohol, and clean lint free towel)
- Wide masking tape
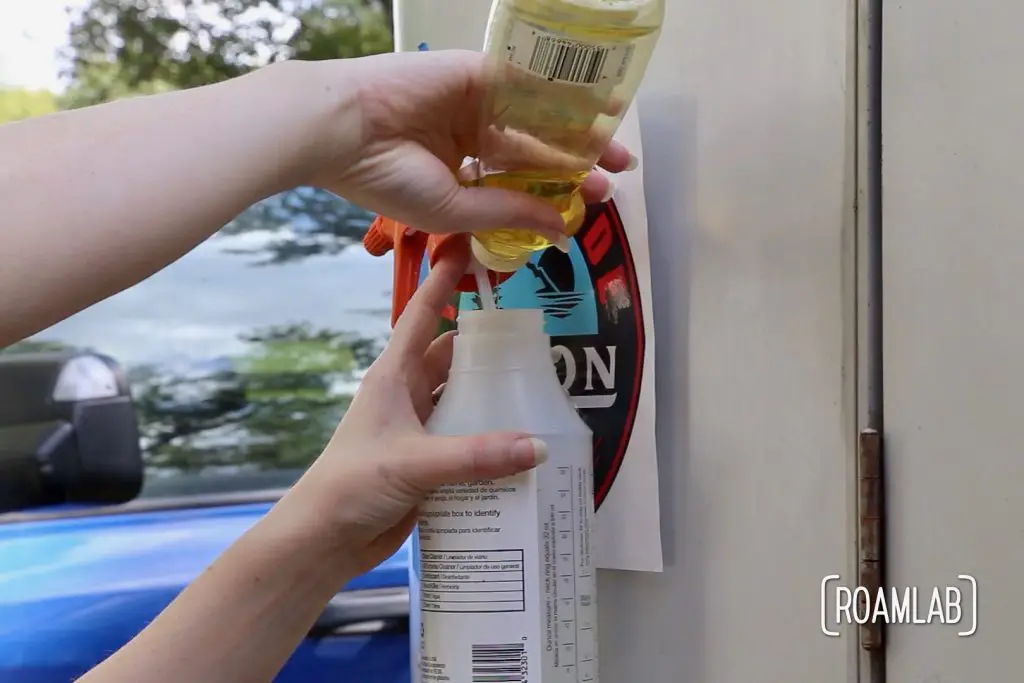
- Spray bottle with water and a few drops of dish detergent
- Level
- Ruler
- Sharp strait pin
A Note on Temperature
While vinyl stickers are incredibly resilient, it is also important to first apply them when the surface is between 50 and 90 degrees to properly adhere. So check the temperature of your camper prior to starting this project.
Clean Surface
Before removing the sticker from its backing, clean the surface to which you will be applying the sticker. Any surface is contaminated, even if it looks clean. So, wash and rinse the surface with dish soap and water. (Do not to use ammonia-based cleaners like Windex!) Dry using a clean, lint-free cloth. Follow up by wiping the area with Isopropyl Alcohol and wipe down again with a clean lint-free cloth. Allow a few minutes for the surface to dry.
Position Sticker
Determine exactly where you want the sticker to be applied. If you are working on a perfectly level surface, a bubble level can be an excellent tool. Unfortunately, the camper I am working on is not perfectly level, so I’m relying on a ruler to make sure that my sticker is evenly spaced from the door.
At this point, it really helps to have that second pair of hands to tape down the sticker backing while I am holding it in place. (Preferably without taping the sticker itself). I like to tape one side particularly well. This is be the side that keeps the sticker in place while I free the other side from its backing and attach it to the camper.
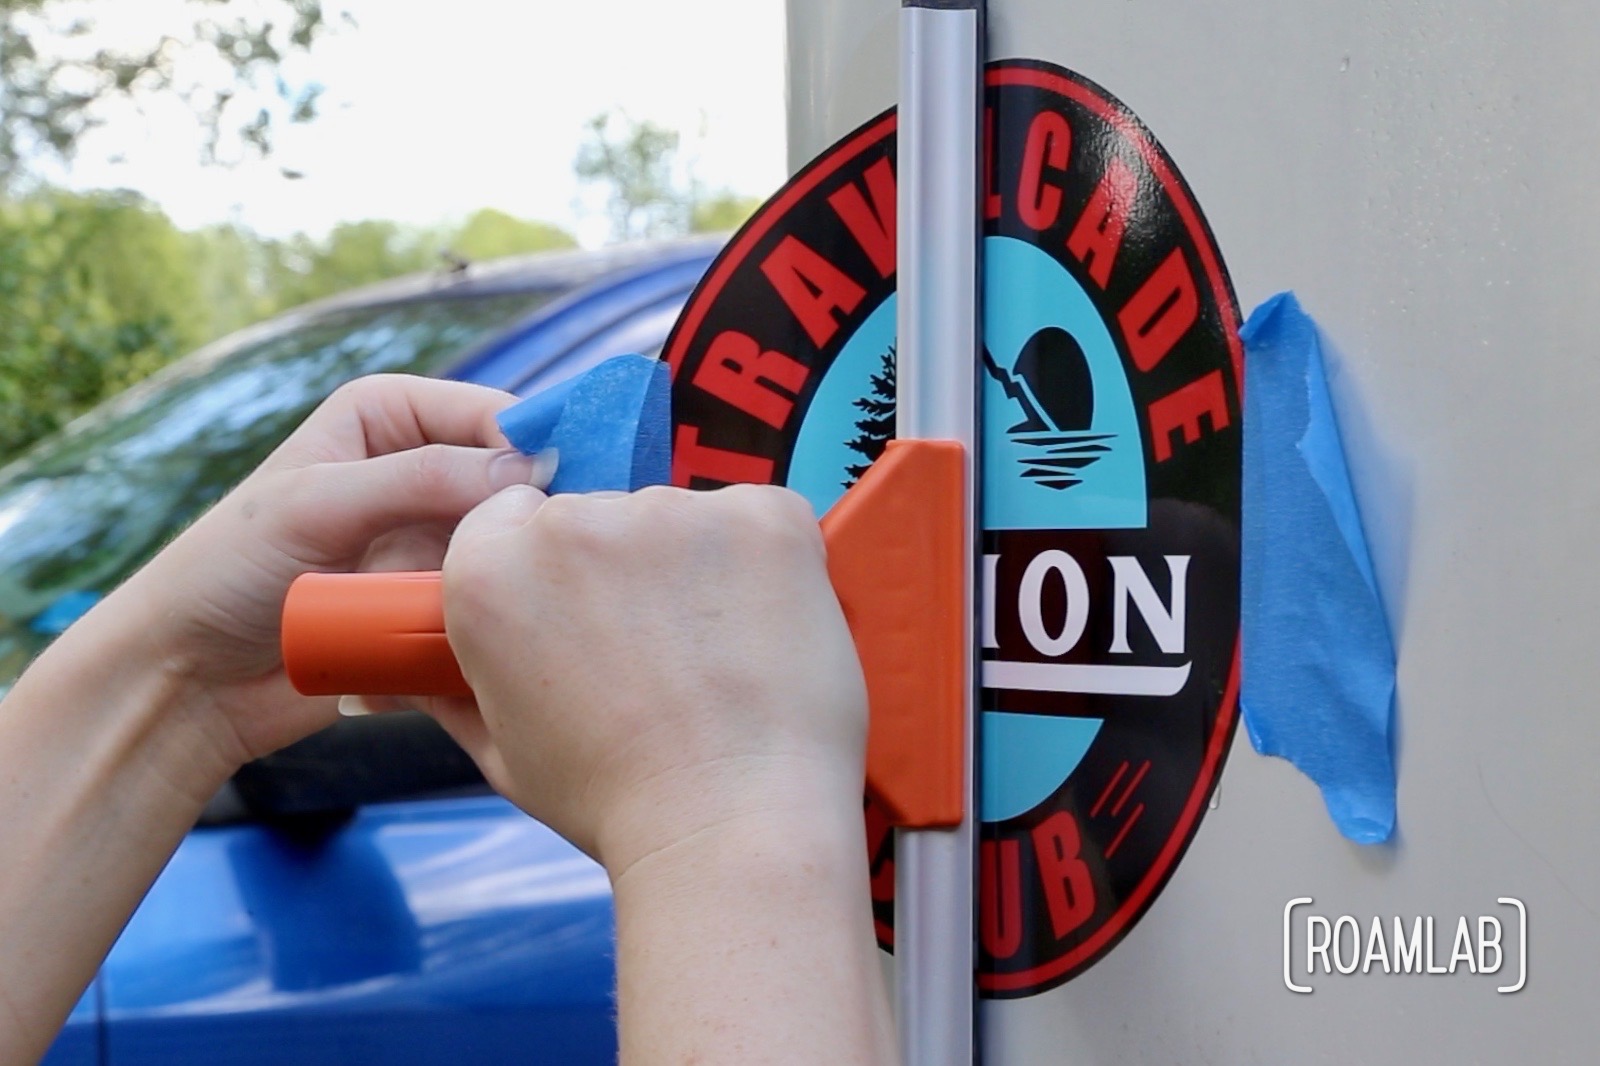
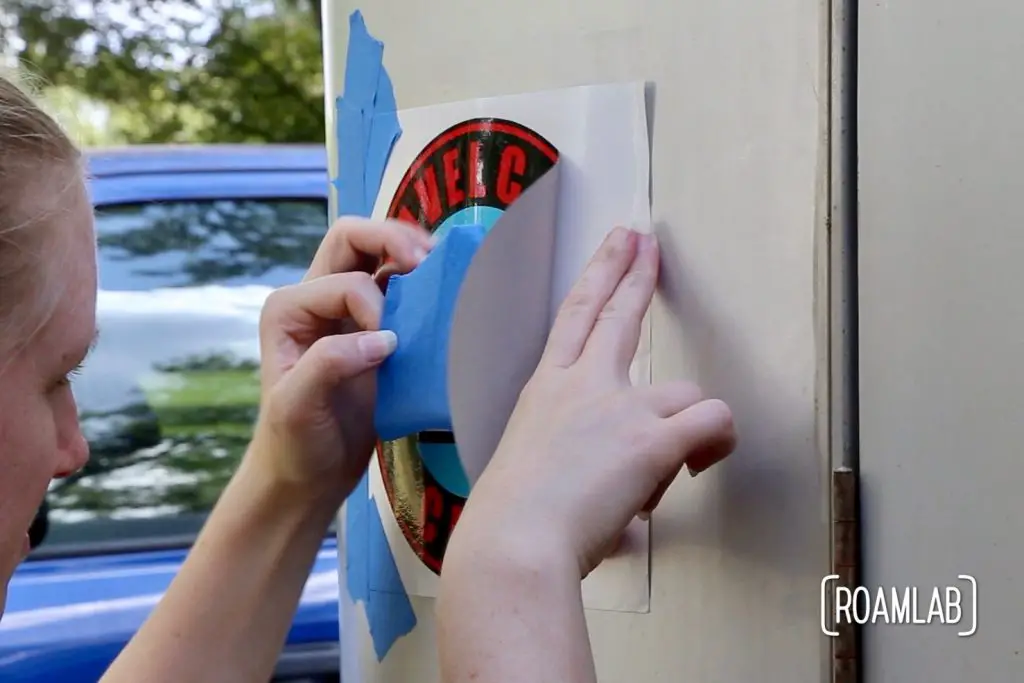
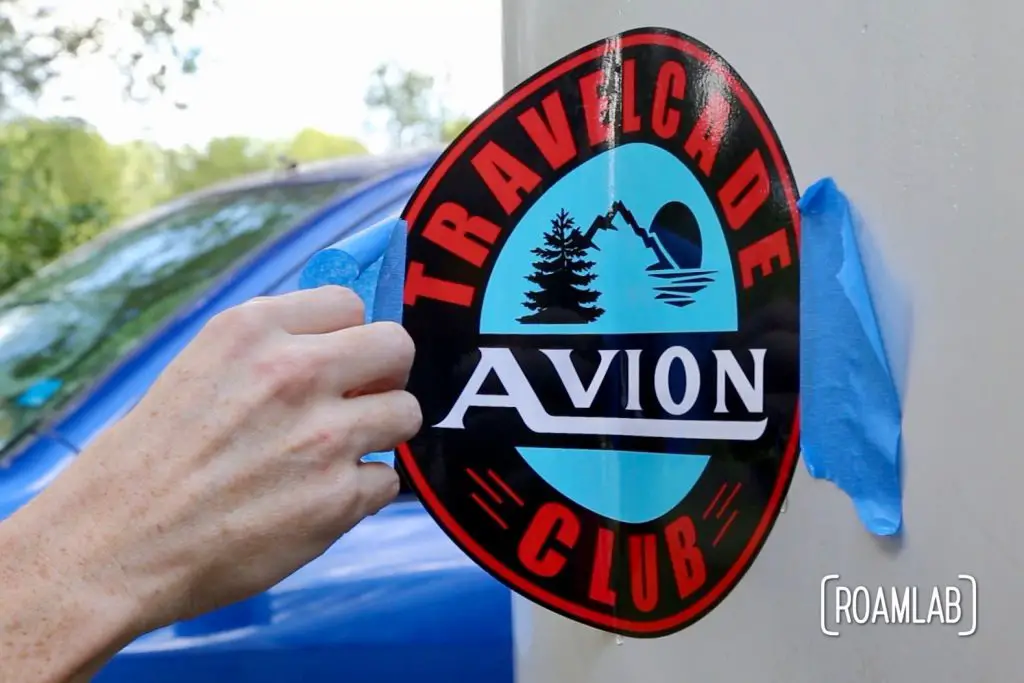
Once the sticker is in position. Place masking tape – half on the sticker and half off – along the edges where you plan to be working with the sticker. This gives you something to hold on to without touching the back of the sticker with your fingers.
Apply Sticker
Peel back half of the sticker and carefully fold or cut the backing away from that portion of the sticker.
With the sticker back exposed, spray a mist of water and dish soap on the sticker back and camper surface. This will give you a little more leeway to reposition the sticker when applying it to the camper surface.
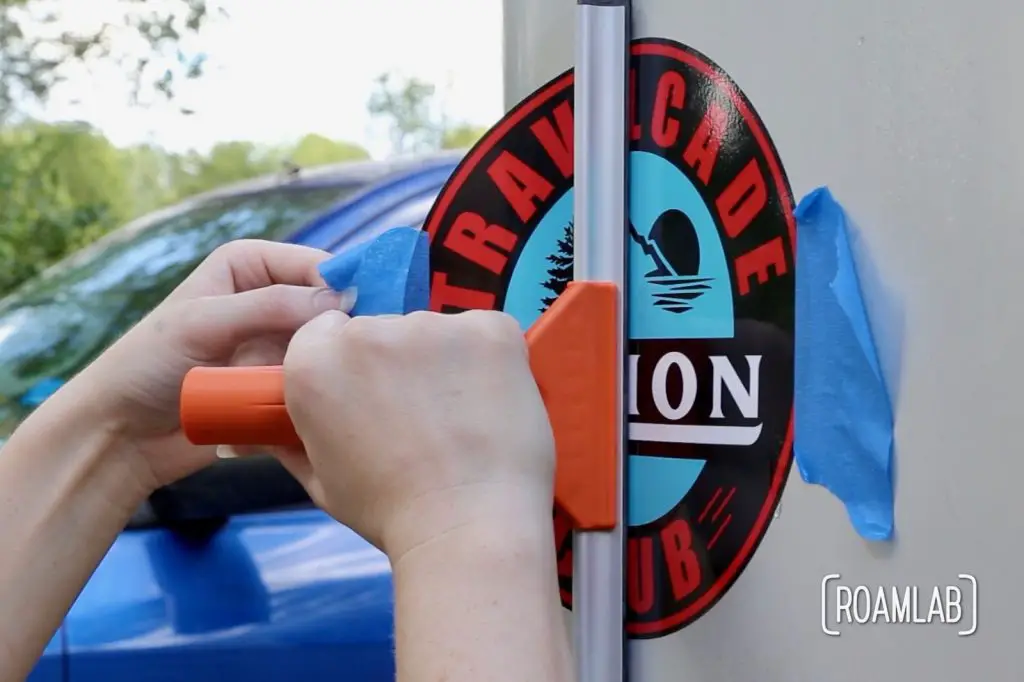
Very carefully – with one hand using the masking tape to pull the sticker slightly away from the camper surface – use the squeegee in your other hand to evenly press the vinyl sticker to the camper body, starting in the middle of the sticker where you folded away the backing. The goal here is to bind the sticker to the camper surface without capturing any air pockets below. Slowly pull the squeegee to the sticker’s edge so that each part of the sticker evenly makes contact with the camper surface.
Once the first half of the sticker is secured, repeat the process for the other half. Starting in the center of the sticker and carefully squeegeeing to the edge. Be careful not to stretch or warp the sticker, which could lead to delaminating in the future.
Removing Air Bubbles
If you do, unfortunately, encounter an air bubble trapped under the sticker, use a needle to carefully puncture the bubble and squeegee to force the remains air out of the bubble and secure the sticker back to the camper surface. Do not slit the vinyl with a blade.
Once the sticker is completely attached, you can carefully removing the remaining masking tape from the sticker. If the masking tape does not lift easily, you can use a hair dryer the loosen the adhesive and try again.
All Done!
And if ours doesn’t, we’ll be sure to tell you all about it next time here, on Roam Lab
Congratulations! Your carefully applied sticker should hold up for years to come!
