Bushwacker Fender Flares
We bought our truck with overlanding in mind. But it was only this summer with the traction of our new all terrain tires that we really started throwing up dirt and pebbles. After one particularly noisy shower of mud clots and rocks as we accelerated from a muddy country road to highway speeds, we agreed it was time for some upgrades to our beloved Dodgy II. We need more of a buffer between our tires and truck. We need some proper fender flares.
That is why we are thrilled to be working with Bushwacker to try out their Pocket Style Fender Flares. These flares were meant for offroad adventures. These flares include a UV finish to prevent chalking. Whether you choose to paint the flares to match your truck paint or keep the original black matte design is up to you. The warp-resistant Dura-Flex 2000 material is designed to take on all challenges while on the trail. The riveted aesthetic fits so delightfully with our 1970 Avion truck camper. Not only are they stylish, functional, and durable but they are also simple enough to install for any amateur to tackle on a free afternoon and come away with a deep sense of accomplishment.
Unlike most of the custom work we do on our Avion truck camper, installing these fenders is a piece of cake. The bolt on flare looks like it involves a lot of body work, but actually only uses factory holes on the truck body. The kit includes all the screws, bolts, clips and other hardware needed to complete the installation project. Pretty much all we needed was a screwdriver, wrench, and box cutter. We also had a mat to kneel on while installing the flares which was also a welcome convenience.
Installing Bushwacker Fender Flares
The directions we provide are a combination of the installation instructions provided by Bushwacker and our own experience. Please also refer to the directions that come with your particular flares as they may deviate from ours in important ways.
Bushwacker Fender Flares Package Overview
Kit comes with
- Four fender flares
- (4) #10 U clip
- (14) #8 3/4″ PH Screw
- (4) 1″x1.5″x0.1″ Black Mylar Tab
- (34) 5/16 x 18 x3/8″ SS Torx Screw
- (34) 0.320 x 0.700 x 0.03 SS Washer
- (34) 5/16-18 Jam Pin. Nylock Nut
- (1) T-45 Torx Bit
- (1) Edge Trim Tool
- 312″ of Large Wiper Style Edge Trim
Bring your own
- #2 Phillips Screw Driver
- Socket Wrench
- 8mm Socket
- 1/2” Wrench
- Box cutter / utility knife
- Awl or other pointed tool
- Flashlight / work lamp
- Soap / water / cloth to clean off fender area
- Mat / knee pads (optional but a definite plus)
Preparing the Truck For Install
Check the Fender Flares for Fit
Before installing the fender flares, there are a few precautions to take. First, confirm the fit of the fenders. While the installation instructions acknowledged that some sanding or cutting might be necessary, our near factory condition 2015 Ram 3500 truck fit perfectly. We thought we might have to remove the “Hemi 6.4 Liter” decal on our truck but a quick test placing the fender flares in position demonstrated that we had enough space.


Paint the Fender Flares (Optional)
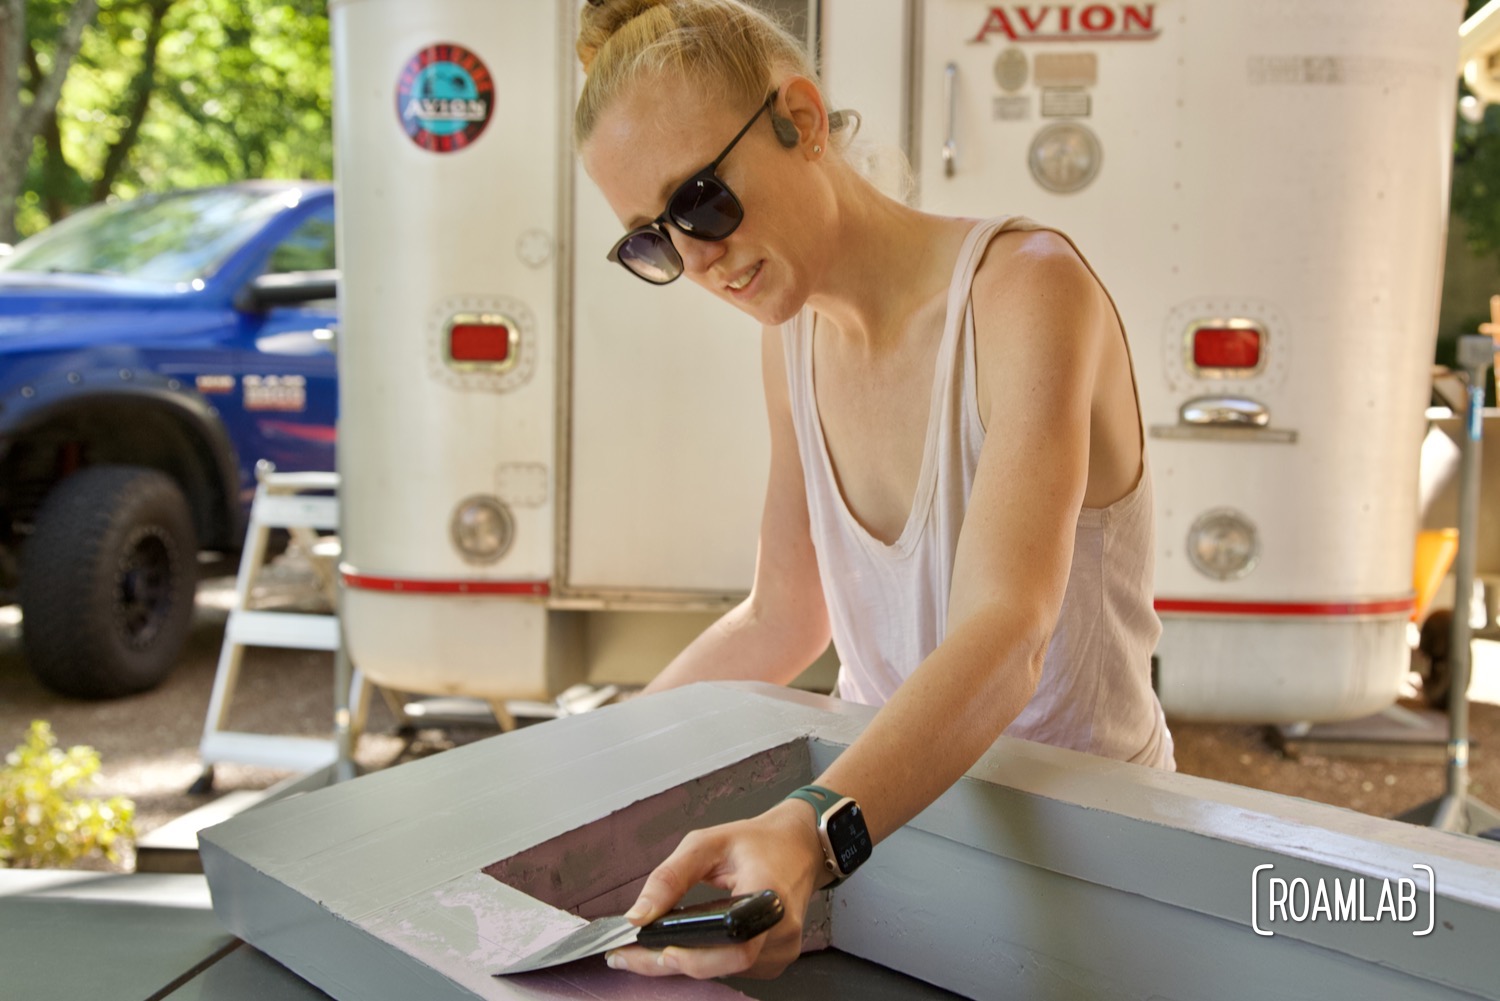
While the flares do have a durable UV finish so that they can be mounted to the truck as-is, you have the option of painting them to match you truck or some other color. If you want them painted, now is the time, before they are mounted to the truck. Refer to the installation instructions on how best to paint the flares. We like the matte black look so we don’t bother painting the flares.
Ensure Allowances for Modifications
If you have lifted your truck, increased your wheel size, installed a snorkel, or other modifications that may have effected the fender area, be sure to check for any modifications needed to accommodate the new flares. There should be a 4” clearance between fenders and exhaust pipes. You may also need bump stops or steering stops to ensure that the tire does not contact the fender.
Remove Factory Fender Hardware
We remove the factory guards and other screws around the fender. Use an 8mm socket wrench to remove 4 screws in the front fender and 6 in the back. Be sure to pay attention to the installation directions to know what to remove and what to leave. Many of these points will be reused for mounting the fender flares.


Clean Work Area
If you are at all like us, you have a semi-permanent layer of mud around the fenders. We don’t bother with car washes, so body work such as this requires at lease some spot cleaning around the work area.
Cover Exposed Metal
Exposed metal and fasteners around the fender should be treated with rust resistant paint. Keep in mind that screws and other attachments around the flares will be removed to make room for the flares. So make sure they are out of the way before painting.
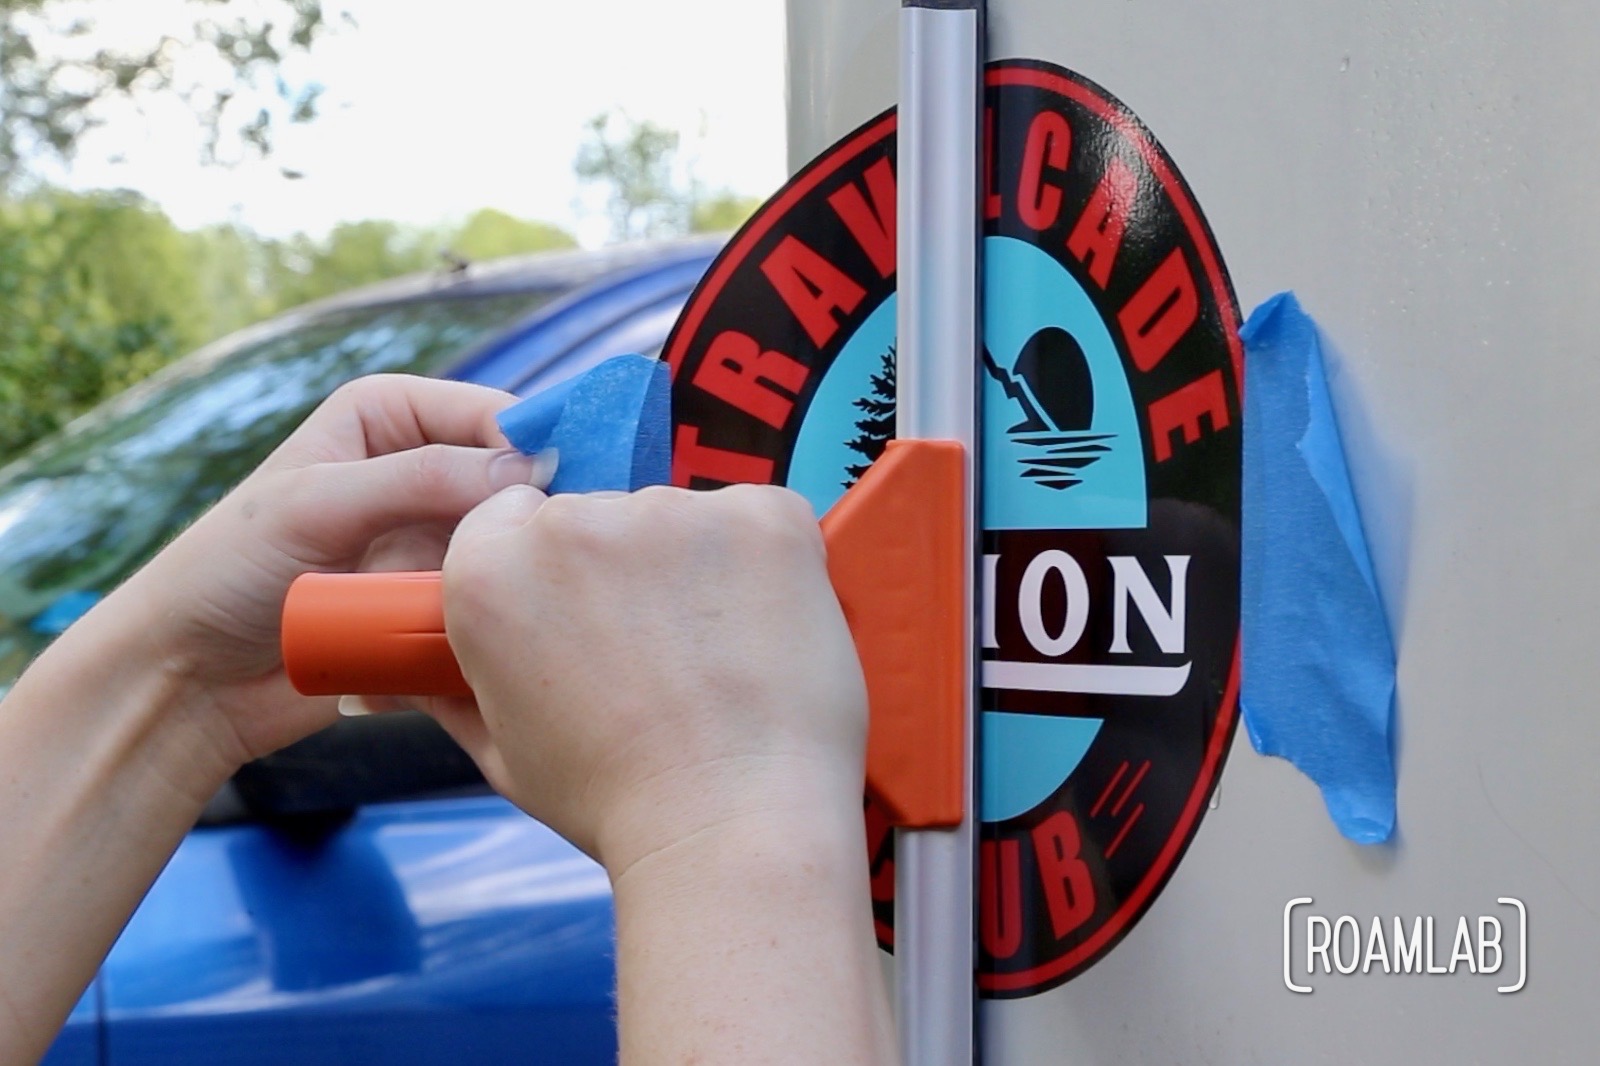
Applying Edge Trim
Arguably the most challenging step is applying edge trim to the fenders. It’s not that challenging, it’s just the most variable. The trim is quite similar to large wiper trim. It includes an adhesive strip. So, all you need to do is carefully remove the red tape along the adhesive strip and apply the edge trim to the upper portion of the fender. This trim isn’t for the entire fender, just the upper portion which is exposed to wind and rain. As an alternative visual, think about what comes in contact with the painted portion of your truck, such as the blue paint. There is just enough edge trim the cover the intended portion of the fender, so only use it as directed.
To start, remove three inches of the red tape, position the trim at the beginning of its application point, and press along the adhesive strip to secure the trim. Be sure to keep the loose red tape accessible. Once the fist section is attached, you can position the trim easily along the fender without the adhesive in the way, then then pull the red tape to expose the adhesive along that section. In this way, I can easily work in one foot sections with confidence along the rest of the flare.


Fitting the Front Flares
There are a few points along the front fender flare where notches will have to be cut into the trim to allow it to follow tight turns in the flare without stretching the trim. The trim is relatively easy to cut with a sharp box cutter. Just be sure to cut the sections of the trim that will be hidden behind the flare rather than anything that will be visible once the flare is mounted.
Pocket Rivets
With the edge trim in place its time to install the pocket hardware. While these create a bolted / rivet effect, the are, in fact, a simple combination of screw, washer, and nut. The SS Torx Screw and Washer are inserted through the precut holes with a Nylock Nut on the back to secure them. While the flares come with a set of 34 screws, washers, and nuts for each pocket, its done in no time.


Mount the Fenders In Place
Preparing Mount Points
One of our favorite aspects of the Bushwacker Fender Flares is that we do not have to alter the body of our truck in any permanent way. Instead, the fenders are mounted using preexisting factory holes. That said, there is one hole that needs special attention. At the center (top) of each fender is an extra large, oval hole. This is what the Mylar Tab and “U” Clip is for. Cover the oval hole with the Mylar Tab and then slip the “U” Clip around the tab and sheetmetal edge. Use an Awl or other similarly pointy tool to poke a whole in the Mylar Tab, using the Clip as a guide. The Tab is quite flexible, so we wind up using a small screw driver since we can not find an Awl at that moment.


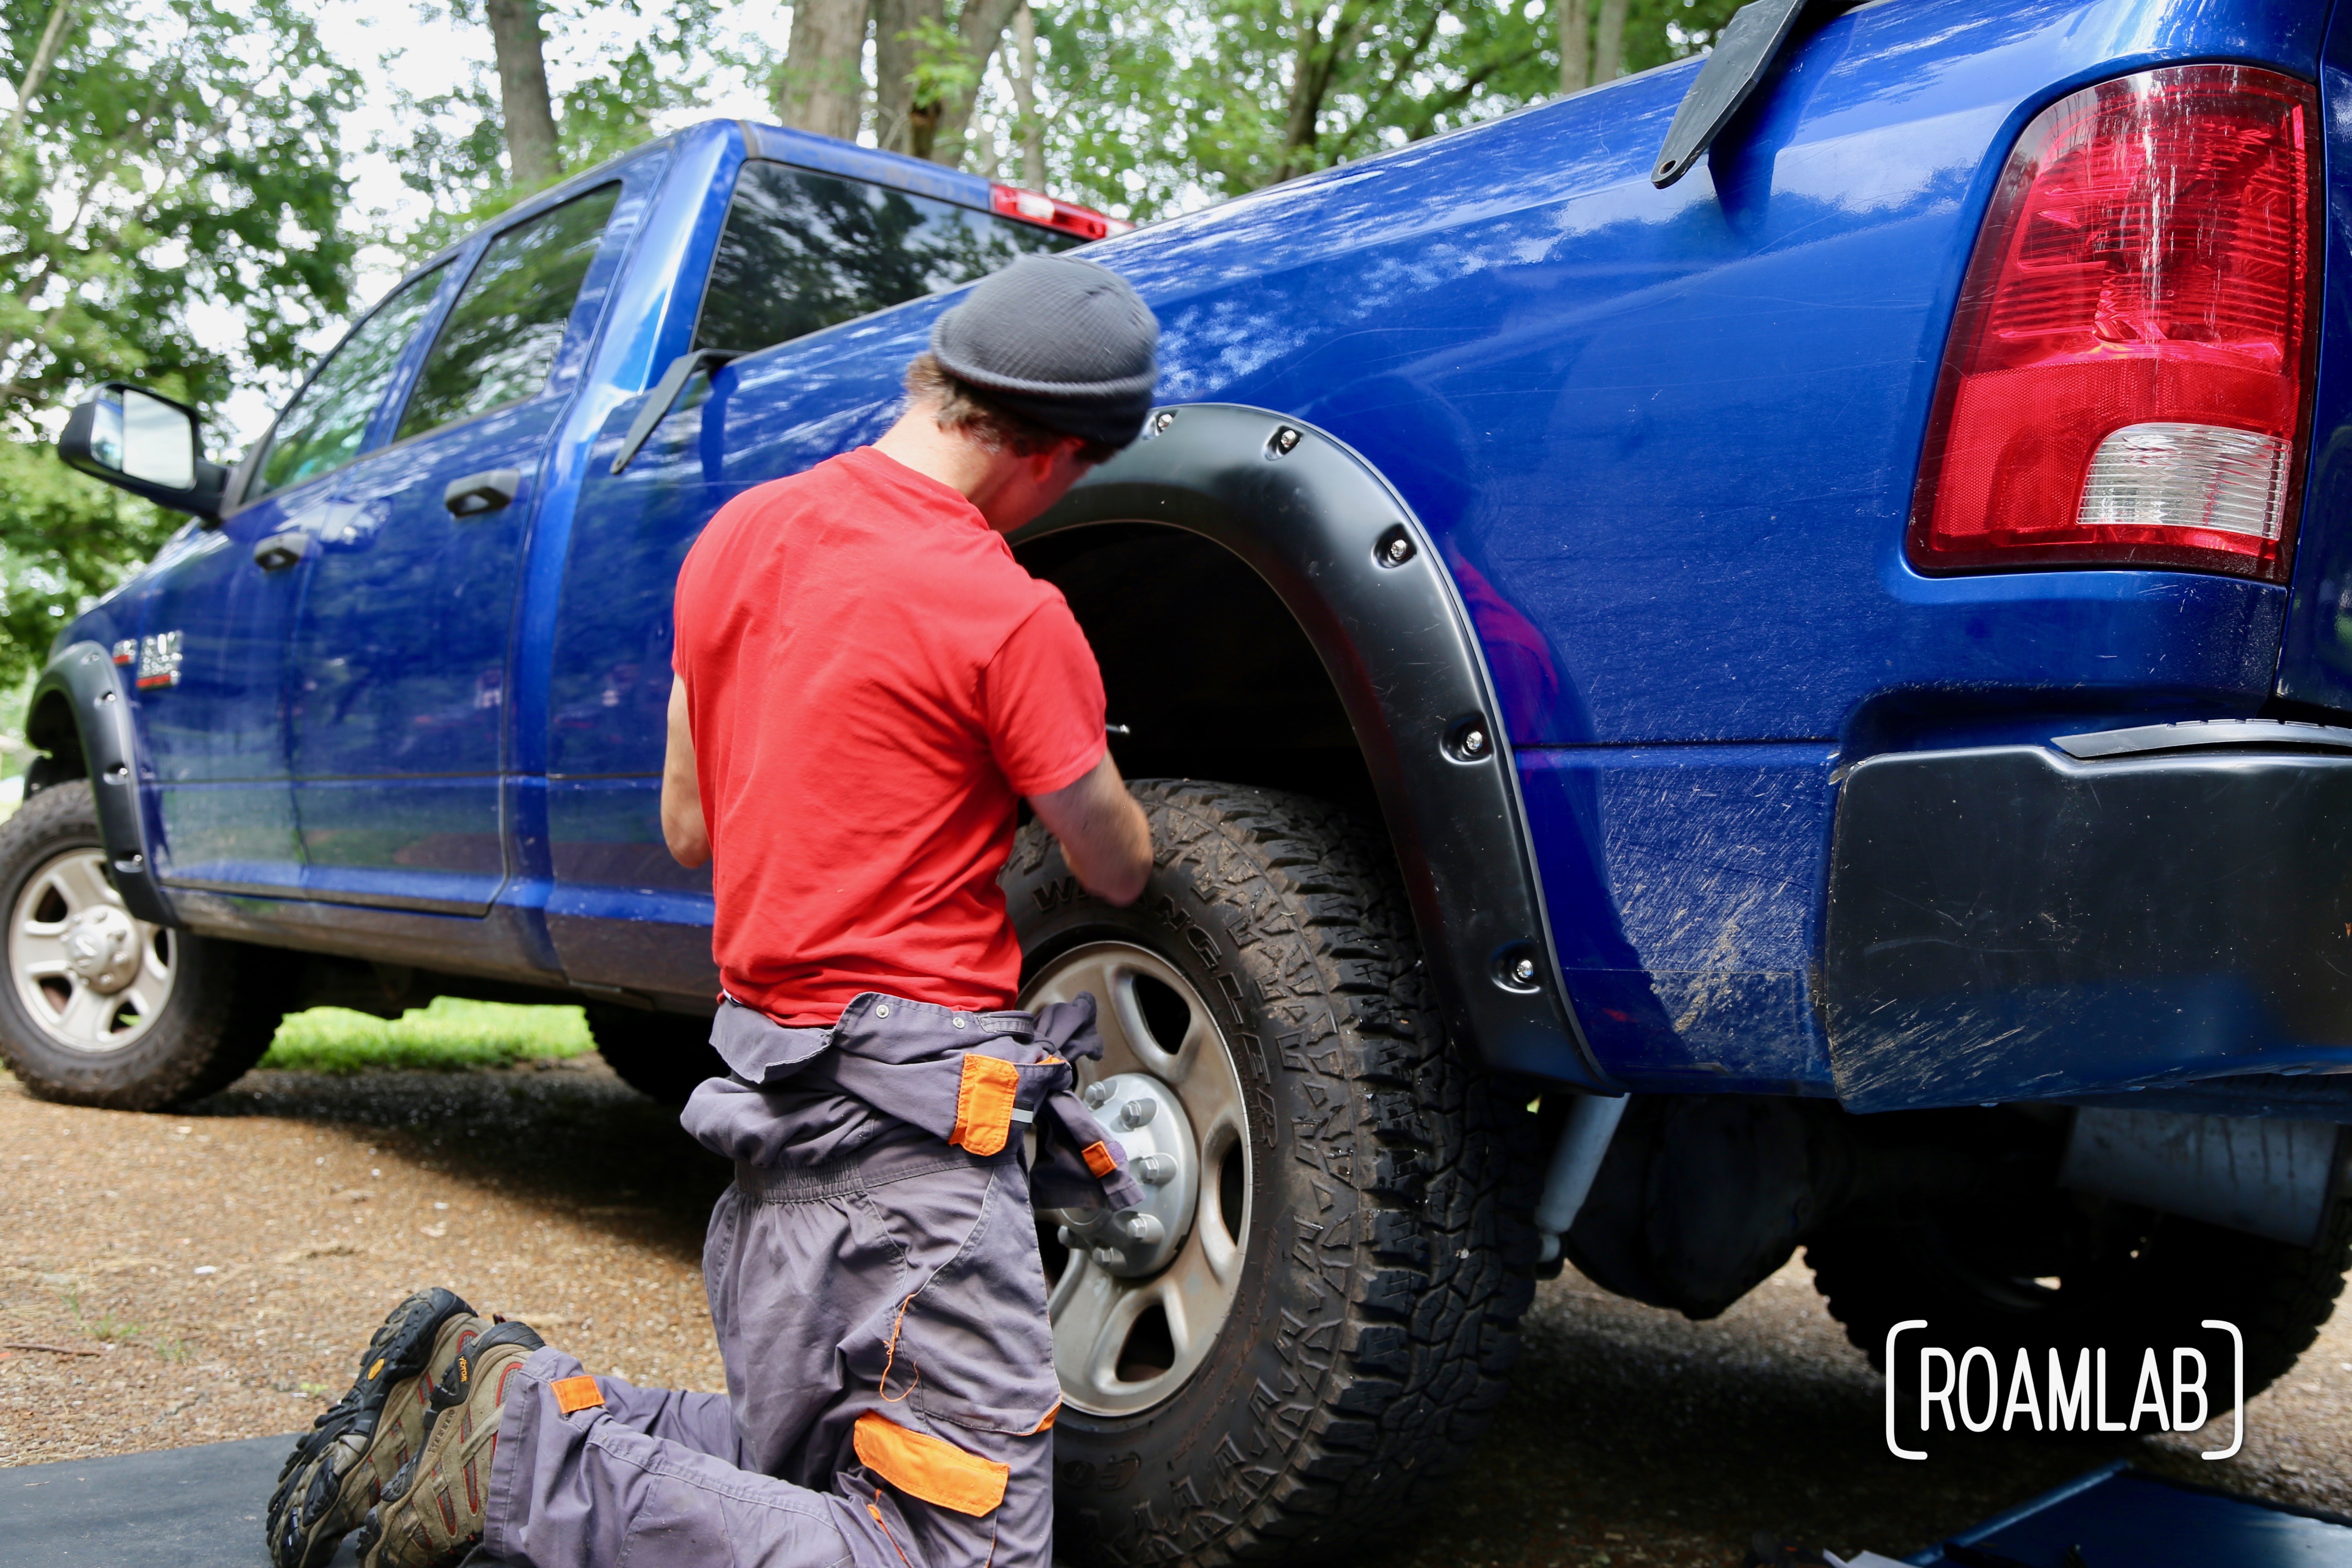
Installing the Fender Flares
Next, all we have to do is screw the fenders in place. The main challenge here is seeing and accessing the points. It helps to have a second person hold the flare in place while installing the first few screws. A flashlight, headlamp, or small work light also makes a huge difference when working in the wheel wells. We used a battery powered LED work lamp to illuminate the dark workspace. As with any project, screw in the flare loosely until all the screws are in place and then you can tighten the screws.


Adjusting the Edge Trim
Once the fender flares are in place, there is one last piece to complete. The edge trim is now firmly squeezed against the body of the truck, but may be a little warped. Fortunately, the Bushwacker kit includes a plastic edge trim tool. The strait end of the tool fits between the edge trim and fender flair to ensure even spacing between the two. The curved end loops under the portion of the edge trim touching the truck body. Running the tool along the length of the edge trim settles the trim in place for maximum effectiveness and a better overall look.


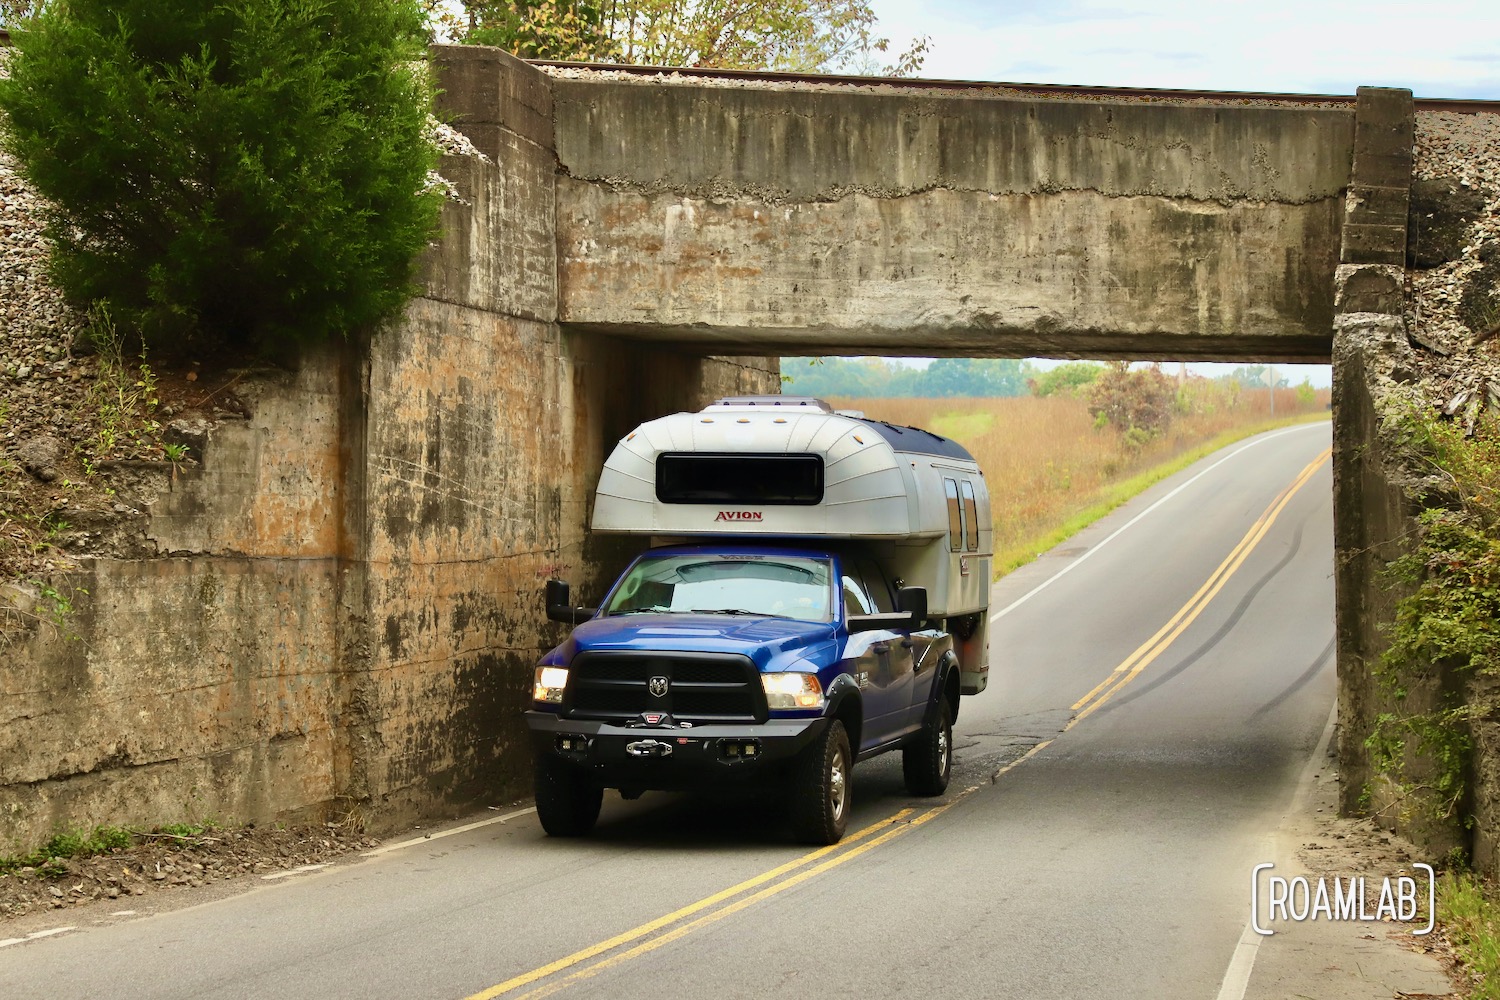
Take Them Out For A Spin
The fenders are easy as pie to install and we are thrilled when we finally take them on the road. They have held up beautifully thus far. We can’t wait to get some mud on them.


Ted Licos
I have a 2013 dodge ram 2500 and have a set of pocket style cut out fender flares without any edge trim. Can you please tell me what size trim I need for the set. With all the different sizes you have I don’t know which one is going to be the best fit. And don’t want to buy the wrong size. Thank you
Lexi Goforth
Hi Ted, are these Bushwacker Fender Flares? I wouldn’t want to make a recommendation if the measurements aren’t equivalent.