Broken RV Brake Light DIY Truck Camper
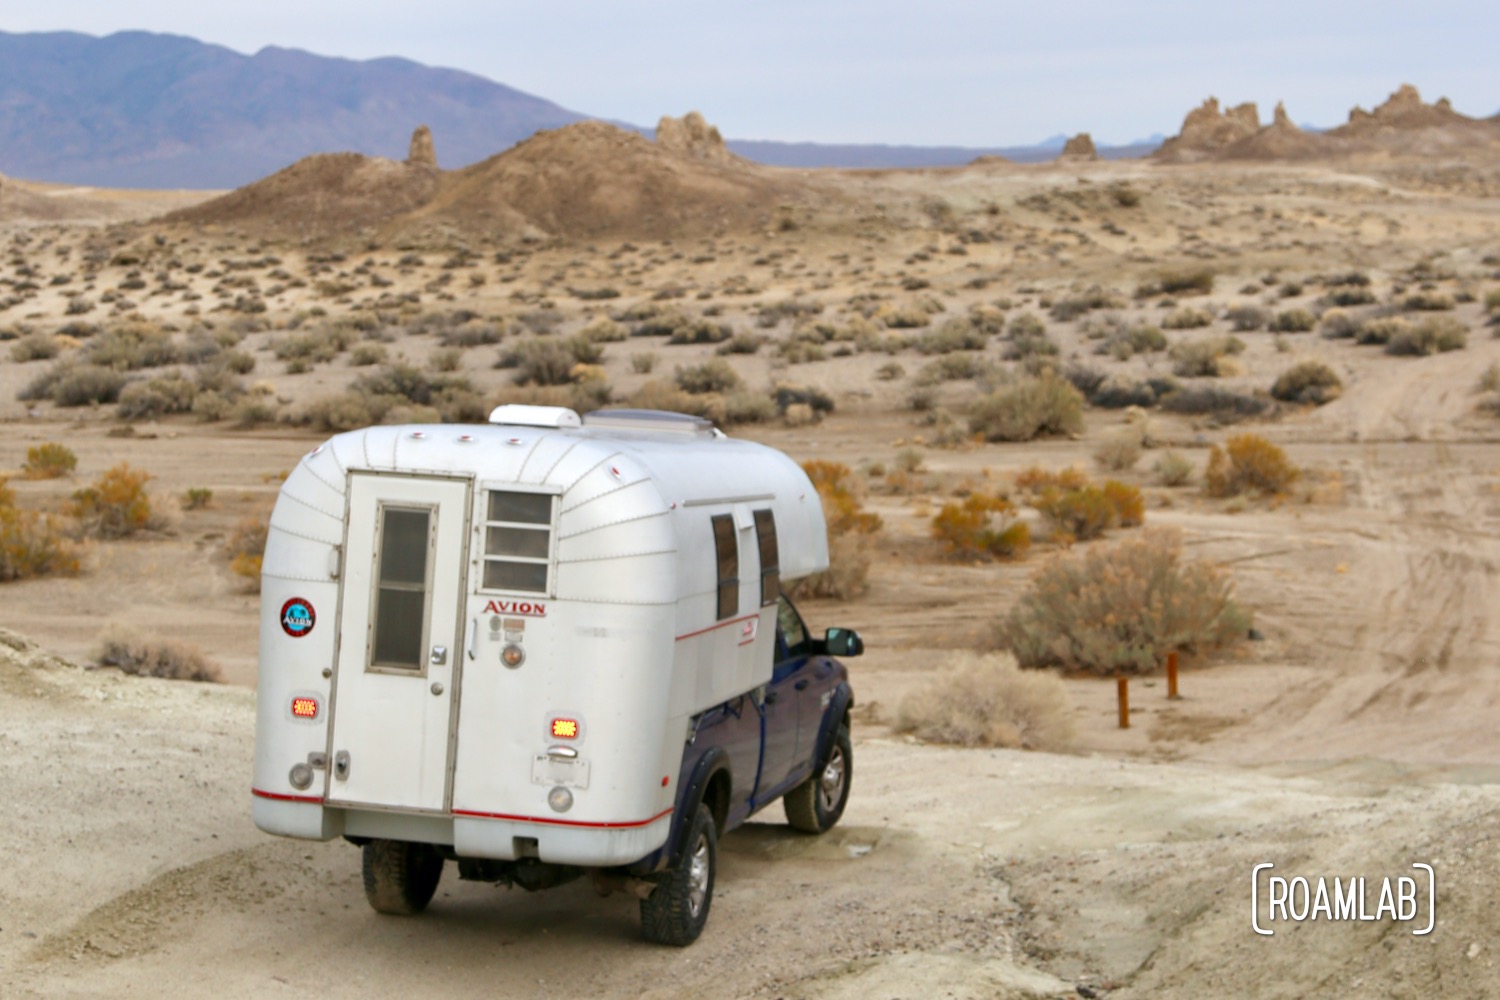
“By the way, your right brake light is out.” A friend motions to the rear of our Avion truck camper. Again?! I thought I had just fixed the problem a week ago with a bottle of compressed air and a firm placement of the brake lights connector. Yet here we are. Chris turns on the running light. Looking good. Chris turns on the right blinker. Uh oh.
A History of Our Brake Lights
Fixing things on the road is part and parcel of our nomadic life. Having built this camper from the shell out (including the brake lights), no mechanic knows more than us about our rig’s inner workings. And, yes, we have a timeline of brake light errors. (1) The first time, we had a faulty brake light. I installed it but only the right light illuminated when hooked up to the truck. The brake vendor was speedy in sending a replacement. (2) Next, a wire came loose, shorted, and blew a fuse. The untethered wire was easy to spot but the fuse took a while to diagnose. (3) And finally, came our most recent problem, a loose and dirty connector–solved by compressed air and a firm hand.


Diagnosing the Current Problem
Given our most recent encounter, we start backwards and assume that the loose connection is still loose. We hunt down the first Auto Zone and buy some contact cleaner. I go to town on the break light contacts, but the brake still won’t light when reassembled.
Scratching our heads, we backtrack, to our second most recent failure: has the fuse blown? No, it looks fine and the problem persists when we swap it for one that we know works. To our first failure then? Could the brake light be broken? If it is, it needs replacing and we aren’t in a position for that. So we swing back around to consider the wiring.
Fortunately, we travel with a multimeter which we can use to read the conductivity and output of electrical connections. We use it to compare the left and right brake lights while the brake is engaged. Wait a minute. Something doesn’t seem quite right. There is a signal coming through, but it’s all over the place.
And then we find it: the leads connecting the brake light cables to the pigtail have come loose. While the right brake light is the most severe, all the wires are loose. It would have only been a matter of time before all our lights are equally malfunctioning.


Lessons Learned
After years of bouncing around on rough trails, I suppose it is only a matter of time before these bolts rattle loose. Rough trails can affect even the tiniest components of an overland rig. Be sure to keep some Loctite at hand.


Brake Light Test List
As we noted, there’s a lot of things that can go wrong with RV brake lights. So, if you find yourself in a similar situation, here’s a quick check list you can run through before resorting to professional help:
Questions to Ask
- Has this happened before? Starting by checking for known problems can speed up the debugging process.
- What light is broken? Is this an isolated problem? There are different wires managing the running lights, left brake/blinker, and right brake/blinker that are bundled up into the “pigtail.” If they are all failing, then there is likely a problem with the connection between the tow vehicle and the trailer known as the “pigtail” which could also be affecting trailer brakes and backup lights. On the other hand, if only one light has failed, it is likely a problem with the fuse, the wiring in the camper, or the individual light. Most brake lights connect have two different wires controlling them, one for the brakes/blinker and one for the running lights. If the running lights work for all the other lights but not the brake light, then the problem is more likely with the light itself or a very short stretch of wire.
- When did it stop working? Can you associate the failure with a particular event like some rough road? Jostling around could mean that the connection came loose, so you may want to first focus on where connections may have worked their way apart.
- Does the brake light use replaceable bulbs? Older campers used classic filament bulbs to light the brakes but many modern brake lights rely on built-in surface-mounted LEDs, where individuals bulbs are not replaceable. The LEDs are generally more convenient, but it definitely alters the process for diagnosing a broken tail light. If you can replace the bulb easily, that’s probably the best place to start.
What to check
The order you test the lights can rely a lot on what is easiest, least invasive, and most likely to fix the problem. Depending on your brake light installation, accessibility, and history it may make more sense to tackle these steps in whatever order is more appropriate for you. Don’t start tearing up the walls of your camper to check some hidden wire connection if the fuses are easier to test first.
- Light Bulbs: Does your brake light have a replaceable light bulb? Check if the filament has been burned out and test the light with a bulb that you know works.
- Mechanical connections: Make sure all the connections between the tow vehicle and the brake light are secure. Remove the pigtail connector to the truck and other accessible electrical connections between the vehicle and the camper and make sure that each is clean and free of corrosion before reconnecting them.
- Fuses: Most trucks and other vehicles have independent fuses for the running lights, left brake/blinker, and right brake/blinker. The fuses are generally clear, so you can see if the delicate wire that connects the two main prongs has been severed. If uncertain, replace a questionable fuse with a new fuse. If we don’t have a new fuse, we often can find a fuse that we know is working to swap out, such as switching the left and right brake fuses when we know one does work but the other may not.
- Damaged wires: Do you see any severed or roughed-up wires? It could be that these need patching or some form of reinforcement.
- Electrical connection: is power reaching the brake light? Compare voltage traveling to a working brake light vs. the light that isn’t working.
- Replace the Light: Replacing our light fixture is a big undertaking, we don’t travel with replacement brake lights so it’s not something we can casually or quickly do. But if you can, this is likely the last resort before resorting to professionals.
Useful tools to keep around
We were lucky to be near a big city when our brake light failed so we could easily access materials to fix our brake light. But there are certain tools and components that are worth keeping around if you don’t want to rely on repair shops all the time.
- Multimeter
- Compressed air
- Cleaning brushes
- Dielectric grease (repels moisture and protects connections from corrosion)
- Wire connectors & spare wire
- Spare light bulbs (if applicable)
- Spare fuses
Have you had brake light problems? Did you have a different solution? Let us know in the comments!