RV Trailer Lights: Rewiring Brake, Clearance, and License Plate Lights
Towing a trailer or large load requires special safety concerns when on the road. While specific requirements may vary by state, the requirements for lighting is pretty consistent: brake, clearance, and license plate lights. These are all connected to the truck or other vehicle to control the lights.
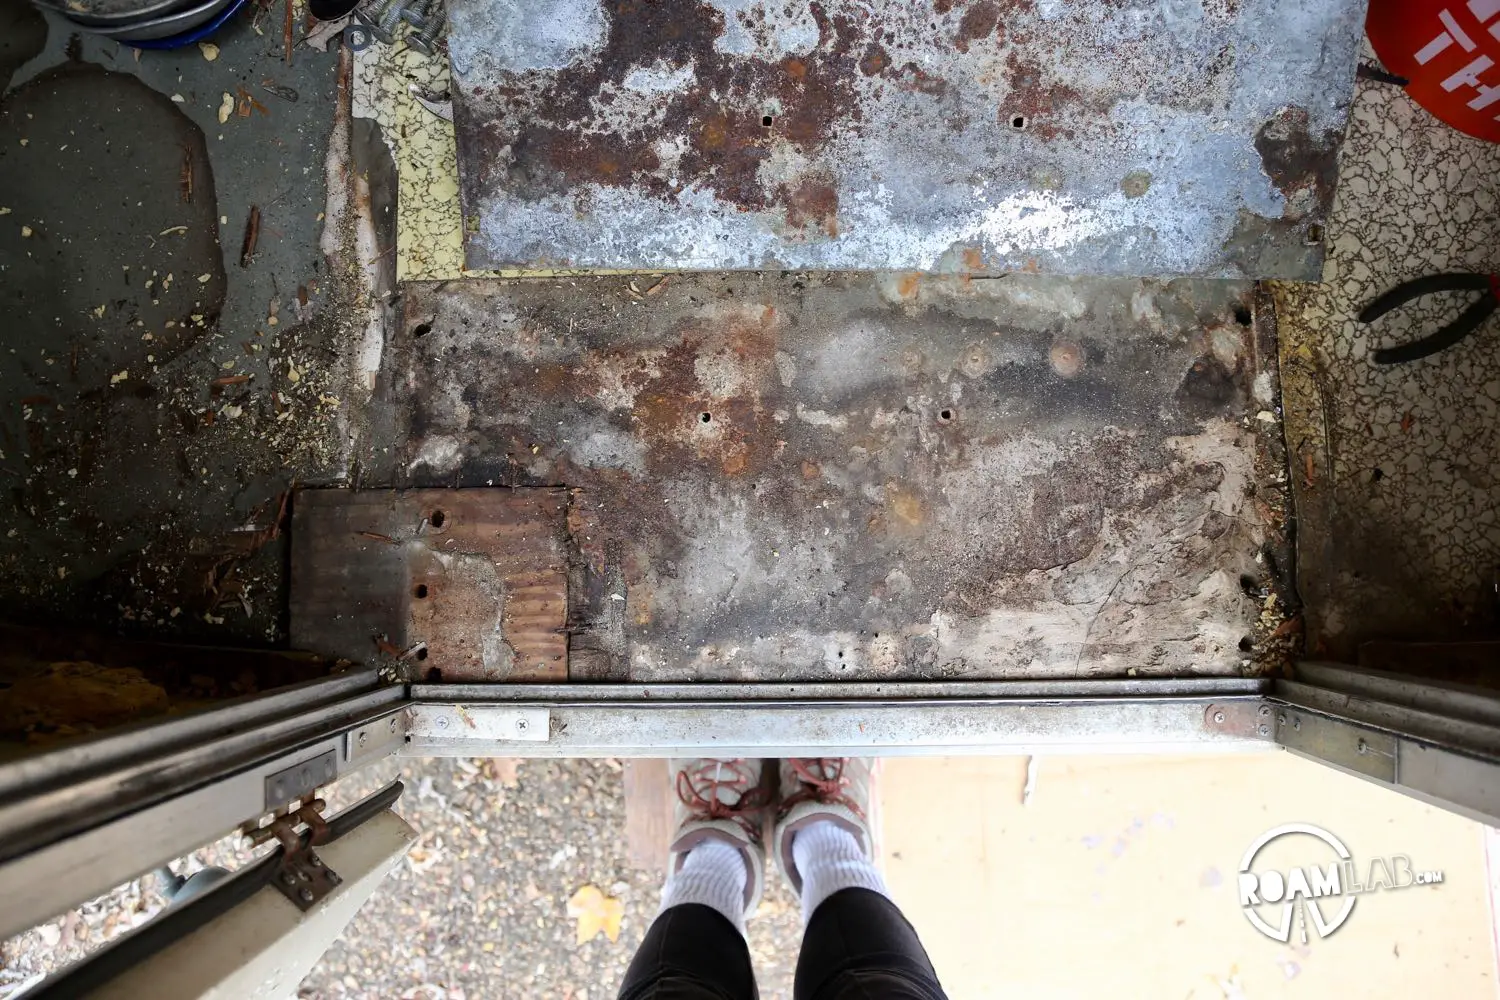
After gutting the Avion, we no longer have wired break and clearance lights. We also do not like the current break and clearance lights. So, we are taking this opportunity to replace the generic, run-of-the-mill light package with something a little more…exciting.
This is my first foray into wiring the camper and hooking into the truck’s alternator power via the 7-pin trailer hookup. Fortunately, this doesn’t have to be too complicated!
Trailer Cord
Power and switches for breaking, clearance, and the license plate lights all come from the truck’s alternator via a 7-pin trailer hitch. In the case of our truck, it is accessed right next to the license plate. For most trailer and truck camper owners, all one needs to do is connect the camper’s plug to the truck’s socket. For us, we also need to complete that circuit by hooking the cord to the trailer lights.
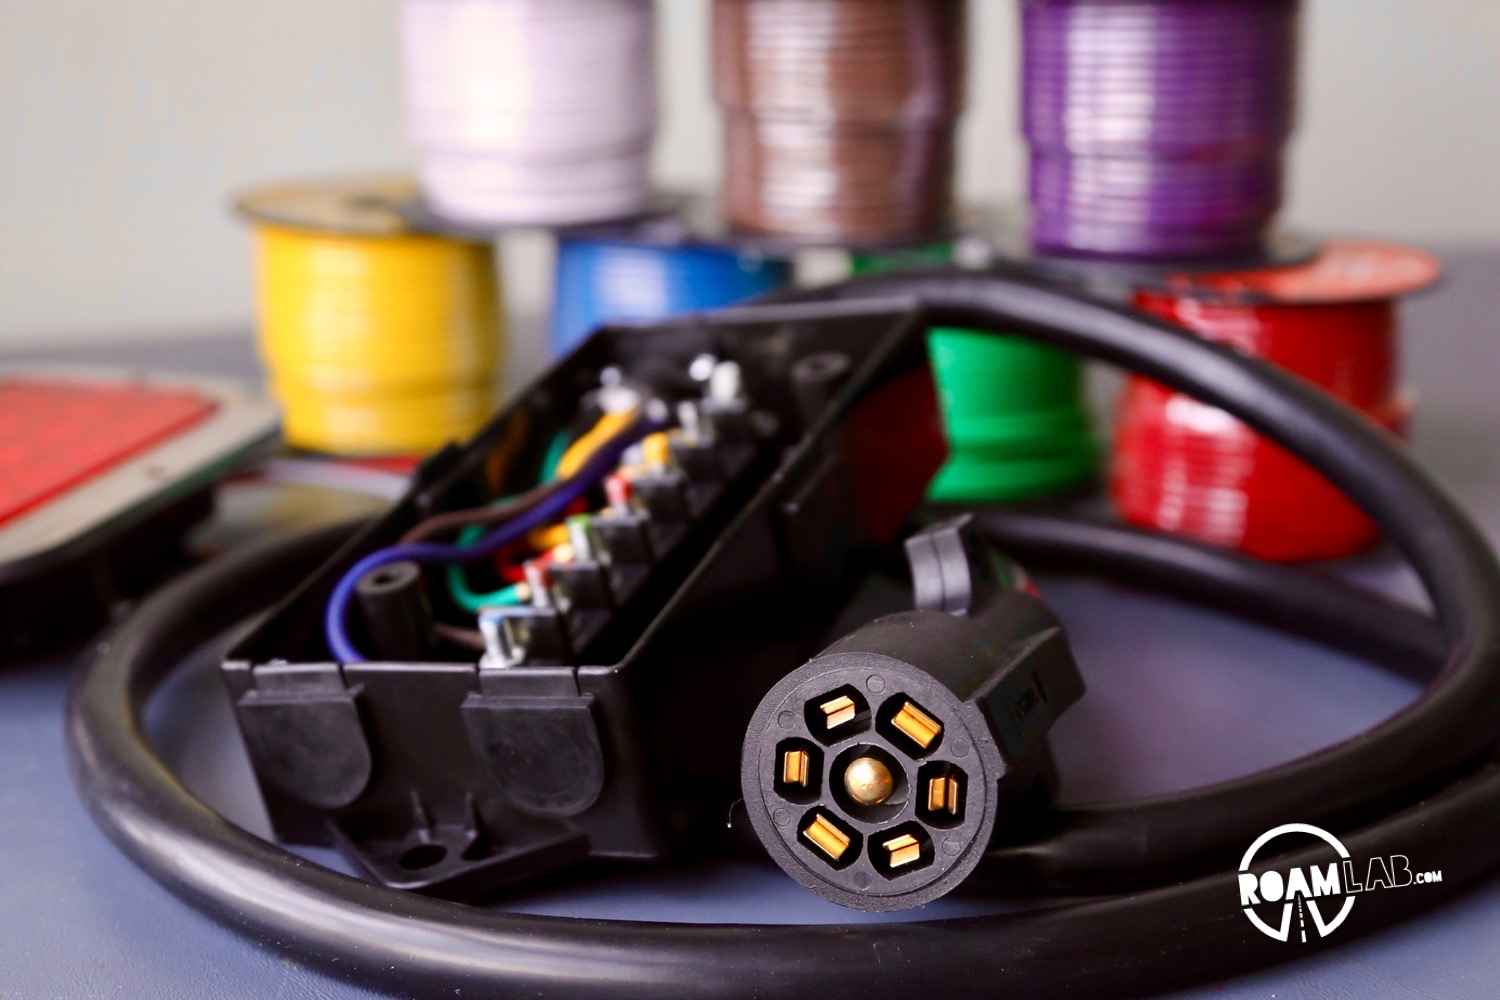
Older trailers and vehicles may use different plugs and sockets, but modern rigs have a standard 7 pin connector. It didn’t take much searching to find a variety of purchase options for a trailer cord, but we thought it was definitely worth paying a little extra to buy a chord that includes a 7 gang junction box.


The 7 Gang Junction Box makes hooking up each node so much simpler than other cords for sale that terminate in basic wire ends. Even so, it’s important to reference the particular trailer hitch you purchased as color conventions for the wires varies by use. It took a while for us to make out the schematics for the trailer cord that we bought to a wiring guide for RVs.


MICTUNING Heavy Duty 7 Way Plug Inline Trailer Cord with 7 Gang Junction Box – 8 Feet, Weatherproof
Break Lights
Break lights perform triple duty. They are the break, turn, and tail light. Thus, they have three wires controlling them, something that can get messy if you don’t work to keep everything clear with well marked wires.
We had a bit of a headache to begin since the brake light we purchased came without any wire guide. The white chord is clearly ground. But the other two chords, a red and black one, are not so clear. After searching some obscure forums, I finally track down which wire connects to the break / turn pin and which to the tail lights. Finally getting that left blinker to light up was such a delight!
When we removed the original break lights, we discovered that they left holes slightly larger than could be covered by our new break lights. So, we cut out frames for each light from scrap aluminum and riveted them in place before mounting the lights.


Clearance Lights
There are two types of clearance lights: amber for the front and red for the rear. It is important to have at least two of each marking the corners of the camper. Our Avion has seven in front and seven in back. So we will follow suit with seven red and seven amber lights to replace the originals.
As with the break lights, the original lights leave larger holes than what the new lights can properly cover. So, we once again create aluminum frames and rivet them to the camper along with the lights.


License Plate Light
Not all states require license plate lights. But for those who road trip, it pays to be in compliance with all states. So, we need to have a light hooked up for the license plate holder. There are a lot of quick, cheap solutions that you can find on Amazon. But we wanted something with a bit more style. So we fell back to a classic but more pricy offering from Vintage Trailer Supply.
Finishing Up
We manage to complete all the wiring in the few days before we depart for California. While it took a while to research and debug a few wiring hiccups, the largest time sink was in forming and attaching the aluminum frames for the break and clearance lights in below freezing conditions. Any future work will hopefully be completed in kinder temperatures.
Shopping List
- Trailer Cord with 7 Gang Junction Box
- 14 gauge wire
- Ring Wire connectors
- Screw on Wire connectors
- Stop/Turn/Tail Light
- Clearance Lights
- Clearance Lights