HappiJac Frame Mount Camper Tiedown System DIY Truck Camper Renovation
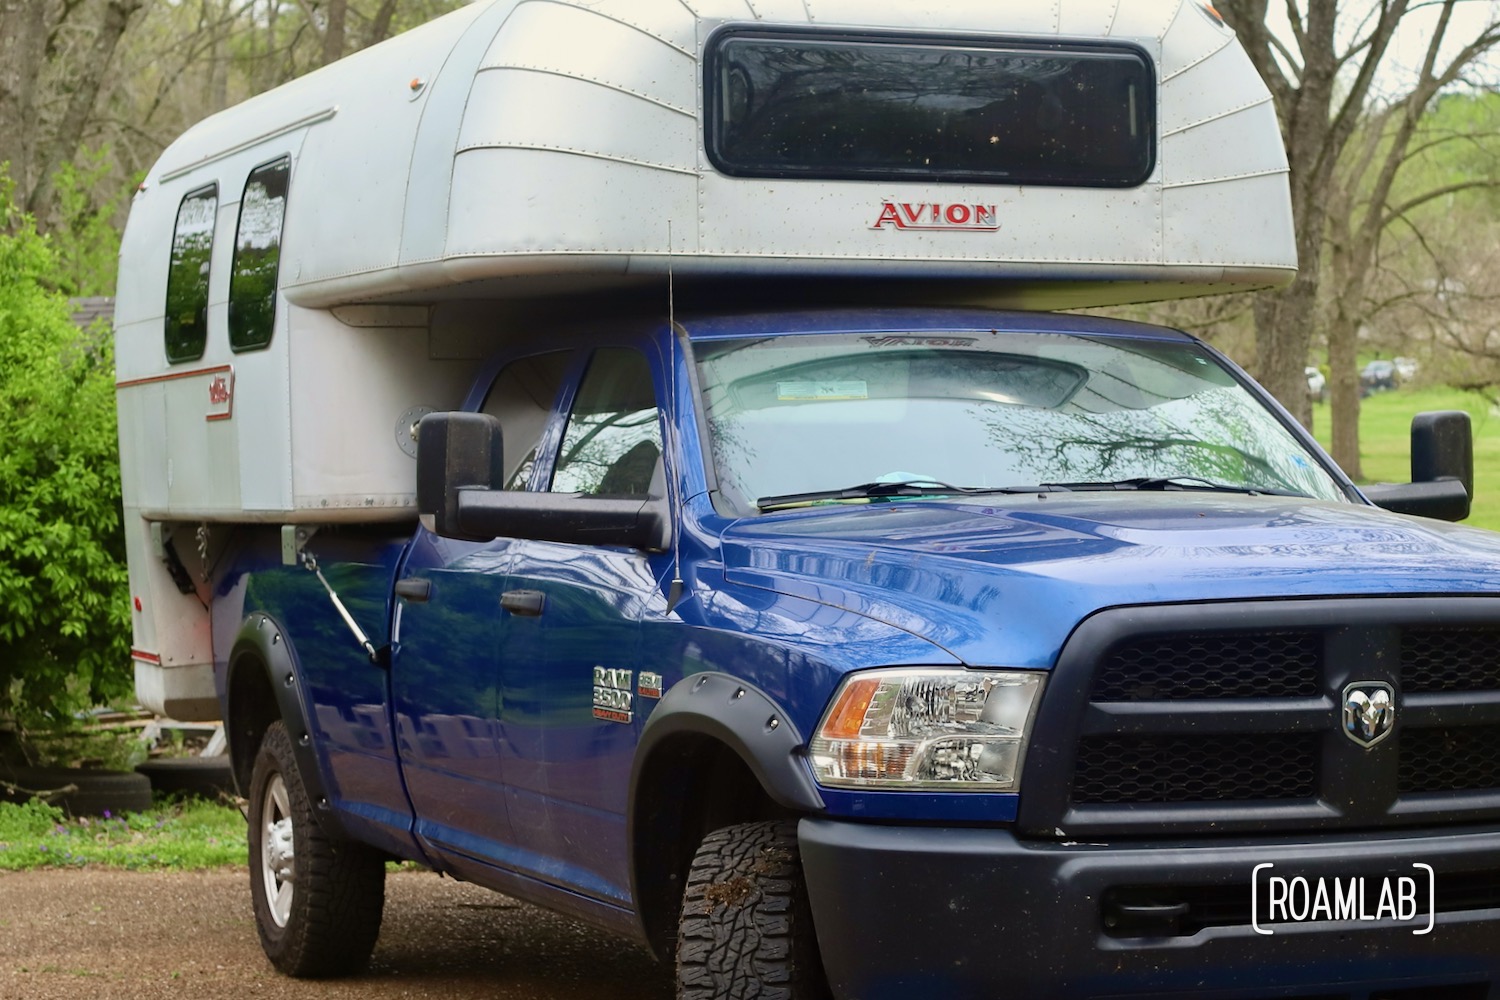
There are a lot of tie down solutions for Truck Campers on the market. For the past three years, we have relied on Brophy Tie Downs. While these tie downs are cheap, easy to install, and an excellent introduction to tie downs, they aren’t nearly as solid as many of their more expensive alternatives. We’ve considered a lot of solutions over the years but we keep coming back to the HappiJac Frame Mount Camper Tiedown System. Unlike many alternatives that mount from below the truck bed, these tie downs are low profile and slide between the cab and the truck bed. This means you are less likely to damage them on high clearance trails, catch them on dense brush, and they simply look better. So, this spring, we finally take the plunge and order a set.
Buying a HappiJac Frame Mount Camper Tiedown System
The process of purchasing a HappiJac Frame Mount Camper Tiedown System should be a good first indicator of what you are getting yourself into. There is no single product to purchase. For our 2015 Ram 3500 tradesman truck, we purchased the FT-DR10 Camper Anchor Tie Downs, SB-080 56.875″ Stabilizing bar, and FM-TB Stainless steel turnbuckle set. I’ve seen some builds skip the stabilizing bar but I wouldn’t recommend it. The bar really reinforces the whole build.
Our Shopping List For a 2015 Ram 3500


Assembling a HappiJac Frame Mount Camper Tiedown System
You know those kits where everything comes together smoothly and easily in one go? This is not one of those. This is a set with near infinite ways to screw up where any minor misstep can mean hours of correction. Obviously, I note this because we had our share of missteps. We read the directions for the HappiJack Frame Mount Camper Tiedown System several times before proceeding. Our search for videos and less obtuse rundowns was met with little success. We wondered aloud if there was some cabal out to keep the assembly process of these tie downs an esoteric field. And then we tried our best to assemble this system.
Looking back, I see the problem as two fold. First, the instructions are horribly written. A lot of important information is left as seeming clarifying annotations rather than critical steps. Second, the system seems to suffer from scope. These pieces appear to be designed for multiple applications. The assembly could be so much more simple if core pieces of this system did not have to be assembled, unassembled, and then reassembled as part of the mounting process. While I don’t have a solution for problem 2, I do have a solution for problem 1. I present to you, the HappiJac Frame Mount Camper Tiedown System instructions with annotations from Roam Lab. Just because we made a bunch of mistakes, doesn’t mean you have to.
In case it isn’t clear, I have a lot to say on this matter. To keep things simple, I’ll leave the core directions in this regular type and then designate my personal notes like this.
Install Tie Down Front Anchor

Step 1: Assemble Guide Plate and Stabilizer Bar
Match up holes on the guide plate with holes at each end of the stabilizer bar. The set of two large circular holes must be on the outer edge of the stabilizer bar. Bind the plate and bar with two #10×3/4″ sheet metal screws (Kit A). You’re screwing through an extruded metal bar. So, your screwdriver is not going to cut it. You will want a ratcheting wrench to secure these screws to the stabilizer bar.


Step 2: Attach Frame Braces to Guide Plate
Using two 3/8 fine thread bolts and nuts per guide plate, secure frame braces to the ends of the guide plates. This is a temporary mount, so you only need to tighten with your fingers.
This is the beginning of the profoundly irritating process of assembling and disassembling. In an ideal world where the HappiJac Frame Mount Camper Tiedown System was designed for ease of install, the frame brace would be welded to the guide plate. But no, we are going to have to engage in a circuitous and error prone installation process to minimize the number of unique components Happijac has to tool.


Step 3: Secure Guide Plates to Truck Bed
Part A
Using the frame braces to hold the assembly upright, center the guide plates and stabilizer bar against the front wall of the truck bed. Once in place, identify the four small, oblong openings in the guide plate. Pick whichever set of two sit closest to the truck bed wall for each guide plate. Place a piece of plywood between the truck bed and cab to protect the cab from damage. Then, drill a 3/32″ pilot hole through the chosen guide plate holes.
Get This Right The First Time
The directions note that only one screw is needed to secure the frame. As someone who hates to make unnecessary holes, I jumped at the option of creating only two potential rust points rather than four. In hindsight, however, I deeply regret this choice. In the next step, we will be removing the frame brace from the guide plate assembly and relying on this hole to guide and secure the placement of this assembly. Having this guide point accurately and securely positioned is critical for the following steps. If it droops, even a little, you will not be able to properly reattach the frame brace later on. As the name indicates, the frame brace is the direct connection between the front mount and the truck body frame.
So drill these holes carefully. As you can see, they are oblong rather than perfect circles. So, be sure to drill at the top of the opening or else gravity may pull the guide plate down in the course of following steps. You would be better off erring higher than lower on these holes. But precision is key to avoiding a lot of trouble later.
TLDR: Drill these holes so that they will keep the assembly exactly where it is at this moment.


Part B
Unbolt frame braces from guide plates. Now firmly secure the guide plate assembly to the front truck bed wall with 3/32″ sheet metal screws (Kit B) through the pilot holes you just drilled.
You could easily miss this point in the official HappiJac Frame Mount Camper Tiedown System directions. They are integrated into a picture as if they were just clarifying a step rather than presenting new information. Either way, this should have the assembly exactly as it was but now being held by sheet metal screws rather than the frame braces. Remember, the frame braces will be coming back into play so it is critical that the guide plates are exactly as they were before.

Step 4: Assemble Front Anchor
Connect front anchor plate and backing plate with 1/4″ sheet metal screws (Kit J).
Screw sheet metal screws through the front anchor plate into the backing plate.


Step 5: Drill Guide Plate Pilot Holes
Make sure your protective plywood is still in place between the truck bed and cab. Now, using a 7/16″ bit, drill through the guide plate’s four large circular holes and into the front truck bed wall. Repeat for each guide plate.
These holes match up with the four open holes on the front anchor plate. You want to get this right the first time. Shifting these holes after the fact is a nightmare. If you did your homework and carefully secured the screws in Step 3 you should be fine. Just be sure to have your drill driver perfectly parallel with the truck bed floor.


Step 6: Bolt Front Anchor Plate
Secure front anchor to the front truck bed wall. Place the frame bar back in place but this time use 3/8″ fine thread bolts (Kit B) through the bar and guide plate. On the other side of the front truck bed wall, screw these bolts into the front anchor plate. This is a two person job. One person pushes the anchor plate up in place between the truck bed and cab while the other sits in the truck bed to screw the bolts into the anchor plate.
Prepping The Anchor Plate
The front anchor plate is threaded to receive the bolts rather than using nuts on the other side. While this simplifies the hardware it means that threading the painted plate can be troublesome. HappiJac recommends using a 3/8-24 tap to clear out the paint before installing the plates. Since we didn’t have the tools, we pre-threaded the bolts to make sure they fit.
Holding The Anchor Plate In Place
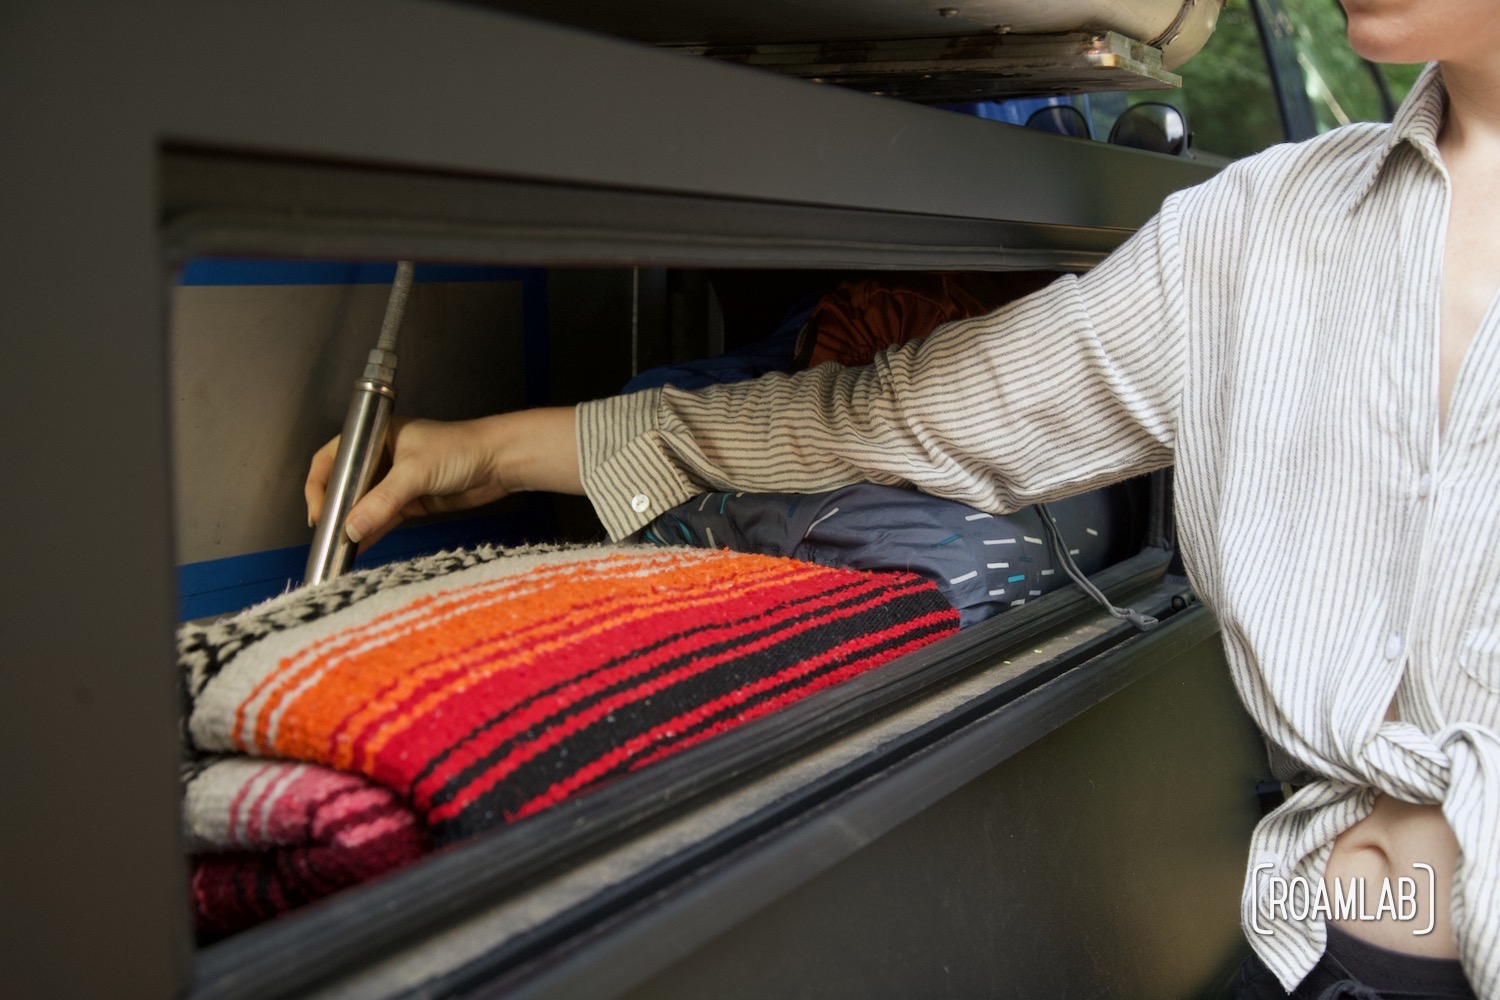
When we screwed the plate in place, I used a cheap automotive creeper to roll under the truck and lift the anchor plate from below. This allowed me better access to hold the plate in place but it is a stretch. I’m not short but long arms help this process. Chris has a few inches on me. So, in hindsight, I probably should have had him holding the anchor plate in place while I screwed the bolts into the plate. Either way, this can take a while, so try to make the person holding the plate in place as comfortable as possible. A few rolled up towels or cushions can help you hold position and focus on the plate rather than a sore arm.


Step 7: Secure Backing Plate
Measure out two screw holes to secure each backing plate to the front truck bed wall. Since you can’t easily see or access the backing plate, we have to rely on measurements to approximate its location. We know it is centered along the guide plates. So, we can start by tracing a line from the center of the guide plates, parallel to the truck bed floor, to the edges of the front truck bed wall. (I use tape for these marks) Along this line, measure 1″ from the bend in the front truck bed wall and mark a point. Measure 1¾” above and below this point to define the screw holes for each backing plate. Use the #10 self drilling & self tapping screws (Kit J) to secure the backing plates.
The directions say that you don’t need a pilot hole for this because the screws are self tapping and drilling. Yet, we found them insufficient for those purposes and used a punch to start each hole and then remove the tape and drill pilot holes. That way it is much easier to secure the screws.


Step 8: Drill Hole Through Truck Frame
Each frame brace has an oblong slot along the truck bed floor. Measure three inches from the front truck bed wall along this slot and drill a 3/8″ hole. Make sure the drill is perpendicular to the truck bed floor. Remember, you are not only drilling through the sheet metal floor but also the truck frame below.


Set 9: Bolt Frame Brace
Insert a 5″ carriage bolt (Kit D) through the frame brace hole and secure it with a reinforcing plate, flat washer, lock washer, and hex nut (Kit D).
Congrats! Finally, you are done with the front anchor…but not entirely done with the front.


Install Front Centering Guide Lock & Bumper
At this point, we have most everything we came for: a solid and low profile frame mount camper tie down. Yet, HappiJac threw in an extra perk that, at first blush, we were ready to ignore. We already had installed bumpers onto the front of the camper to space and pad the meeting point between the camper and the front truck bed wall. Even so, the HappiJack centering guide lock and bumper is such an improvement that we tore out our original bumper and installed this. Not only does this addition pad the truck bed wall, but it also helps center and guide the camper to the ideal position in the truck bed and hold it snugly in place, preventing any shifting during the ride. I have to admit, I’m delighted by this touch.
Step 1: Assemble Centering Guide Lock
Thread long stove bolt through metal sleeve, plastic cone, flat washer, and secure with bar nut bolt (Kit E).


Step 2: Mount Bumper to Guide Plate & Stabilizing Bar
Slip bar nut into guide plate and stabilizing bar slot. Make sure that the bumper is aligned so that the guide cone is closest to the outer truck bed walls. Arrange the bar nut bolt so that it is parallel to the rest of the bumper, this way it can fit into the guide plate slot. Do not tighten the bumper yet.
Step 3: Measure the Width of the Camper
Campers can have many different widths depending on where you are measuring. In this case, we need the width of the camper where it will come in contact with the bumpers. This is generally the lower front section. For us, that was about 48″.

Step 4: Fasten Centering Guide Lock & Bumper To Camper’s Width
Part A
Mark the center of the front anchor. Position the centering guide lock so that the inner edge of the cone is ½ the camper width + ⅛” from the front anchor center. Once properly positioned, the distance between the inner edges of the cones should be the camper’s width + ¼”.
Part B
Secure the bumper by turning the long stove bolt in the cone. This will turn and lock the bar nut bolt.
Part C
Double check the distance between the cones. If the cones have shifted, loosen the long stove bolt enough to slide the bumpers and reset the bumper.
Part D
Drill 5/32″ pilot holes through the two remaining holes on each bumper and into the stabilizing bar. Screw the remaining 1″ long truss screws into the bumper to prevent future sliding.
Congratulations, you are done! The bumper and guide should help position and stabilize the truck camper in the center of the truck bed. Watching them do their job is so satisfying!

About the HappiJac Frame Mount Camper Tiedown System Rear Mount
Once the front mount and centering guide lock are in place, we would normally move on the installing the rear mount. While the HappiJac Frame Mount Camper Tiedown System comes with front and rear mounts, we bought the tie down system for the front mount. The rear mount simply connects to the back bumper. I suppose this design anticipates the front tie down to be handling the majority of the load. Either way, the rear mount relies on an item that we don’t even have on our truck. So, while the rear mount is part of the package, we are not using it.
Final Thoughts on the HappiJac Frame Mount Camper Tiedown System
Yeah, I have a lot of complaints about the design of the HappiJac Frame Mount Camper Tiedown System. But at the end of the day, there’s a reason these guys are still in business. They designed a low profile tie down that, while it’s a mess to install, it is elegant to use. The mounts are solid and subtle. So, as much as I may rant, rave, and wish there was a better written installation guide, I’d do it over again if the need arose.
Rod
One fits all, or made for different kinds and years.
admin
The tiedown system is designed for a particular bed, so there are different packages depending on the make, model, and year.