In order to secure a truck camper to the truck bed, many people use turnbuckles. However, our old spring-loaded HappiJac turnbuckles are too long for our new Bowen Customs truck bed. Fortunately, it’s relatively easy to trim the turnbuckles so that they are short enough for our new tiedown system.

What are turnbuckles and what are they used for
Turnbuckles are devices used to adjust the tension in a system. Commonly, they consist of a metal frame with two threaded I-bolts. Rotating the frame allows the threaded rods to loosen or tighten, depending on the direction. This simple design is commonly used in systems that may need occasional adjustments rather than a consistent amount of tension.

Turnbuckles For Truck Campers
While there are many ways people have bound their truck campers to truck beds, turnbuckles are by far the most common. The turnbuckles connect the truck camper mount points to anchor points on the truck bed. Generally, truck camper owners install a specialty tiedown system to ensure a secure point of connection with the truck. We have used Brophys and the HappiJac Tiedown System in the past. Now, we need to adjust our turnbuckles to support our Bowen Customs integrated tiedown system.
Our turnbuckles came with our HappiJac Tiedown system which we installed back in 2020. The front two are spring-loaded, to allow some give when the truck hits a bump or some other event jerks the truck camper. This minimizes any potential damage to the truck bed. It also means that these tie-downs don’t look quite like the conventional tie-downs you might find at a hardware store. The metal framing of the turnbuckle is a complete metal tube, which protects the spring mechanism from the elements. And, rather than two threaded i-bolts, this model only uses one, very long i-bolt. Fortunately, it is threaded all the way to the hook at the end of the bolt, so trimming the turnbuckle will still leave us a lot of the threaded rod to still work with.
Why trim turnbuckles?
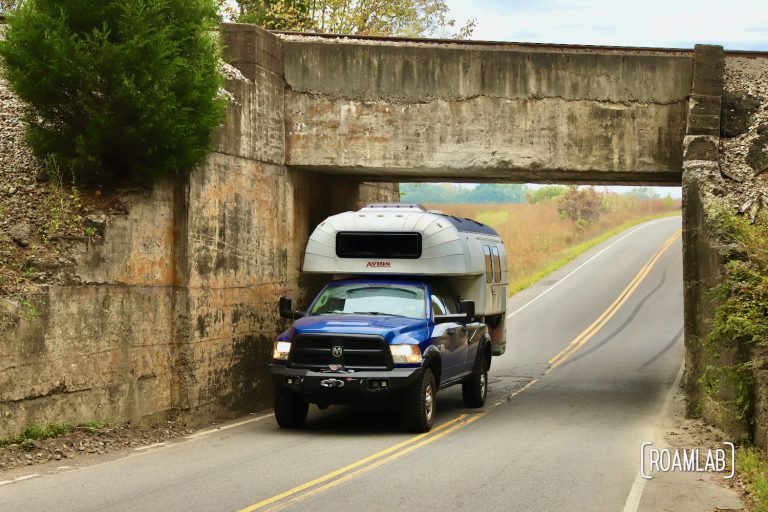
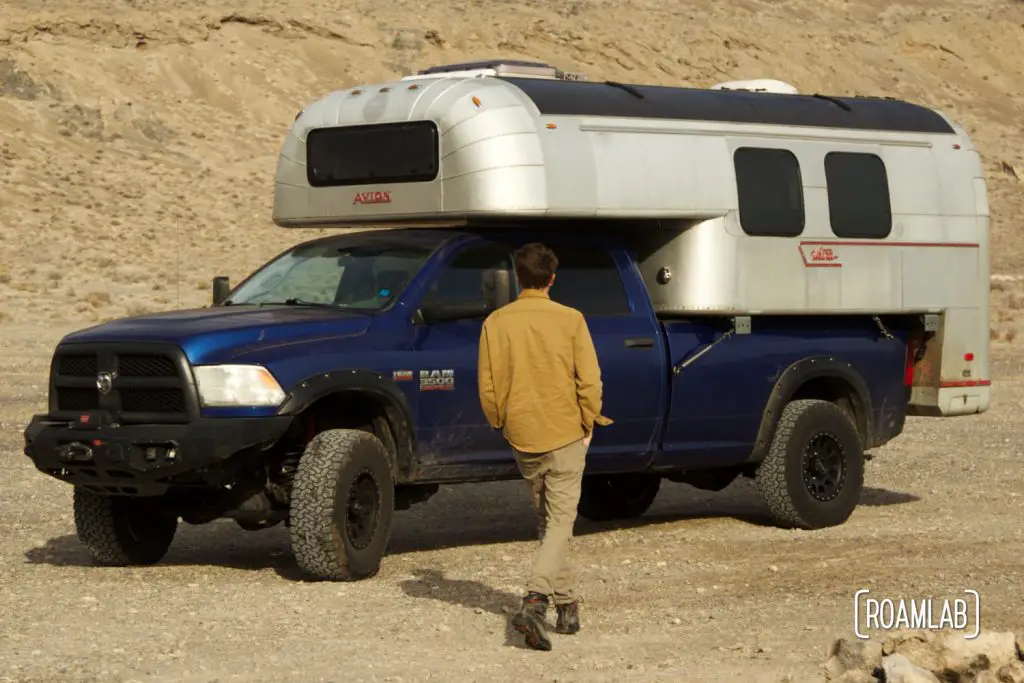
As mentioned above, our old spring-loaded HappiJac turnbuckles are too long for our new Bowen truck bed. This is because the Bowen tiedown system is concealed behind the truck bed walls where the truck camper mountpoint and truck bed tie down are much closer together than the exposed HappiJac system. By trimming the turnbuckles, we can make them shorter so that they will fit behind the truck bed walls and still provide enough tension to secure the camper.
Of course, we could just buy new, shorter turnbuckles. But these specialized turnbuckles do get pricy. So we’d rather modify our current set than shell our for a whole new set.
How to trim turnbuckles
Trimming turnbuckles is relatively easy to do and only requires a few tools.
- Tape Measure
- Marker
- Vice
- Gloves and eye protection
- Pneumatic cut-off tool
- Table Grinder
- Painters Tape
- Rust-resistant spray paint (We are using zinc galvanizing compound spray)

Measure Twice
Before we can start cutting, we need to know how much shorter the turnbuckle needs to be cut. We measure the distance between the truck camper mount point and the truck bed tie-down point to determine the ideal length of the turnbuckle. Remember, the point of a turnbuckle is to allow for adjustments. So we want to allow for a little wiggle room between. So we want to trim the turnbuckle so that its ideal length is reached when the turnbuckle is tightened to half of its total play. This way we have plenty of room for adjusting. We measure how much shorter the turnbuckle will have to be trimmed to be that length and then trim that amount off the threaded I-bolt.
In our case, we will trim 10 inches.
Disassemble the Turnbuckle
To access the part that needs trimming, we must first disassemble the turnbuckle. While this can vary by turnbuckle, for us it’s a simple matter of unscrewing the threaded I bolt from the metal frame. We’ll be trimming the threaded bolt to limit the play on the turnbuckle. So set the metal frame somewhere out of the way for later. There is also a nut on the threaded I-bolt. We’ll want to use this for testing the thread later. So take it off and set it aside with the frame.

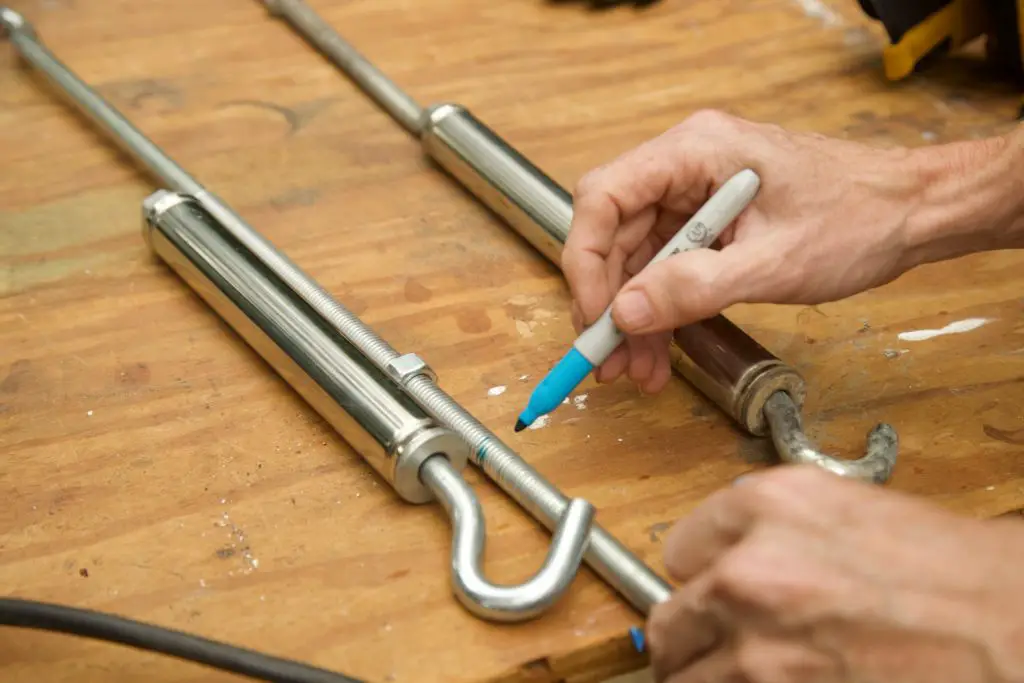
Marking the Cut Point
We calculate that our turnbuckles are 10 inches too long. So we measure ten inches from the base of the threaded I-bolt and mark the intended cut point. Remember, to “measure twice, cut once.” The whole reason we are trimming these turnbuckles is to save money by not having to buy a new pair of turnbuckles. So don’t risk overcutting the I-bolt.
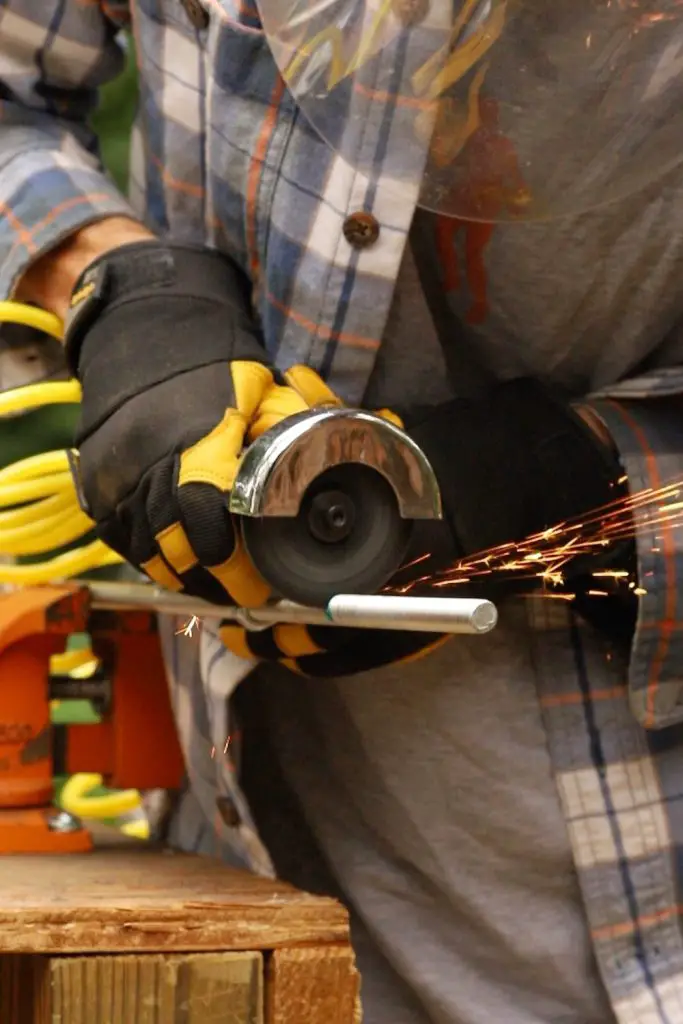
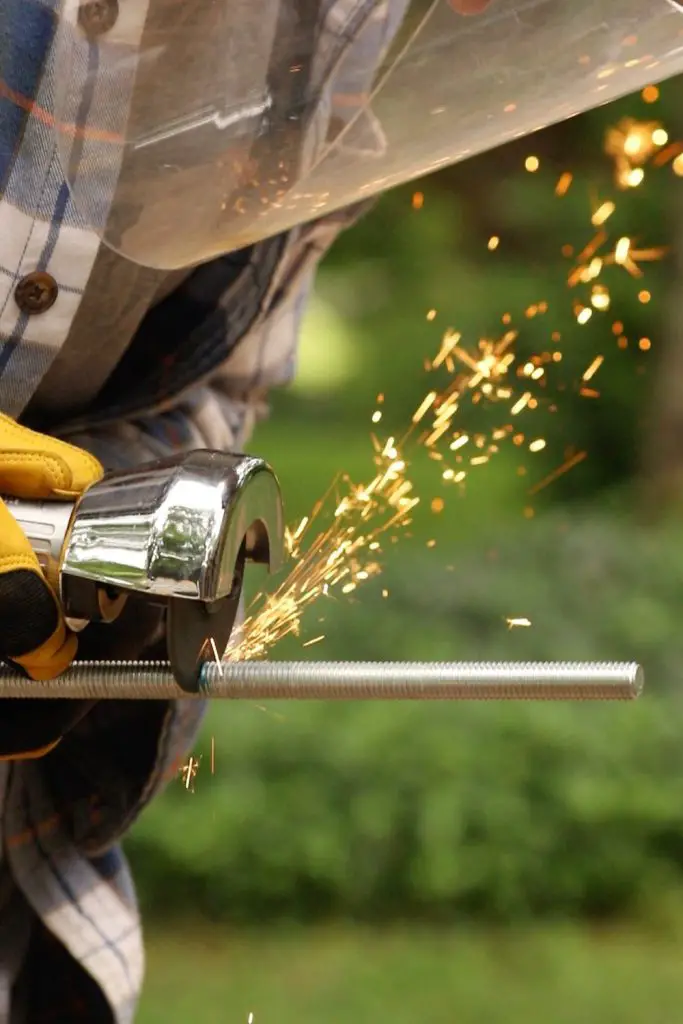
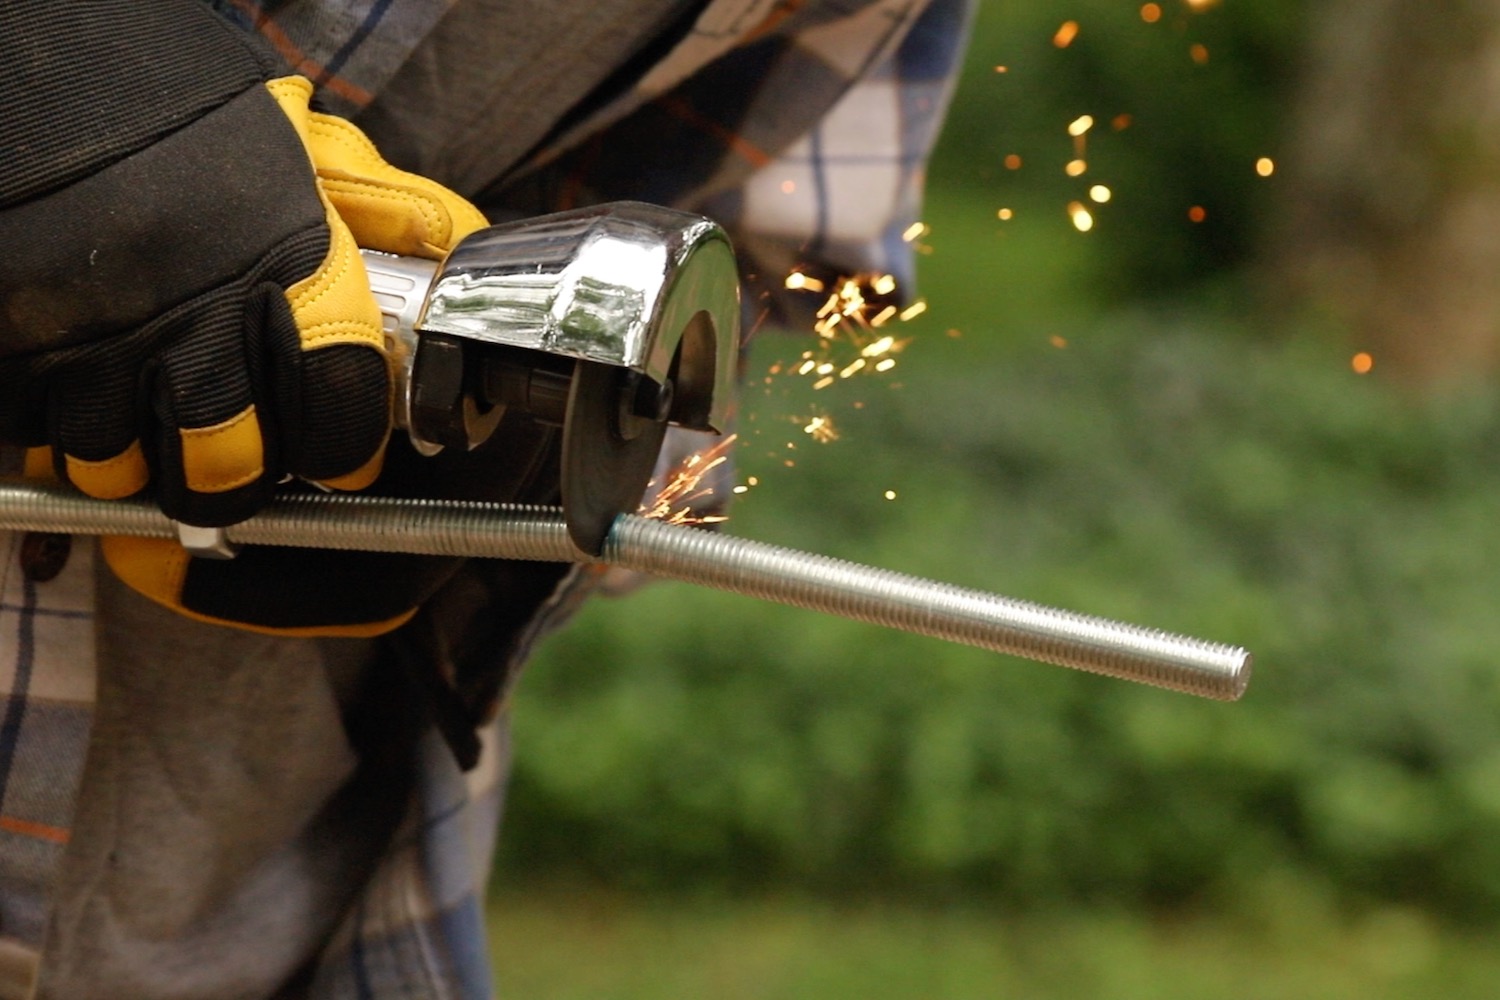
Cutting the Turnbuckle
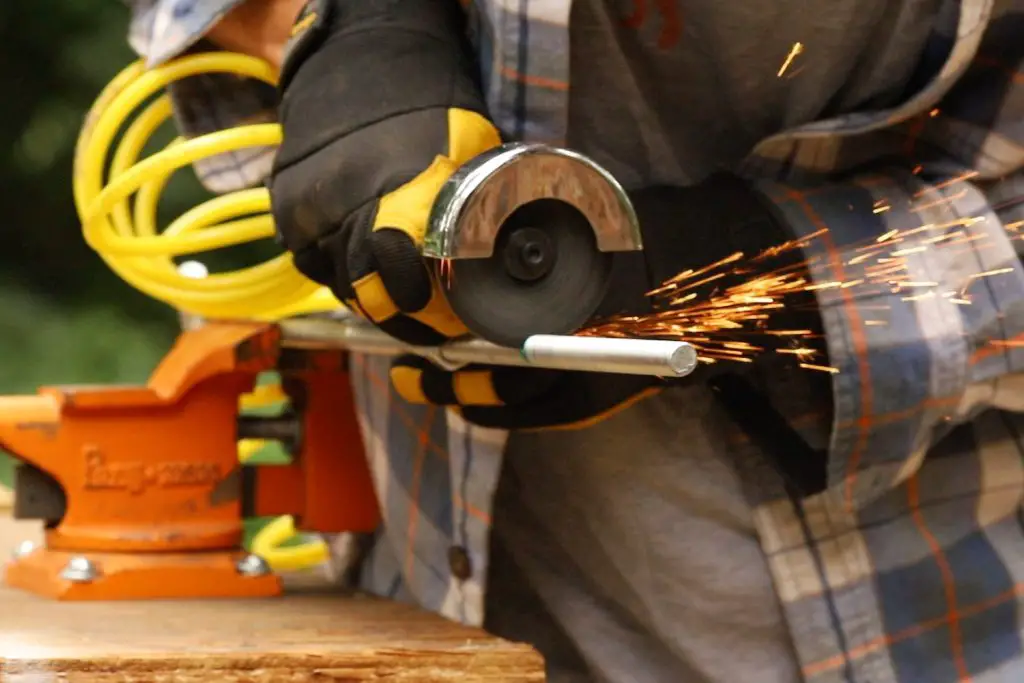
Finially, we are ready to cut. This process will send metal shards and sparks flying. So be sure to wear proper protective gear. We use a face shield and thick work gloves.
To trim the threaded rod, we are using a pneumatic cut-off tool with a metal cutting disk. This section of the turnbuckle is very thick, so cutting it takes patience and a steady hand.
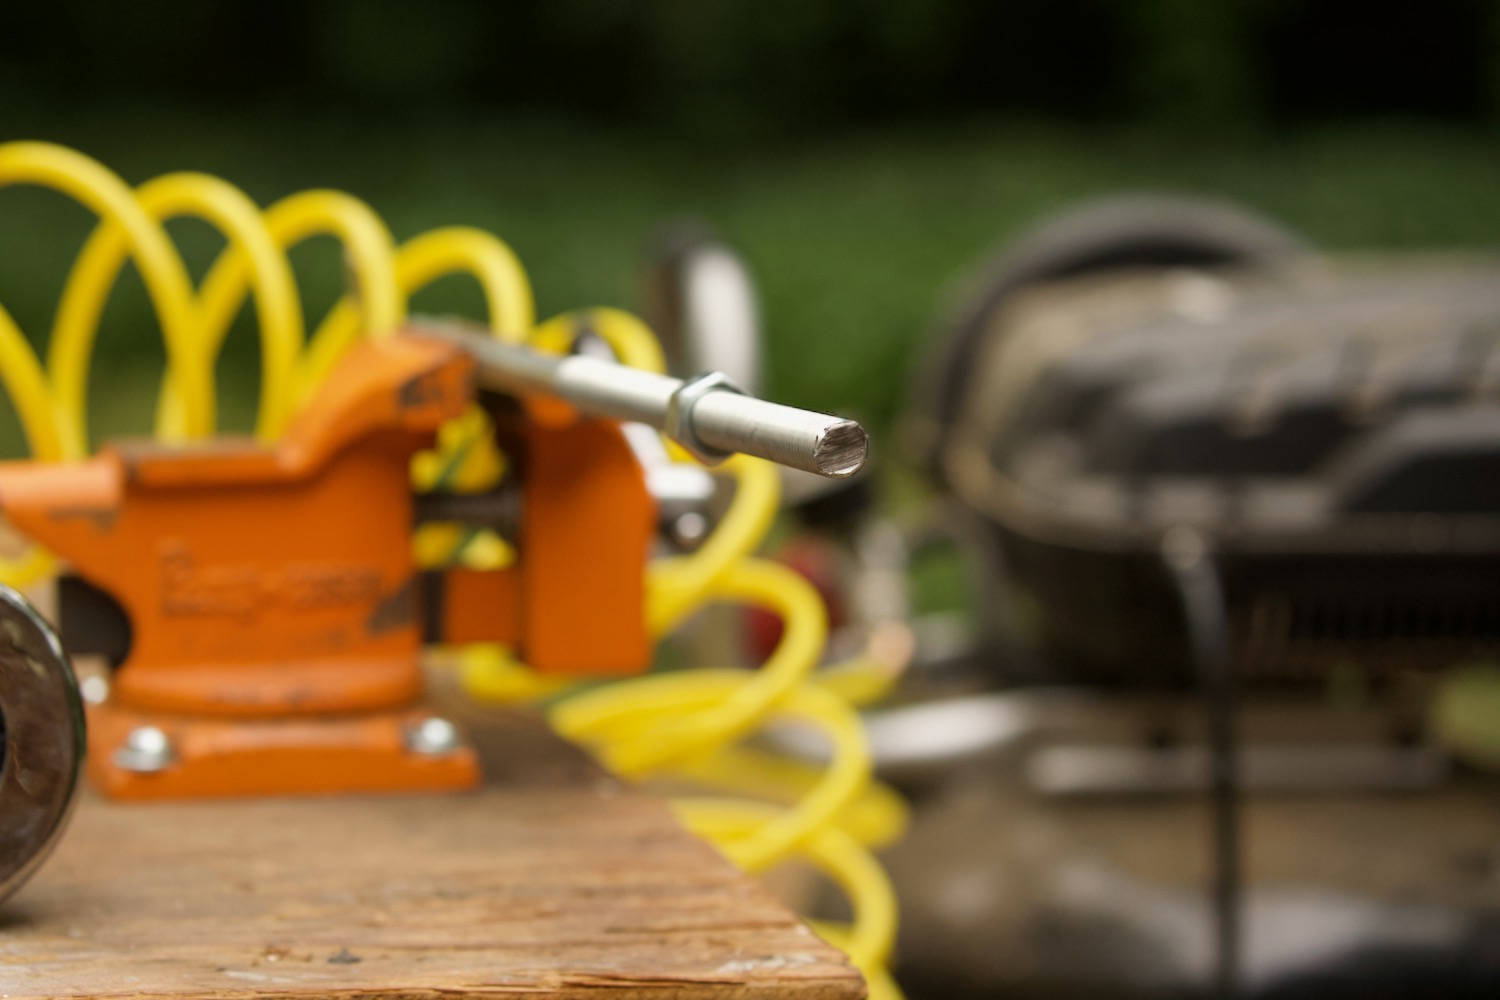
Smoothing the Threaded I-bolt
Next, we will need a grinder to smooth the cut end. This part of the turnbuckle will be concealed inside the turnbuckle casing, so we don’t have to worry about getting cut on rough edges. Even so, we still need to smooth the cut end so that there is a clean transition point to access the threads. The cutting process tends to warp the endmost part of the thread, so grinding off the tip should expose clean thread that we can easily screw back into the turnbuckle frame.
We have a table grinder available, which is ideal. Since this piece of the turnbuckle is relatively light and easy to grip, it’s much better to hold the turnbuckle piece and adjusting it as needed while the grinding wheel spins in place. We occasionally pause to test the end by trying to screw a nut onto the threaded rod. We keep grinding until we can easily screw and unscrew the nut.

Sealing the Exposed Metal
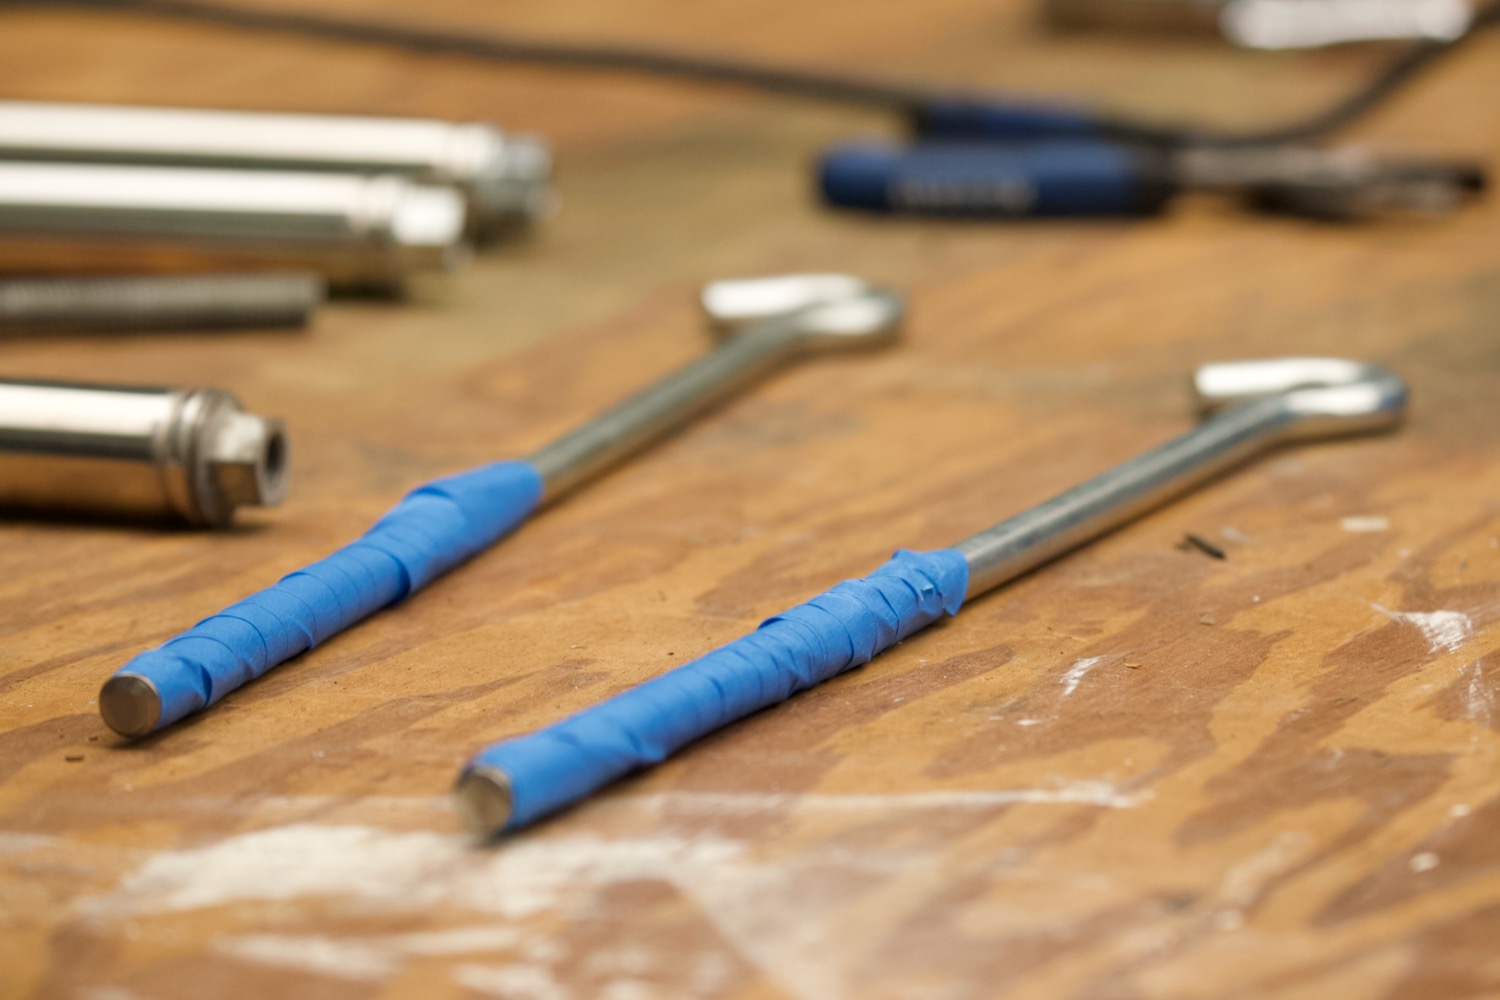
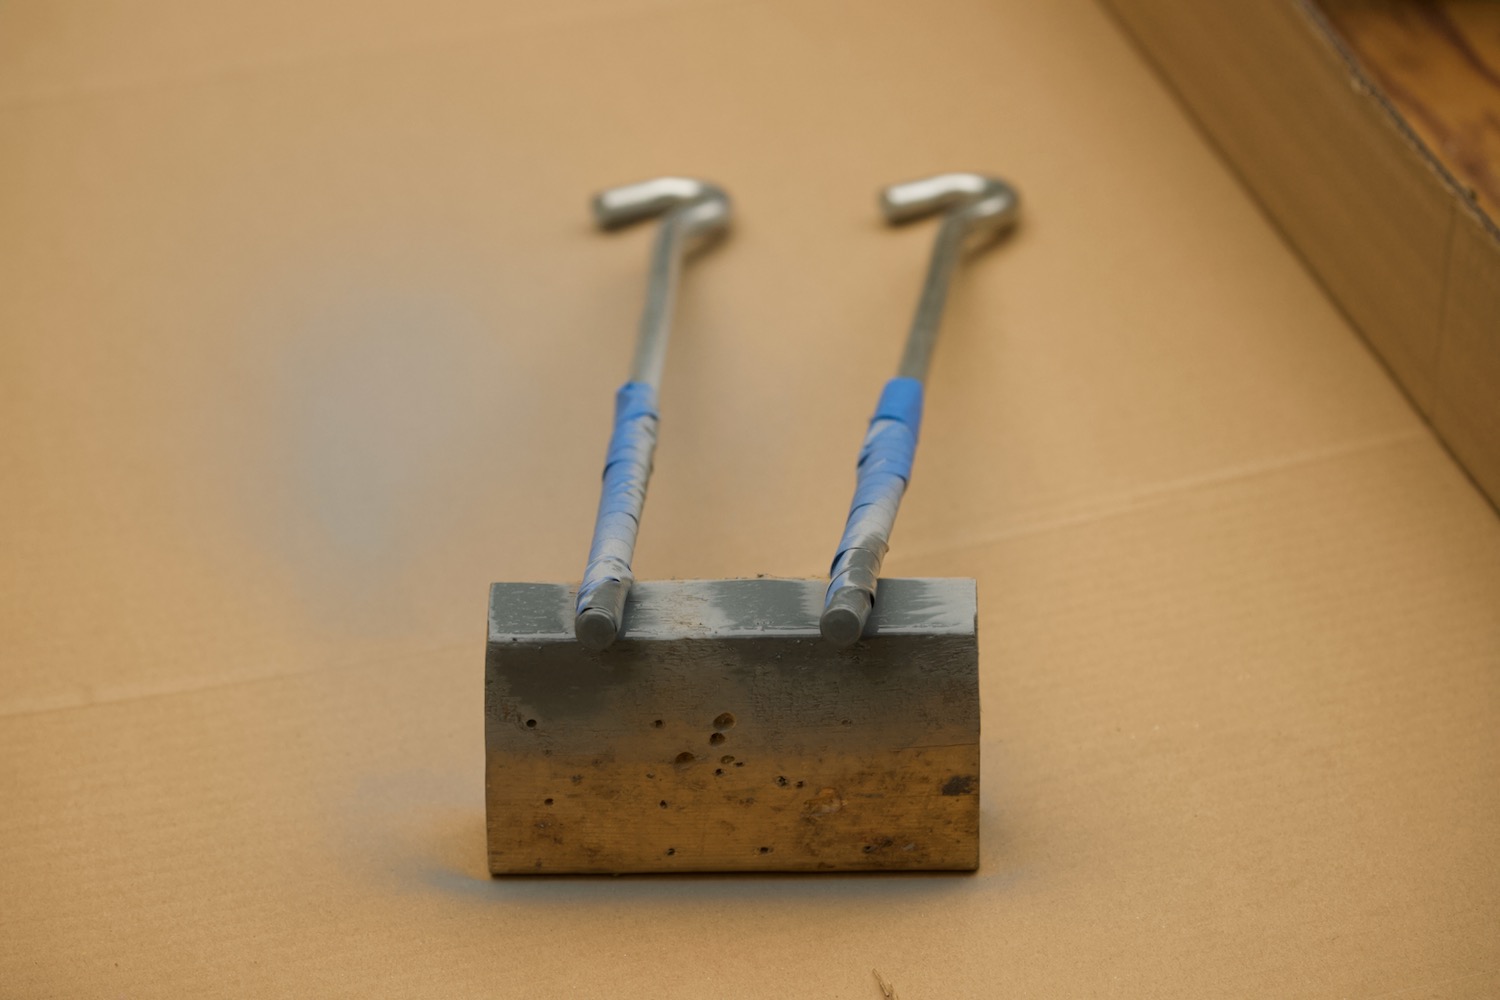
Finally, we need to paint the freshly cut ends to protect the exposed metal from future corrosion. We are using zinc galvanizing compound spray because we already have it at hand after treating our truck jacks for corrosion. But any rust-resistant spray paint that is compatible with outdoor metal surfaces should do the trick. Be sure to use masking tape to protect the threads from the spray paint or else reassembling the turnbuckle will be very difficult.
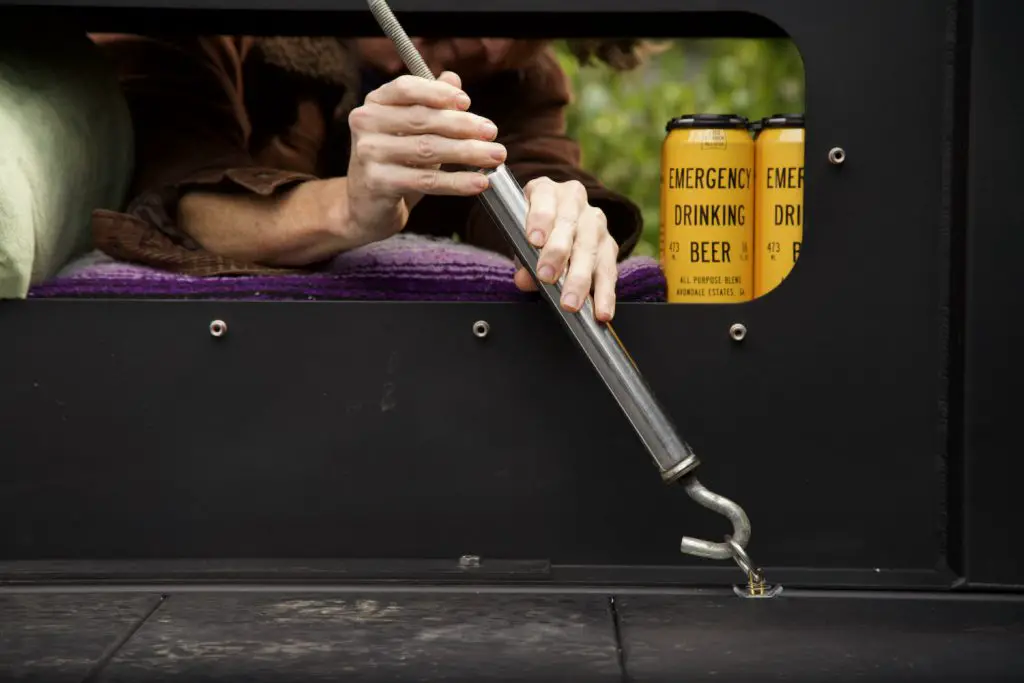
Reassembling the Turnbuckle
Now that the threaded I-bolt has been trimmed, it’s time to reassemble the turnbuckle. We start by screwing the nut back onto the I-bolt and then the I-bolt back into the metal frame. Hopefully, the grinding will have made for a smooth thread. If not, we might need to use a wrench or pliers. With the turnbuckle reassembled, we can put it back in place and start tightening the turnbuckles to secure our truck camper.
And that’s it! Our turnbuckles are now the right length for our new tiedown system.


Final Thoughts
Rather than having to buy a whole new set of spring-loaded turnbuckles for our truck camper, we are happy to be able to keep using our trusty old set. So far, they have worked like a charm and we are comforted to know that our truck camper is securely mounted to our truck.