Thermal Break: Insulation for RV Ribs DIY Truck Camper
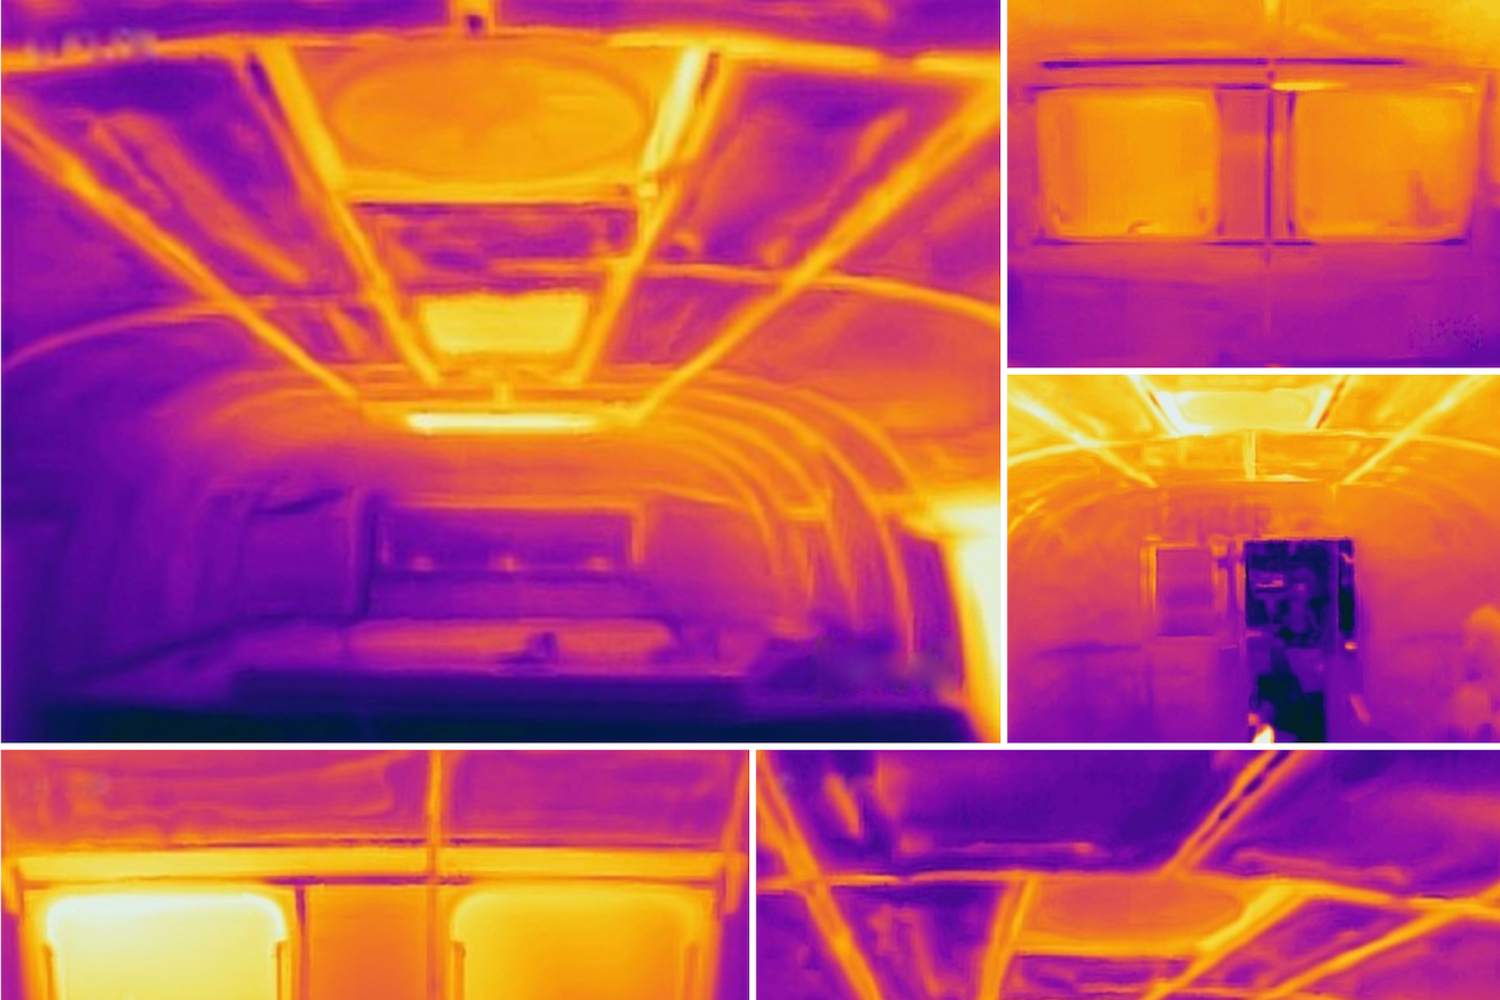
I feel a supreme degree of satisfaction when we finish insulating our Avion C11 truck camper with closed cell spray foam insulation. Finally, we are ready for the cold. But it only takes one night to remind us that our job is only half done. While most of the camper body is now insulated from the cold outside, the thick aluminum ribs still transfer a lot of the cold from the outside skin to the inside camper. We wake up the first morning with heavy condensation along the ribs above our head. The occasional drop of moisture barely missing our faces as it falls from the ceiling.

A Thermal Break
All the insulation in the world can only do so much when the ribs and rivets of our camper can still transfer cold inside. As we addressed in our post Windows, Thermal Bridges, & Other RV Hot Spots, the thick aluminum is a thermal bridge for whatever is outside the camper. Fortunately, we haven’t installed the inner walls on our camper yet, so we still have the opportunity to solve this problem once and for all. The key is to block the thermal transfer from the inside of the camper to the ribs by introducing a thermal break: some insulation between the ribs and the inner skin.
Unfortunately, this isn’t a simple issue. Avions, Airstreams, and other aluminum campers are built to flex and shift when exposed to highway speeds and rough roads, much like the airplanes that inspired their design. The rivets are meant to be able to handle the shear stress that results from this flexing. The more material between the head and base of the rivet, however, increases the stress these rivets will encounter and the likelihood that they may break. And the rivets connecting the inner walls to the camper ribs will have to be able to pass through this insulation. So, the insulation on the ribs has to be (1) thin to minimize this strain. Along that same line, any insulation between the rib and the inner wall has to be (2) strong enough to take decades of chafing between the rib and the wall. (We can’t be regularly opening up the walls to replace the insulation).
Most insulation I’m familiar with is thick and soft, to maximize the air-gap between hot and cold environments. Selecting a material to isolate this thermal bridge will take some research.


Foam or Rubber Tape Thermal Break
We have haunted quite a few Airstream and other camper forums for recommendations on what to use to insulate the ribs. Foam or rubber tape is a popular choice. It is also the most challenged, as the tape will likely degrade over time. Even most tough foams or rubbers are replaced on a regular schedule. In which case, over a matter of years, we would have an empty gap between the rib and inner skin that could contribute to a rivet failing. Once our inner walls are back in place, we have no intention of removing them to replace some insulation.

Ceramic Insulating Paint
Instead, we are taking an alternative approach we have seen in boat building and some car customization. Lizard Skin Ceramic Insulation is a paint designed to be efficient and durable. Different versions are mixed for sound deadening and thermal insulation, but we are focused on thermal insulation.
Frankly, we are a little disappointed that we came upon this paint so late in the game. Had we known about it before we sprayed the insulation, we would have applied a layer of this first. Anyhow, we will be using the paint to introduce this ceramic insulator between the ribs and the inner wall.

Shopping List
To apply the Lizard Skin, we need a stirring paddle and spray gun, which are sold separately. As we don’t already have a spray gun or stir paddle, we opt to buy the set sold by Lizard Skin for this application. Along with this, we also need an air compressor, personal protective gear, and materials for masking off parts of the camper we don’t want to paint.
(Links to Amazon)
- LizardSkin Ceramic Insulation
- Spray gun & stir paddle
- Air compressor
- Drill driver
- Painter’s Tape
- Plastic Sheet
- Painter’s Cloth
- Sand Paper & wire brushes
- Respirator
- Goggles
- Gloves
- Body covering

Preparing For Lizard Skin
The same rules apply for Lizard Skin as most paint: before we paint the RV, we need to clean and gently abrade all the surfaces it will adhere to and mask all the surfaces we want to protect. This means we spend a day chipping away any insulation in the way and running over all the camper ribs with a sander. We finish off several blue tape rolls and plastic sheets to mask off the windows and finish off the process by covering the floor and bed with painter’s clothes. With everything in place, we wait for a hot day.

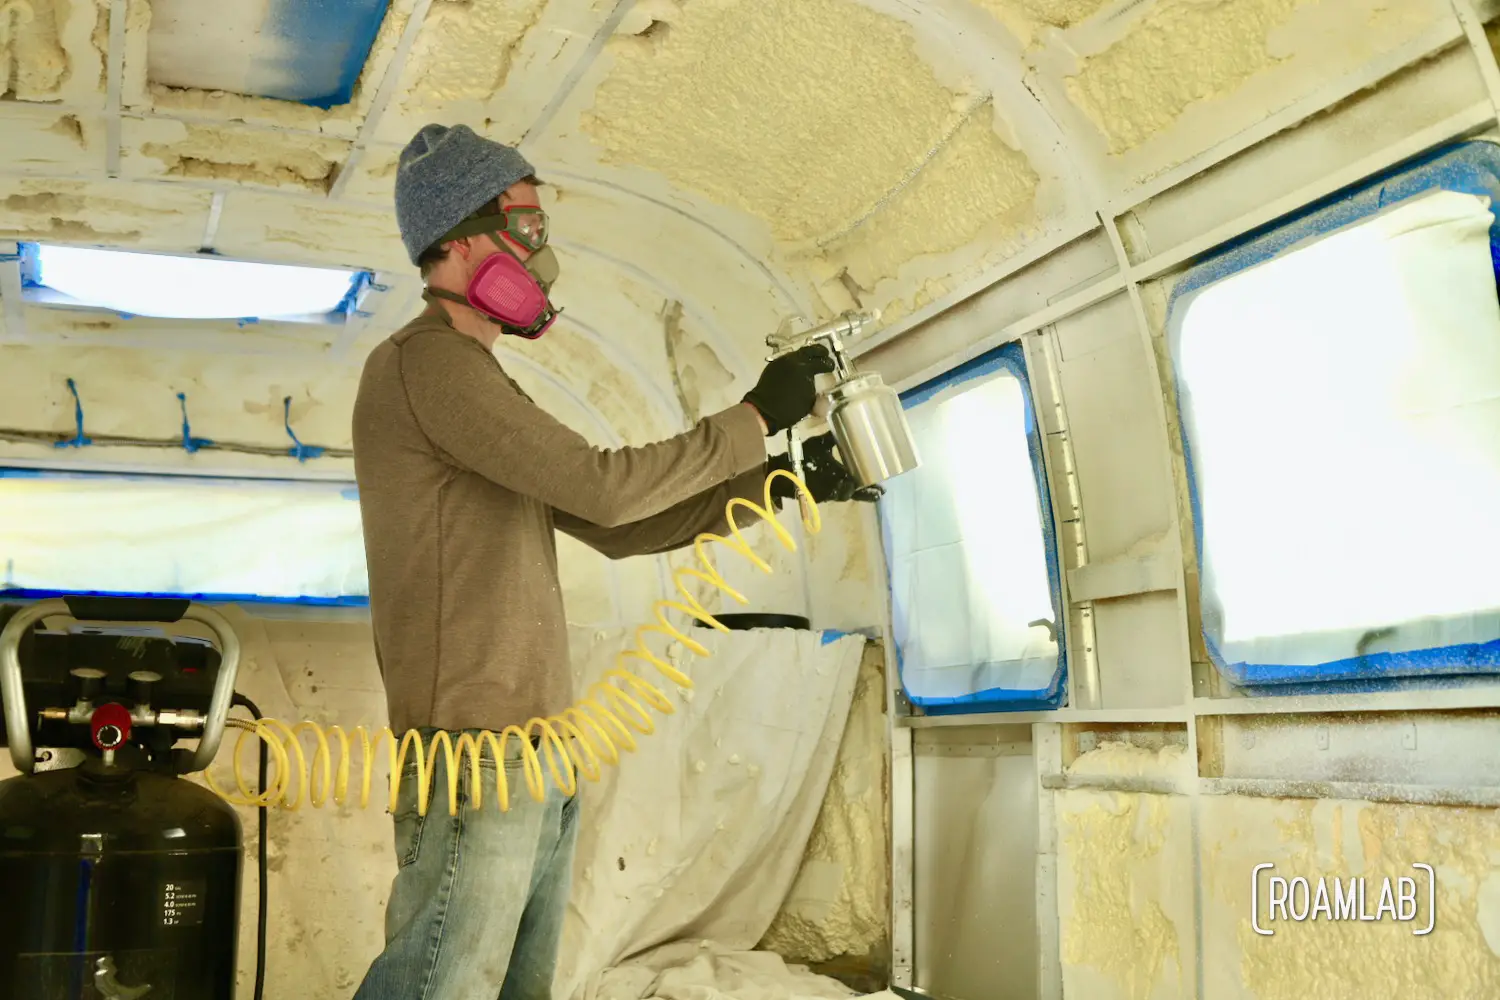
Applying Lizard Skin
Wow, this stuff is messy! Spraying in a relatively enclosed space means that the airborne specks of Lizard Skin go everywhere. Fortunately, we have everything well covered. But it’s worth reiterating: this stuff gets everywhere! I cover my camera and lens in plastic wrap to protect against floating paint particles, on par with the full mask, goggles, and body covering that Chris is sporting.
We are applying the Lizard Skin with the spray gun provided and our large air compressor. Chris takes the lead, wielding the spray gun while I film and point our thin spots. The process is rather drawn out as we spray and refill the paint reservoir. We work our way through half a gallon of paint on the first day but stop when the paint nozzle becomes so plugged that everything comes own in uneven globs of paint. I clean and soak the equipment right away and the paint is much more even on the spray gun’s next use. From then on, we clean the spray gun nozzle and feed each time we refill the paint container. With this new process, the second day of spraying is much more productive.
The end result is surprisingly pebbled. I knew there would be some texture but the Lizard Skin is close to the topography of the popcorn ceilings from the 70s. Part of that may be due to our misadventures in painting from Day 1. Regardless, the directions on Lizard Skin are unequivocal: no sanding. Sanding would dislodge the ceramic beads and defeat the point of the whole exercise. It is a paint meant to be hidden away in the inner walls and under the hoods of vehicles. As will be the case here. Soon we will be installing the inner walls give little thought to the hidden paint that cuts back on condensation and protects us from the outer elements.


Final Thoughts
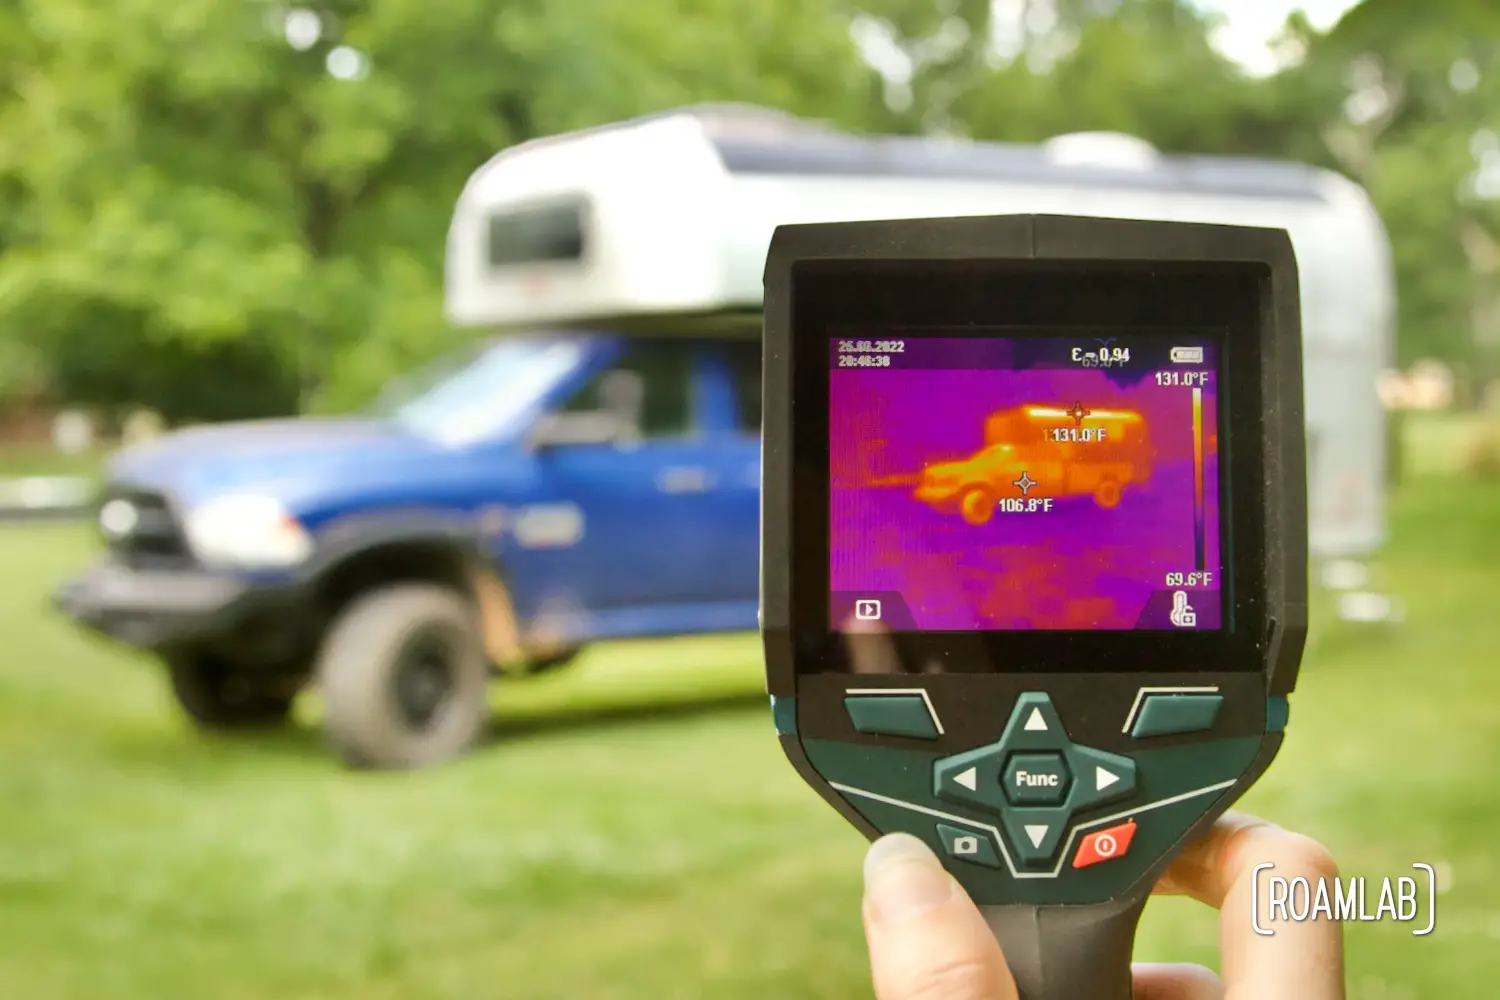
It is a little hard to pinpoint how much of a difference the Lizard Skin makes instead of any other paint. We have a few spots unpainted for comparison’s sake, and we certainly can feel a difference. With Fall in full swing and winter approaching, we’ll have occasion to test the condensation culling effects of our new ceramic paint soon.
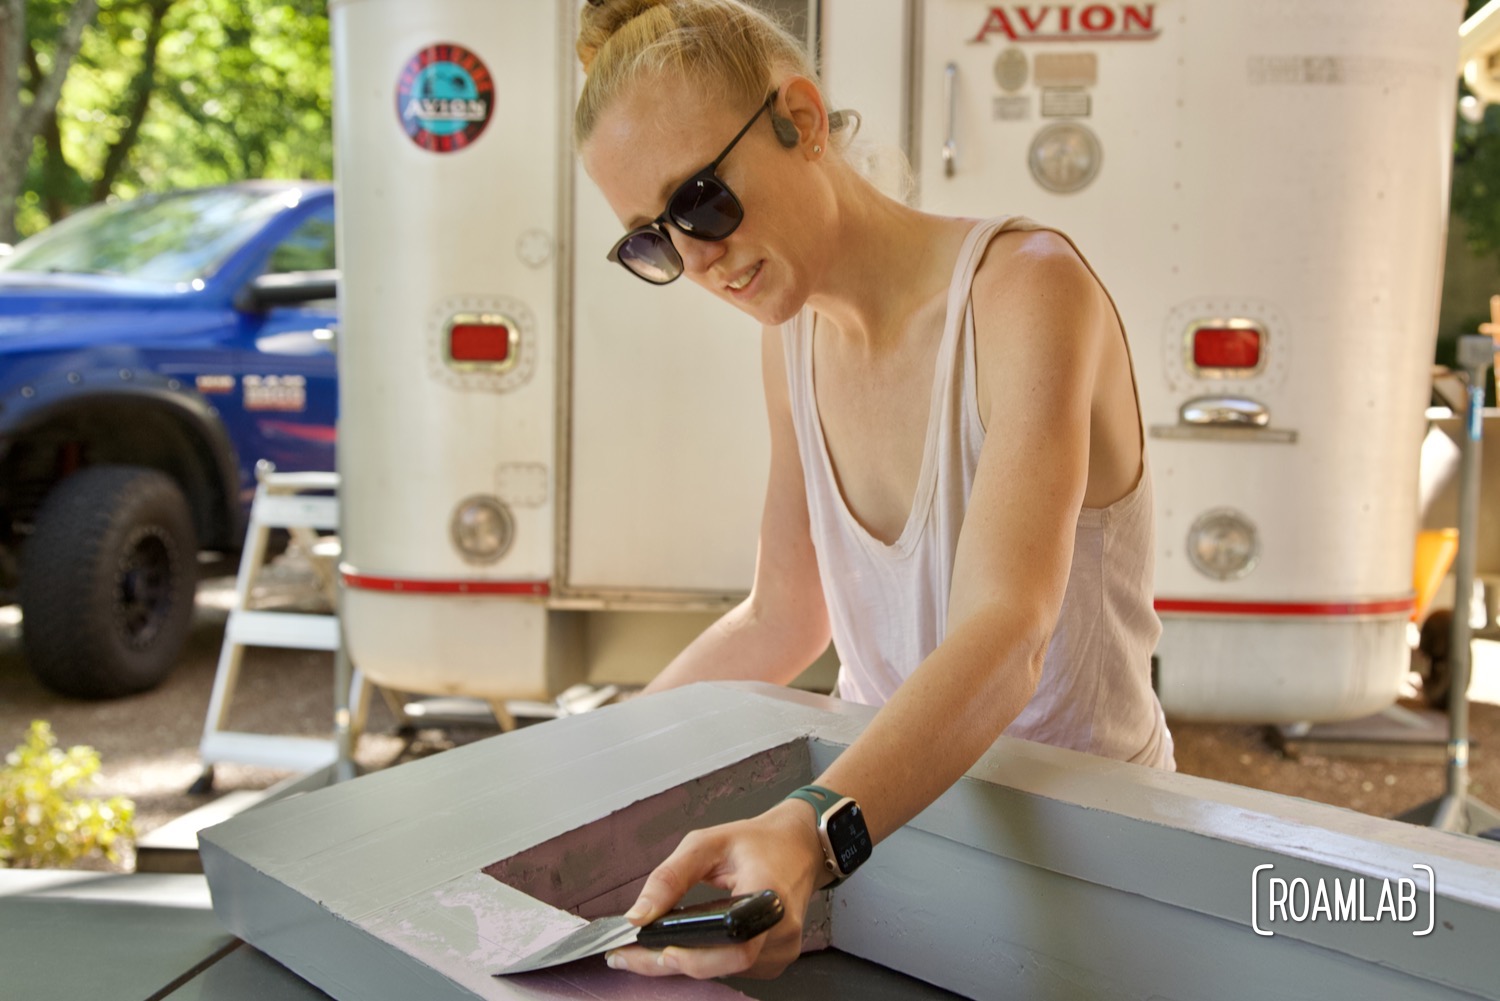
In the mean time, while we missed our opportunity to coat the outer walls with ceramic paint, it now occurs to us that we can still coat the inner walls. To this end, we coat some scrap aluminum with Lizard Skin to test the flexibility in the future. When we get around to installing the inner walls, we feel set to add a little something extra.