
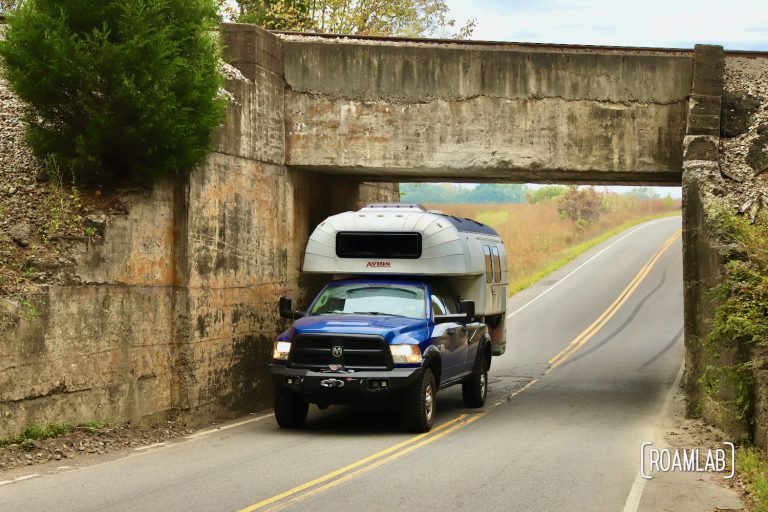
The State of the Floor Address
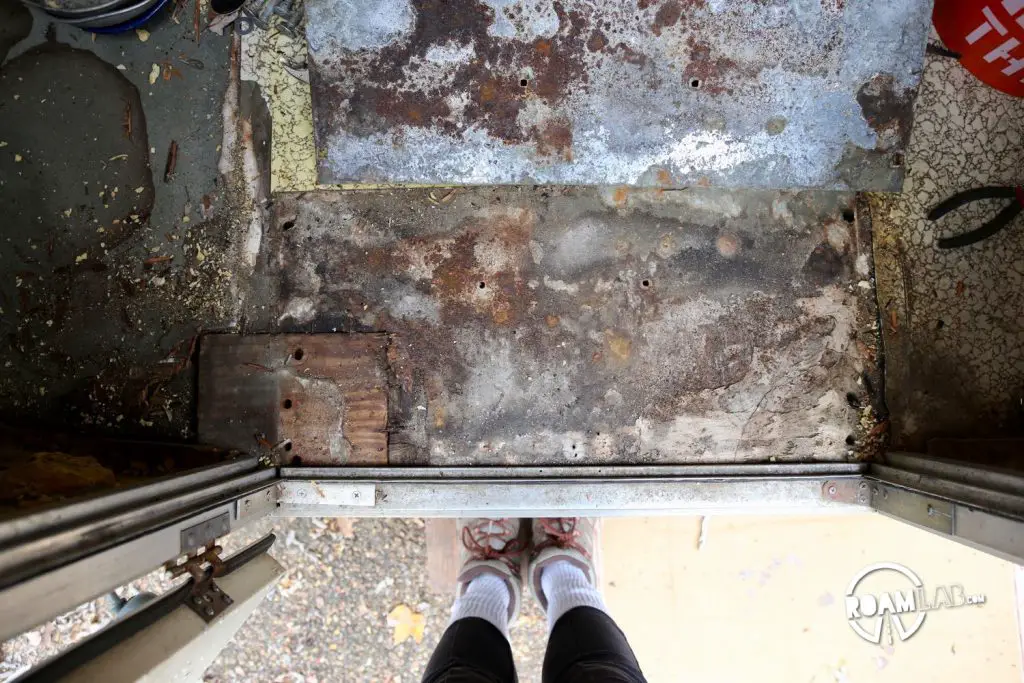
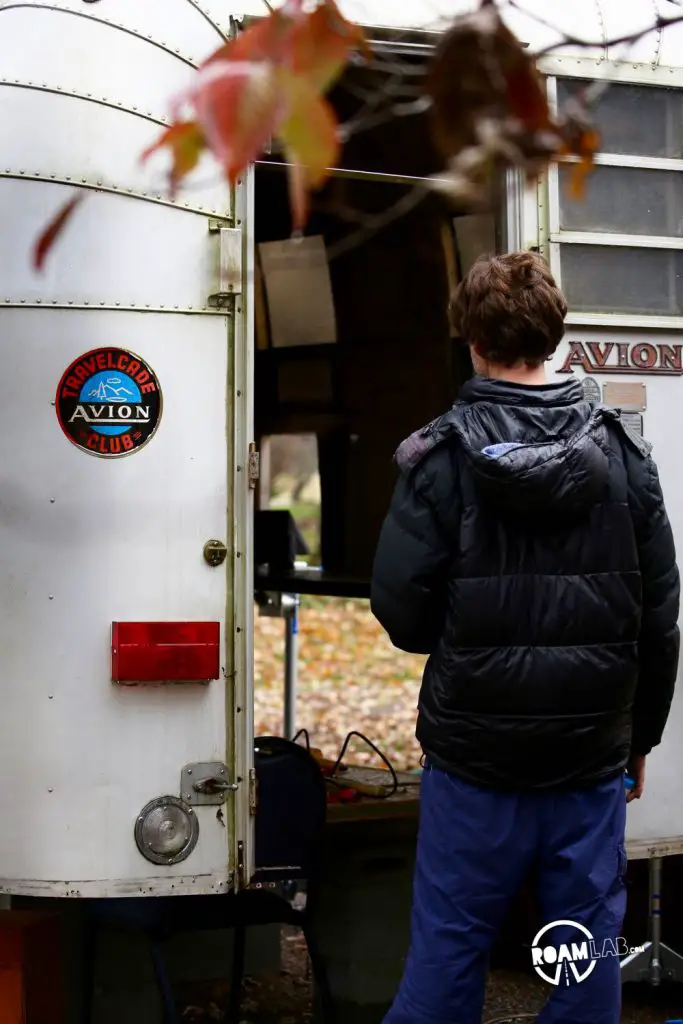
Ladies and gentlemen, the floor of the truck camper is not pretty. After years of patches and general neglect, it is literally falling apart. Try jumping on it. The experience is not unlike that of a trampoline. The concern is for the day that it does not bounce.
So, we are taking out the floor and starting again from scratch. In conducting this renovation, I talk with a lot of other truck camper owners about their floors. Many describe their truck camper floors as being minimally structural and only 3/4″ thick.
This is in stark contrast to our camper floor. The floor is the foundation that binds the arching aluminum walls and ceiling to a single firm base. Observing the placement of screws, nails, and staples, it is clear that it was the first part of any Avion truck camper build. Everything was composed from that base. As such, it is 1 1/2″ thick with 1/4″ plywood sandwiching 1″ of insulation in a design quite similar the the truck camper wings which we have already replaced.
Building the Floor
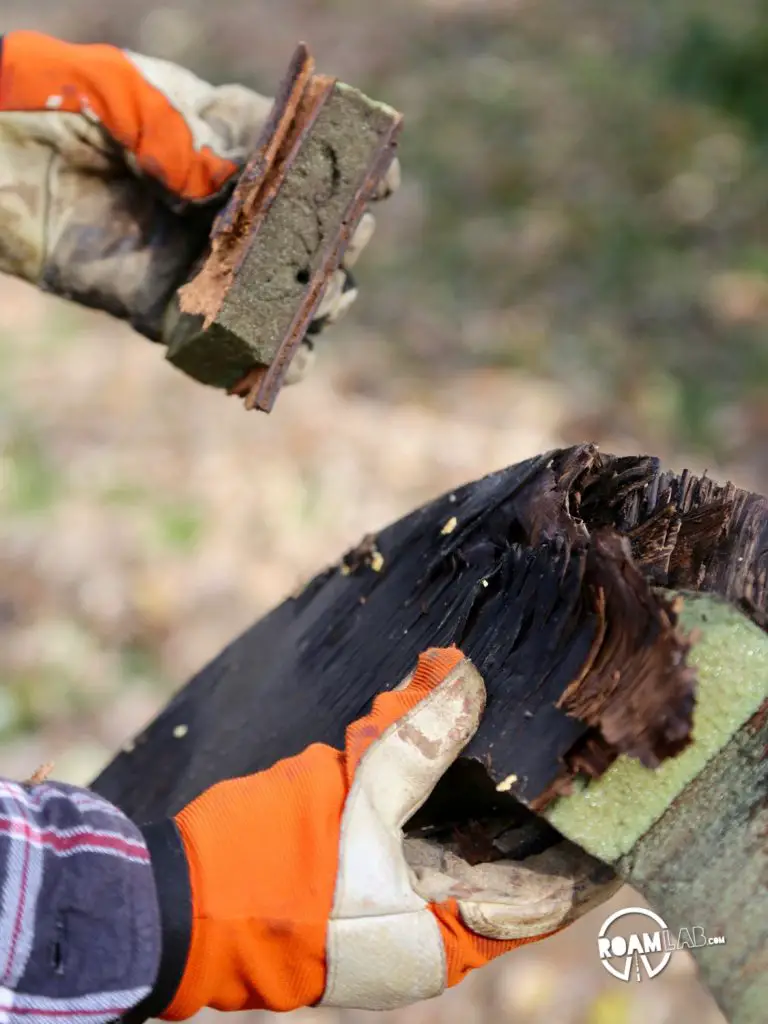
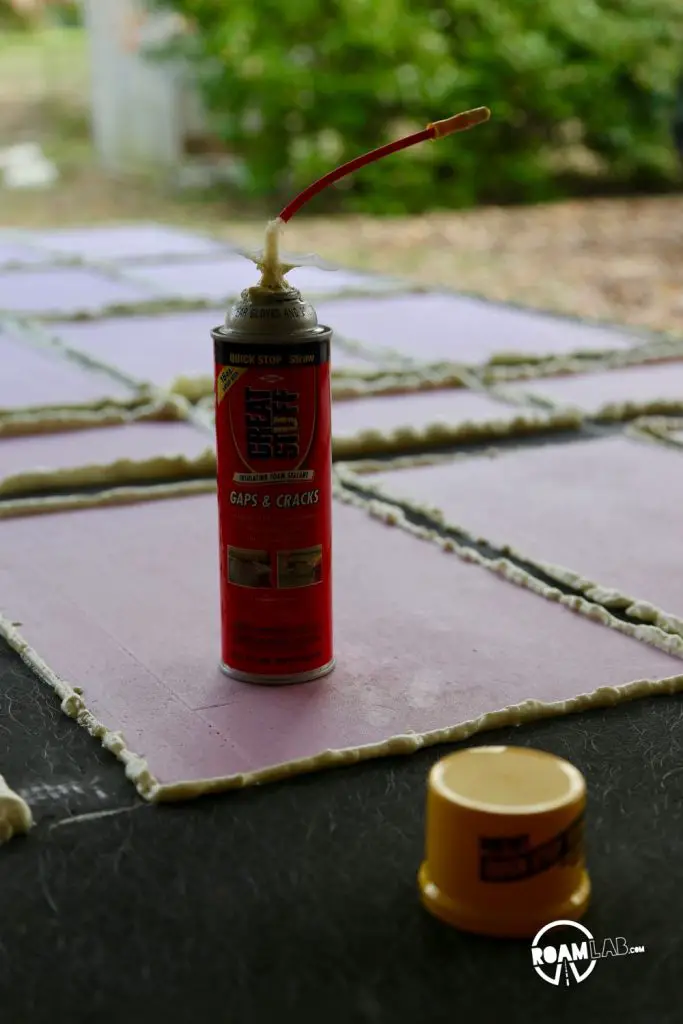
It ss a hotly contested debate. Will we mirror the floor design but replace the plywood with our favorite material of choice: a fiberglass foam composite that maintained the structural strength of plywood while lighter and rot resistant? Or, will we double down like the truck camper wings and replace the 1/4″ plywood with 1/2″ composite for additional strength. One solution is lighter. The other solution is stronger. In the end, I capitulate: we use the 1/2″ material. We both agree, though: we overbuilt.

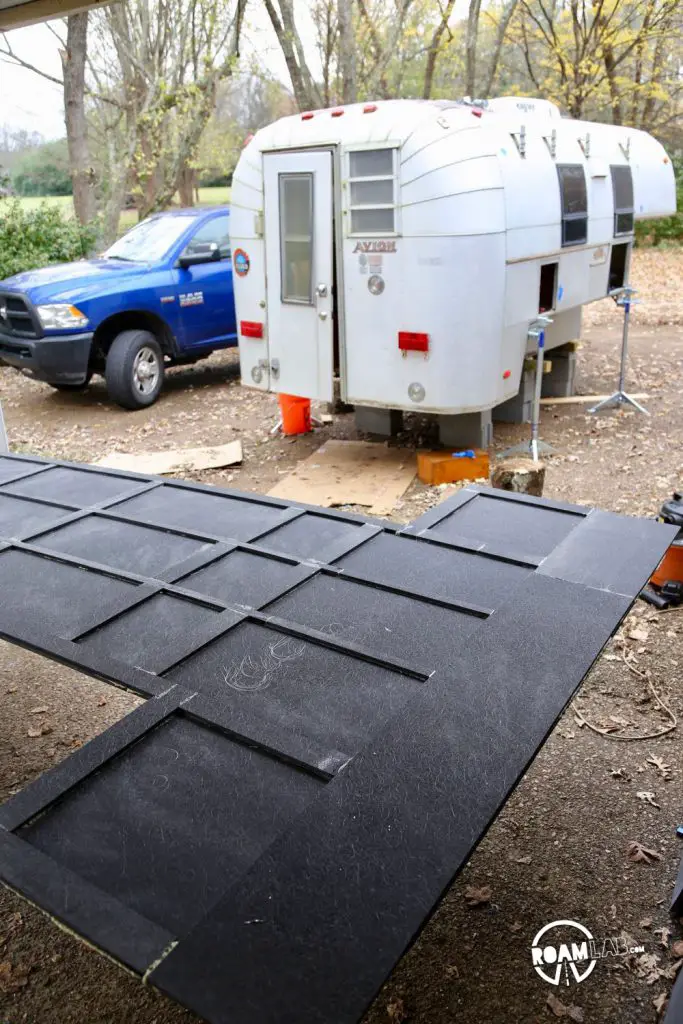

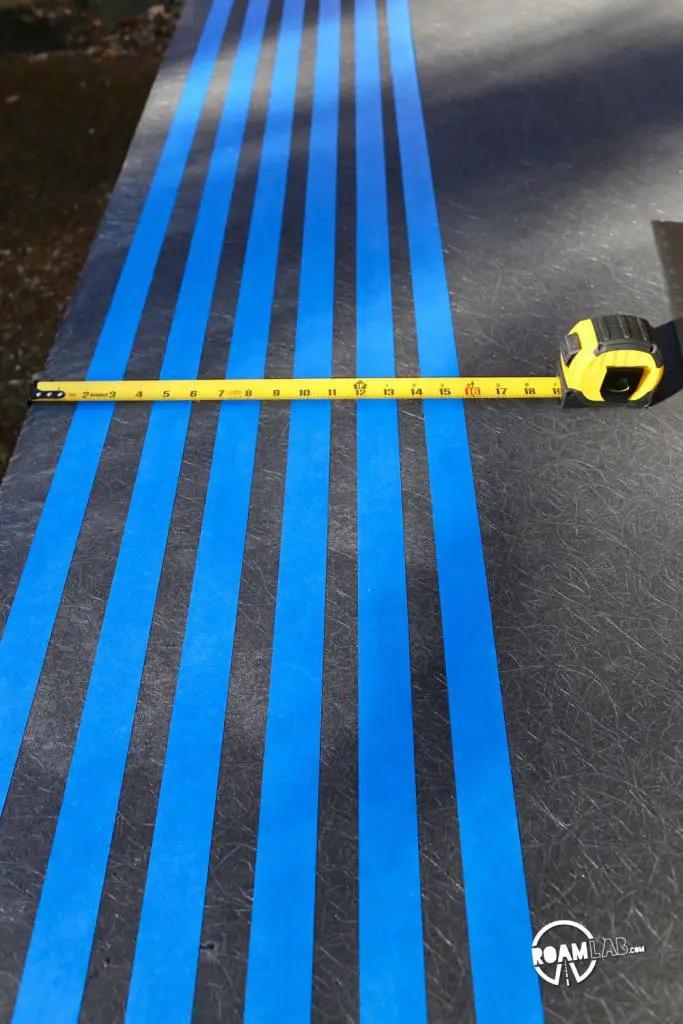
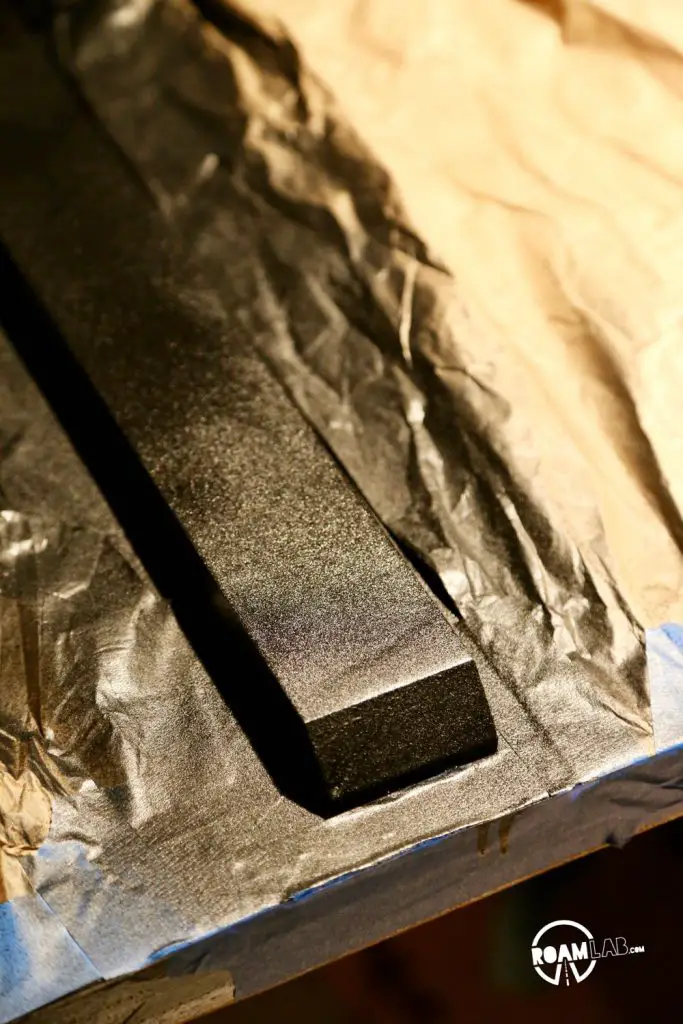
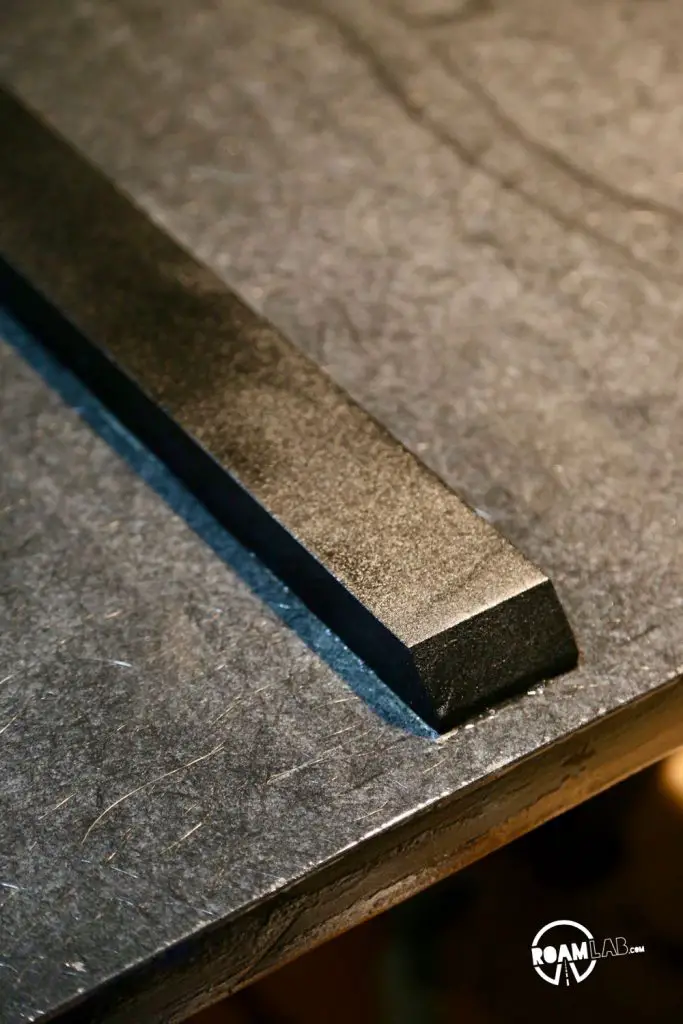
Adding Rails
The floor may be flat on the section that we walk on. But the part that supports the camper in the bed of the truck is built on rails. This serves a dual purpose. The rails lift the body up, better allowing for water drainage of the truck bed and minimizing the risk of rot. Rails also focus the weight of the camper at given points that can dig into a friction mat and decrease the risk of the camper sliding in the truck bed.
For our truck camper, we are reproducing the original three rail design but with the fiber glass composite. Once built and attached to the floor, I add a final layer of gritty spay-on truck bed liner to increase strength and friction.
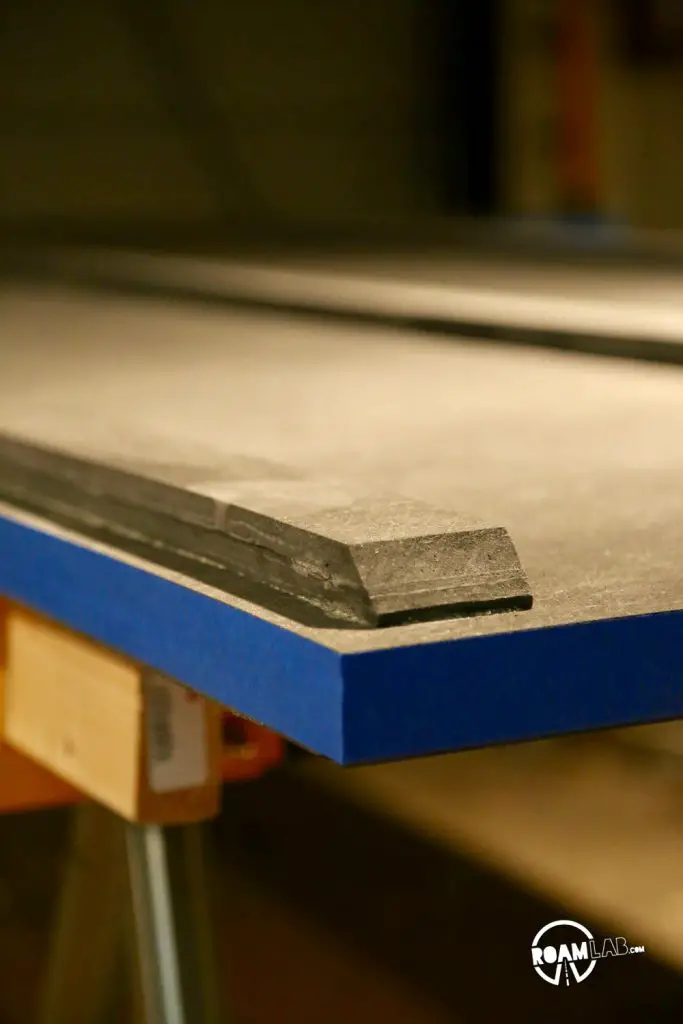
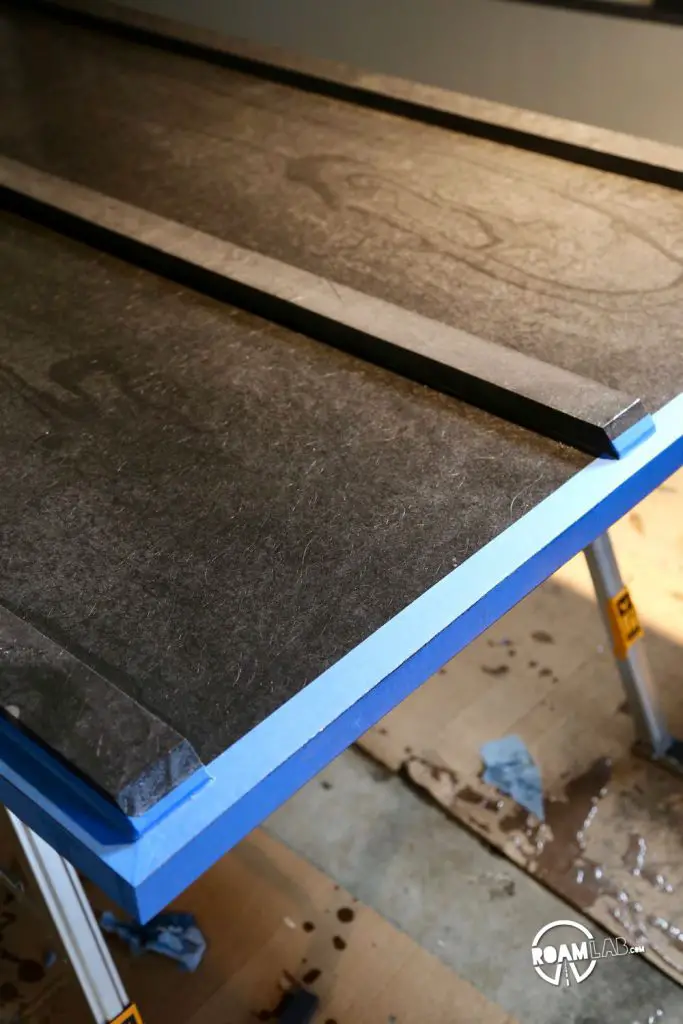
Rails completed!
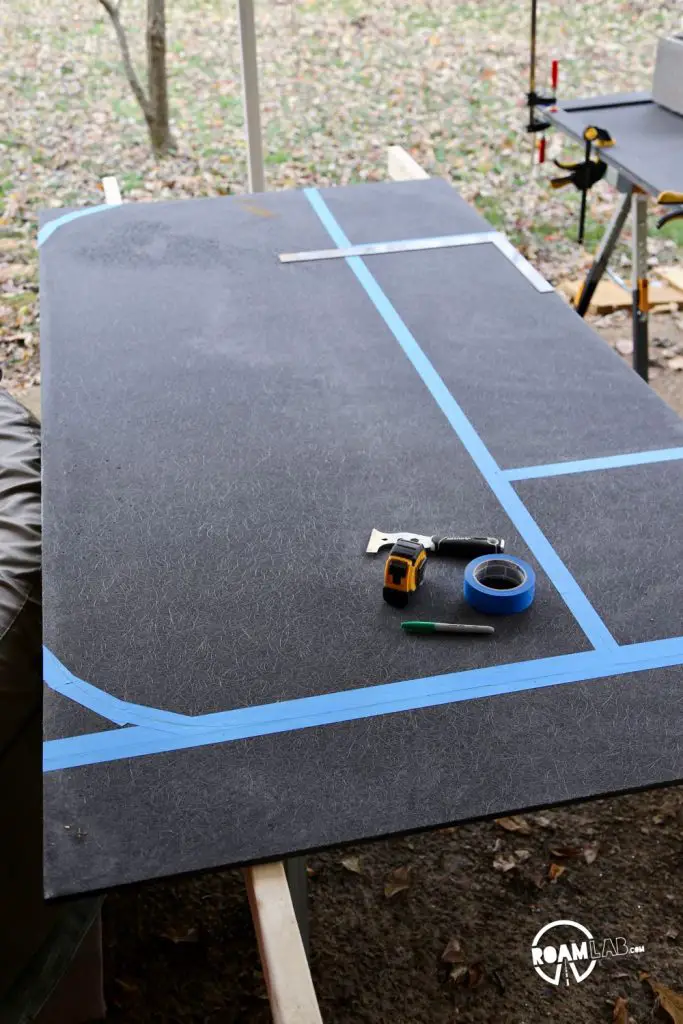
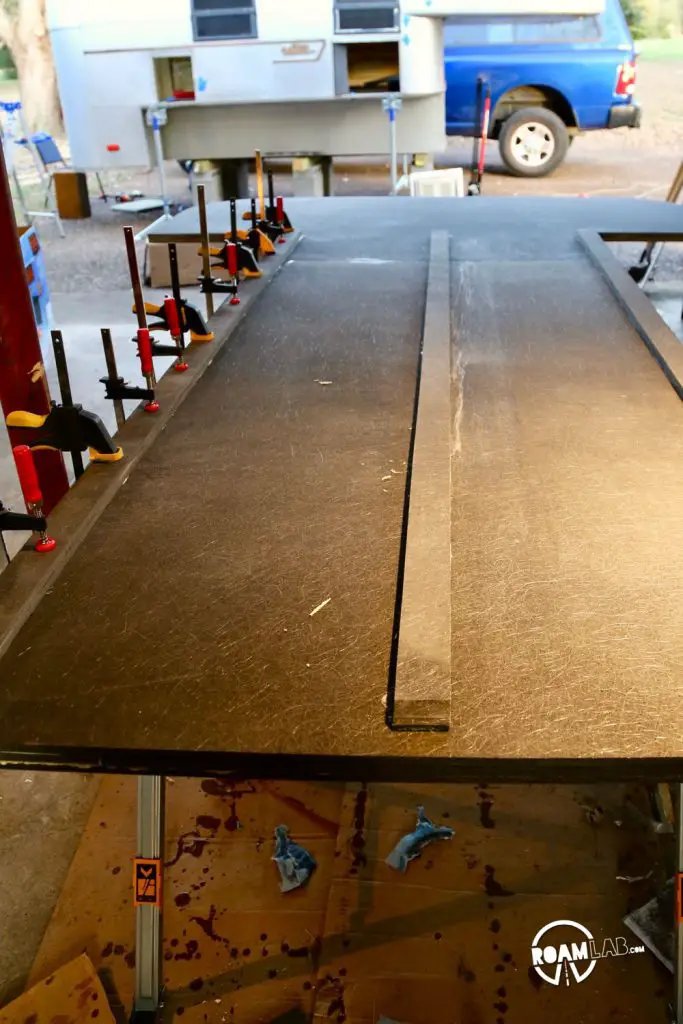
Finishing the Floor
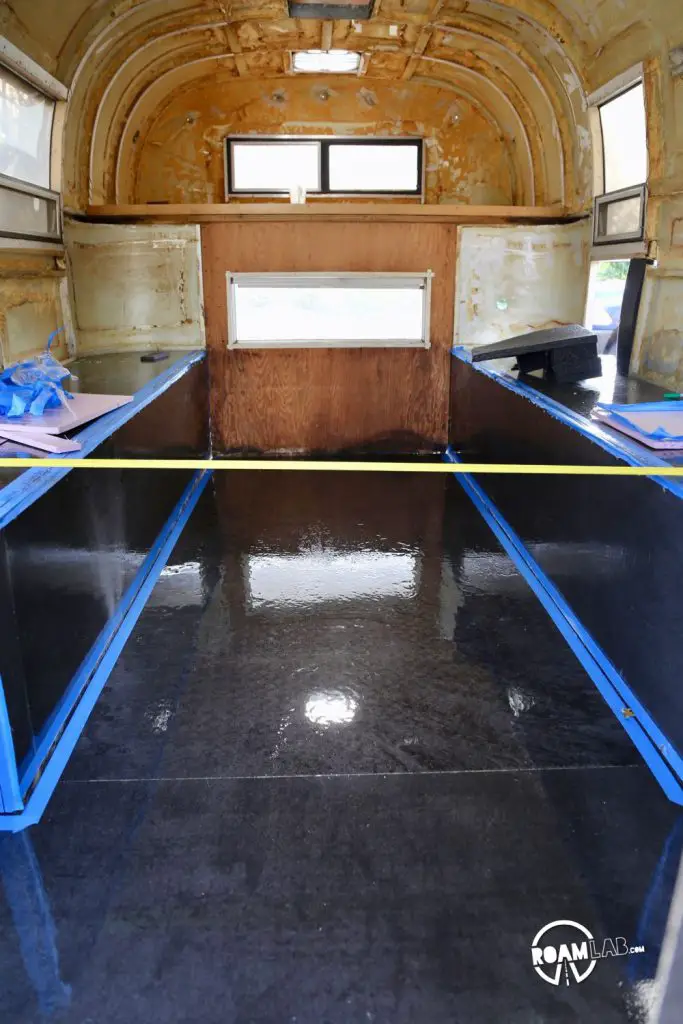
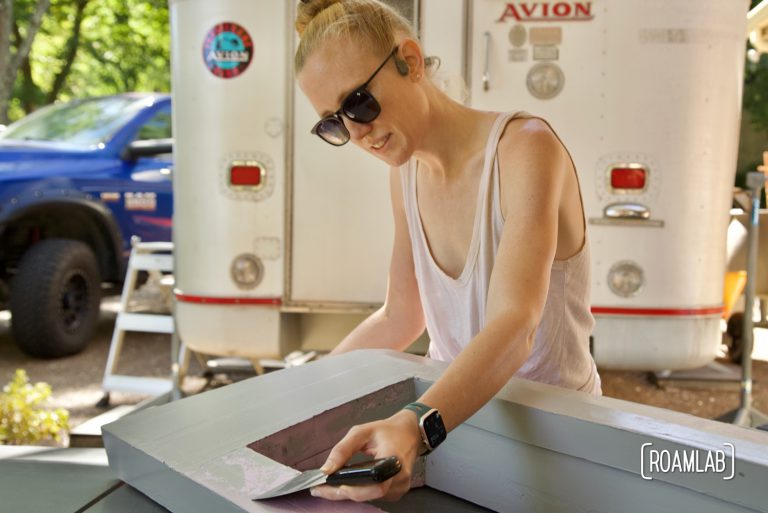
Like the truck camper wing, we epoxy the fiberglass composite for added strength and…it looks pretty!
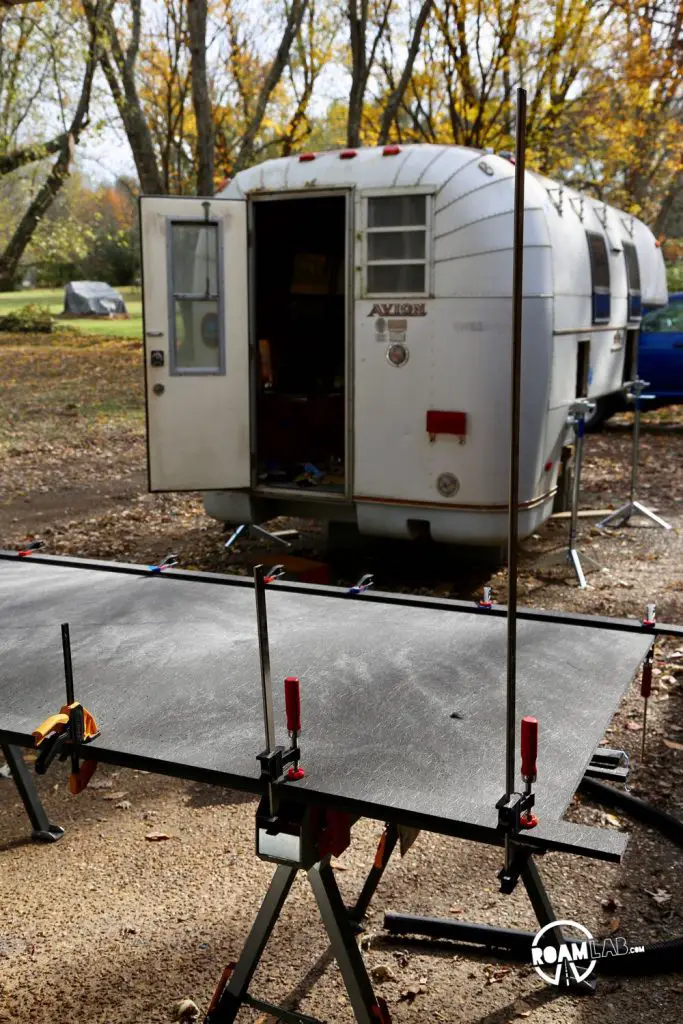
Installing the Floor
Removing the floor is one of the scariest parts of this build yet. We are uncertain what will happen when we remove the foundation of the camper. Will the Avion pull itself apart in an explosion of aluminum? Will it implode, with no way to place the new floor and return normalcy to the situation?
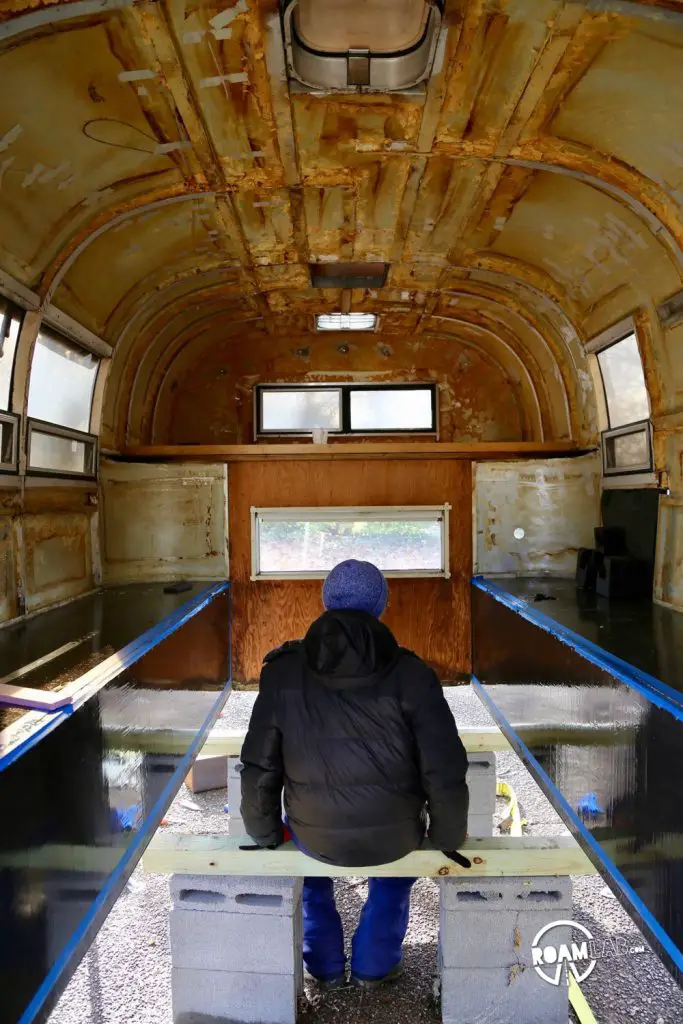
We buy a couple loooong clamps to hold structural portions of the camper in place while the floor is removed. Next, we remove all the nails, screws, and assorted materials that hold the floor in place. Once we are ready, we simply jack up the camper. The floor sits, alone, on the blocks. We then make quick work of replacing the old floor with the new and jack the body back into position. We use a winch to snuggly pull the body back together around the floor and screw the floor back into place.
As an added good measure, I slather the edges in epoxy to fully seal and strengthen the bond between the camper walls and floor. Odds are, if I spill a glass of water in here, I’ll have to mop it up because it will not be sinking into the floor anymore.
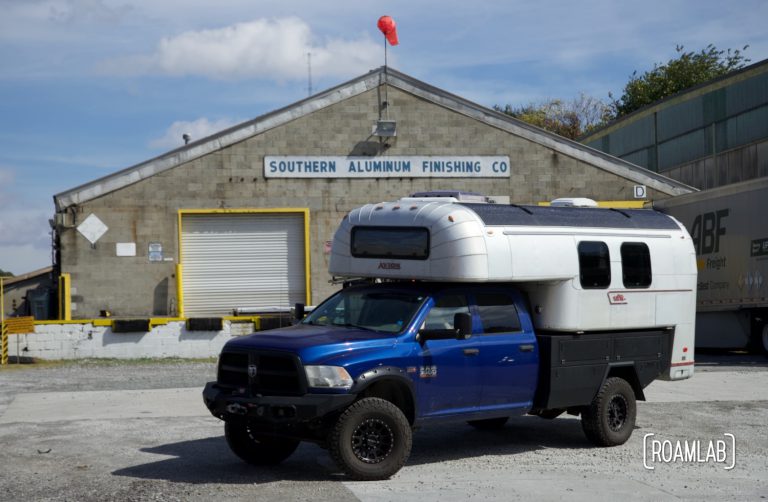
Floor, complete!

[…] building out the replacement bed. My approach and materials mirrors my work on the wings and the camper floor. Sandwiching the fiberglass and foam takes three and a half days of measuring twice, cutting once, […]
Wow!!! you guys are incredible…. Impressive !!! I threw a piece of plywood on the bed of truck befor mounting my Avion camper but you mentioned “friction mat”…. sounds like a great idea. could you please elaborate. I want one!!! Thanks! again incredible follow through with your project!!!!! TDC
Thank’s Tom! We used a rubber stall mat for both padding and friction in the camper bed. You can pick one up at your local Tractor Supply store or anywhere that services farms. We bought two 4 ft. x 6 ft. x 3/4 in. thick rubber stall mats and cut them to fit around the truck bed’s wheel wells. In hindsight, that may have been a little overkill. The 1/2-inch thick mat is cheaper, lighter, and likely to be just as effective.
What is the composite material you used for the floor? How does it compare to working with the fiberglass you replaced the wings with?
Hi Arik! The material we used on the floor is the same as what we used in the wings. While there are various manufacturers of such fiberglass foam composites, we used Coosa.
rebuilding my sons slide in . It has a 1.5 square tubing that covers the bottom. the flooring above it is rotted. trying to figure out how to take off the tubing. can’t find any bolts or screws where it connects. any suggestions.
Hm, I’m not sure I’m properly visualizing where this tubing is. Is it around the edges of the floor or possibly rails slightly elevating the base of the camper? (We didn’t have any square tubing original to the camper)
Hey Lexi! I am planning on replacing an Avion T-28’s rotted flooring with Coosa. My original plan was to go with 3/4″ Bluewater 26 and to simply use a single layer (as opposed to the sandwich structure). After your experience with Coosa do you have any input on this direction? What will be sacrificed with a single layer vs. the sandwich? Thanks in advance! We love your website and all of your advice.
Hi Kody!
I see some pluses and minuses in your plan. I have to admit, that after a couple of years with our floors, they have gotten a little creaky. I was a little lazy and made the insulated spaces between the Coosa supports too large. All the same, if I was to do it again, I’d still sandwich insulation between Coosa sheets. I’d just have more frequent supports for spacers. Coosa, while relatively lightweight, does get heavy and it’s R-value is still lower than sheet insulation.