Avion Ultra Truck Camper Floor Plan
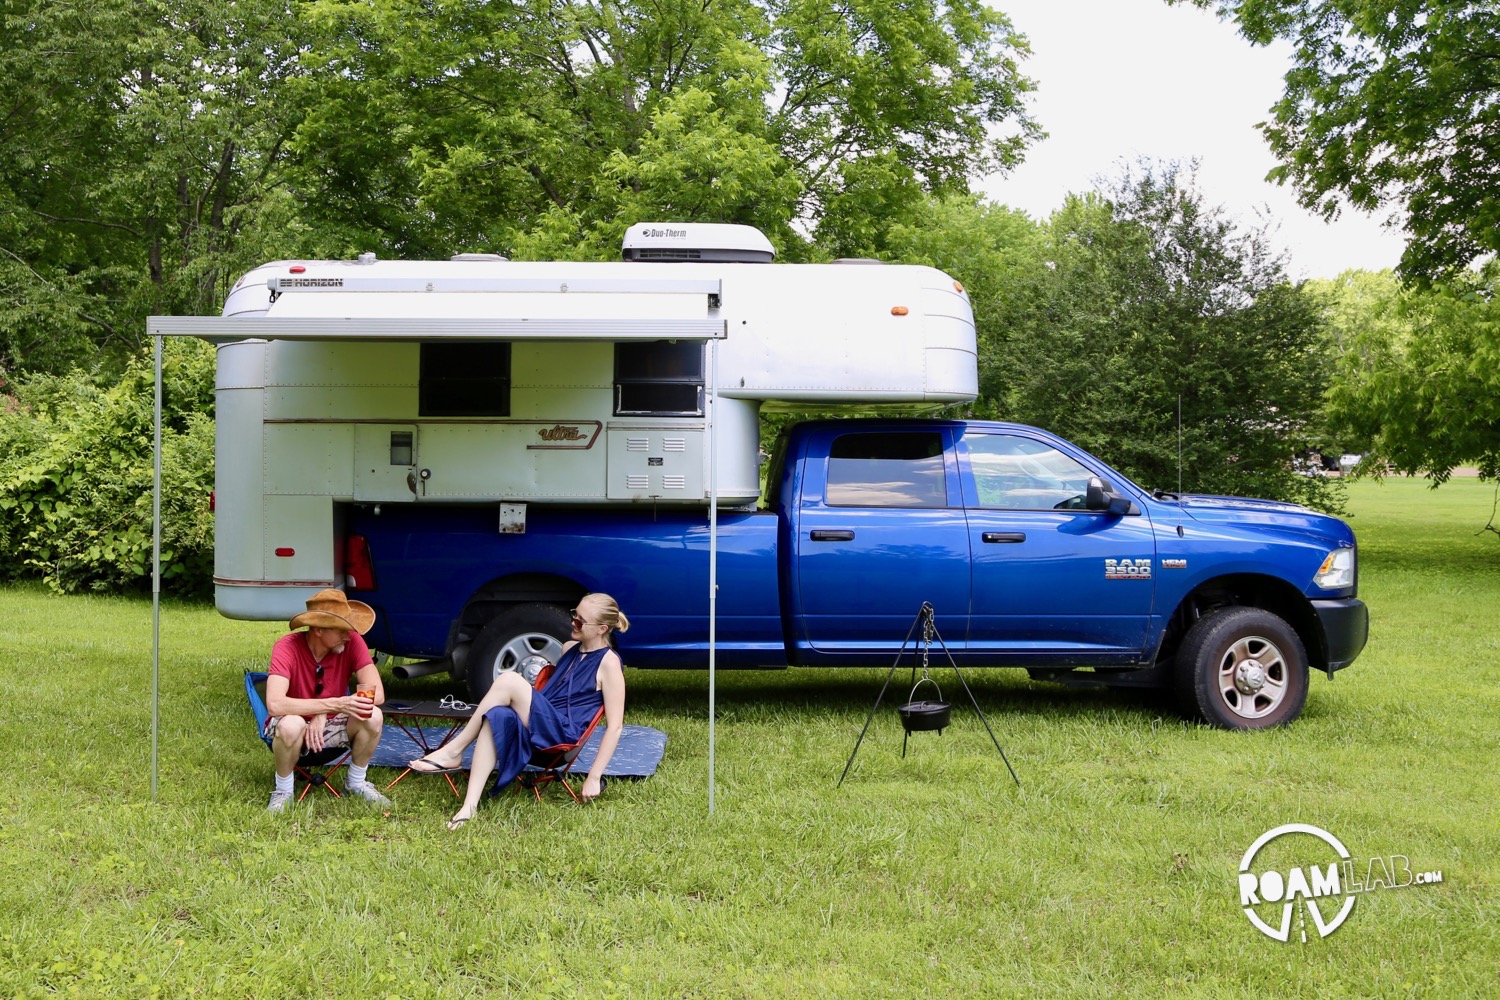
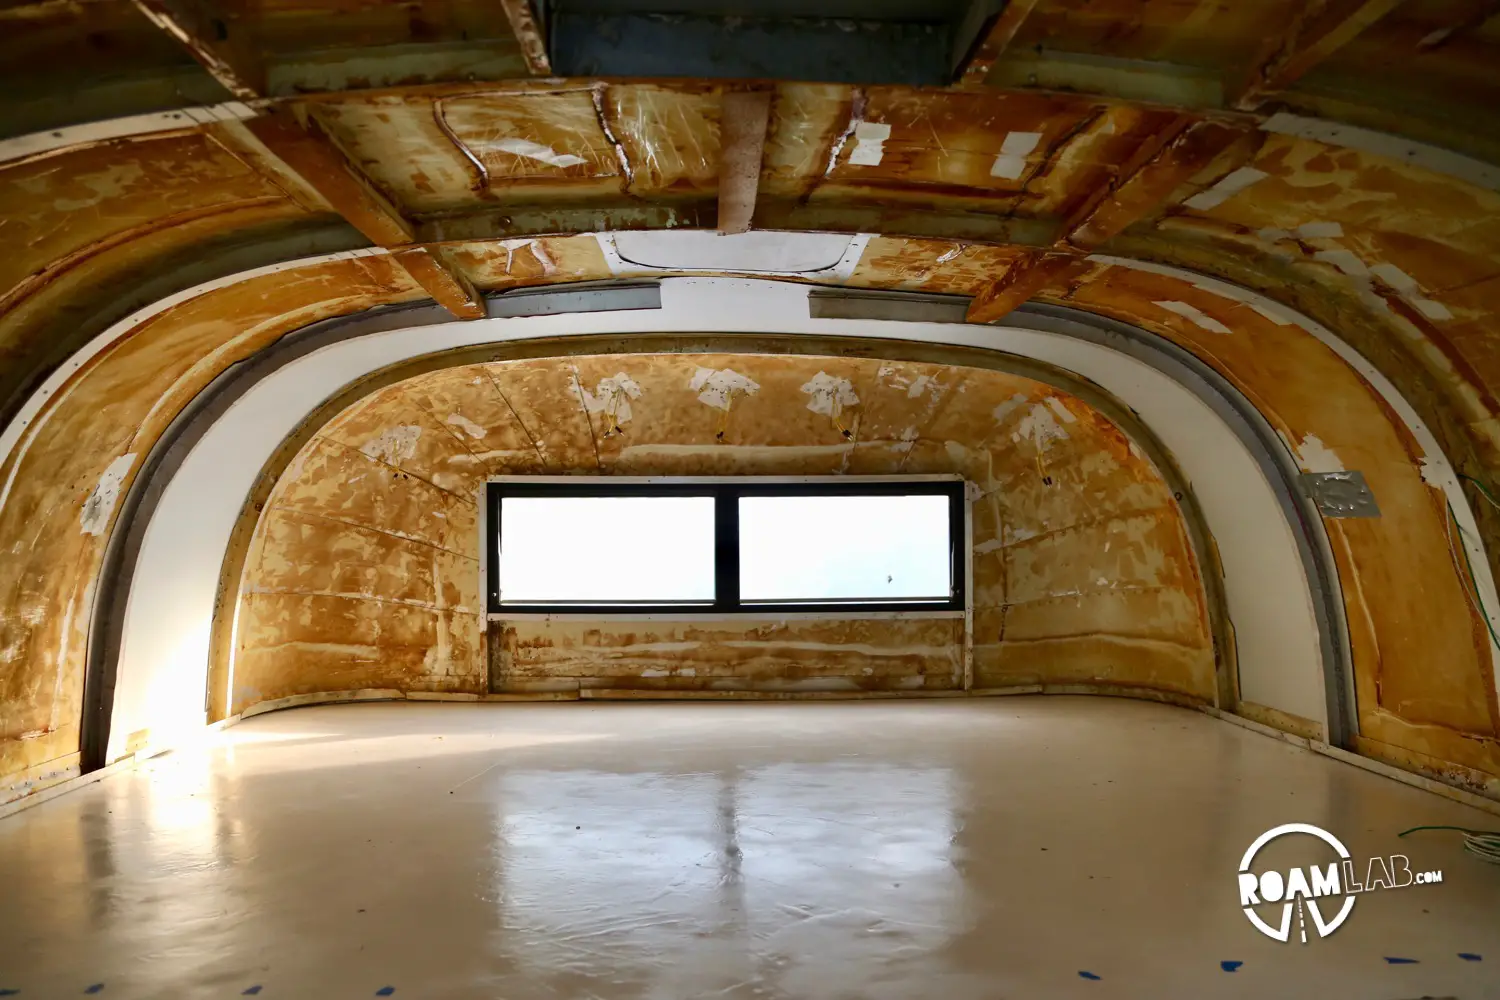
We have looked at a lot of truck campers. Like any home search, there are things we love and things we dislike. One of the many appealing aspects of the Avion is its layout. There is a large table, wide open space, and a dedicated bathroom. But there is a major problem: a lot of the wooden fixtures are rotten. So, we are pulling everything out and starting from scratch. When one starts from scratch, the floor plan starts to change.
Original Floorplan
Two features stand out as problematic with the original floor plan: the zig-zag walkway and the east-west full bed. I can only imagine, one late night, wandering from bed to the bathroom and bashing one’s hip against the seat back sticking out as the walkway turns. We assume this was a design choice to better arrange heavy items like the dinette set and the bathroom, but it is a problematic waste of space. Similarly, the east-west full bed means that, not only is there little space for two people to sleep, but one person has a very difficult time getting out of bed without waking the other. Both of these features ranked high on our list of things to change.


Updated Floorplan
With the new floor plan, we are flipping the table and kitchen to straiten the walkway and extending the camper nose to flip the orientation of the bed and allow for a queen bed. Extending the camper nose by 18 inches and pushing the bed 5 inches into the cabin space will allow for a bed long enough for a north-south configuration which has long been one of our major concerns.


By switching this floor plan, certain features such as the windows will no longer match up with the interior. This is, mainly, not a big concern. The only notable feature is that the gap between the passenger side windows that had been for the stove top’s back splash will now be on the side with the dinette. This also means that certain openings for items such as the propane tanks and the refrigerator vent may no longer match up to their particular features. All of these are not game stoppers, but points of consideration.


Grant
I just came across your blog. Thanks for sharing such detailed information of your renovation. I have a ’65 Avion truck camper which I’m about to start working on.
I was interested in your plan to extend the nose of the camper to create a north-south bed. I’ve been contemplating the same thing. How long is the current overhang on your Avion. Mine is 48″, but being a C-10 rather than a C-11 I’m not sure if yours would be the same.
I’m looking forward to seeing how you do this!
Lexi Goforth
Hi Grant. Your are right. Our over hang was longer (52 inches, I think). Some of the new bed will come into the body of the camper. In the end, we will be adding 18 inches to the nose. We are actively working on the extension but it is not complete yet.
Grant
I remeasured ours and the cabover is actually 46″. I’m thinking of adding 17″ to the nose and having the bed extend 12″ inside to get a total of 75″. The inside extension can’t be more than 12″ without interfering with the windows. I haven’t started on this yet, I’m just about to begin gutting the interior.
I’m looking forward to seeing photos of how you did the extension! I’ve decided to strip the anodizing off the aluminum. The anodizing is in poor shape in some areas where the camper was covered with a tarp. This will also mean that I don’t have to get anodized aluminum to match where I extend the cabover. I’ll probably use 4’x6′ sheets for the extension to get a good overlap to maintain structural integrity.
I’ve just started posting updates at 65avion.home.blog
Thanks for sharing your experience!
Lexi Goforth
I haven’t had time to post pics yet, but we have a similar situation at this point: 11 inches inside, 18 inches outside. So far, it held up on preliminary release from the scaffolding as we lowered the camper for some adjustments but we are keeping the new cabover base supported as we reattach the endcap and reinforce the interior. We are also noticing a fair bit of flexing in the wings with the additional weight. So we are working to address that.
Grant
Have you replaced the wood that supports the mattress yet? I noticed that mine has sagged by about 5/8″ in the centre. I’m thinking that when I make the replacement for the larger bed I’ll make it with a bit of an arch in the centre so that if (when) it sags it will be flat.
Lexi Goforth
Yes, we did recently. I didn’t notice the sag, but maybe that was an overlook on my part. Are you replacing the bulwark? Maybe it wasn’t supporting the bed?
Grant
I’m not sure what you mean by “the bulwark”. Yours may have a different construction being 5 years newer. I’m going to rebuild the entire platform that supports the bed. I’m thinking that this will be done in place after the shell has been extended but before the aluminum on the bottom of the cabover is installed.
I’m also planning on lowering the cabover a bit, probably 3″. There isn’t a lot of height inside, and with a decent mattress it’s going to be pretty tight for headroom.
This idea came about because I found that there was only a half inch of clearance between the cabover and the truck roof. As I was considering adding to the bottom of the camper to raise it, it occurred to me that if I added 4″ I’d have room for 1 or 2 grey water tanks. Vintage Trailer Supply sells these in a 4″ depth for vintage Airstreams. So, a 4″ deep aluminum structure added to the bottom of the floor plus a 3/4″ stall mat along with solving the sagging bed platform will give me about 5 1/2″ of clearance over the cab. Lowering the cabover 3″ will result in 2 1/2″ of clearance, which I think will be sufficient. I’m already replacing the aluminum that extends from the roof down the wall to the cabover floor, so those will just extend down farther than the original, and around the front under the end cap there will be a 3″ tall strip to fill in the gap.
Lexi Goforth
The bulwark would be describing the short wall supporting the cabover bed and against the truck cab. We went ahead and replaced it first and then slid in the new base for the cabover. Once I have the aluminum section back in place I’ll post pictures of the process.
Do you have a sense of how adding a basement and a standard queen mattress is going to alter the camper’s center of gravity?
Grant
The basement will likely move the centre of gravity back a bit, but then extending the cabover will move it forward. I’m going to replace the two 10 lb propane tanks with 20 lb tanks in the same location (rear left corner) which will add a bit of weight to the back. I’m tentatively planning to put the batteries right behind the bulwark which will move CoG forward, and the fresh water tank under the dinette platform. It’s hard to know at this point where the CoG will end up, but I’m hoping the changes will all balance out so it’s not too much different than before.
I’m going to install a Stable Lift jack system which is heavier than the original jacks and provides support on the ground farther forward and back.
Lexi Goforth
Makes sense! Yeah, it seems like extending the nose has noticeably shifted the center of gravity forward. The interior build with tanks, batteries, and hardware should help alleviate it, though.
Bruce
Extending the cabover was also my interest. In the end how did yours work out? It looks like in recent pictures you did extend it. I’m curious what the whole process was.This makes me wonder if it would be useful to do FEA in Fusion 360 to analyze where the stresses actually are and maybe come up with a way to alleviate them. Sadly, I am an EE, not an ME so this would be difficult for me. Maybe someone who knows what they are doing has already done this analysis.
Lexi
Hi Bruce,
Yes, we did extend the cabover. A mockup for the stresses would have been awesome but outside of our skill sets. So we opted to overbuild. Our cabover extension was in conjunction with a complete overhaul of the camper’s base structure to make it lighter, stronger, and rot-resistant. You can see our full write up here Extending the Cabover.