We are continuing our deep dive into bus bars for our DIY lithium batteries. Bus bars (busbars) are short strips of conductive metal for high current electric connections. We are going to use some to connect the battery cells in our batteries. While the concept of a bus bar is simple, getting the right bus bar is nuanced. That is why we are writing this multi-post deep dive into bus bars. We have already surveyed different types and applications of bus bars with Understanding Bus Bars and explored materials used in bus bars in Copper, Brass, or Aluminum: Best Bus Bar Materials. Now, we are diving into the technical considerations of our bus bar dimensions. While we are focusing on picking the right dimensions for our battery cells, hopefully, these steps can help your select the right bus bars for your project.
The Stakes of Getting It Wrong
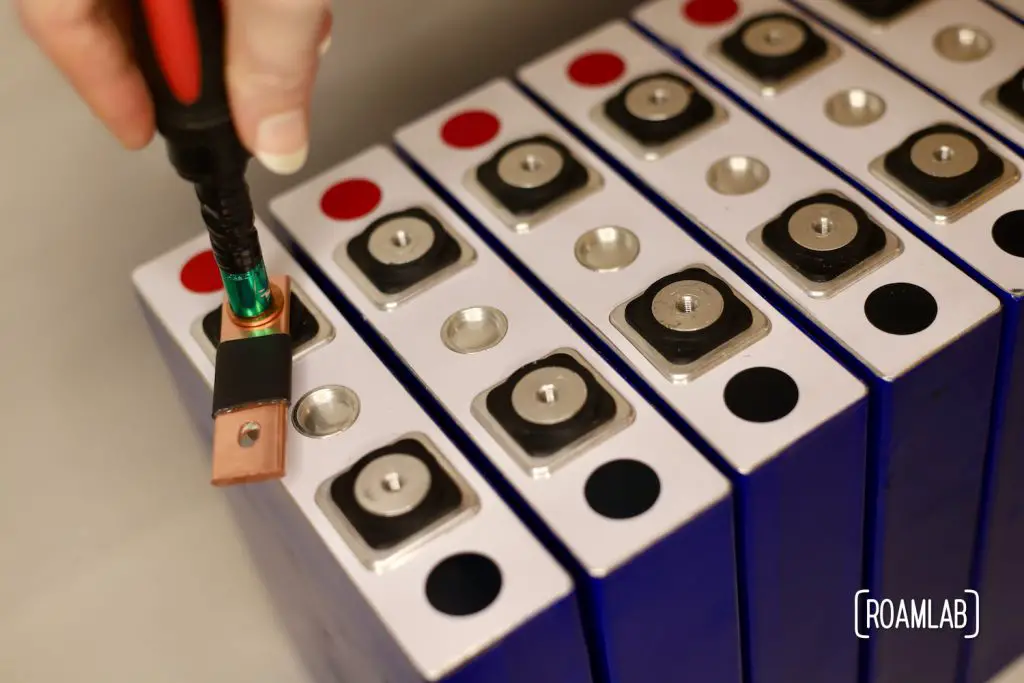
Our battery cells did come with bus bars. But due to miscommunication with the vendor, we received very thin bars more appropriate for flashlight sized batteries. There’s no way these thin sheets of metal can effectively handle the current that will flow between our battery cells. This forces us to do our own research to figure out how to design our own bus bars. There are three core considerations at play: to design bars that are wide enough to maximize contact, just long enough to connect the battery terminals, and thick enough to support the amount of current that will be flowing through these batteries.
How To Pick Bus Bar Width
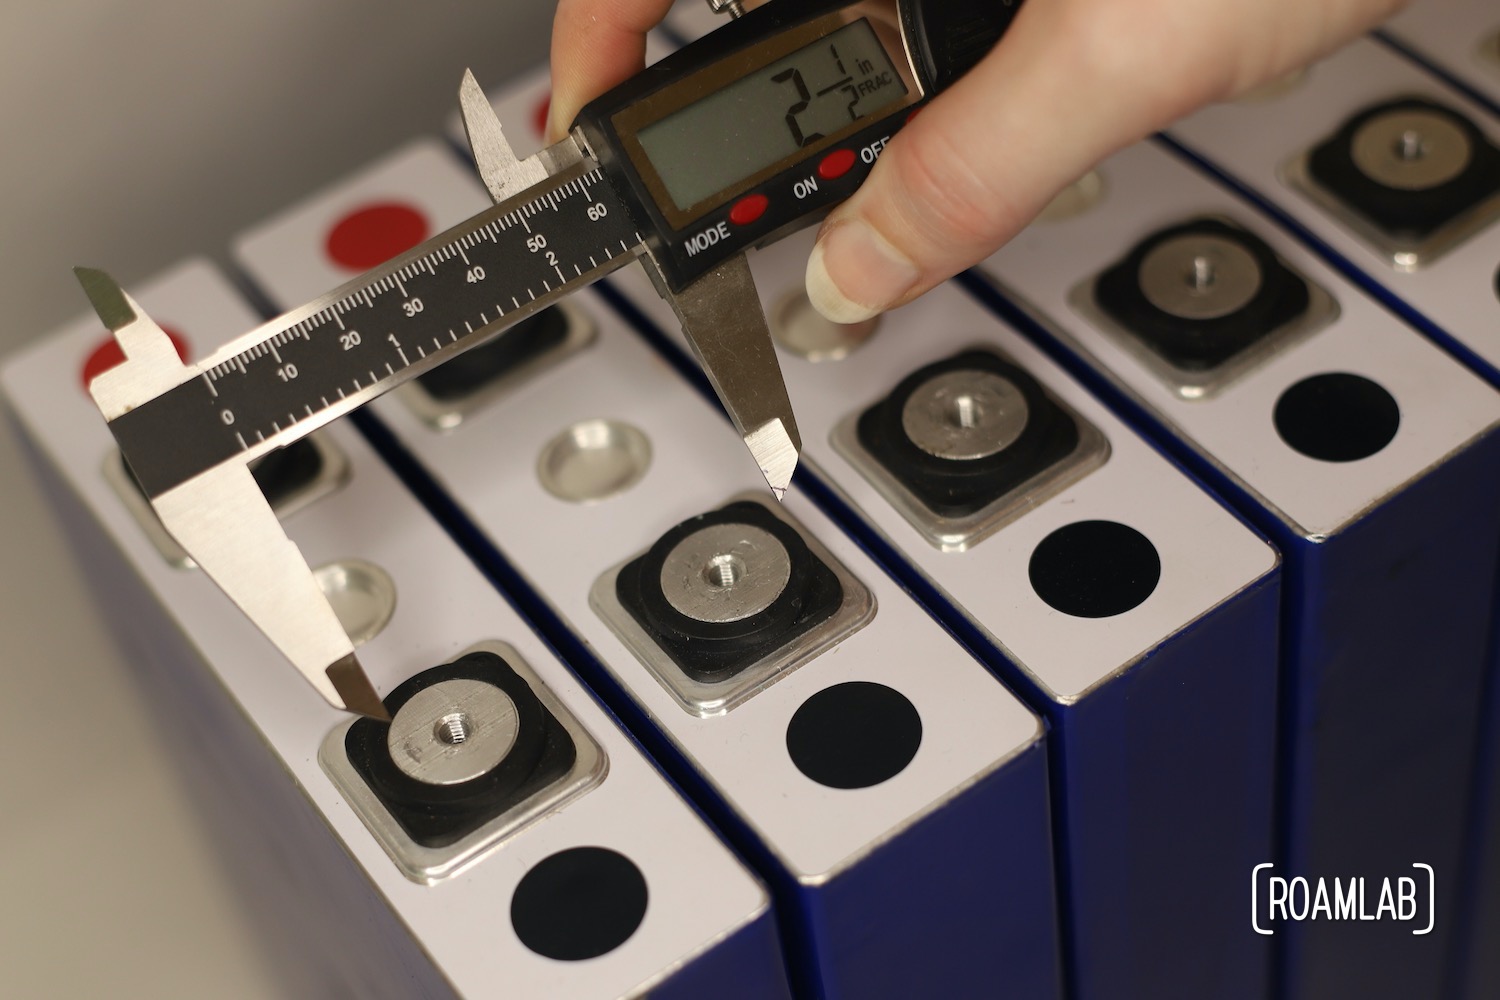
The width of a bus bar is arguably one of the most straight forward decisions when connecting battery cells. The key is connectivity, so we want to maximize the surface area contact between the battery terminals and the bus bars. To that end, the width of the bus bar should at least match the width of the cell terminal contact. This can vary depending on the type of terminal. As we have flat, ¾” diameter terminals, we will order a ¾” wide bar.
How to Pick the Length of A Bus Bar
The ideal length of a bus bar for our battery could be anywhere between 2½ inches and 28 inches. The number of inches depends on the arrangement of our battery cells.* In one extreme, a single bus bar could span the length of all of our 16 battery cells (28″) to make a simple parallel connection. We sit at the opposite extreme with an 8s2p arrangement, with each battery cell connected in series. That means we need a bar just long enough to connect two terminals immediately next to each other (2½”).
* You can learn more about the range of possible ways to organize cells in our Parallel vs. Series: Connecting Cells To Build A Battery blog post.

It’s practical to make sure the bus bars are no longer than necessary. This way, they can’t swing around while being installed and cause a dangerous short which could destroy the battery. See the pictures below for an example of the widths and bus bar swing on our batteries.

How To Pick Bus Bar Thickness
With the length and width of our bus bars selected, there’s one final and critical variable to settle: the thickness. We determined width and length based on our battery cell terminal size and position. Now, however, we have to weigh current, resistance, and ampacity to determine how thick a bar is needed to support the electrical load.
Electrical Resistance
When electricity travels between two connectors, there is always some amount of current that is lost. This is resistance. The amount that is lost varies by material, size, and load.
$latex R=p\times \frac{l}{A}&s=4 $
Resistance (R) equals the resistance of the material (p) times the length of the material (l) divided by the area of the material’s cross-section (A). So the material, length, and thickness of the conductor are all critical variables. Resistance is measured in MicroOhms. Often we encounter it as MicroOhms per foot, as the effects of resistance increase with distance. Too high a resistance could mean that we lose too much power over the connection, resulting in a voltage drop. For this reason, we want to keep the jumps between high capacity connections as short as possible with as little resistance as possible. In our case, the thicker the bus bar, the less resistance.
Ampacity Chart
When we are selecting wires or bars for electrical connections, we are choosing them based on the maximum sustained current we expect that connector to carry without exceeding a safe temperature rating. This amount is the ampacity of the connection. Fortunately, there are ampacity charts that can help us determine the appropriate thickness of a bus bar based on a given load.
Amperage encountering resistance will result in heat. So, the more resistance, the more heat. When we look at ampacity tables, they will often include several heat ratings. Which heat rating to use depends on your use case. But we are focusing on the conservative 30°C (86°F) rating in the table below.
Since resistance is based on the resistance of the material as well as the connector’s dimensions, these ampacity charts vary based on the dimensions and material used. The chart below is for copper no.110 with a width of ¾-inches.
| Thickness (inches) | DC Resistance (Microhms Per Foot) | 30°C Rise Ampacity (amp) | 50°C Rise Ampacity (amp) | 65°C Rise Ampacity (amp) |
|---|---|---|---|---|
| 1/16 | 175 | 145 | 193 | 225 |
| 1/8 | 87.7 | 215 | 285 | 325 |
| 3/16 | 58.4 | 270 | 360 | 415 |
| 1/4 | 43.8 | 320 | 425 | 490 |
| 3/8 | 29.3 | 415 | 550 | 630 |
**based on table from Copper.org
Solving For Thickness
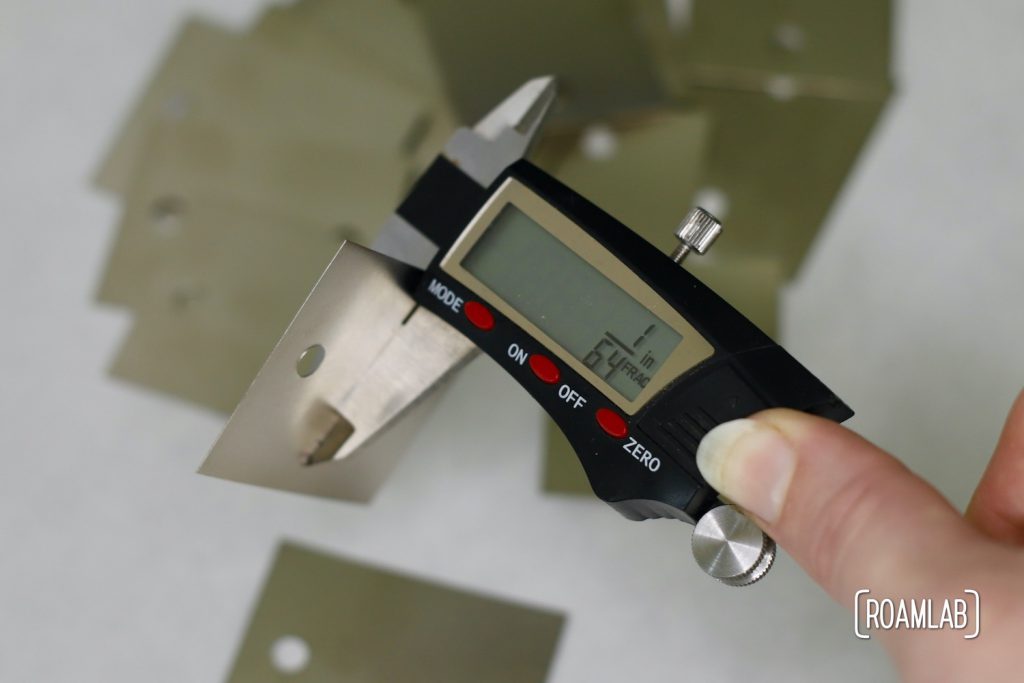
To use the ampacity chart above, we need to know the ampacity for that bus bar. Rather than having to crunch the numbers and guestimate a maximum load, we already established our upper limit when we selected our ANL fuse. We are using a 300A ANL fuse, so any current over 300A will break the circuit and prevent any further draw to the system. Also, our 8s20 battery arrangement splits our battery cells into two parallel banks. Therefore, we can divide that load to determine the ampacity of an individual battery cell connection: 150A. Now, we can look up our ampacity (150A) on the table above and see that it is just slightly more than 1/16″. While 1/16″ could be sufficient, we round up to 1/8″ to be safe.
Our Final Dimensions
After all this research, we can proceed with our bus bar build with confidence:
| width | ¾” |
| length | 2½” |
| thickness | ⅛” |
| Number of bus bars | 14″ |
With the dimensions settled, it’s time to make an order and start building. As noted earlier, we are using an 8s2p cell arrangement. We will be connecting the eight series connections with bus bars and the 2p connection with a 1/0 gauge wire. Each 8s series needs seven bus bars. So, that adds up to 14 bus bars. The copper is in the mail, so get ready for the final post in this series: How to Make A Bus Bar.


Hi – FYI configuring strings of cells in parallel is not a great idea; it’s much better to configure pairs of cells in series; i.e. “2P8S”
– search for https://www.google.com/search?q=8s2p+vs+2p8s for the reasons why.
Hi Ben,
Would you care to elaborate? Google search results can be a shifting terrain. For example, my post on Parallel vs. Series connections appears to be the second result for your search query at the moment. There’s a lot of consideration that goes into how batteries are arranged and certain constraints can result in very different but reasonable conclusions.
You do not state what size length stock you purchased? Some bigger stock is way more expensive. Did you buy in 12inc 72inch ???
Hi Christopher,
The stock length depends on how many bus bars are needed and the length of each bar. We are connecting two sets of eight cells, so we need fourteen bus bars. Each bus bar is about 2.5 inches long. That makes for 35″ total. So we ordered a 3-foot long bar.
It would be fantastic if you provided metric values as well for the rest of the 192 countries that use the universal system.
Hi Adam,
That’s a completely reasonable request. I’d love to update my posts with more complete and accessible information as soon as I can find a bit more free time.