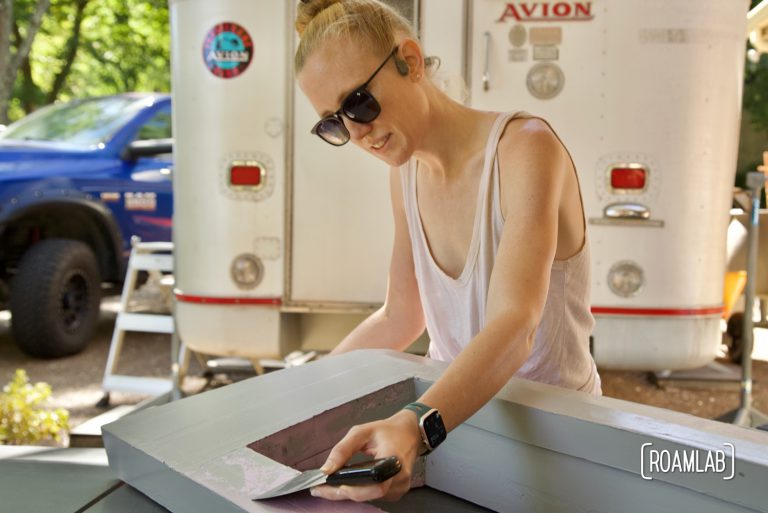
Bus bars (busbars) are short strips of conductive metal for high current electric connections. While high capactiy electrical connections may seem an odd detour when documenting the renovation of a 1970 Avion truck camper, researching bus bars has been a particular focus of ours for a while now. Along with rewiring our 1970 Avion truck camper, we are building DIY lithium batteries. To support the high current connectiosn between battery cells, we are going to make custom bus bars.
In previous posts, we have already covered our preparations for building our bus bars. We introduce to bus bars with Understanding Bus Bars. Next, we select the material we will be using with Copper, Brass, or Aluminum: Best Bus Bar Materials. Most recently, we calculated the optimal dimensions for our bus bars with How To Pick Bus Bar Dimensions. Now we complete our bus bar series with actually taking all this knowledge and applying it by making our bus bars.
Making Bus Bar
There are vendors that will sell precut and drilled bus bars. But building a flat bus bar is comparatively simple. For this project, we need a ¾” x ⅛” bar of Copper no. 110, a saw, a drill, heat shrink, and a heat gun.
Step 1: Cut To Size
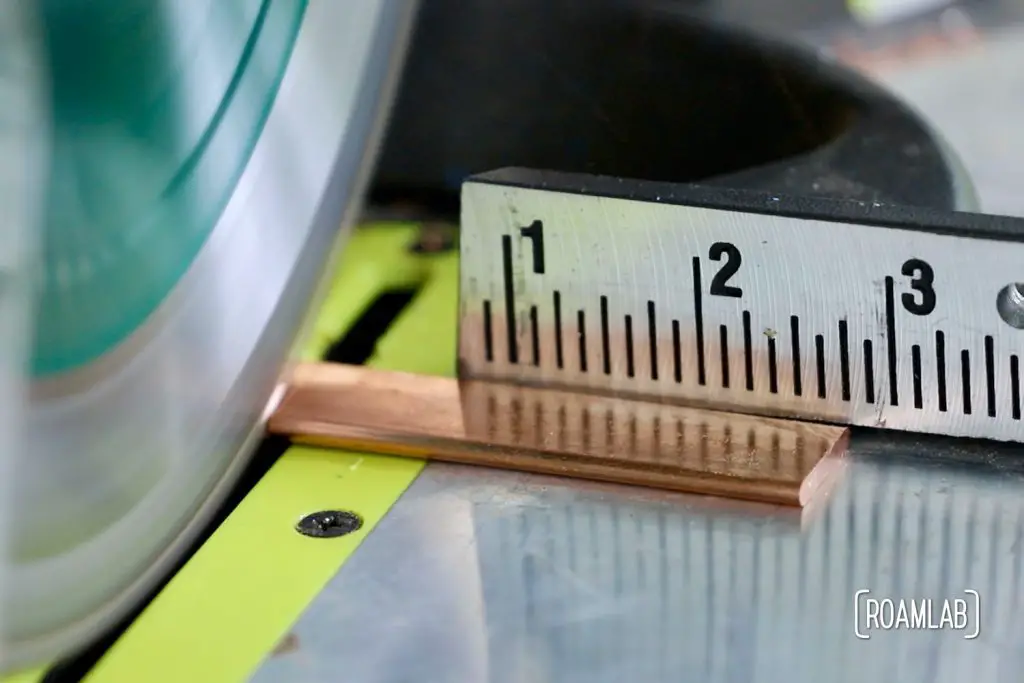
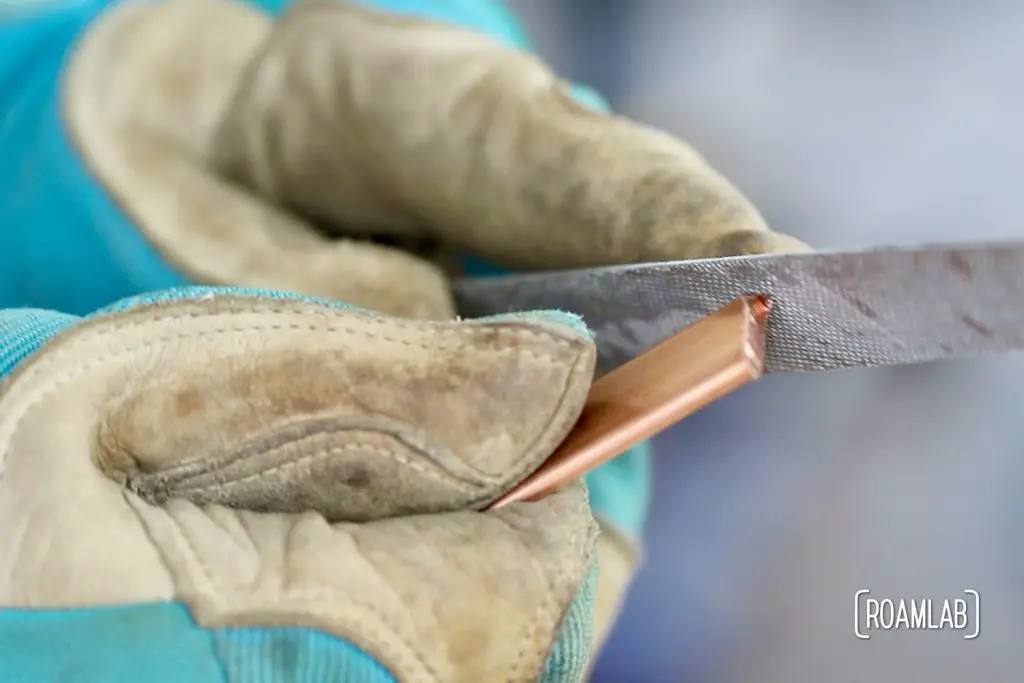
We use a miter saw to cut our copper bar into 2½-inch sections. It’s worth noting that copper is a very effective conductor of heat. We make sure to use a blade designed for cutting metal. Even so, the bars are very hot after cutting. Be sure to wear protective eyewear and secure the bars. Once the bars have cooled down, we finish the edges with a file to knock off any rough edges.
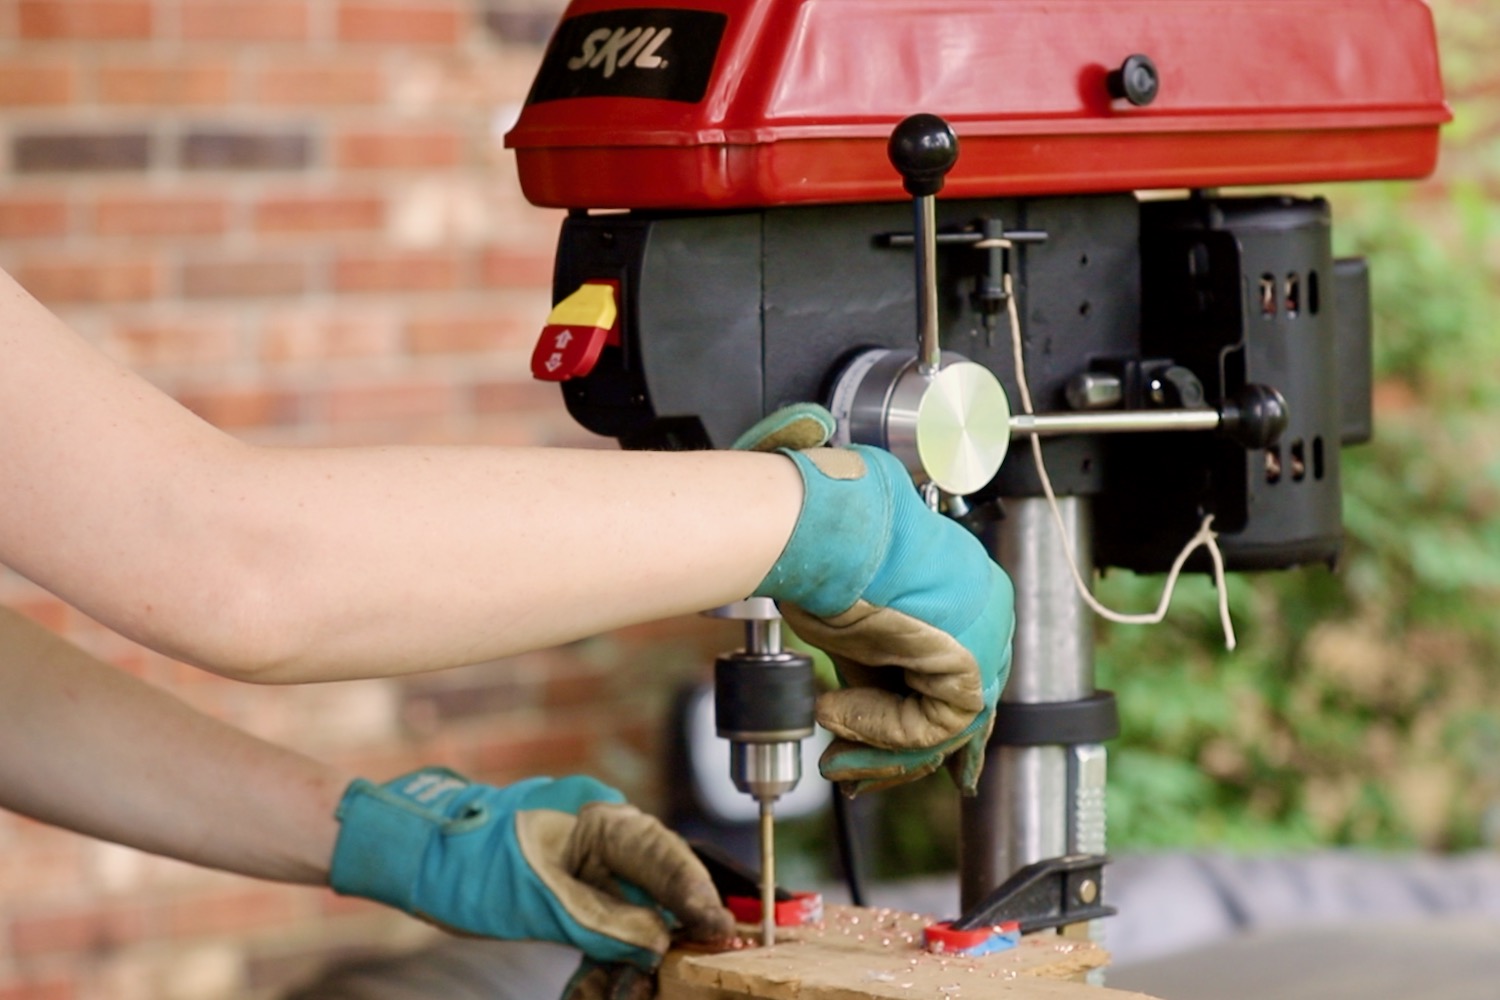
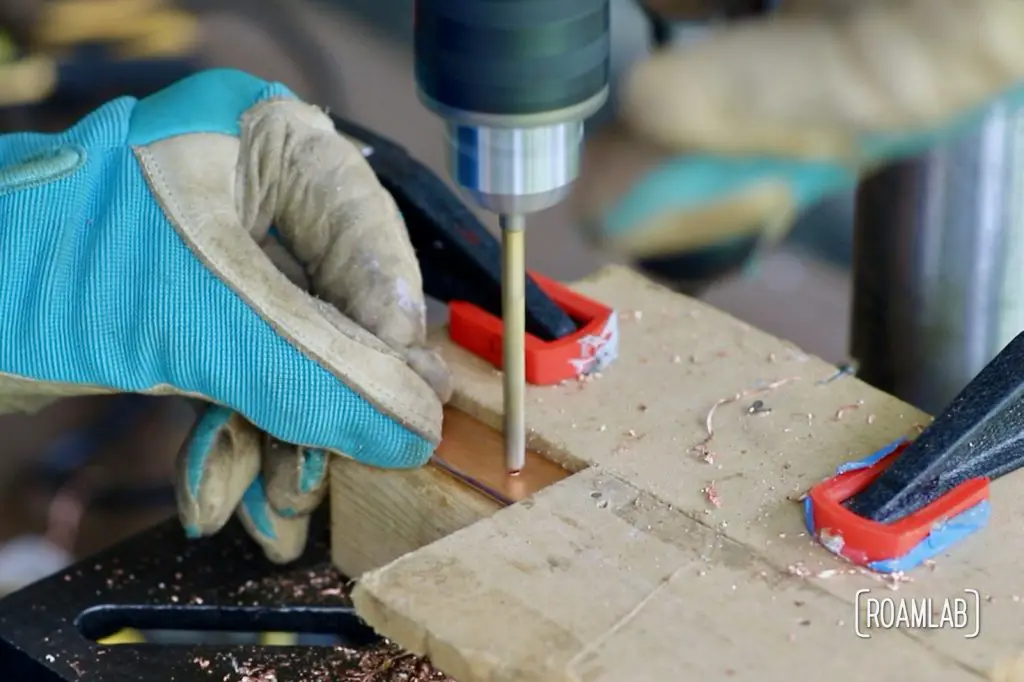
Step 2: Drill Holes
With each bar cut to size, the next step is to drill holes on each end. Similar to our use of the saw, the friction from the drill bit quickly heats the bars. When drilling larger holes in copper, it helps to start with small drill bits and gradually work up to the ideal hole dimension.
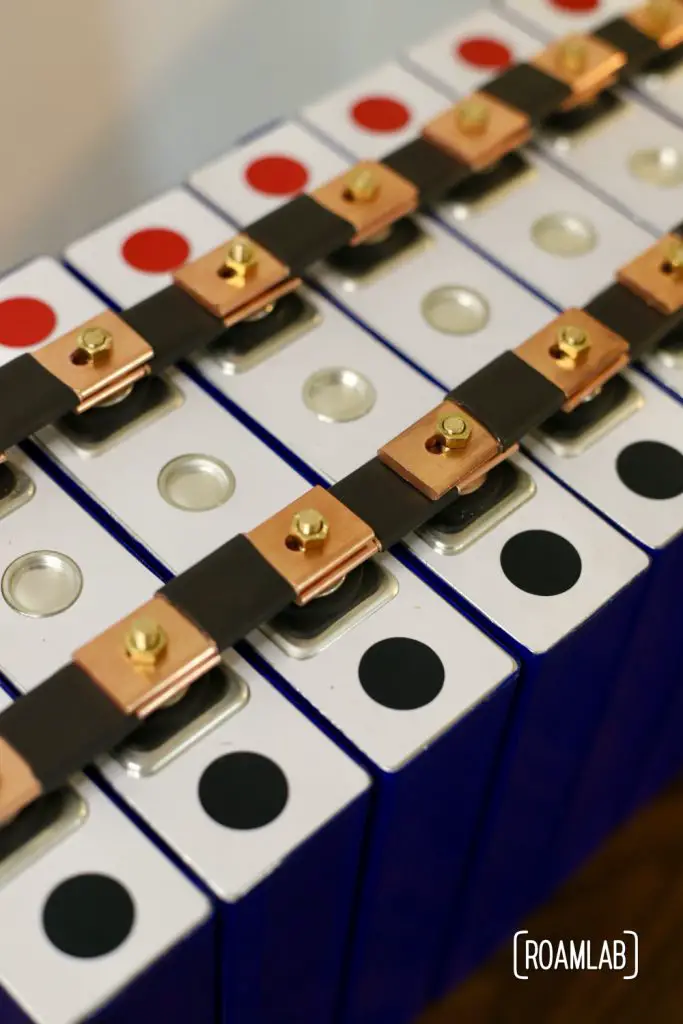
We use these holes to bolt the bars to the cell terminals. The holes should be as small as possible to maximize the amount of copper that is in contact with the battery cell terminals. Unfortunately, there is a slight variability in battery widths, so one hole arrangement will not suit every cell. We handle this variability by drilling two holes that are the diameter of the terminal bolt and then filing the edges to make a single elongated hole.
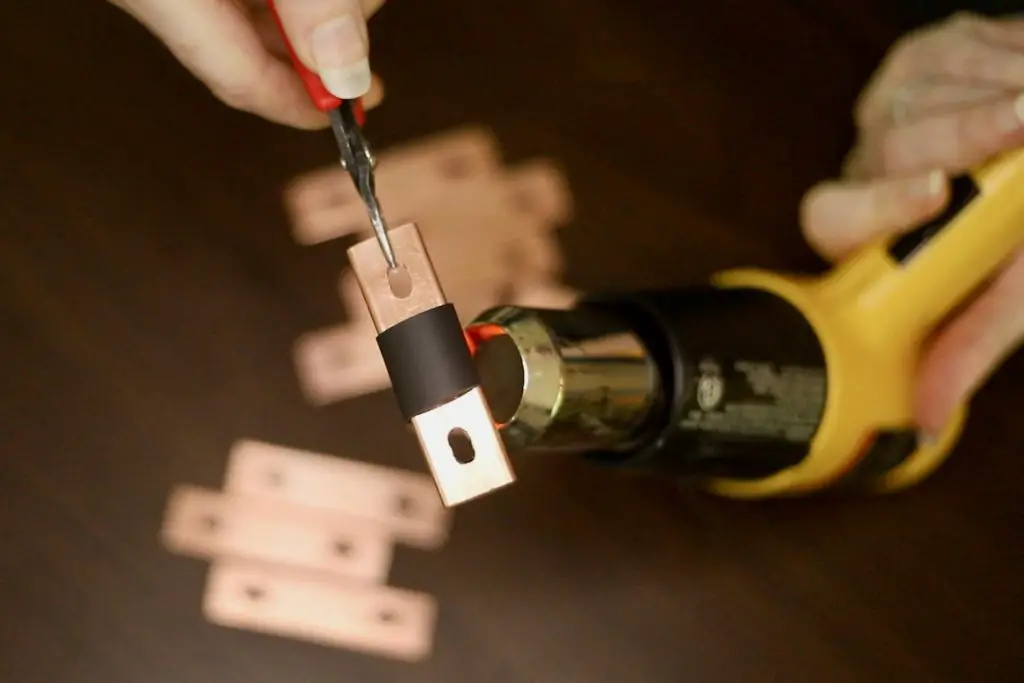
Step 3: Shrink Wrap Insulation
Technically, bus bars do not need to be insulated to work. But all the exposed copper poses a danger. It’s too easy for some conductive material to drop on the bars and short the batteries if we don’t protect them. Adding shrink wrap does not entirely remove the risk of shorts because we still have to expose some copper to make the connections. But the shrink wrap does lessen the risk of a short.
We cut the shrink wrap just long enough to cover the length between the two battery terminals. Then we use a heat gun to shrink the wrap to insulate the copper bars tightly. This process gets hot, so we use a pair of pliers to hold the bar and let it cool off in a metal bowl.
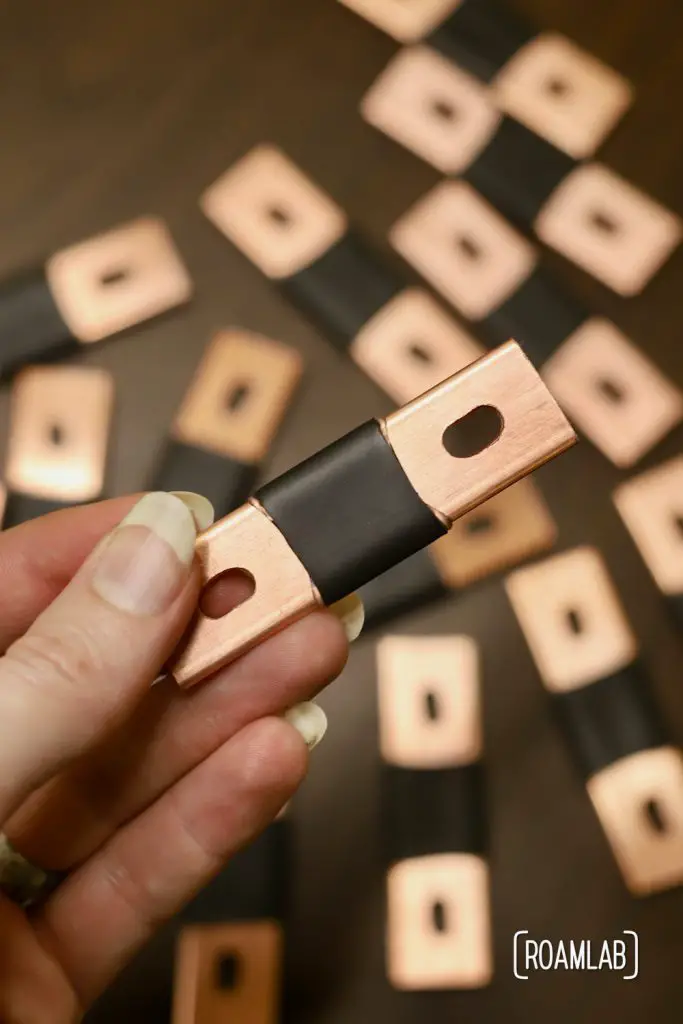
The Final Product
Cut, drilled, and insulated: all that’s left is to hook up our bus bars and start building our battery.

Those look great! Nice to see your project coming together. You’re definitely making faster progress than I am.
Just a note for the safety of you and your readers, gloves should not be worn when using a drill press due to the danger of the material snagging on the bit. This could pull your hand in and cause it to be wrapped around the bit. I understand that you were doing this to protect against the heat, but it would be better to hold the copper with a clamp. Even with a glove, your hand is probably not strong enough to counteract the sudden force if the drill bit snags in the copper. The wood used as a jig would go a long way to help prevent this, but a clamp should be used too, especially for small pieces.
That’s an excellent point! Thanks!