The cabover windows have been a source of much angst among the Roam Lab crew. It’s one of the most visible windows. It also leaks. While we are reticent to change the exterior appearance of the camper, this is our most notable deviation. We first looked for two small windows to match the original set. But eventually decided to update the look with one, long futuristic window.
The Search For A Replacement Window
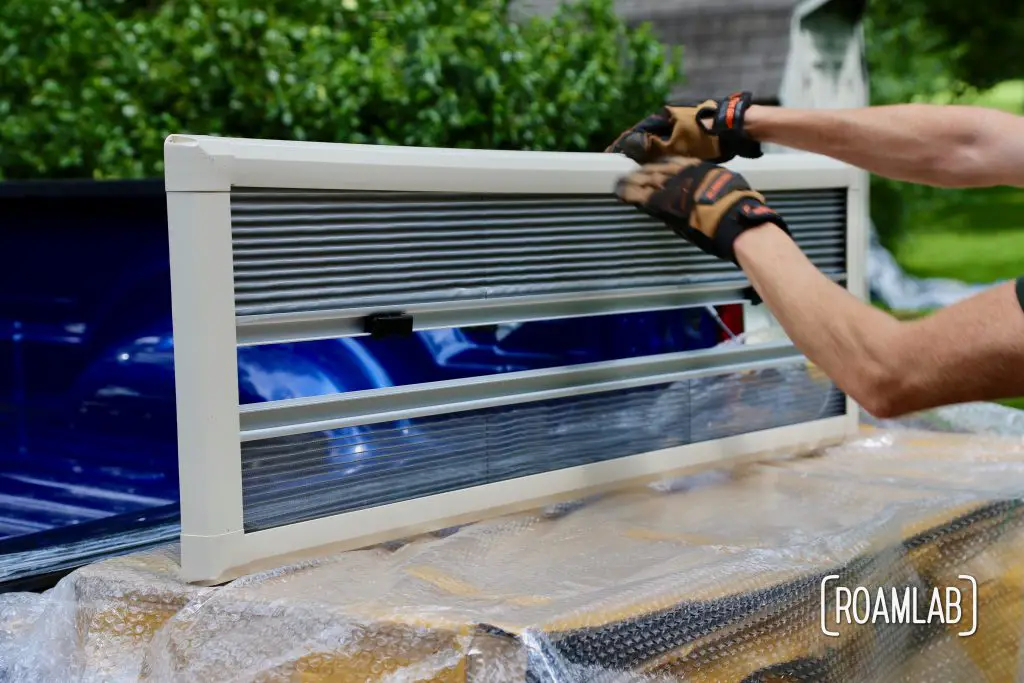
Avion shuttered as a brand in the early 90s and hasn’t produced a truck camper since 1970. So the common “just order a replacement” approach is never an option for us. Instead, we start from scratch with little more than the original window dimensions and a wishlist as guidance. This means a lot of research and some inevitable compromises. The original window opening is about 46½-by-13¼-inches. Frankly, we can not find a single window that perfectly fits into the preexisting hole. After flirting with building our own custom window, we agree that the best course of action is to find the closest match that includes the upgrades we are looking for. Namely:
- Double panes (for better insulation)
- Acrylic (rather than the heavier glass windows)
- Top Hung Hinge (it opens from the top for ventilation that still blocks out most rain)
- Pane curves out in a slight bubble to improve aerodynamics on the cabover
We scoured all our familiar vendors to no avail. Every window is either too tall or not wide enough. So, we take a risk and import a window* that is 48.4-by-15 inches, with a 47.2-by-13.8 inch opening.** It is almost the same dimensions the original. Almost. But not quite. The width is ¾-inch thinner and height ½-inch taller than the preexisting opening. That means we will have to start by adjusting the camper opening to fit the window. Not only are the general dimensions different, but this new window has curved edges while the old window had square edges. So, we will be cutting away some aluminum and adding patches to fill in other empty portions.
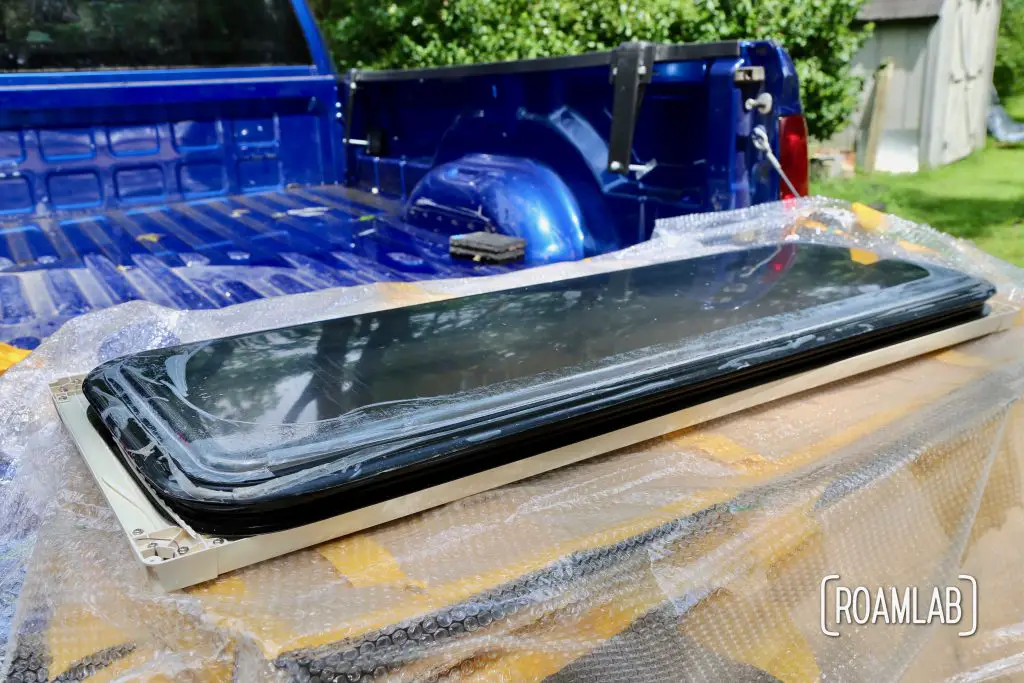
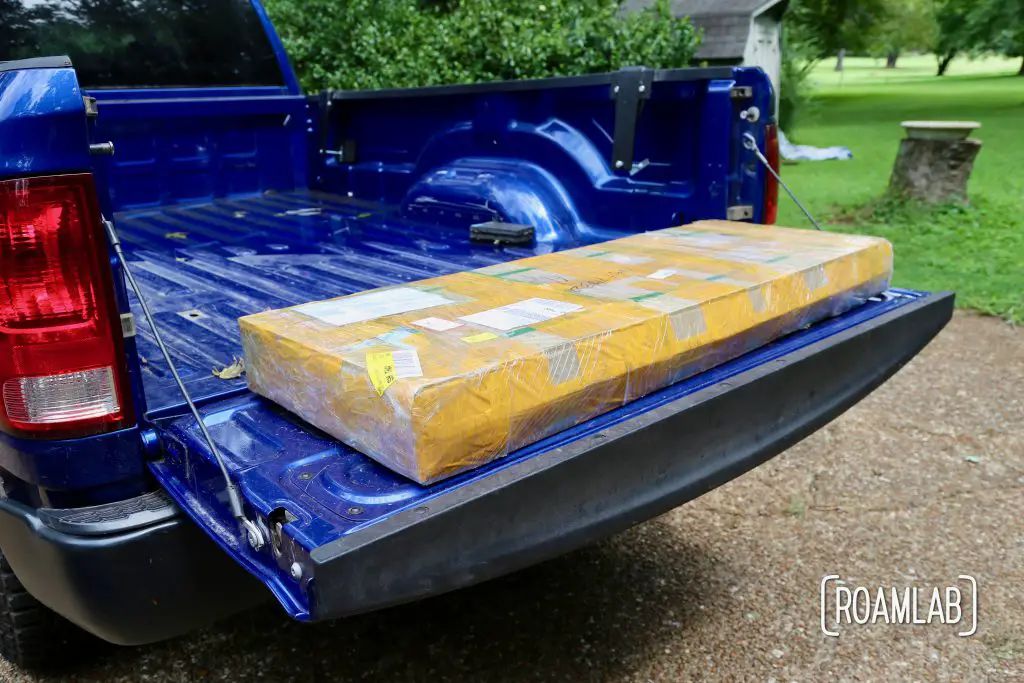
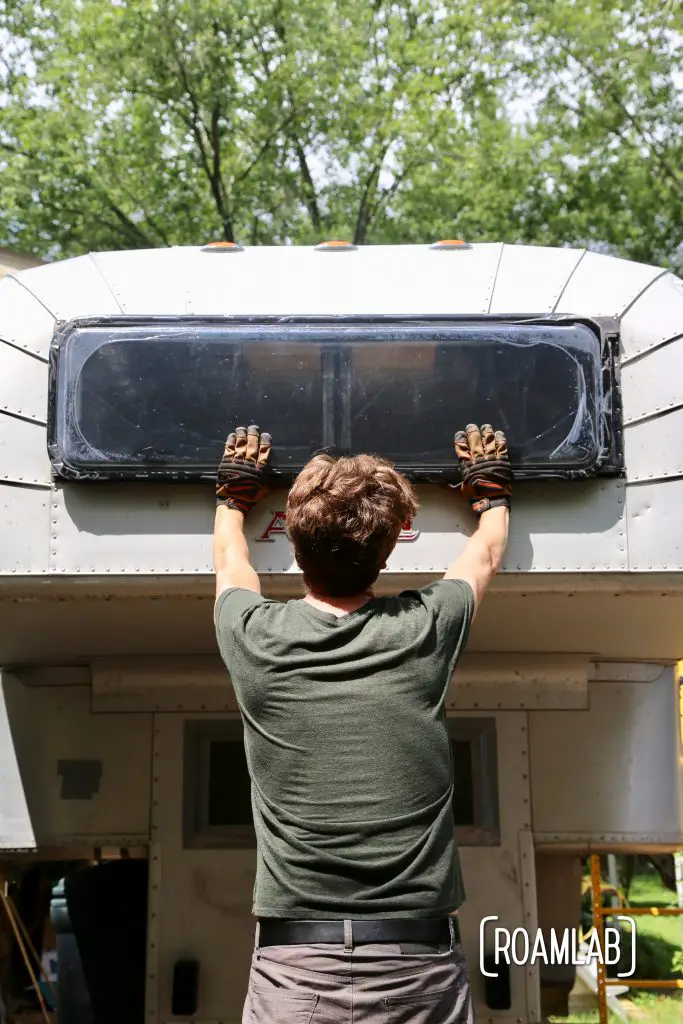

*Buyer Beware: A Few Factory Problems To Address
I’ll come out right now and say that our new window is better than the original. It is double paned, acrylic, and just looks better on the camper. That said, it was not made for our camper. And while some of our troubles are a result of having an old camper with an unusual window opening, other problems can be laid directly at the feet of the manufacturer. So, buyer beware.
- The bolts that come with the window are not long enough to connect the outer frame with the inner frame. We have to hunt down our own set of 12, 1½-inch long, .7 metric screws. (A mistake on this point causes a bunch of other problems.)
- The holes drilled in the frame are too big for even the original screws to sit in, so we have to modify the 12 screw holes so that the screws will hold the window in place rather than slip through and release the window while we are on the highway.
- Several of the bolt receivers on the window break loose, limiting my ability to tighten the front and back panels.
- And, finally, I’m not entirely convinced that the window is water tight. We think the problem may be on our side, but we have yet to identify how a small puddle of water developed on the lower frame of the window.
I’ll go into more detail on these issues in my section on installation.
Removing the Old Windows
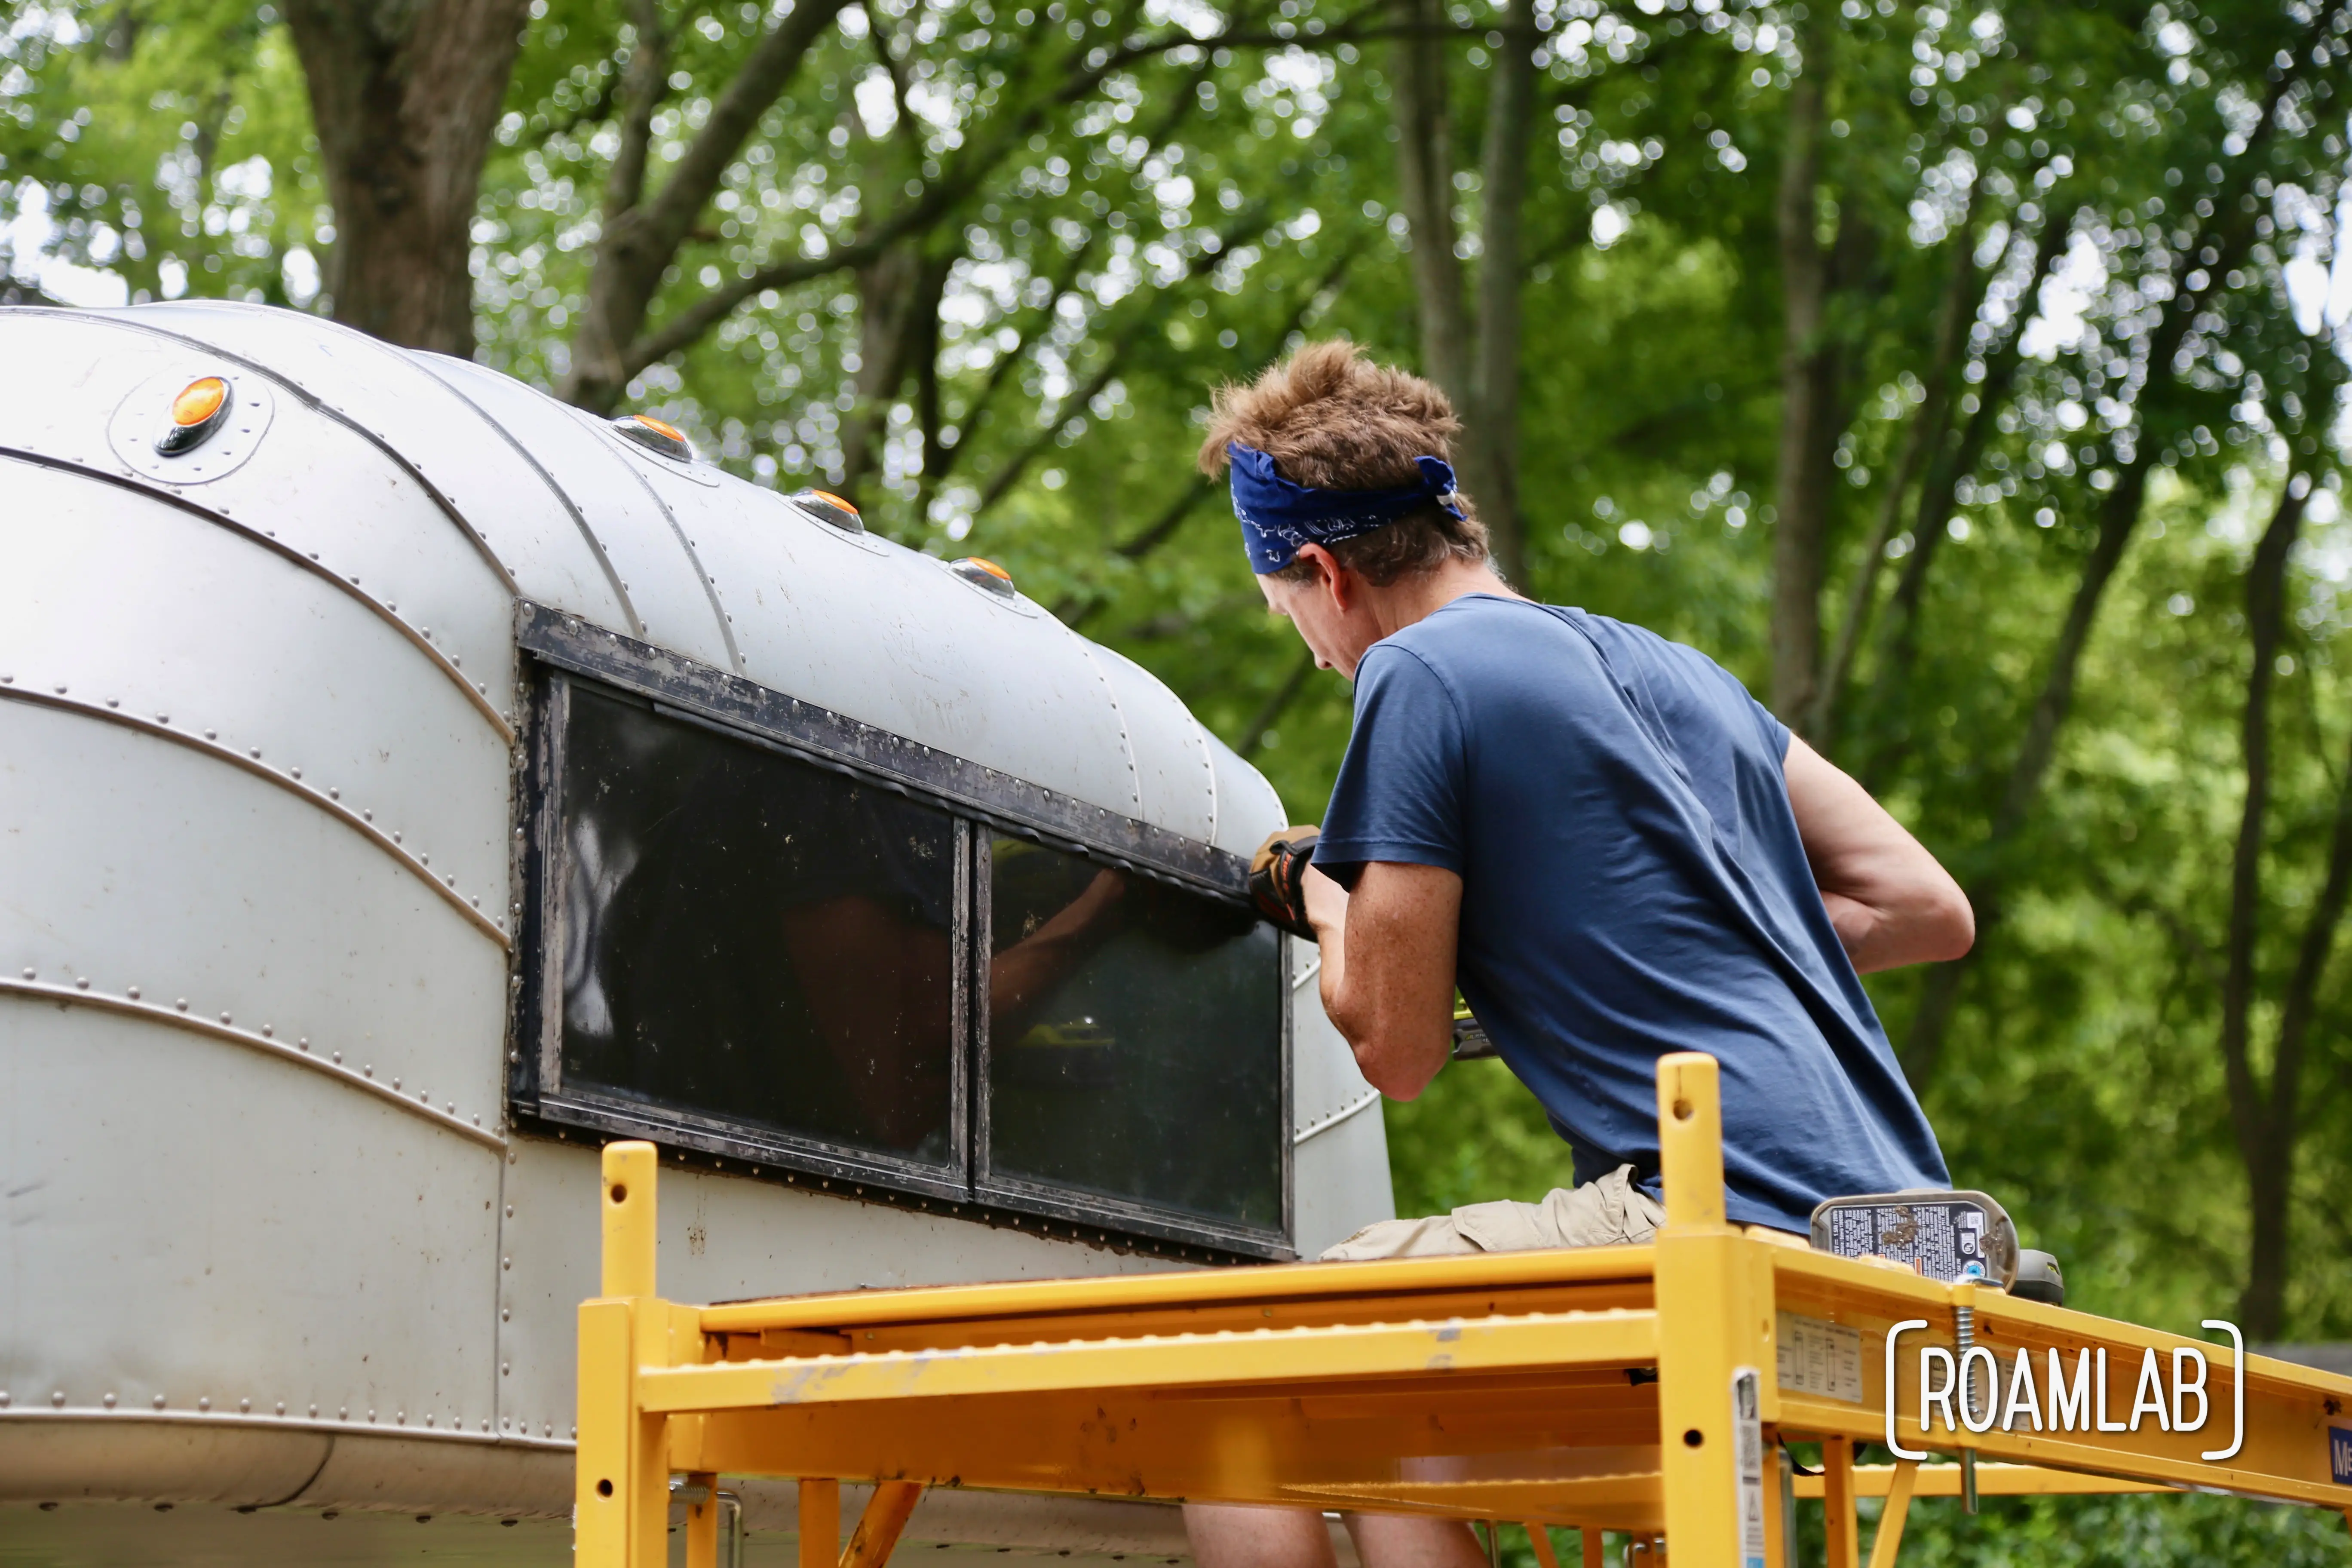
First things first, we remove the original window and see how close a fit we are working with. We drill out the aluminum rivets that bind the window. Then, release the sealant that did a middling job at keeping the rain out. Finally, we carefully working the window free of the camper body.
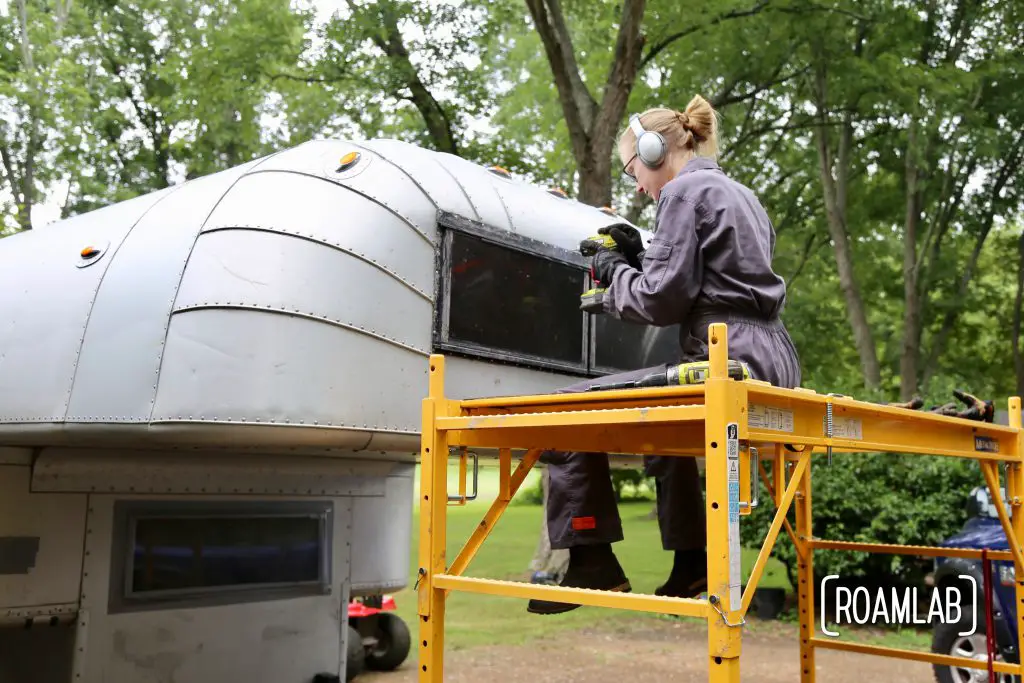
Framing the Window Opening
A lot of our decisions around this build are informed by the preexisting state of the camper. The original windows are framed out with a 1½-inch deep extruded aluminum bar. This does double duty, supporting the window and acting as a 1½-inch spacer between the outer and inner walls of the camper.
The top and sides of this window frame are all part of a single bar bent at 90-degree angles which actually starts at the base of the cabover and then wraps around the window opening. So, moving the frame up would mean cutting this bar and contending with the curvature of the upper cabover. A huge undertaking. The bottom edge of the window opening, however, is framed out with a single piece of aluminum that is riveted to the rest of the frame.
So, the simplest and least invasive solution when altering the framing for the new window is to detach the bottom aluminum frame and reattach it ½-inch lower. This also includes trimming away ½-inch of aluminum sheet.
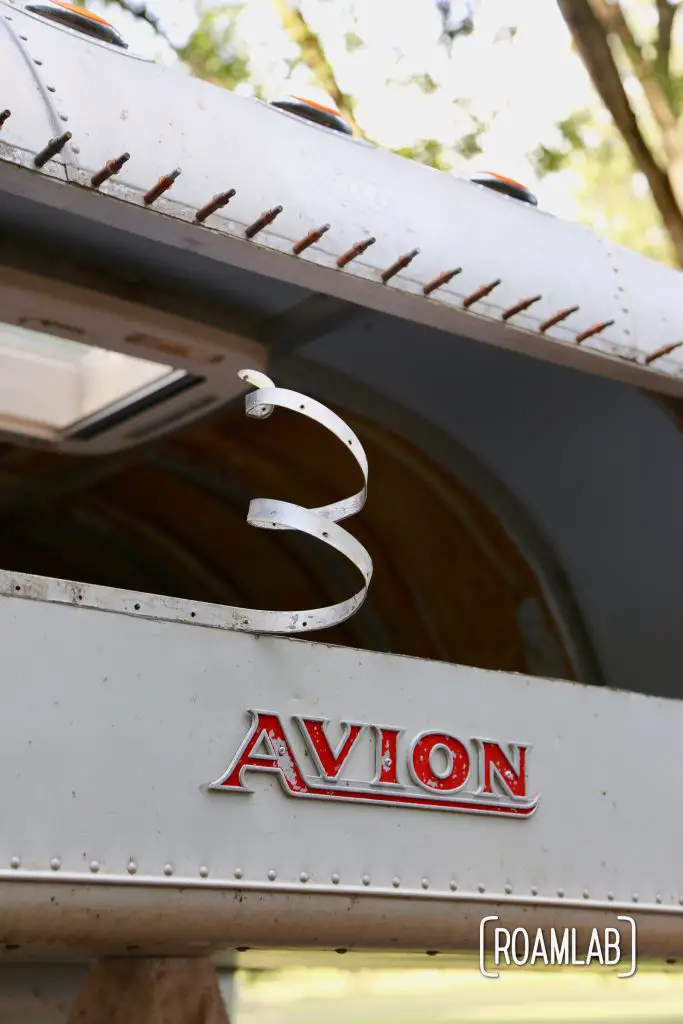
Patching Window Frame Opening
Extruded Aluminum Spacers
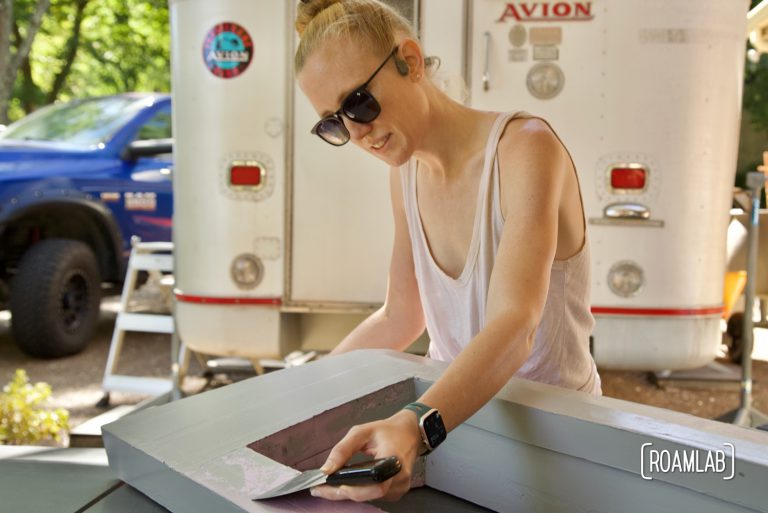
Next, we install ⅜-inch wide spacers on the left and right sides of the fame. I couldn’t find 1½-inch spacers with ⅜-inch sides. So I used scrap aluminum from an earlier project and my (new to me) table saw with a metal cutting blade to trim the spacers to the ⅜-inch size I needed. I secured these in place with 1-inch wide L brackets to secure the C-channel spacer in place.
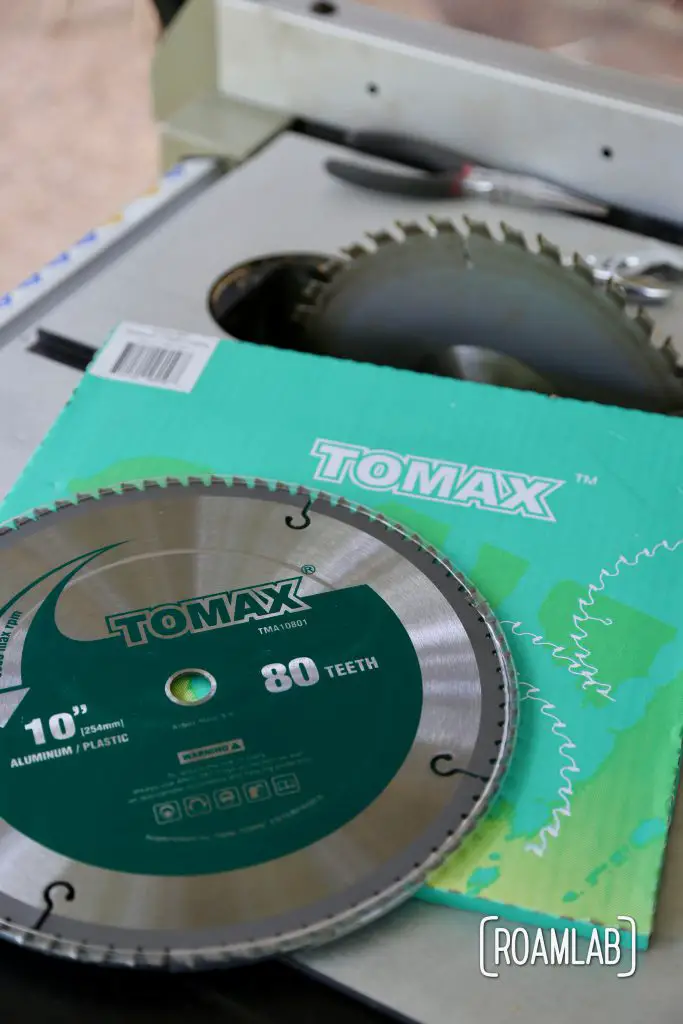
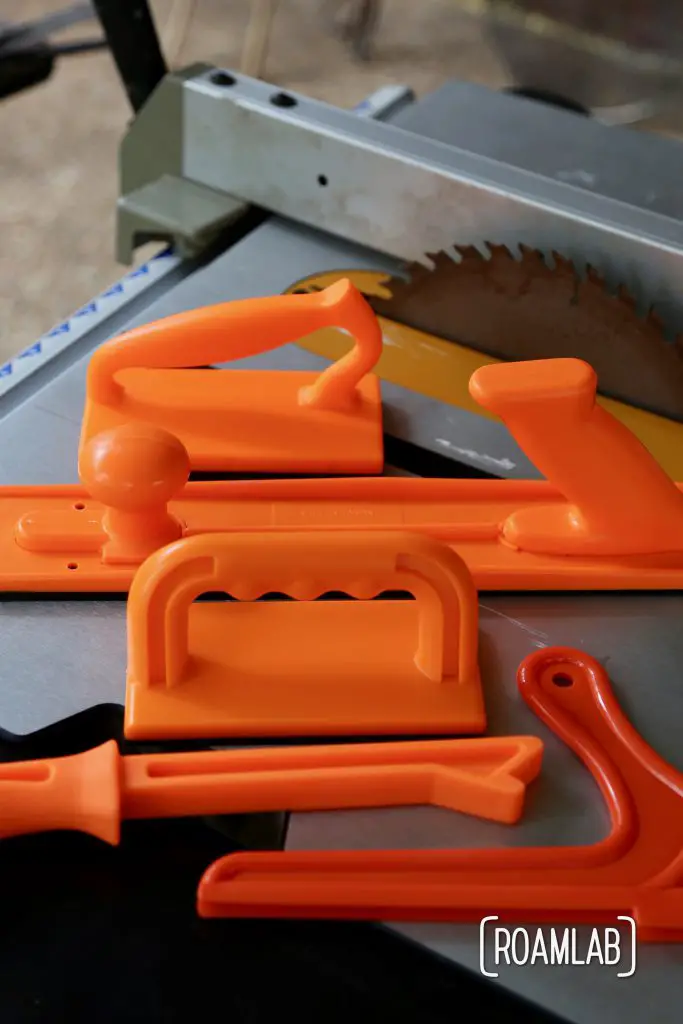
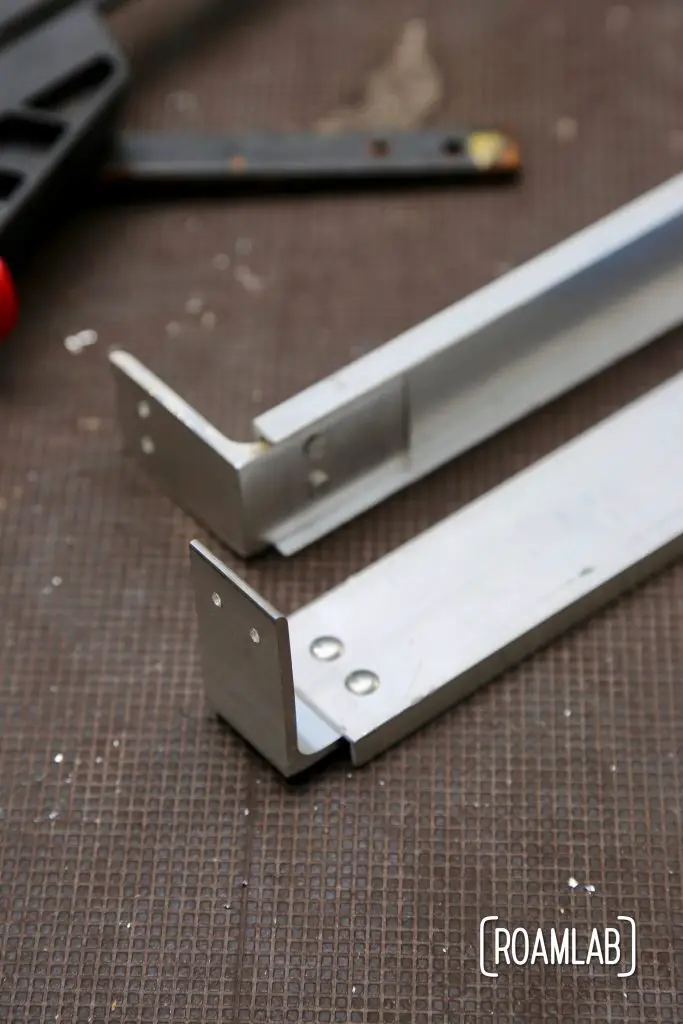
Aluminum Sheet
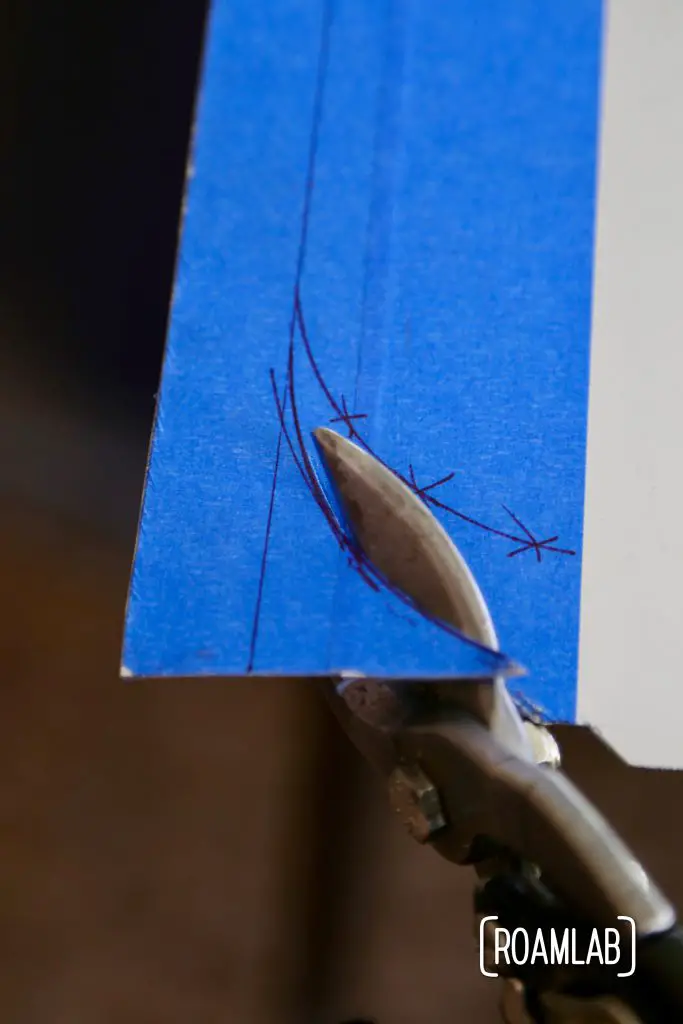
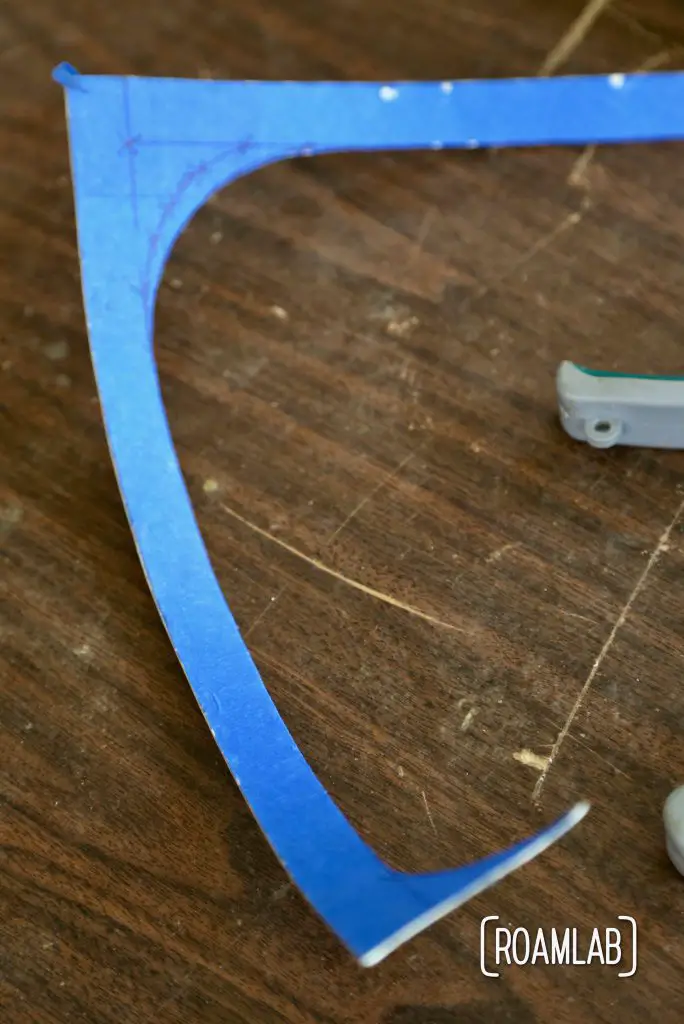
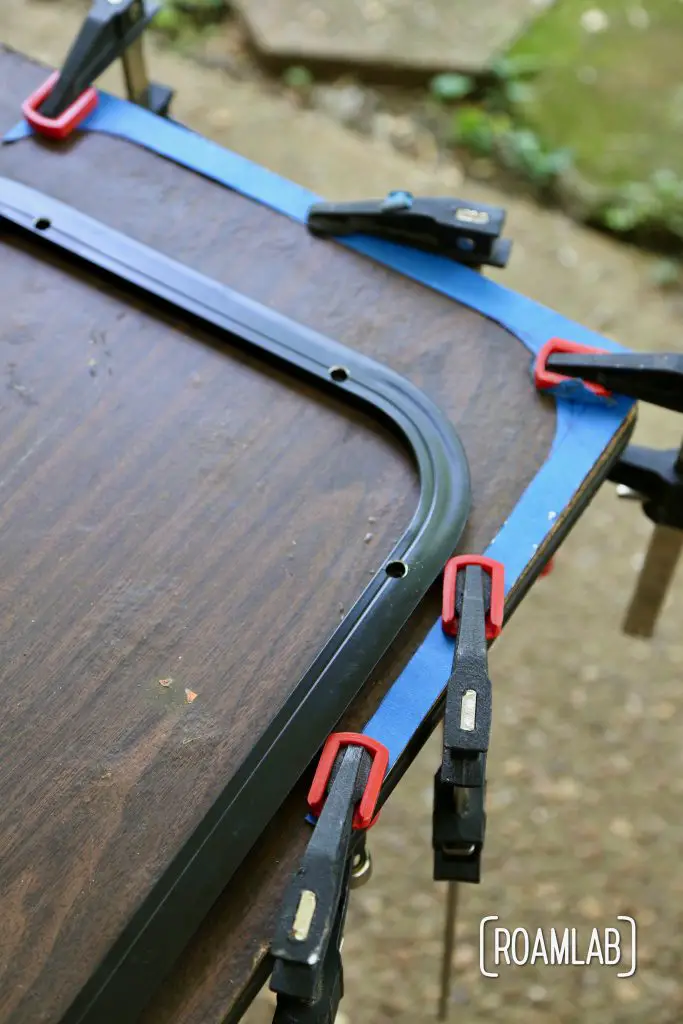
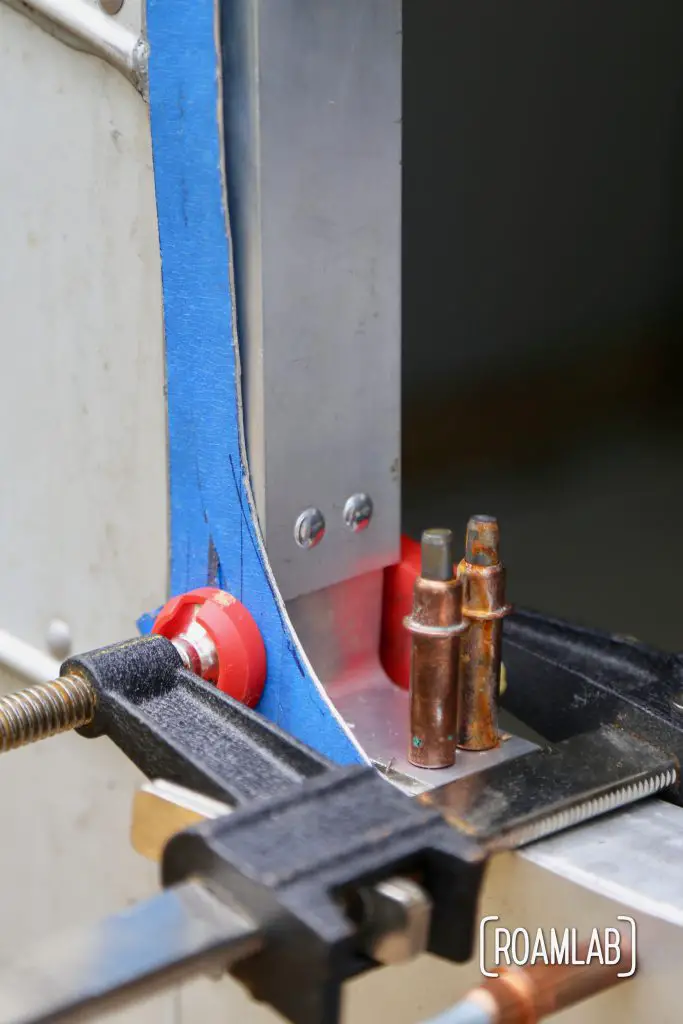
To smooth the transition from the old aluminum body to the new, exposed spacers and fill in the gaps left by the curved edges of the new window, I cut out sheet aluminum to cover the transition. Once the frame is assembled, we make quick work of buck riveting the aluminum back to the frame.
Cutting sheet and extruded aluminum, filing edges, and buck riveting the entire piece together was a timing consuming but relatively strait forward process.
Installing the Window
The window install should have been relatively simple. But I made an incredibly foolish mistake. The screws that came with the frame are only 3/4-inch long. We needed a screw that was 1½-inches. We also needed .7 metric screws…I bought #8 standard screws which messed up some of the bolt receiver bolts before realizing my mistake. While, I managed to recover enough to complete the install…three of the bolt points remain a point of embarrassment. Three out of twelve.
Ensuring a Water Tight Seal
In most install cases, this would be the end of the install. However, the window on the Avion cabover also happens to be a point where many aluminum sheets meet and overlap. So, there is no single, evenly flat surface for the window to mount to.
The rubber gasket that is built into the window just is’t quite flush, despite my best efforts to even out the mounting surface. So, I return to my regular tool kit. I bust out Sikaflex to seal in the edges of the window. I apply a liberal dab along all of the edges to ensure a solid seal.
The Shade / Insect Screen
The final step of this install remains incomplete: screwing in the shade / insect screen. This is mounted to the interior walls. However, we have yet to completely install the interior walls. In the mean time, a couple pillows covering the window while we sleep does a sufficiently good job.
Final Thoughts
We are reserving judgement on the window at this moment. We love the look and ease of use. But, on our first day on the road, we discovered a pool of water at the bottom of the window’s framing. It is possible that this is due to some plastic that we forgot to remove. But we are waiting on another rain to see if the puddle appears again.
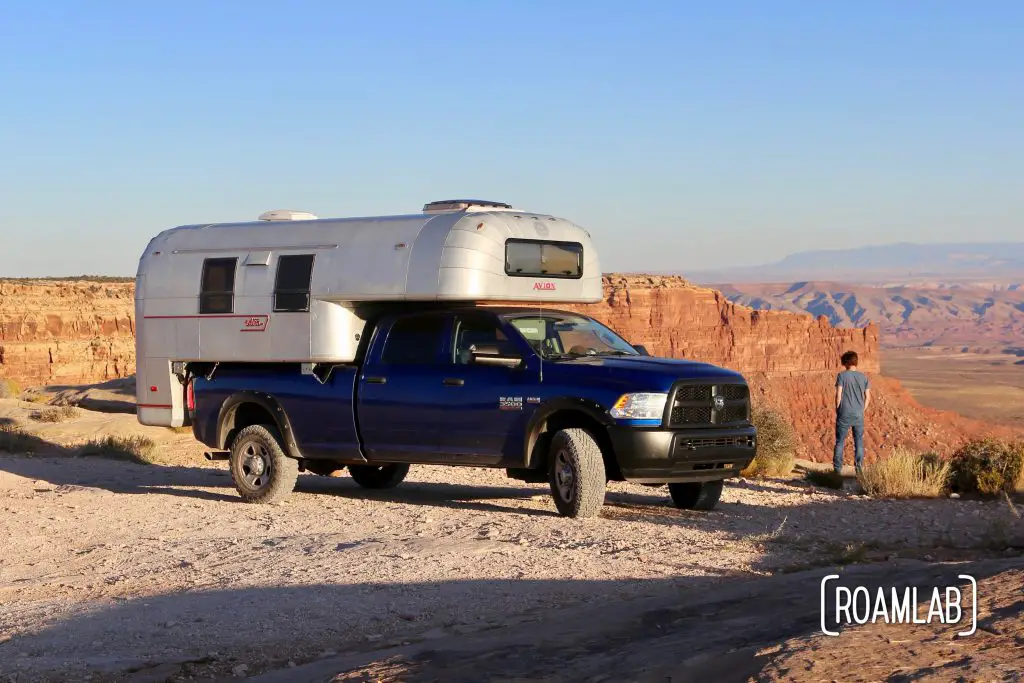
As it is, our first night in the camper is delightful. And who can deny that amazing view?
*Keep in mind that the opening size is critical as the frame width can vary dramatically between window models.


Hello! Wondering how this window is working for you in this location? Any leaks or other issues? I’m thinking of putting a similar front facing window on a custom truck camper, but have been advised against it because of leaks.
Thank you for a very interesting and informative blog. Tons of great info here!
Hi Ron,
I can see how leaks might be a problem. We did discover some leaking, but that was due to a piece rogue plastic that wound up wicking water into the cabover. Along those same lines, we also added some sealant where the camper and frame met for extra water resistance despite a gasket that came with the window. But, overall, we haven’t encountered any fundamental flaws in the window design itself.