We bought at roof hatch for our camper. That is how it started. The reasons were many: we wanted ventilation over the bed, a second point of exit for safety, and easy roof access. Now we just have to install it.
Why the Arctic Tern?
We want a hatch large enough to easily climb through but not too large for our truck camper roof. Our initial searches are frustrating. There are surprisingly few vendors with roof hatches for sale. After some digging, we come across Tern Overland from other overlanding forums. Along with having just the right hatch for us, their prices were also very reasonable.
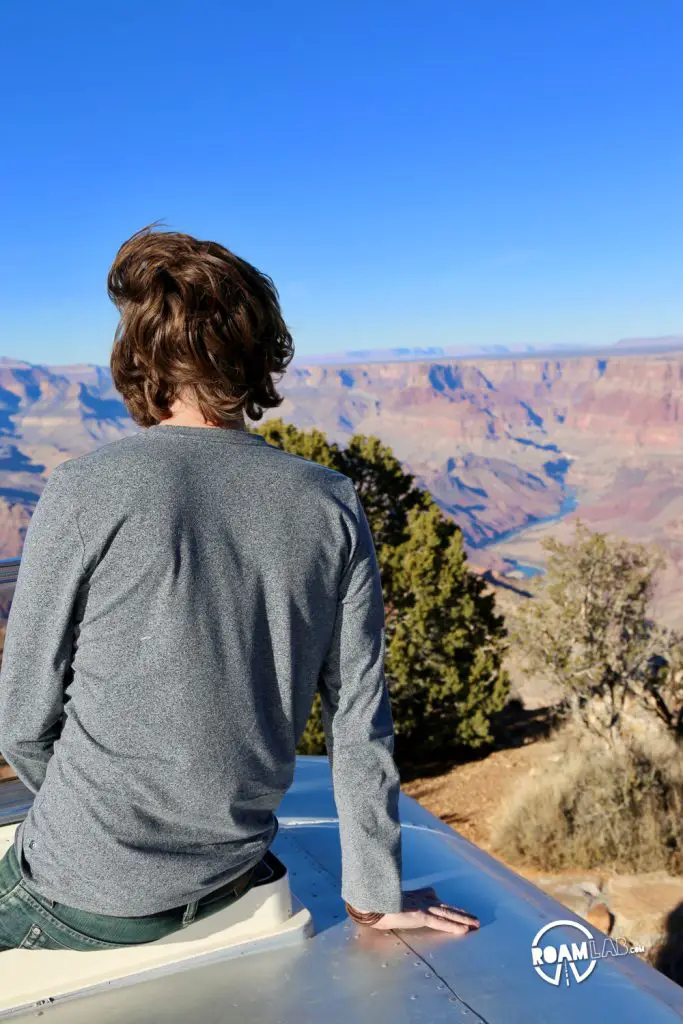
We settle on the Arctic Tern Manual Roof Hatch. The 19 x 27-inch opening is enough that we can both stick our heads out at the same time or sit on the roof with our feet dangling inside.
Framing the Hatch
Here is what I didn’t consider when buying our hatch: the complexities of installation. Fortunately, David over at Tern Overland is quick to point out my challenge. The sleek, aerodynamic curves that make our camper so visually appealing also mean there is no completely flat part of the roof to firmly seal a large hatch. Instead, I need to make a frame to compensate for the roof’s curvature.
In short, every detail I am about to go into doesn’t apply to anyone who has a camper with a flat roof.
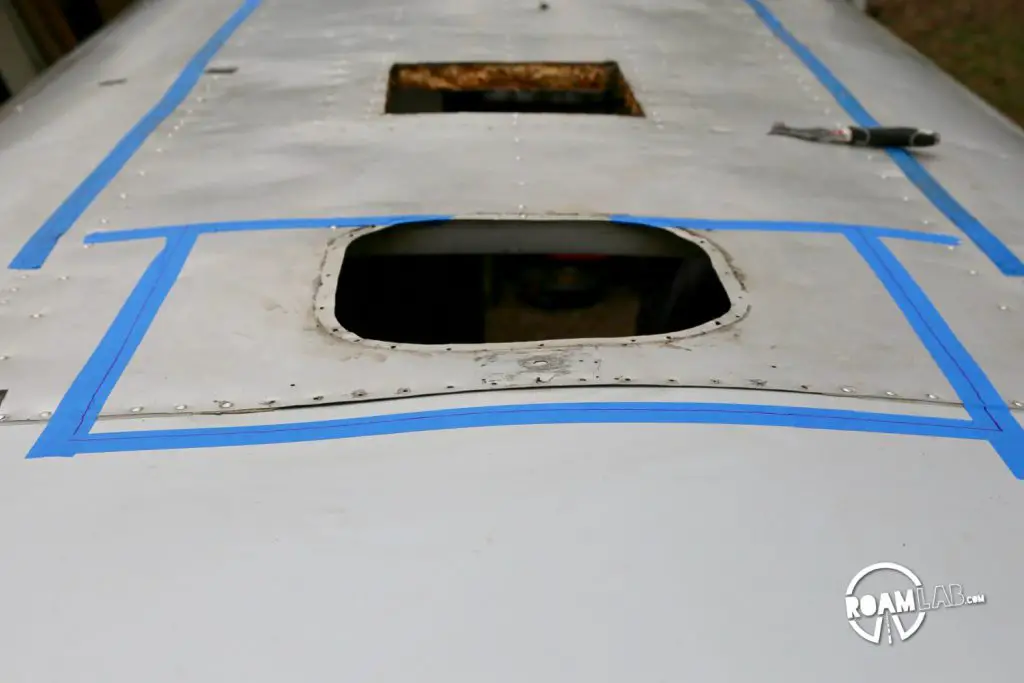
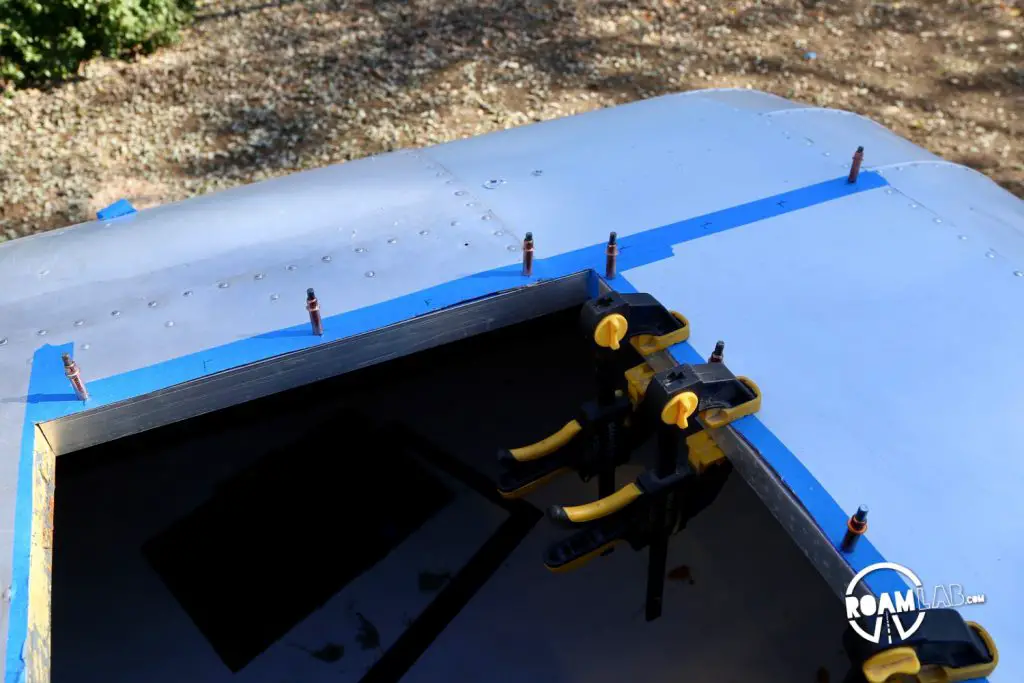
The difference between the highest peak of the camper’s roof and the where the edges of the hatch should meet the sides is really only ½-inch. Using a few aluminum L-bars, scrap aluminum sheet, and a lot of rivets, I create a platform with an inverted curve to support our new hatch.
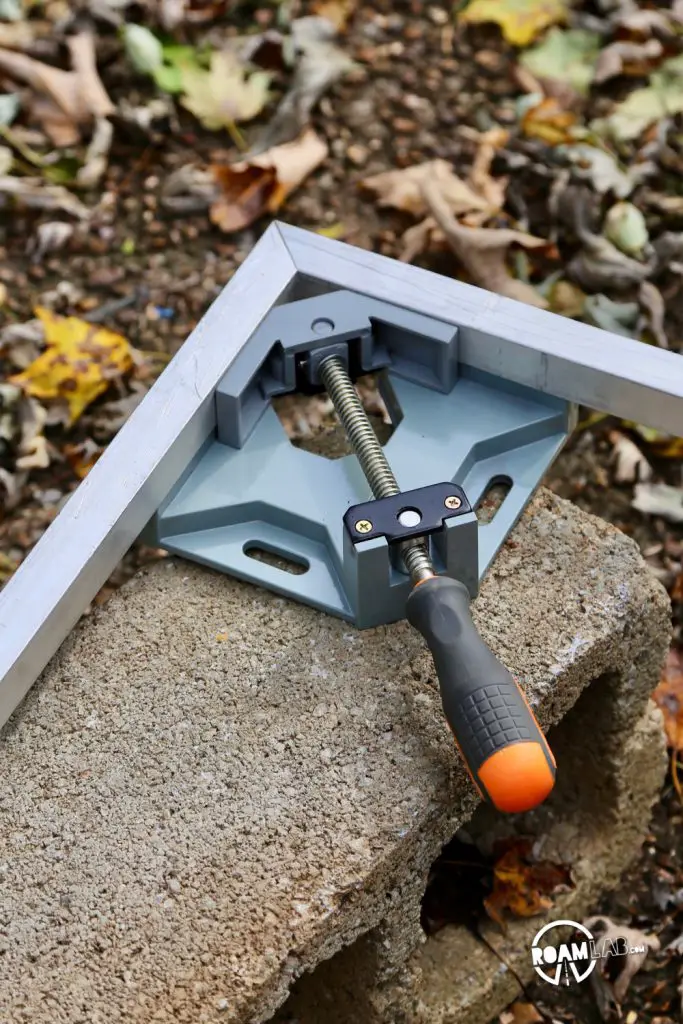
A Base Frame
Everything that follows is built around this base frame of L-bars. It traces and reinforces the outlines of the hole that will be cut into the camper.


Shaping the Outer Frame
Next, I use scrap aluminum to create a platform for the hatch to attach as well as the outer edges to close off the frame from the outside elements.
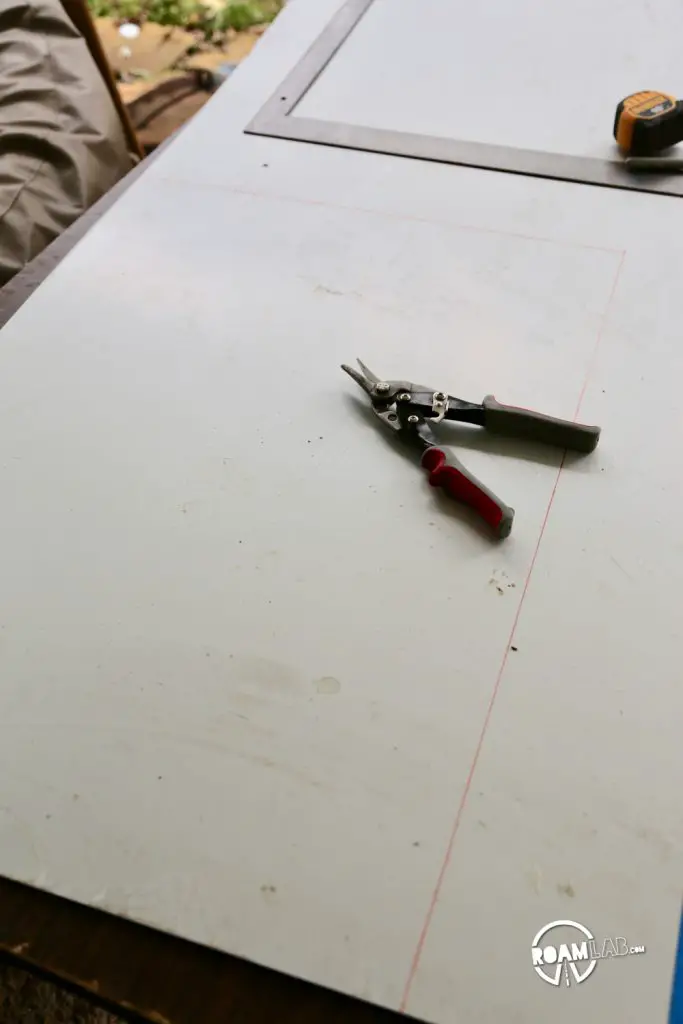
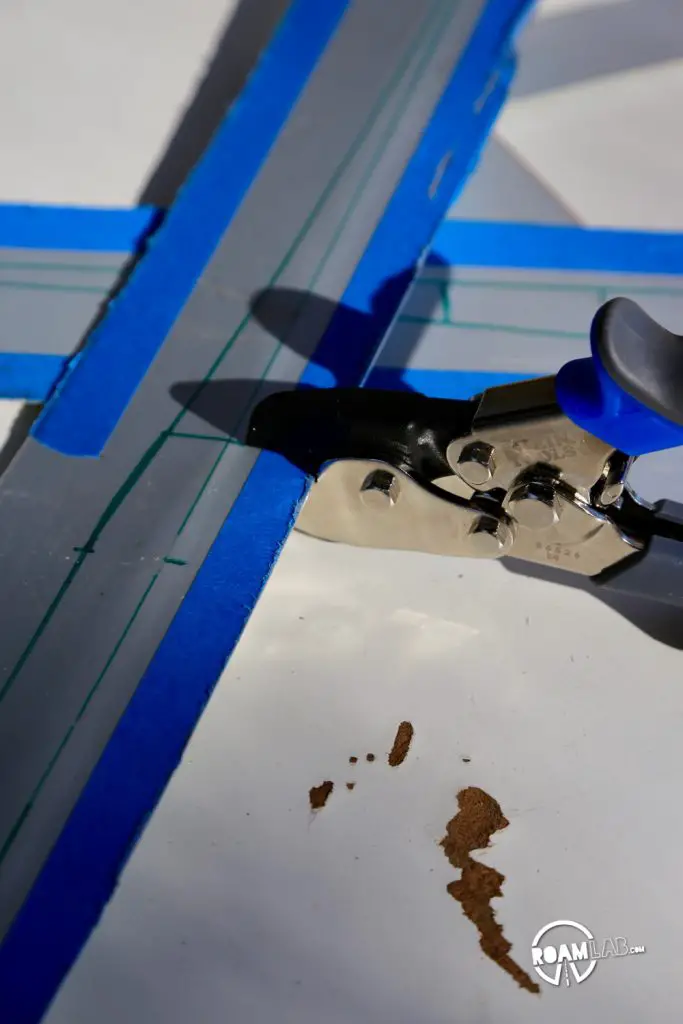
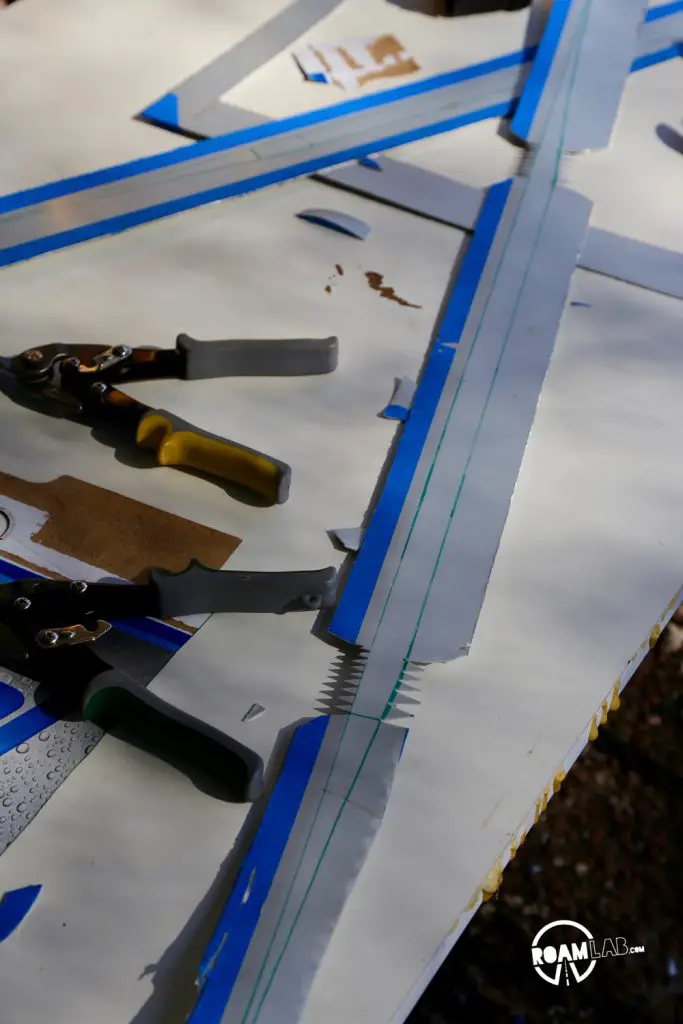
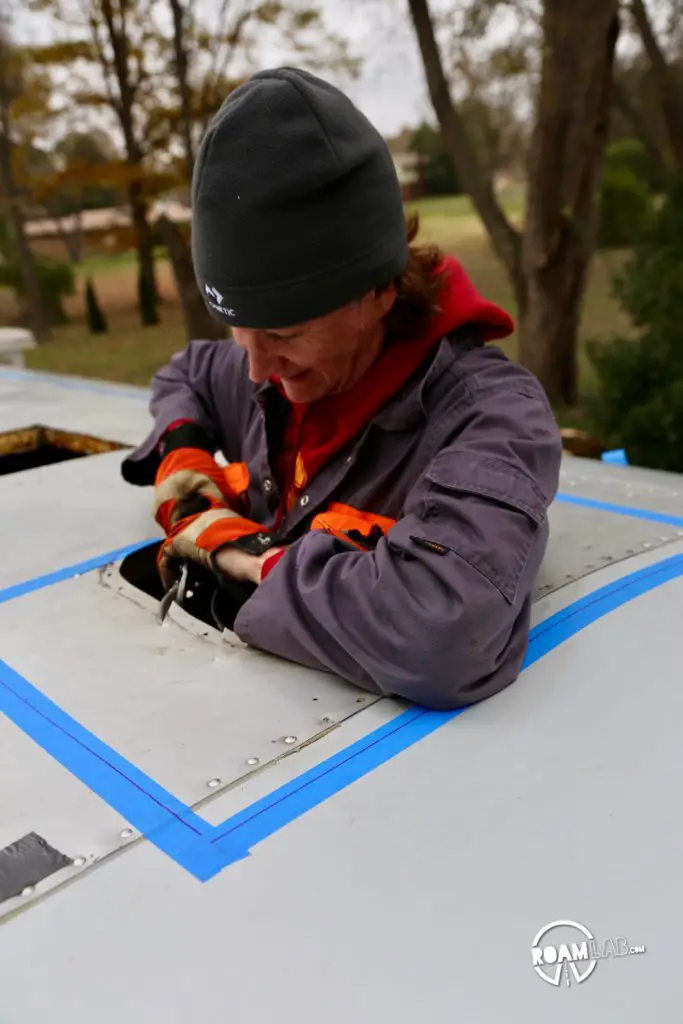
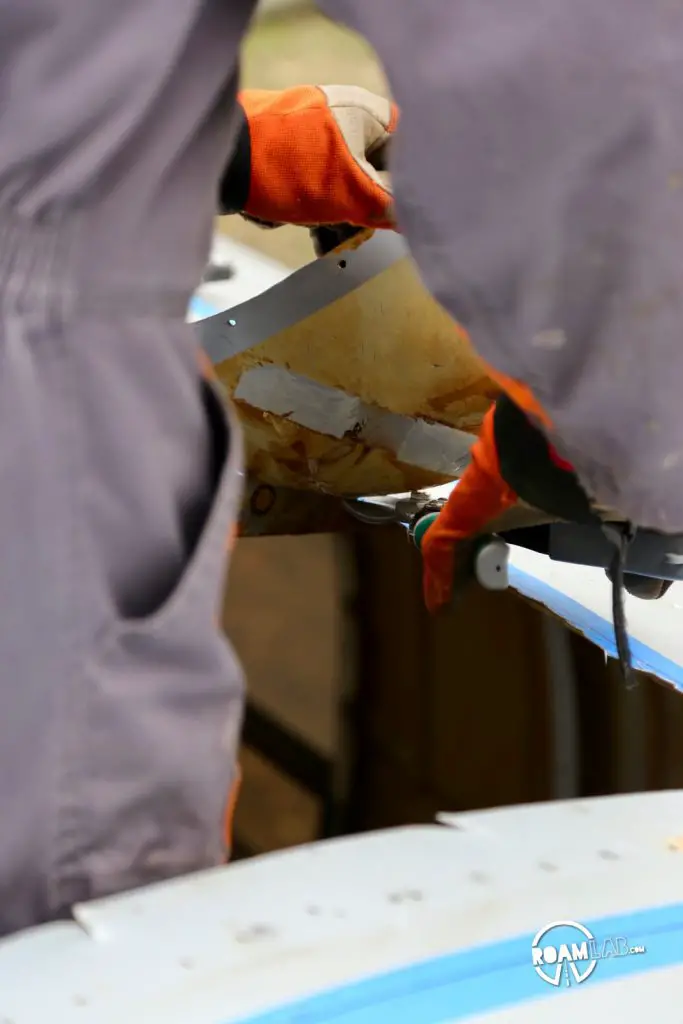
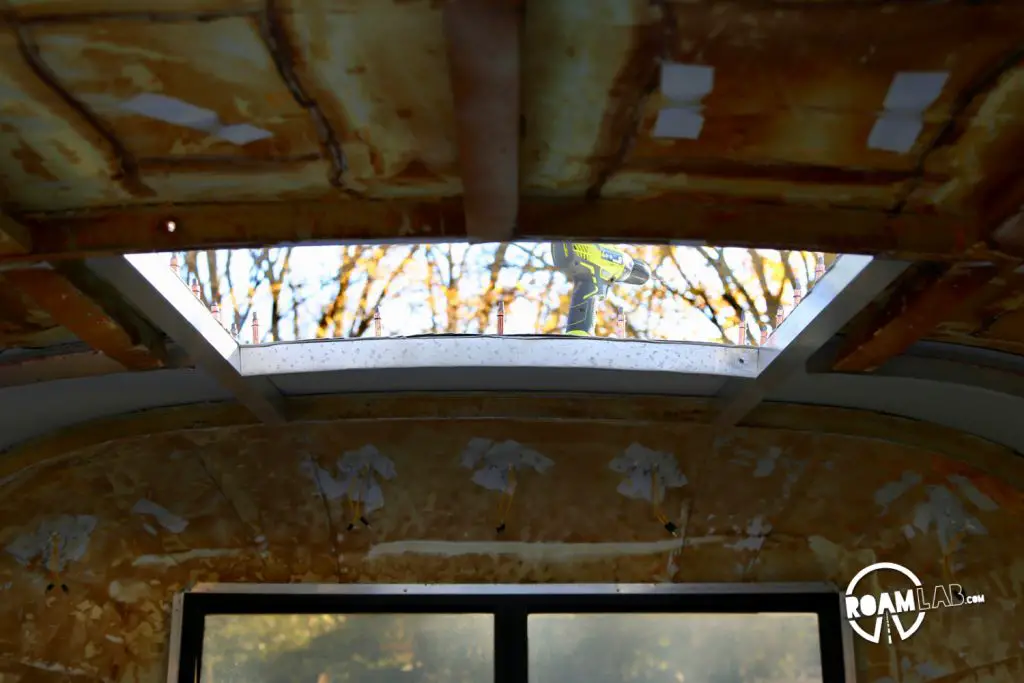
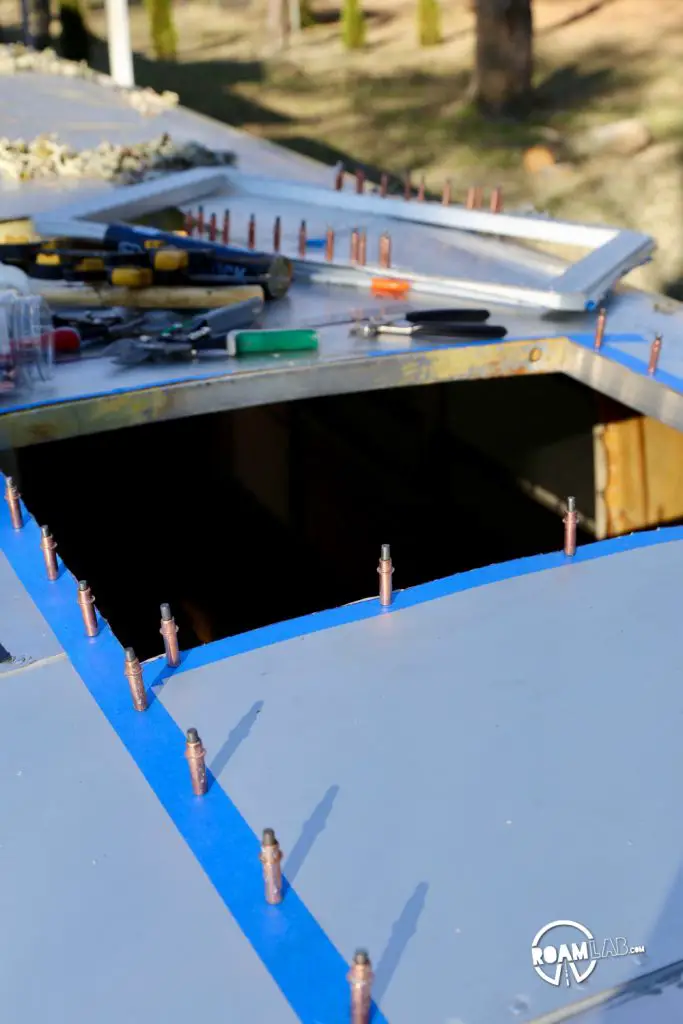
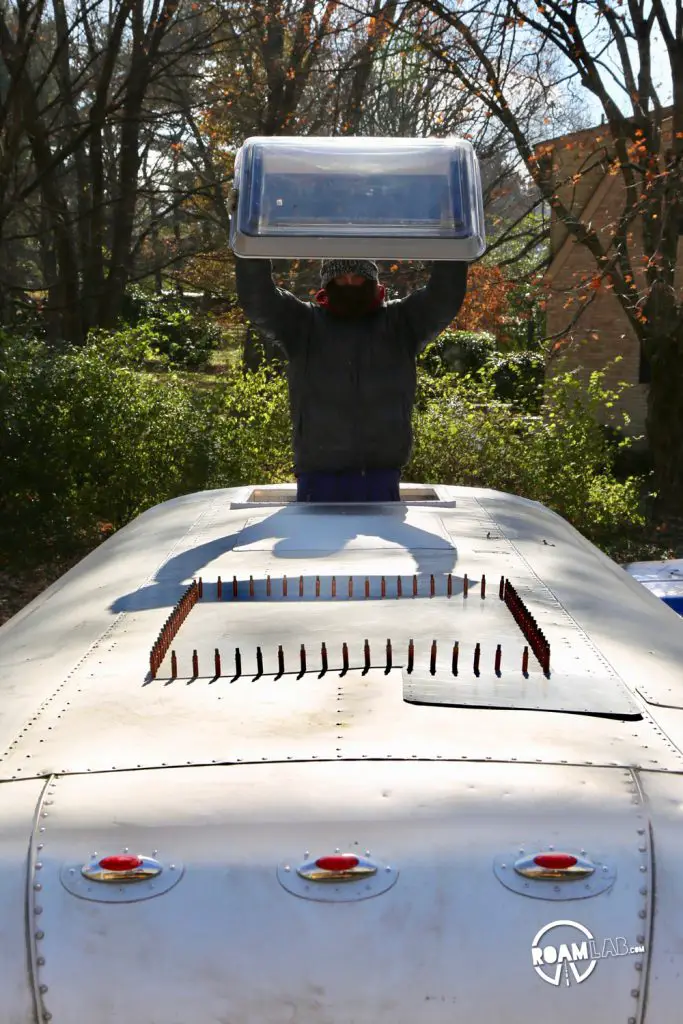
Opening Up The Avion
I trace out the 27 1/2” x 19 3/4’” opening for the hatch and Cowboy snips away.
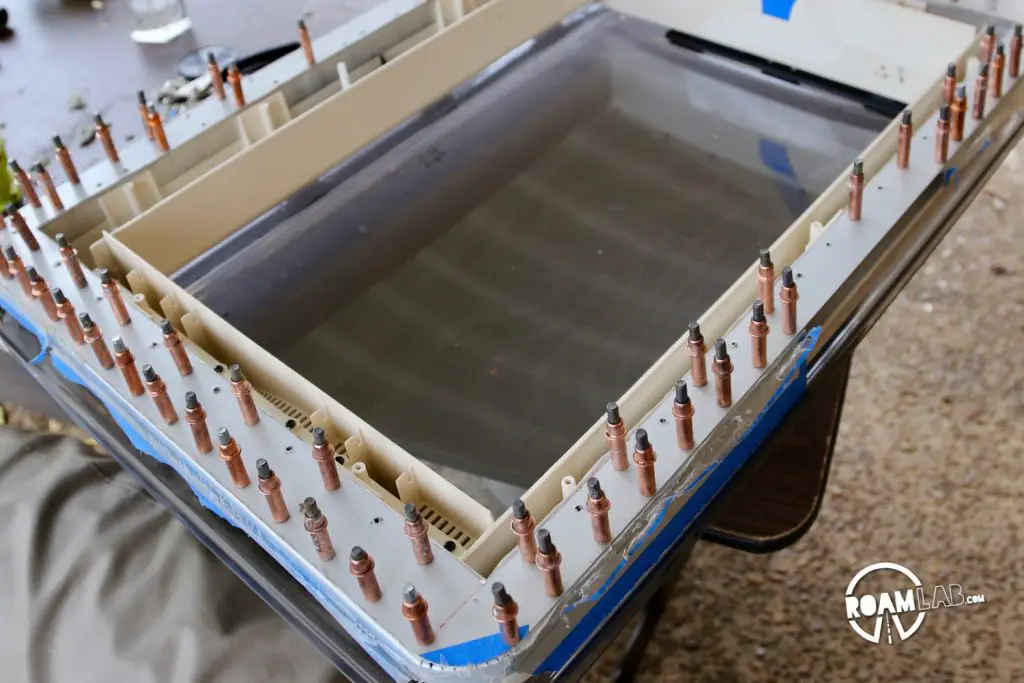
The Inner Frame
Call it overkill if you want, but along with an upper frame that will support the hatch from the top of the roof, I also add C-bars below the roof to play double duty: reenforcing the opening and as spacers when I install the Avion’s inner walls.
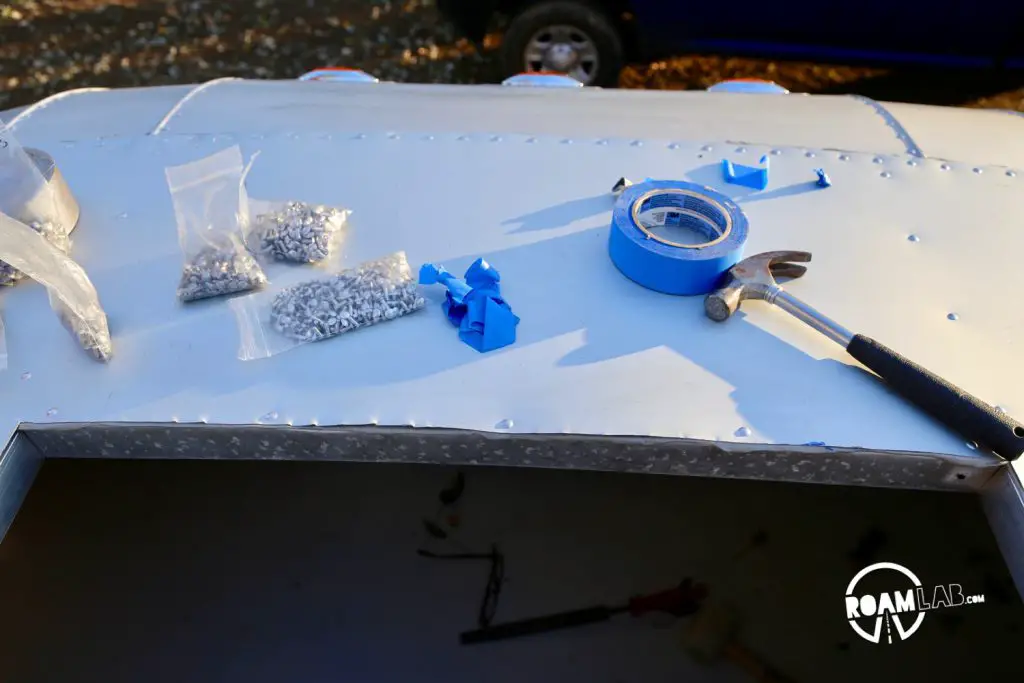
Installing the Hatch
Confession time: I’m going to gloss over this bit. I could go into details about the actual hatch install, but it’s all well documented in the installation instructions. I followed the directions with only a few exceptions where I used pop rivets rather than screws.
If you do have any particular questions about the installation process, drop me a question in the comments.
The one additional piece of advice I would offer around the installation process has to do with the SikaFlex 252. I have use SikaFlex 221 constantly as a sealant after binding two pieces of aluminum together. It gets tough to use with a caulking gun as temperatures get colder. SikaFlex 252 is an adhesive as well as a sealant. Using the caulking gun is nearly impossible. To make the SikaFlex 252 a little more usable, I leave it over a heating vent while prepping the area. Even warmed, my hands were terribly cramped by the time I had applied all the SikaFlex.
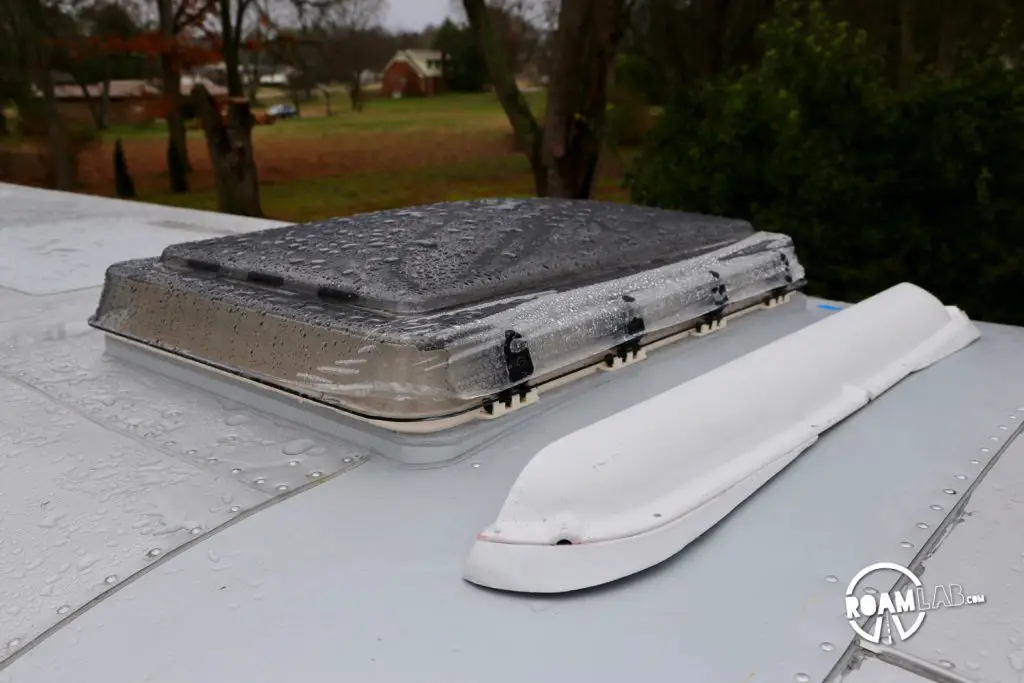
Sploilers
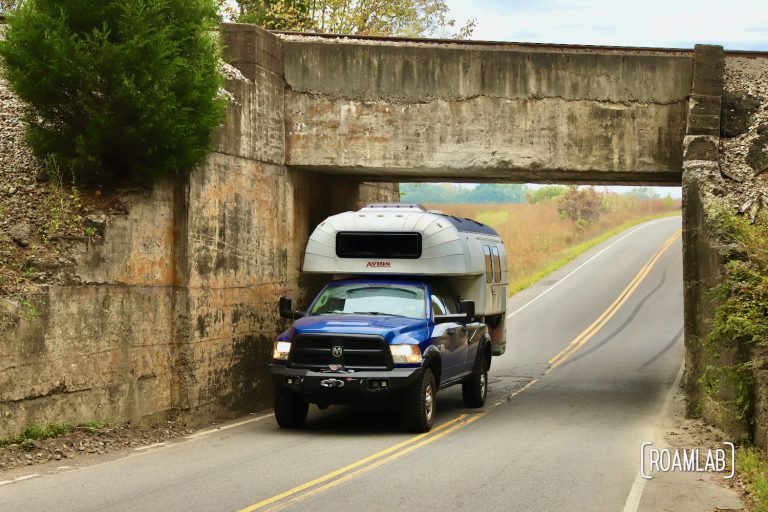
The hatch is mounted near the front tip of the roof. While driving, a lot of air is forced over this section, so, along with the hatch we need to include a wind break. We purchase an optional spoiler along with the hatch but it too faces the same challenge of the hatch: attaching a long, flat object to a curved surface.
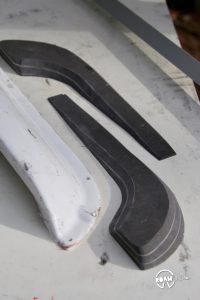
As strength and support are not quite as pressing of considerations for the thick fiberglass spoiler, I decided to take inspiration from the spoiler’s base material and use some of my scrap fiberglass-foam composite to shape an extension to the spoiler.
Using a jig-saw and sander, I am even able to add a little aerodynamic flourish to the spoiler by widening the base and creating a gentle curve to transition between the aluminum camper and the fiberglass spoiler.
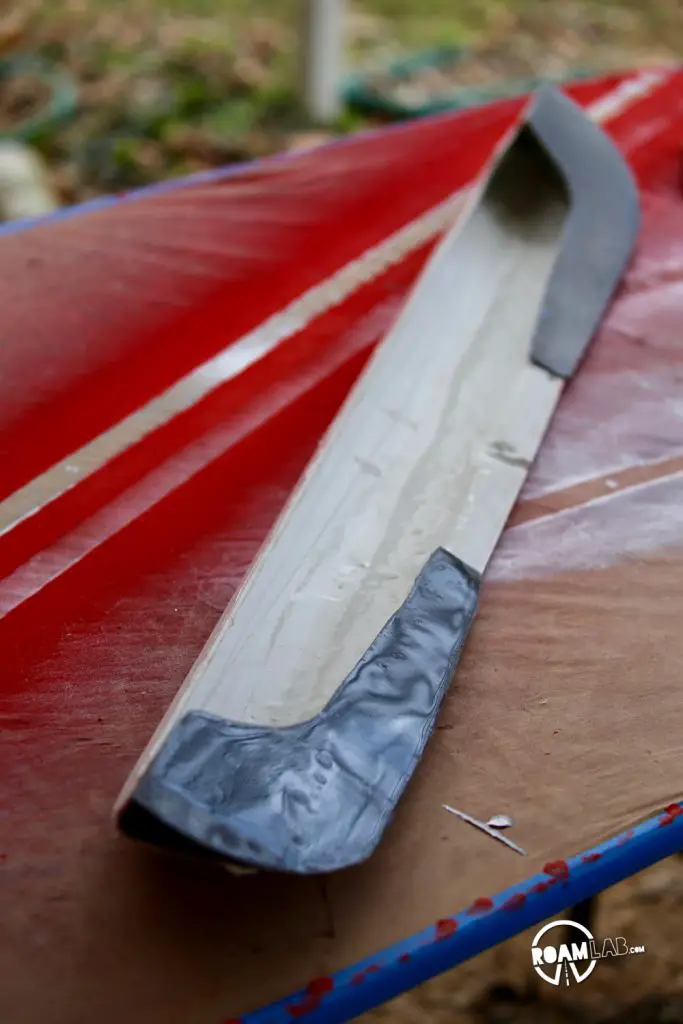
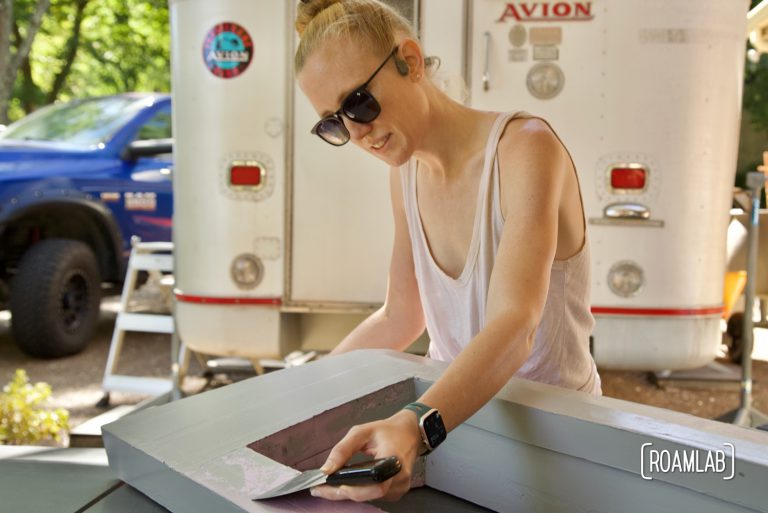
Once I have a the shape settled, I seal the composite with a coat of epoxy. First, I epoxy the bottom half of the composite, the section that will meet with the camper. Once that has dried, I tacked the top portion, which will mount to the spoiler. After a few layers of regular epoxy, I mixed a final batch of epoxy with silica to improve its adhesive qualities. I layered both the effected parts of the spoiler and the composite additions with the adhesive epoxy and clamped the two together to cure.
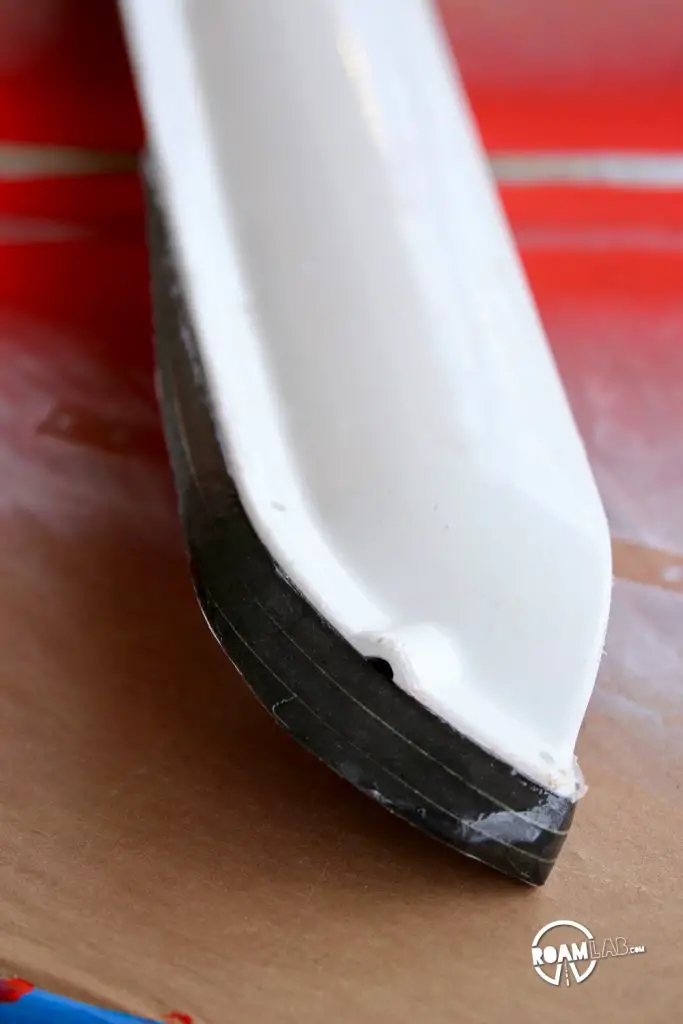
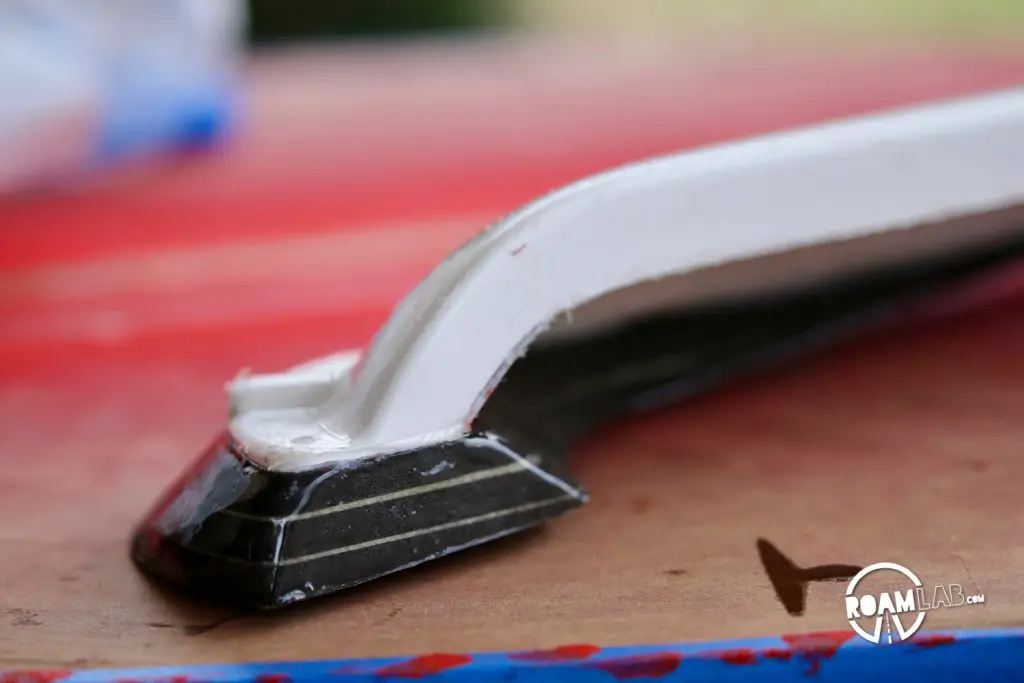
With the spoiler one, solid piece—ready to embrace the curves of the camper—there is one last flourish to add before the spoiler is ready to attach to the body: paint. Epoxy is very sensitive to direct sunlight. Extended exposure can result in discoloration, flaking, and delamination. So, a layer of paint both adds a bit of color (white, in this case) and sun protection.
As I am spray painting in the middle of winter, I pay close attention to the weather predictions, looking for temperatures as close to 60 degree minimum application temperature required by the manufacturer. To offset some of the complications from the cold weather, I keep the spoiler and paint inside before and after each application.

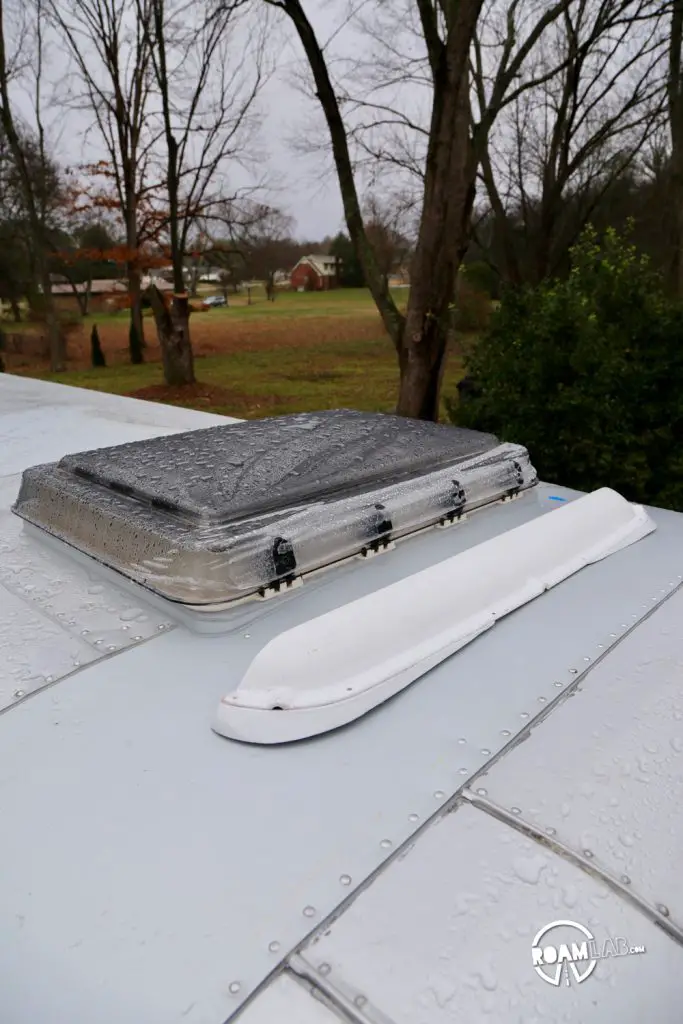
To attach the new spoiler, I first prep both surfaces with mineral spirits. I then added a layer of butyl tape to the spoilers base to help seal the spoiler to the surface. Using stainless steal bolts and nuts, I secure the spoiler to the roof. I finish off the seal with the addition of SikaFlex 212 along the edges.
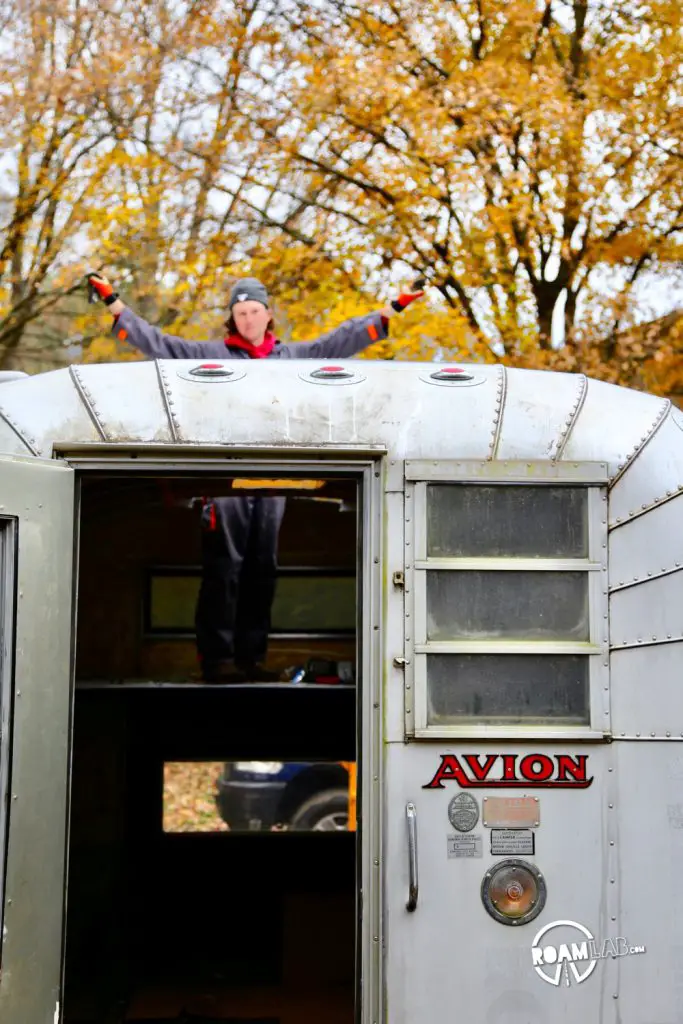
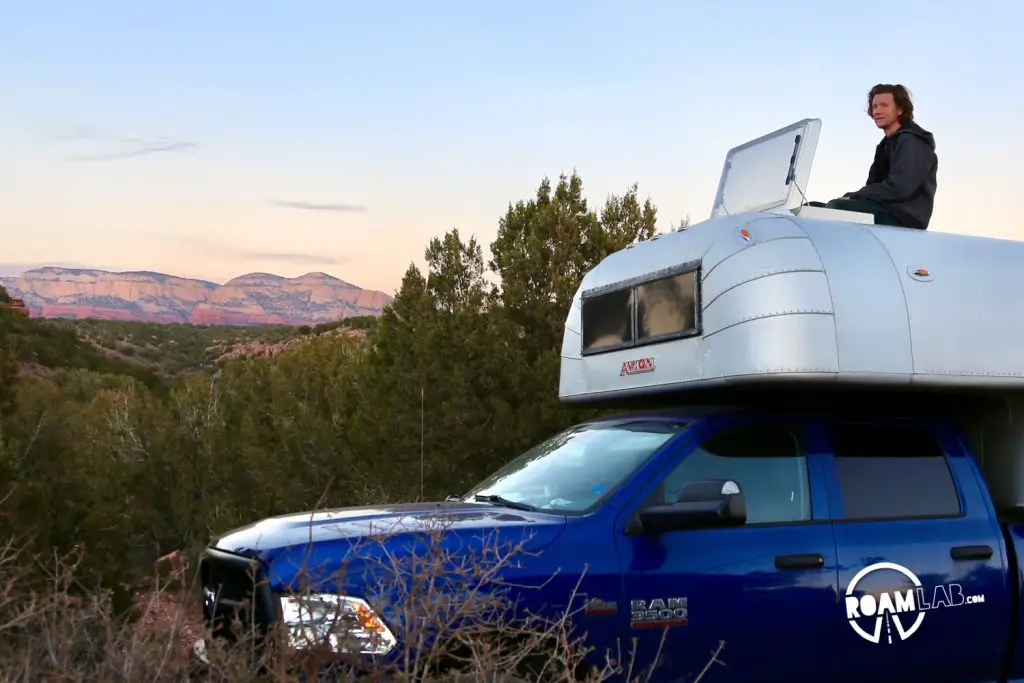
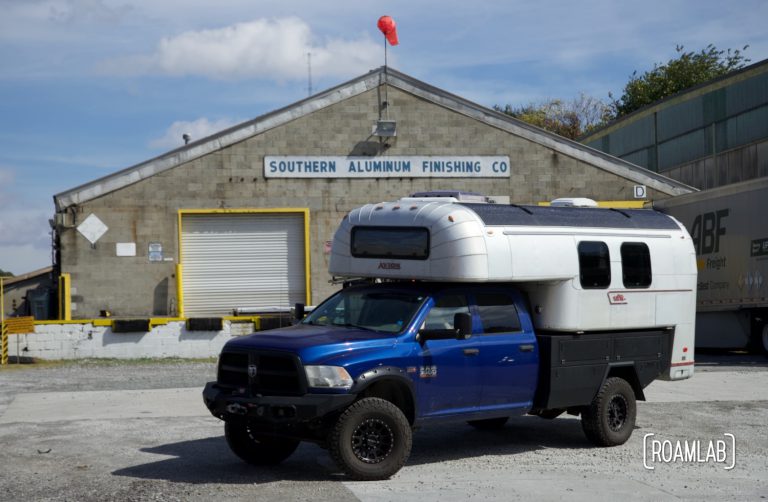
All Together Now
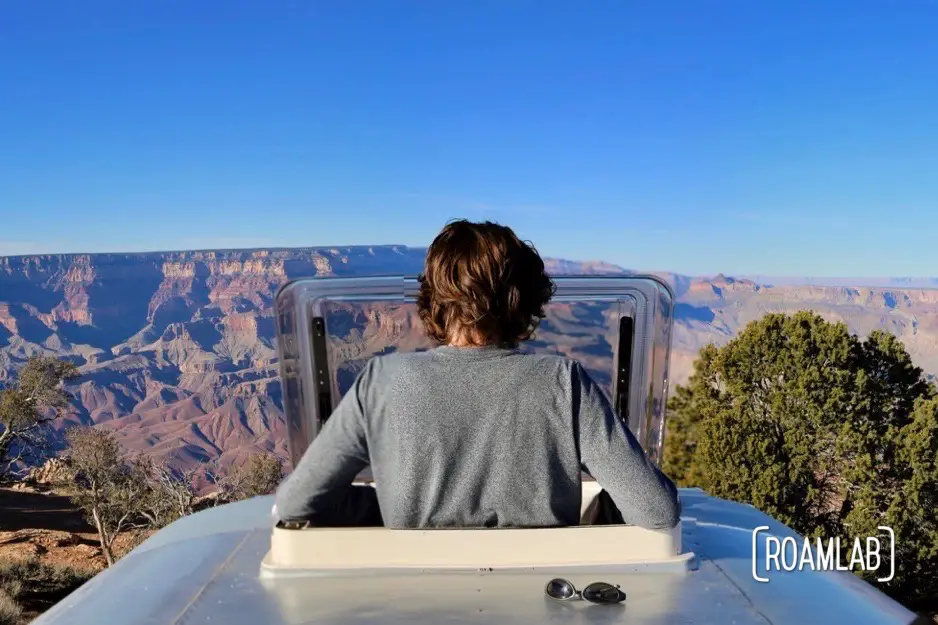
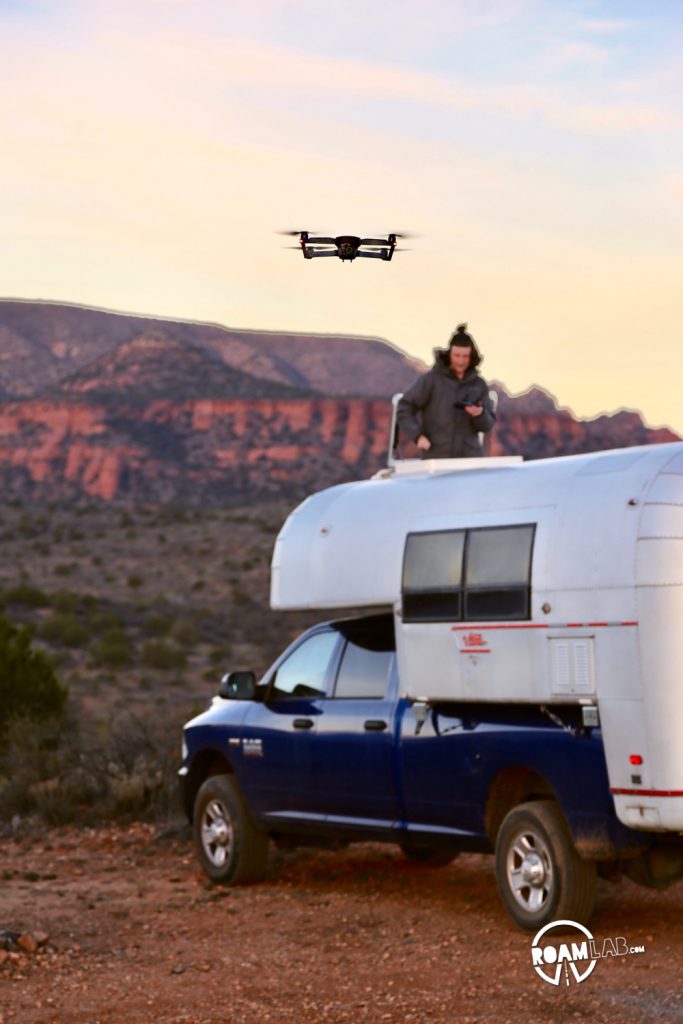
While the install proves far more complicated and time consuming than intended, it is completely worth it. As we return to our wanderings, the hatch quickly becomes a regularly used feature. It means ventilation, vistas, and a bit of privacy above the crowd.

Really enjoyed reading your explanation of hatch install. As a former contractor [retired 16 yrs] I have many of the skills you used and so could follow and enjoy as well.
Thank you
Jim
Thanks Jim! So much of this is new to us but we are eager learners. We are always happy for any pointers you might offer.
I wanted to know your opinion on the quality of the hatch and opinion of durability. I have been considering one on my American Road Camper restoration.
For us, the hatch has been a game changer. Not only can we see outside but it gives us easy access to the roof and expands our headroom in the cabover. I did have a little trouble with the locking mechanism initially, but the team at Tern are also incredibly responsive to any questions you might have.