
Rolling back the months to when we first moved out of our San Francisco apartment and into Dodgy, we had ambitions, very custom ambitions. We intended to strip Dodgy and turn it into a travel home tailored to our needs. While Dodgy was amazing, with more space than we could have hoped for, we quickly discovered that finding replacement parts and people who would work on Dodgy was an onerous task. So we shifted gears: instead of making Dodgy the end-all-be-all road chalet, Dodgy would be our prototype. We tried different sleeping arrangements, brainstormed on privacy options, tested packing configurations. We bided out time, until we were ready for a more tailored living arrangement. Now, with Dodgy II, we were ready to implement the plans we had been delaying for over a year. To start, it was time to make a bed.
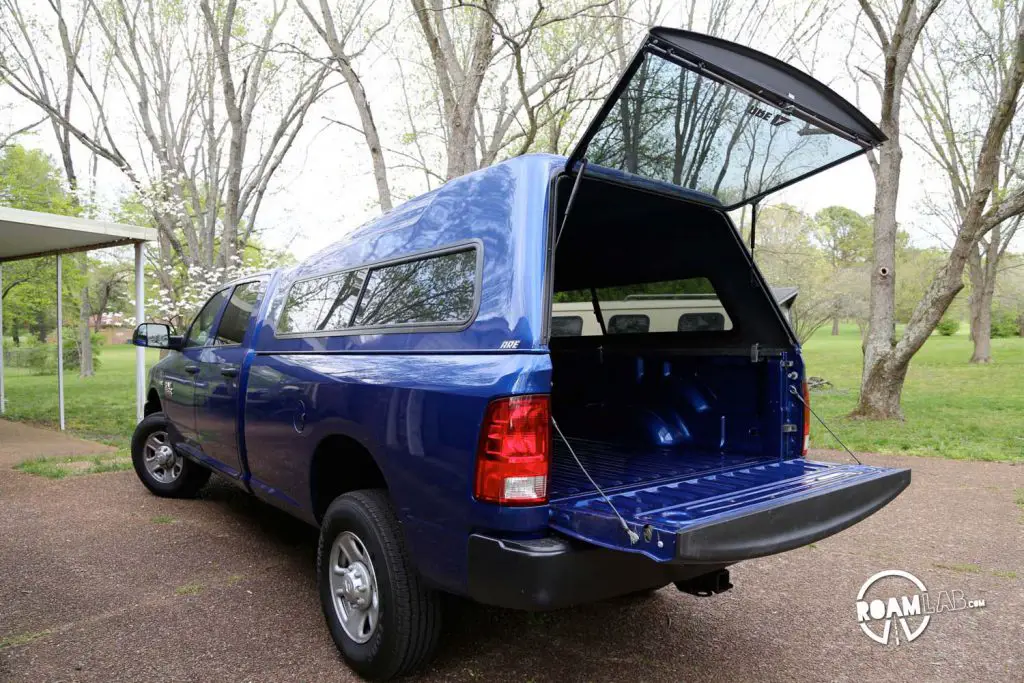
To make the truck bed livable we needed a shell to cover it. We researched lots of covers but found that very few supported a Dodge Ram 3500 and, for some reason, having a dual cab was an issue for fitting a lot of truck bed shells. (Ford F150s were generally the best covered.) Yet, ARE did have a cover that fit the truck. Better yet, we could order it in “electric blueberry” or whatever name Dodge concocted to describe our trucks particular shade of brilliant blue.
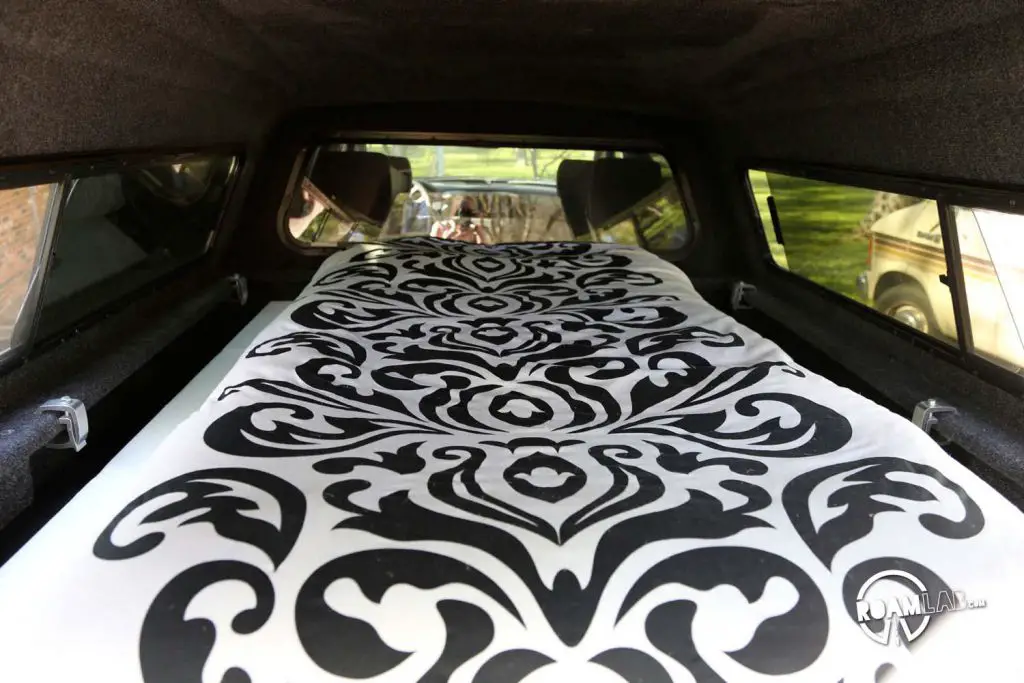
There were many sizes and configurations possible, but we went with the ARE TW series truck cap, which rose in height from the cab to the tail of the truck. This meant an aerodynamic shell with extra headroom in the back. While privacy was a concern, so was ventilation, so we chose to have screened in sliding windows. We opted for the carpeted interior to add some insulation and comfort.
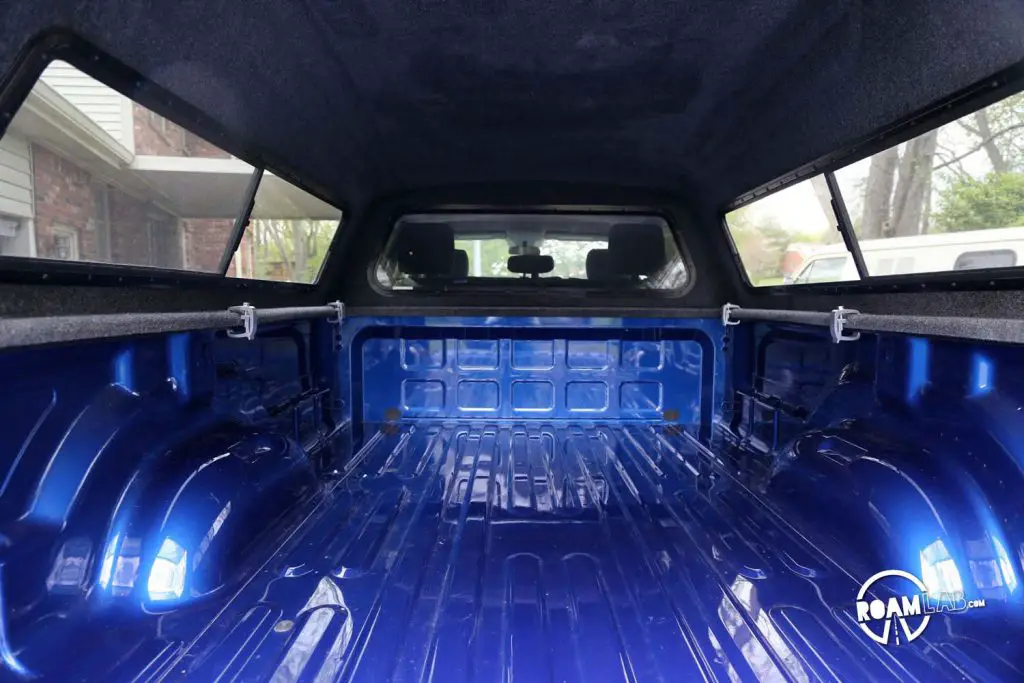
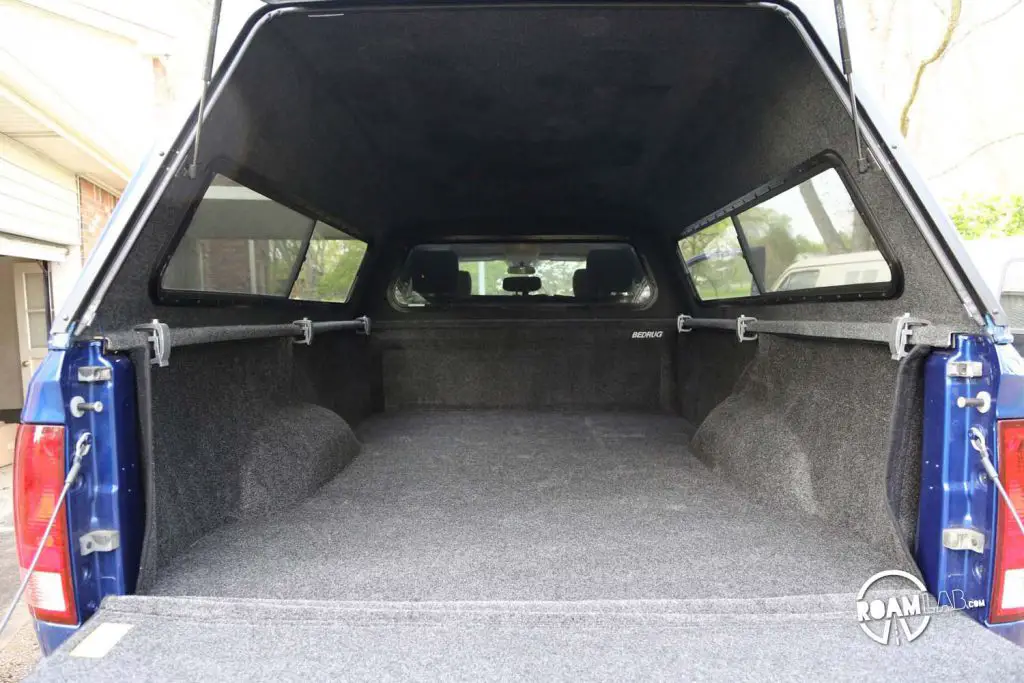
This then spurred us to also get a “bed rug.” This specially fitted carpeting is designed for the interior of the truck bed. It really tied the interior together and was a blessing for our knees. We crawl around in the truck bed a lot. Every bit of padding helps.
We already had some materials for our new bed: our old bed. While we didn’t have anywhere to use it, we kept several of the pieces from our bed in San Francisco to be used in the new one. We liked the padded leather and thought some extra padding would be a comfortable addition for the confined space we would be living in. Along with it, we bought the basics: wooden 2×4 planks, screws, hinges, and other odds and ends.

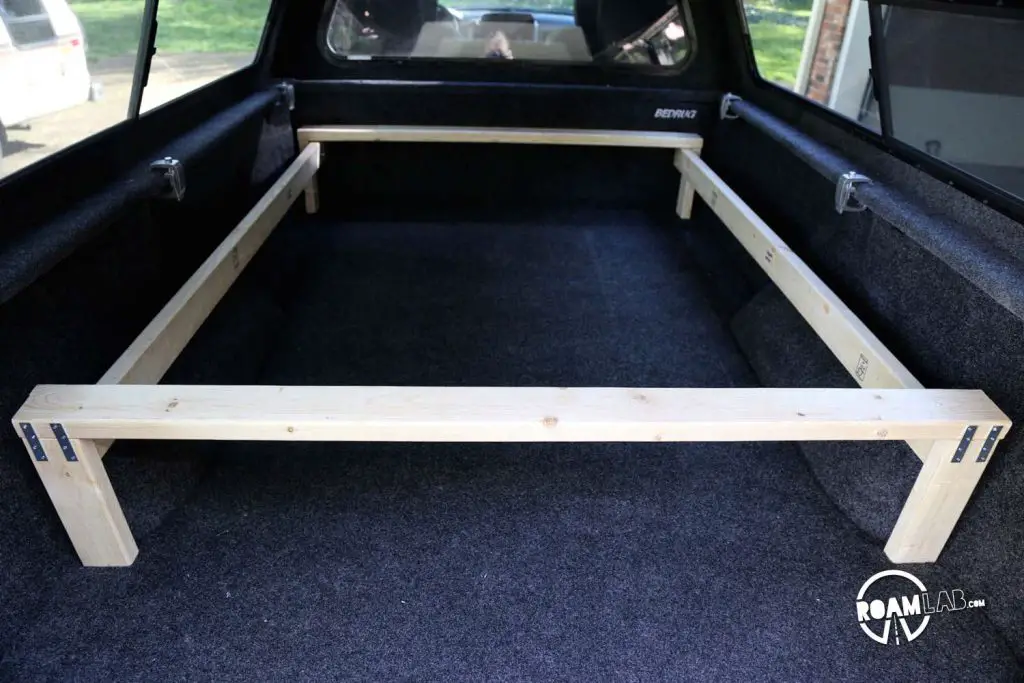
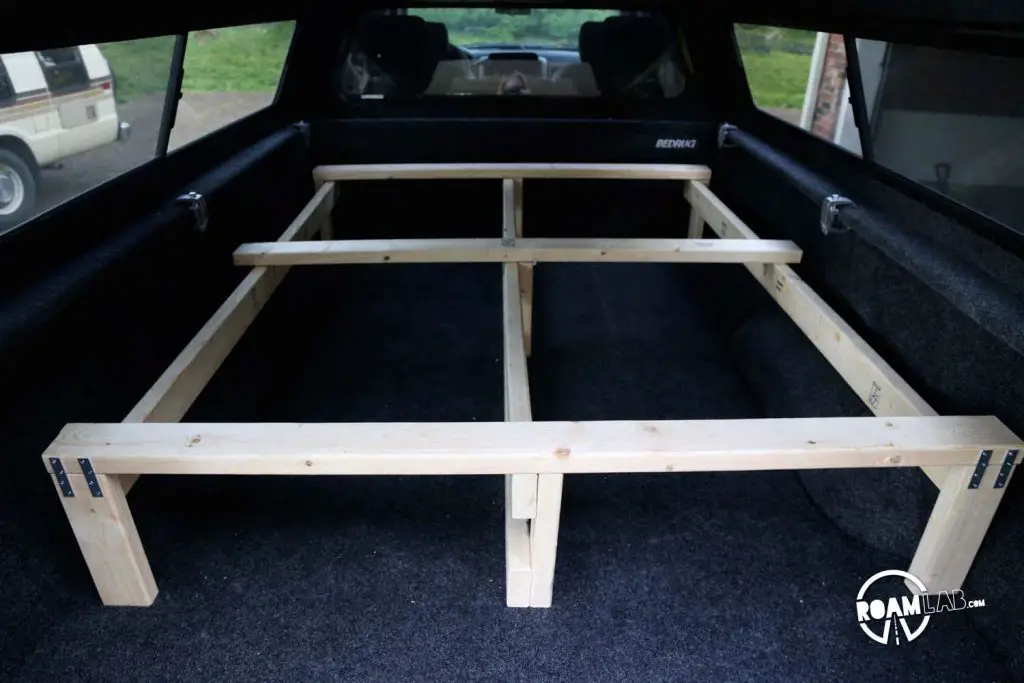
The goal for the bed was to create an elevated sleeping space with storage underneath. Elevating the bed not only meant storage but it would put our bodies at the level of the truck shell’s windows. This way, we could enjoy a cross breeze on warm evenings. (This also exacerbated a privacy issue that we are still addressing.)
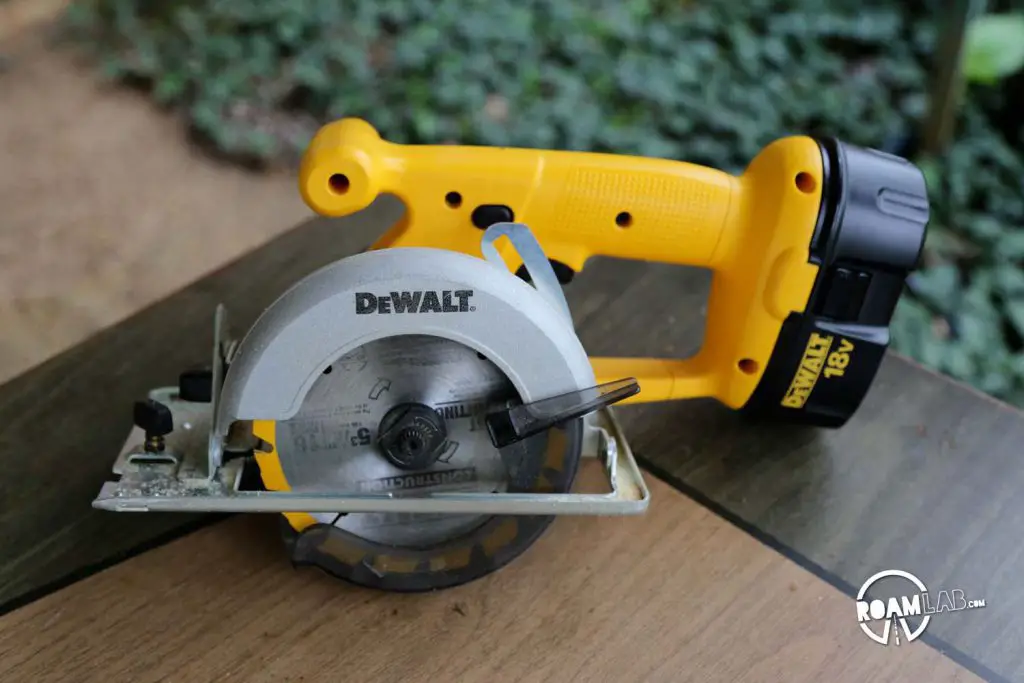
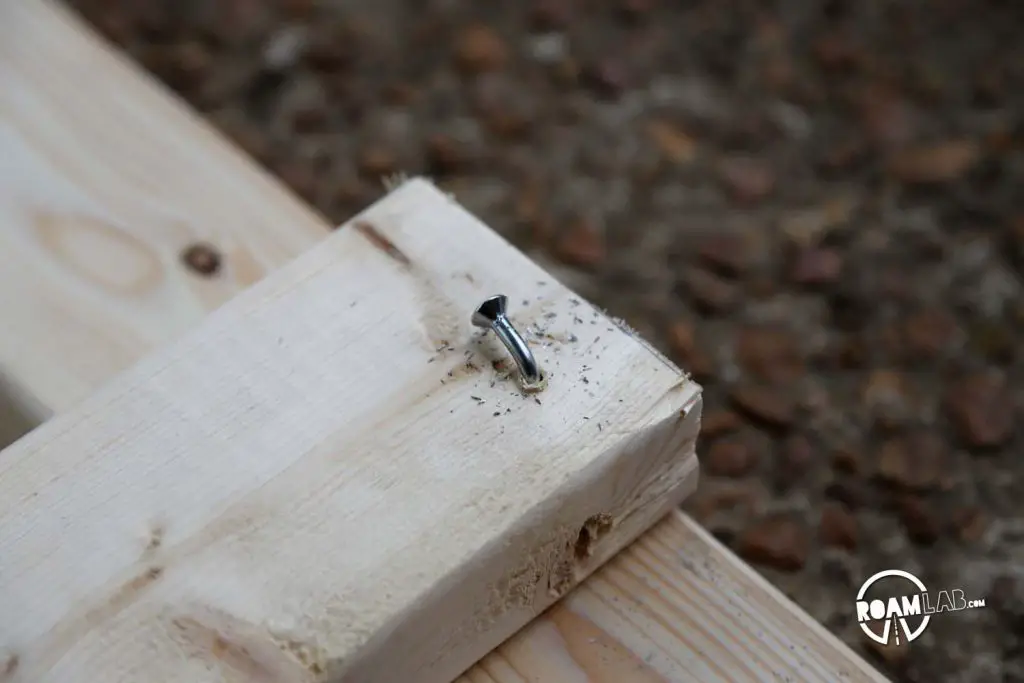
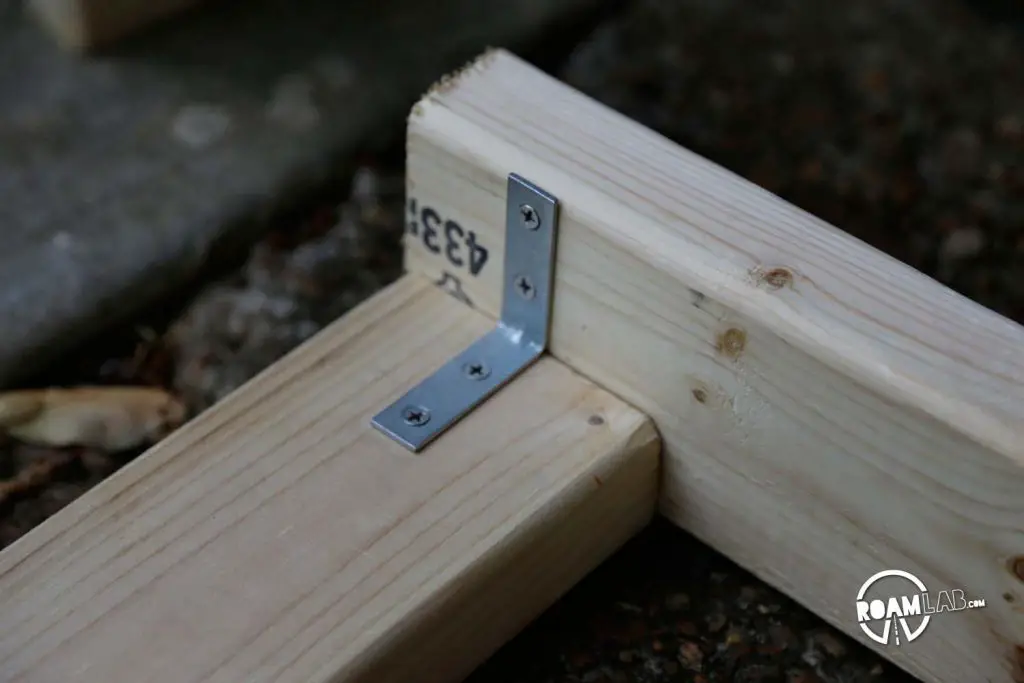
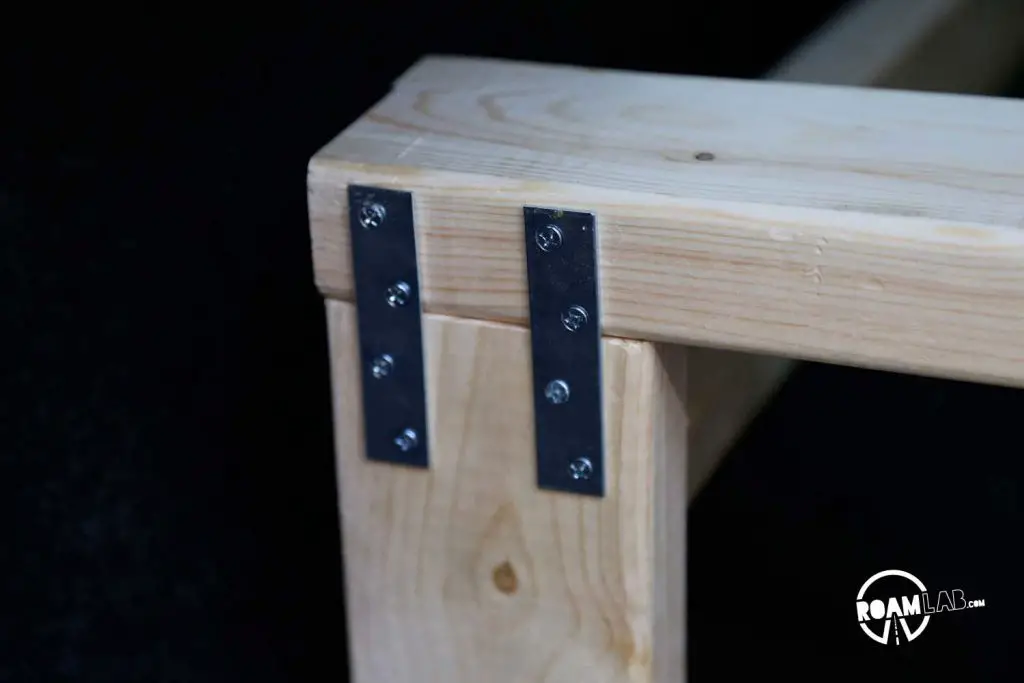
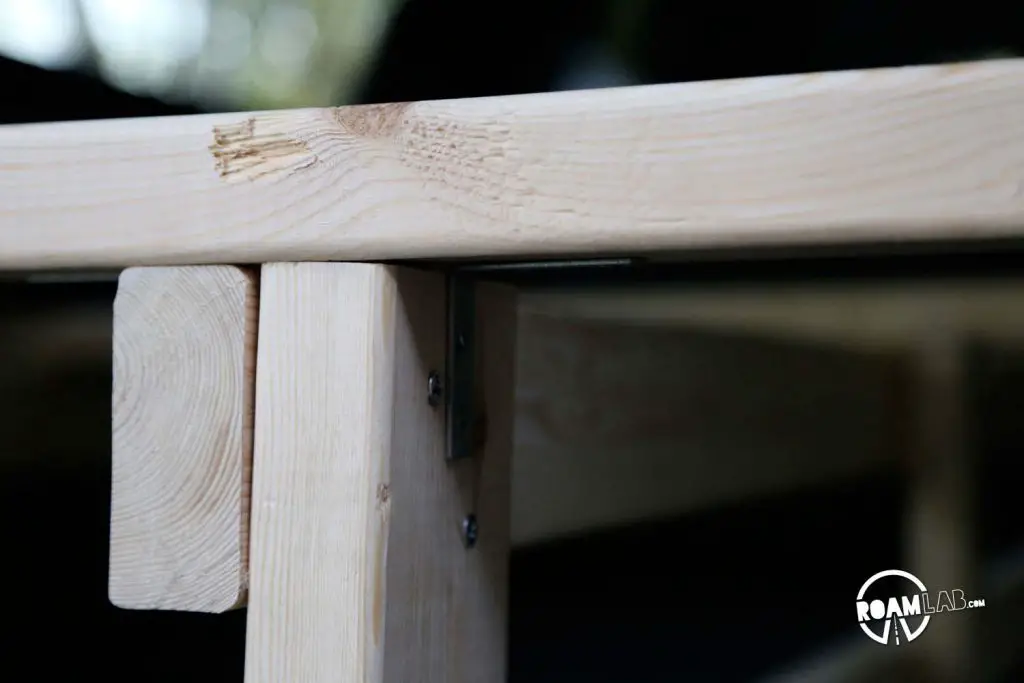
To elevate the bed, I built a structure with some 2x4s. Despite my machine shop experience, I didn’t have the drill bits to make prep holes and the cheap knotted wood we bought meant many stripped screws. Later on, this just meant a lot of hand screwing and knots in my back and shoulder muscles.

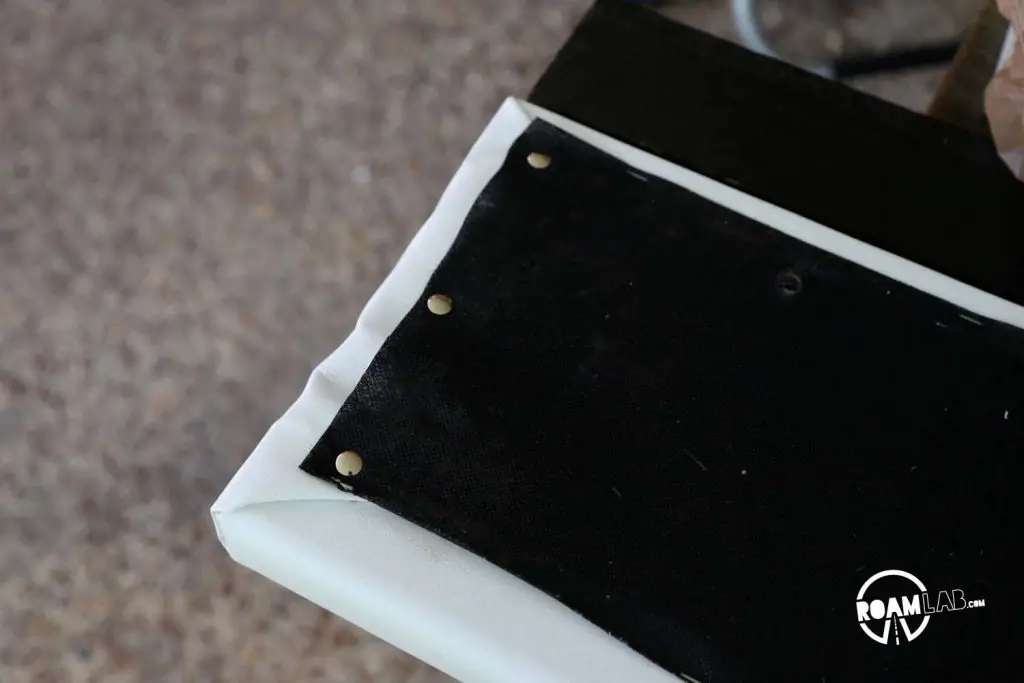
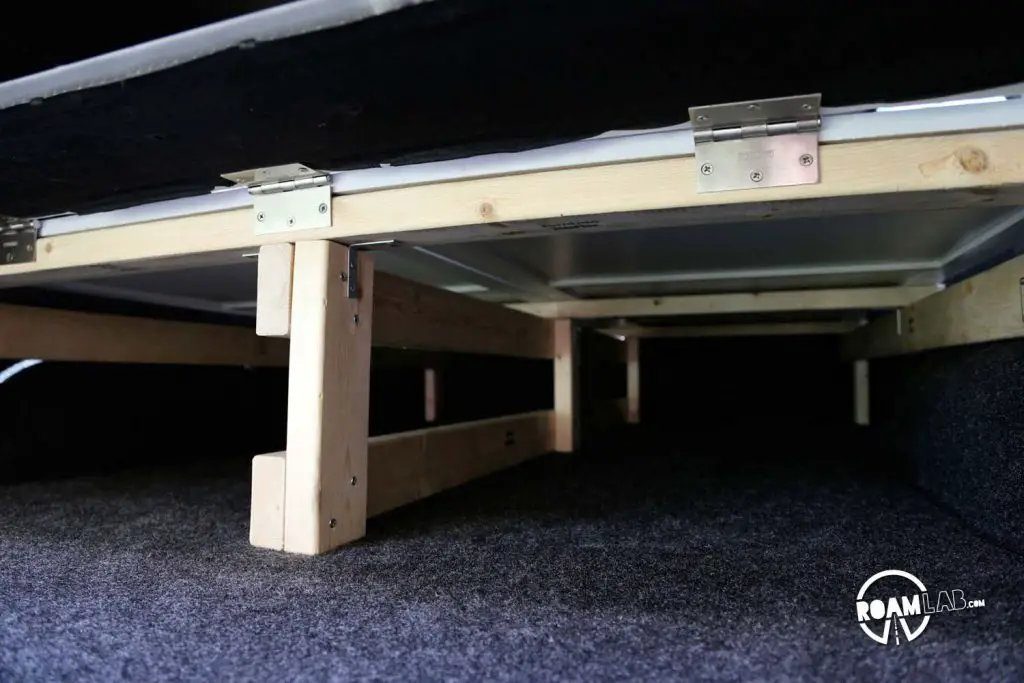
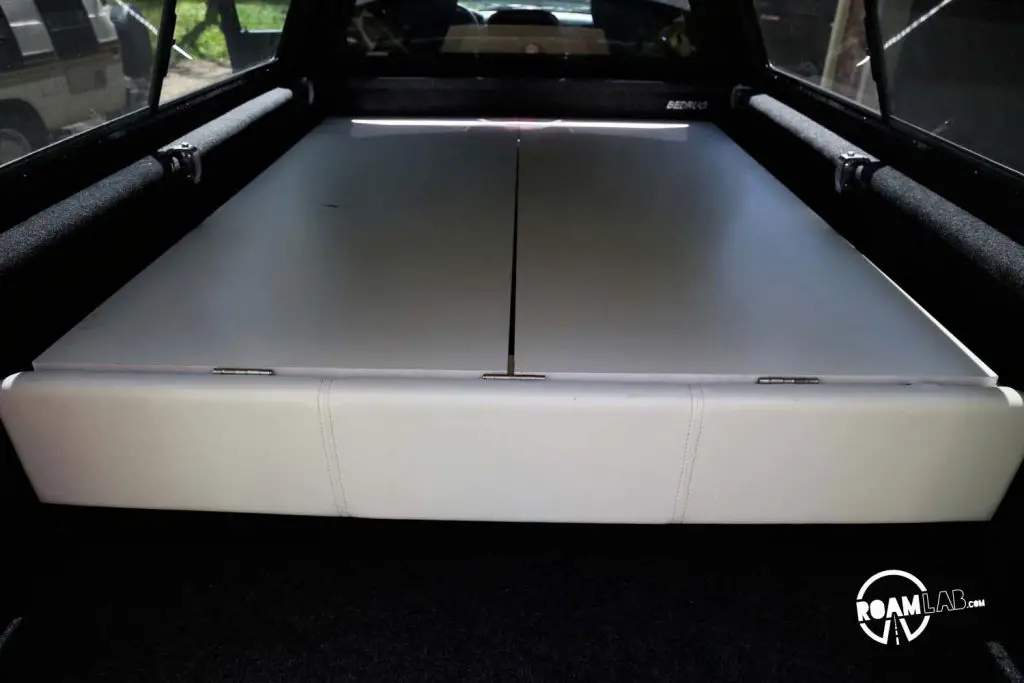
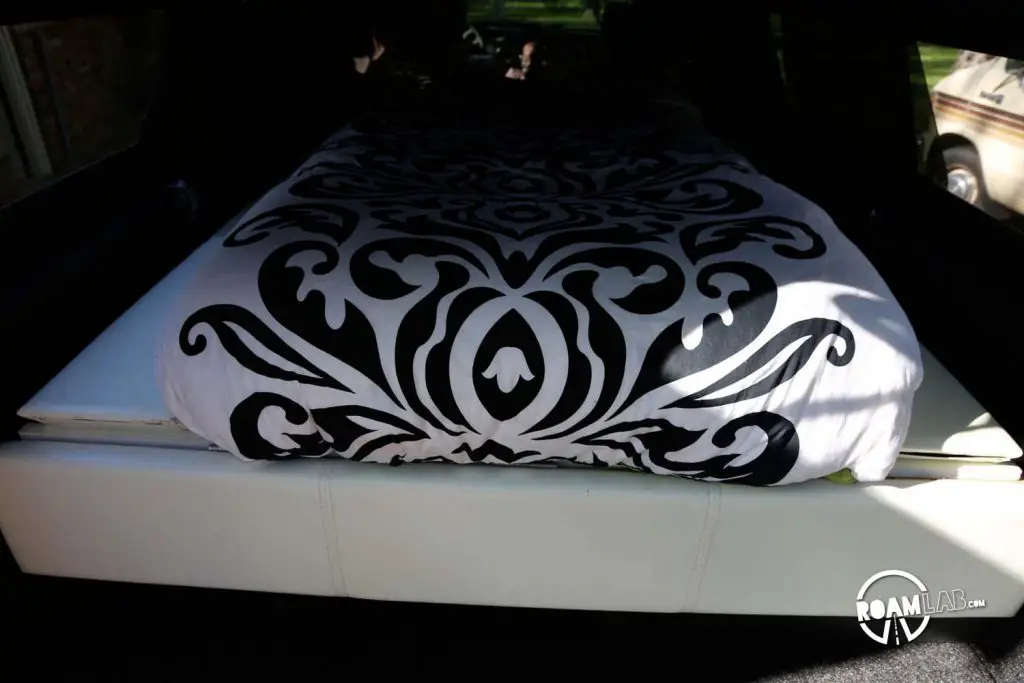
Yet, it was worth it, because the new bed supported a memory foam mattress which was immensely more comfortable than the IKEA futon we had been using in Dodgy. Better yet, the mattress was about the same price. We set the mattress on two planks that had been part of our old queen sized bed frame, now cut down to twin length. Yes, we got a twin mattress, but, unlike the contortions we had to perform to sleep on the twin IKEA futon, this twin mattress was flanked by the padded leather side boards from our old bed. That meant we could comfortably expand past the mattress but also easily rearrange the boards and mattress to access under the bed without unloading the mattress.
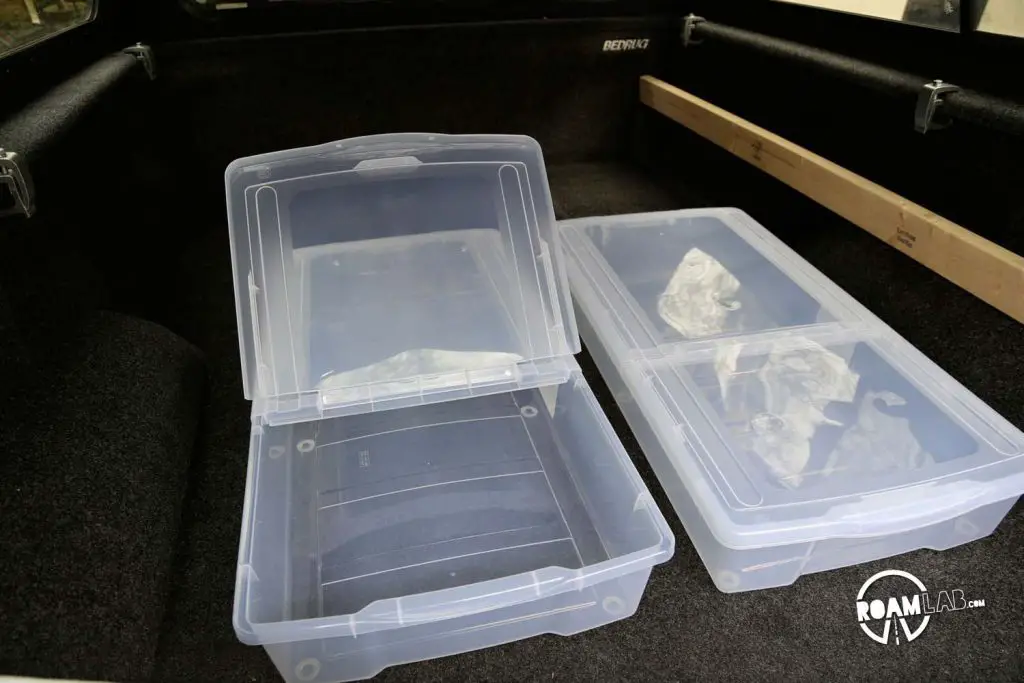
The under the bed storage space was intended to be organized into two parts. At the far back of the truck, where we would enter the truck bed, we can flip up the padded foot of the bed to access two large boxes for relatively easily accessible storage—the most accessible storage being the back seat of the truck cab. For longer term storage, we could stack the two boards, mattress, and padded boards to pack and access equipment that was less frequently needed. It’s a little more troublesome, but takes less than 10 minutes to get anything back there. We bought two, large, under bed storage boxes for the easy access parts and packed the long term storage loosely.
The final result has us delighted. The bed is not only comfortable, but fits much more into our modern design aesthetic. Better yet, I finally got some exercise after months of laying on a couch and coding.
Our Shopping List
- Truck Shell
- Bed Rug
- Memory Foam 6 Inch Mattress, Twin
- Sheet Set, Twin (I love how soft these are and soft sheets make all the difference)
- Wood
- Screws (but I’d consider nails next time)
- Hinges
- IRIS Underbed Storage Box with Hinged Lid

[…] truck dubbed Dodgy II: The Truckening (our van was Dodgy I). We built the truck bed into our own cozy living quarters with all the necessities: a bed and…nope, that is about it. But it does have 4-wheel drive, […]