
We have a problem: our truck cab has no rear window. Granted that is for a reason. We are building a passthrough so that we can easily move between the truck cab and truck camper without stepping outside. For many, this means permanently wedding the truck camper to the truck. But our truck is our only vehicle and we use it for daily errands. So, we are designing a detachable passthrough where the openings in the truck and camper can be easily sealed when the two are disconnected. To that end, today we are installing a Breezer Window. The inner pane can be popped out in seconds, but first, this Breezer Window install will take special care.
Selecting a Rear Window
We spend a lot of time researching aftermarket rear windows for our 2015 Ram 3500 truck. Most are sliding windows that we may or may not fit through. The Breezer is a rare exception with the largest opening we can find on the market without enlarging the rear window. More importantly, it is designed to easily and securely seal closed. This window will give us the pass-through we need without sacrificing safety. Now, all we have to do is install it.
A Few Notes Before We Proceed
For this Breezer window install, we first have to remove the factory window. We cover that process in our previous post: Rear Window Removal. If you haven’t read that post, you may want to give it a quick perusal before proceeding here.
In addition, Breezer is a product intended to be installed by professional glass repairers. There are limited instructions that come with the window and we have never managed to get a return email when we have reached out for advice. Installing this window will be without the manufacturer’s endorsement or help.
Materials needed
Many of the key materials we need for this Breezer Window install are meant for professional use only. Of course, relying on outside professionals is not our style, but it introduces a lot of challenges in procuring the materials to perform this installation.
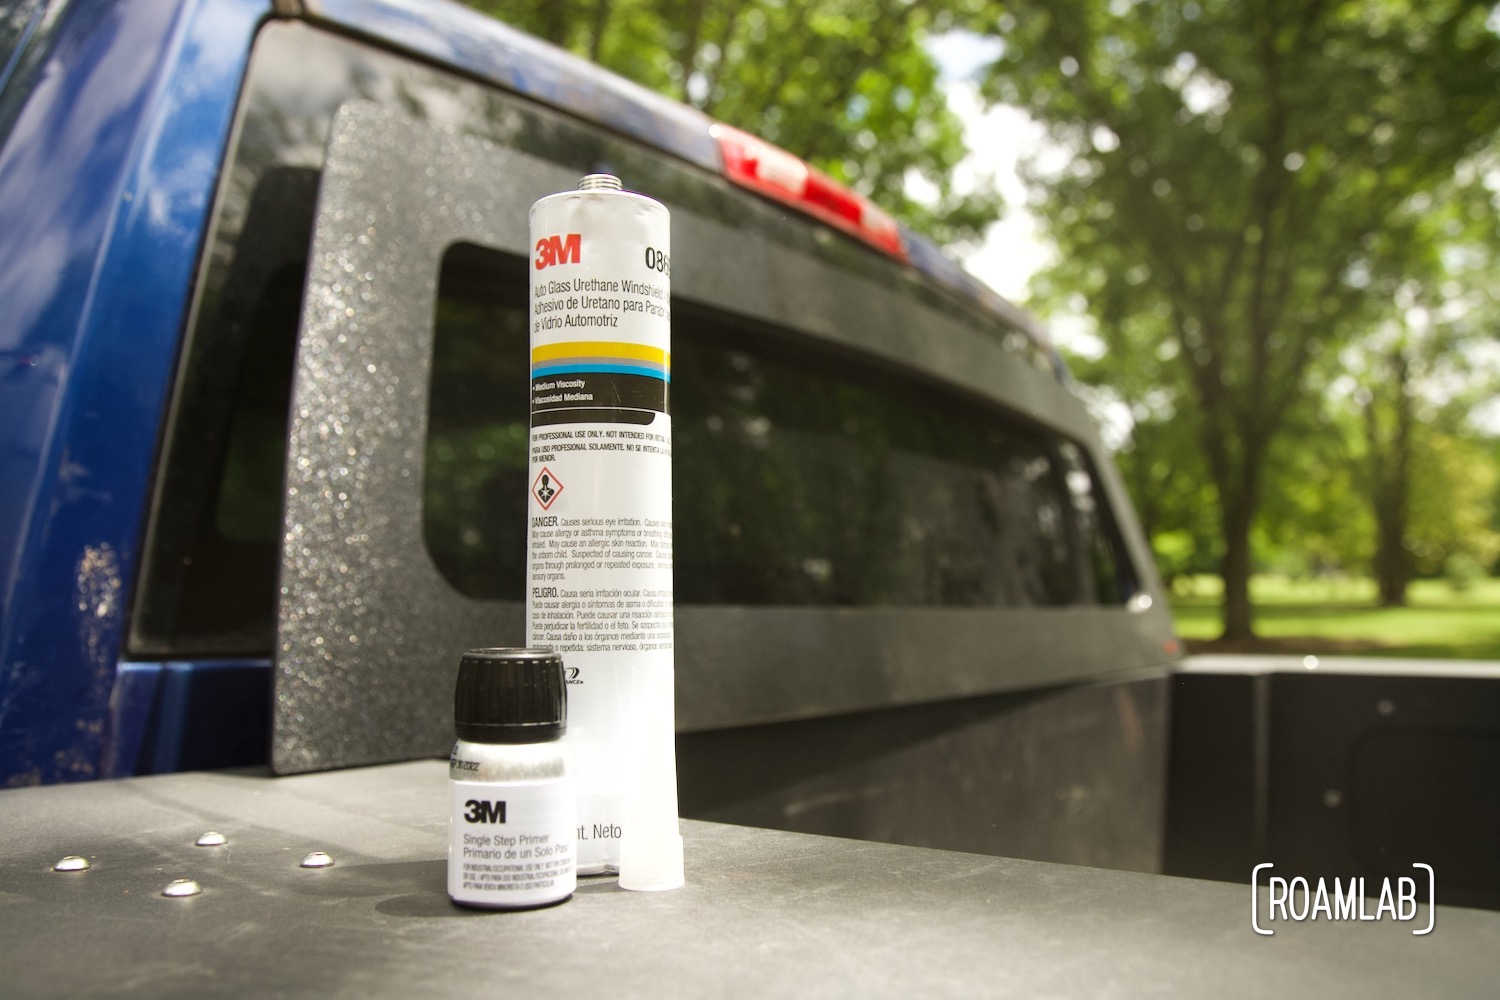
Breezer recommends using SikaTack MACH 60 auto glass replacement adhesive and primer. In fact, they are very explicit that installers should use a urethane adhesive and SikaTack MACH 60 in particular. Despite our best efforts, while we can find a vendor for the primer, we can not find a vendor to sell us the adhesive. Instead, we select 3M Auto Glass Urethane Windshield Adhesive and 3M Single Step Primer. It is the closest product we can find on the market. And 3M has a very helpful support line.
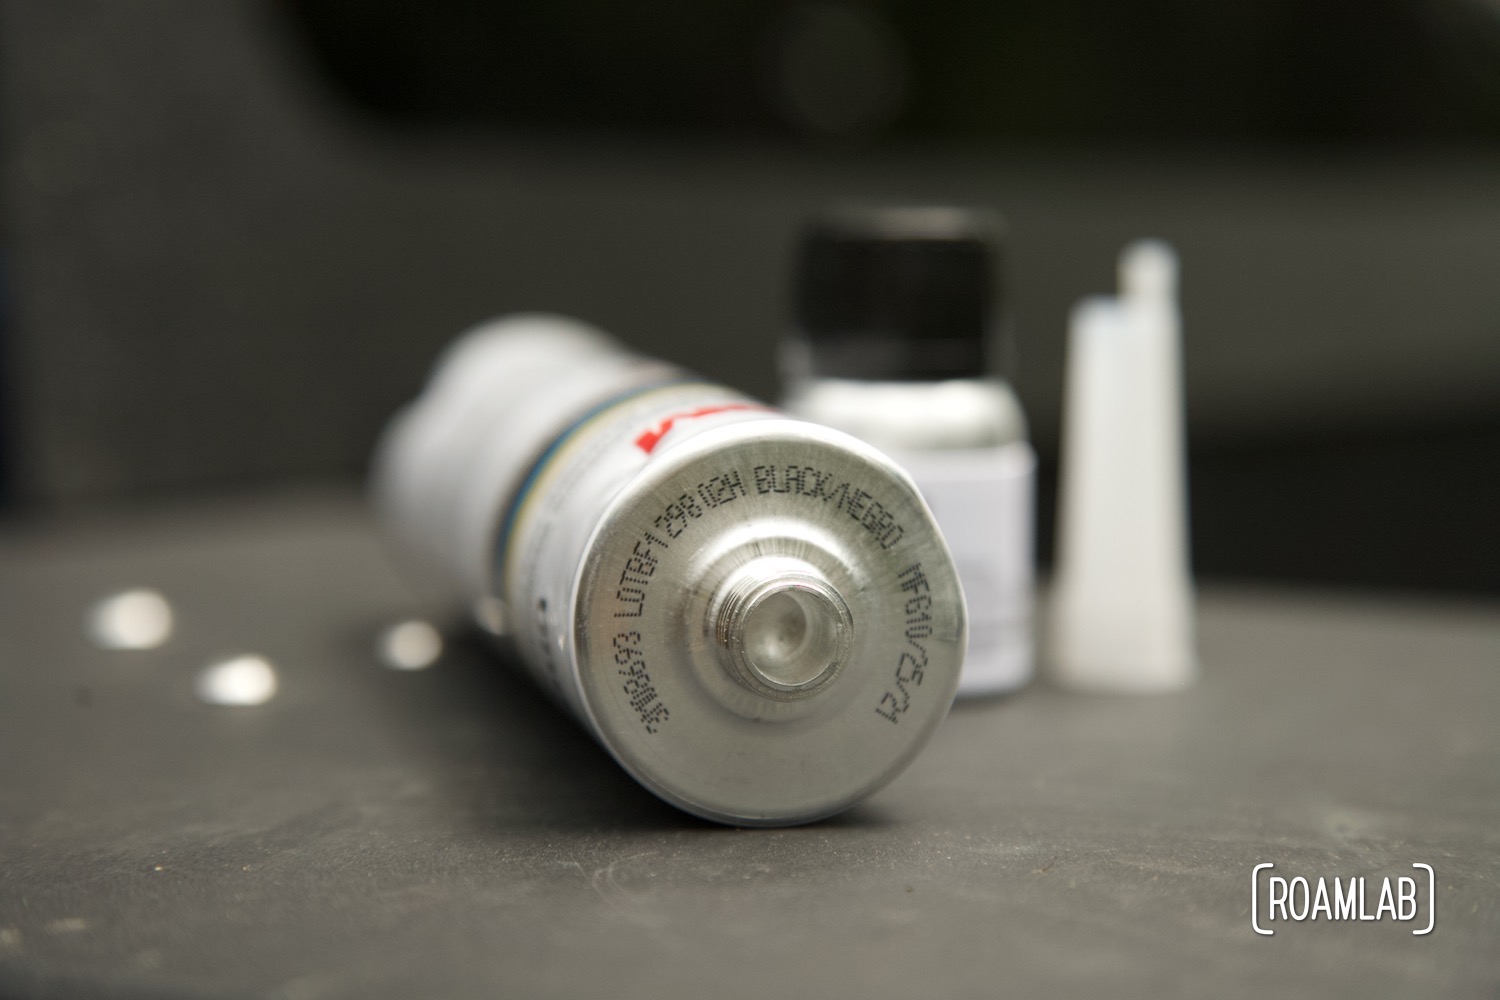
But that is far from the end of our challenges. 3M sells the urethane windshield adhesive in cases of 12. That’s prohibitively expensive for our single-use scenario. So, we resort to third-party vendors. Unfortunately, the product descriptions can be ambiguous. We spent a lot of time trying to confirm that the urethane we are buying is black, as the label looks different from the 3M listing. When we receive our cartridge, we struggle to ensure that we have a black adhesive since the color is never specified on the label until we look at the printing on the top.
Granted, in all the confusion around color, we encounter a different problem: the vendor shipped the cartridge without a tip. Replacement tips come in 50-count packages. The best price we can find is $60 per package. Fortunately, we find an alternative tip from an unrelated cartridge that fits on the 3M urethane cartridge. For others, I would advise you to look to buy from vendors that include the tip.
Will all that confusion resolved, the rest of our materials and tools are straight forward to procure:
- 3M Auto Glass Urethane Windshield Adhesive, 08693, 10.5 fl oz Cartridge (with nozzle!!!)
- 3M Single Step Primer (08682)
- 4-6 daubers (it’s better to have more than less!)
- Application gun
- Cleaning rags
- Soap and water
- Isopropyl alcohol
- Masking tape
- Wratcheting straps
- Spacers
Preparing the Work Space
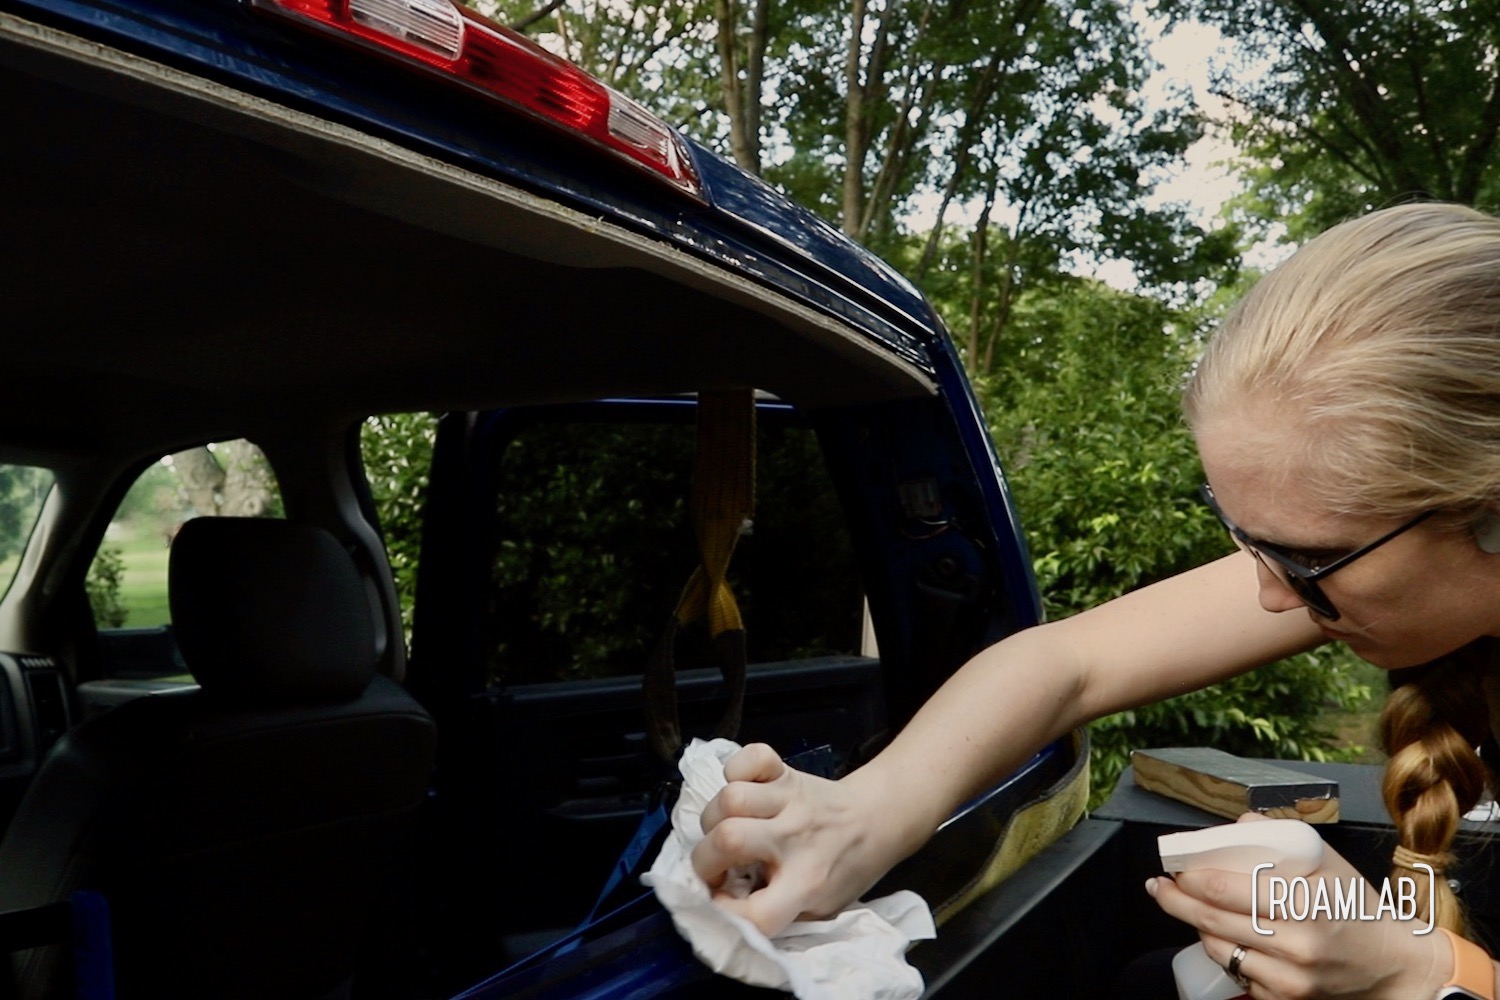
We have already done a lot of the preparation work for this installation as part of our last post on Rear Window Removal. At that time, we removed the back seat, interior paneling, and window, and trimmed away excess urethane. Now, we need to clean up the work area to make sure we can ensure a secure adhesion between the new window and frame. For this, we wash the window and surrounding frame area with soap and water. Years of dirt and grime have congealed around the old seals on the frame. So it takes a good scrub to fully remove the mess. We will also do a final pass with rubbing alcohol immediately before we start the application process, to clean off any new dust and grease.
Dry Run
I don’t think I can impress upon anyone how important it is to do at least one dry run of this install before applying any primer or adhesive. We have years of experience working together on this camper build and communicating about working together on this camper build, and even our first dry run would have been a complete mess if we had the urethane applied. (And urethane is incredibly messy) Instead, we walk through the process of mounting and securing the window in place without any adhesives. We treat the window to be installed as if it does have the urethane applied and carefully align and secure it against the truck frame with minimal adjustments.
Even with two people, each monitoring their side of the window, getting the alignment right the first time is nearly impossible. But we find some techniques to help:
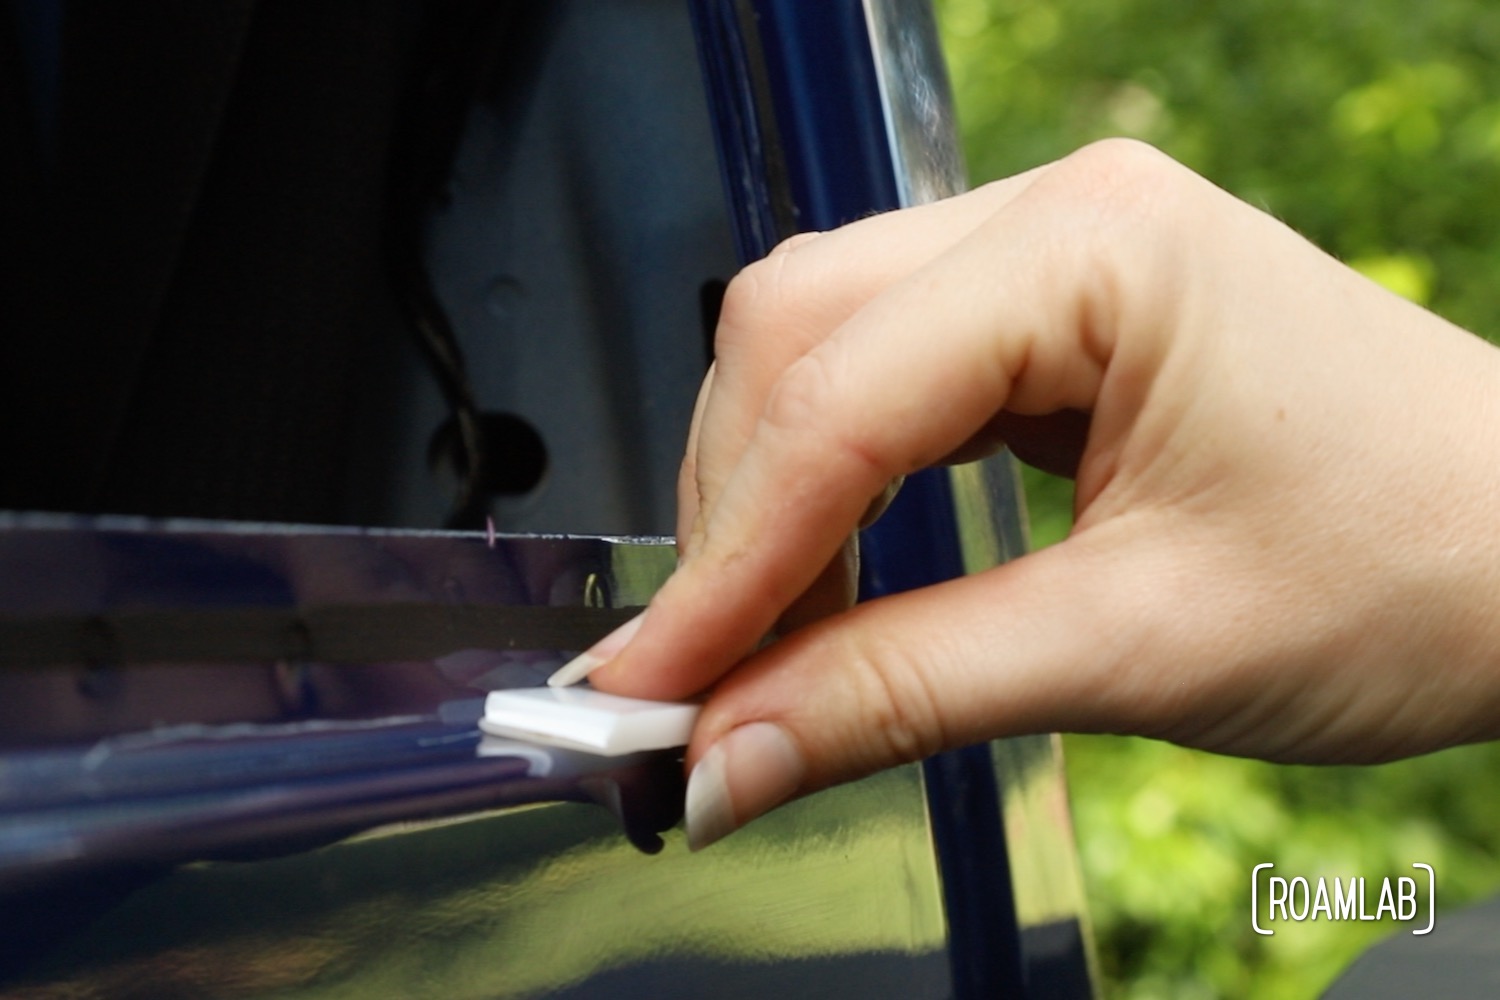
- We add high-density polyethylene (HDPE) spacers to the bottom of the frame. These will ensure that the window is centered without becoming glued in place by any settling urethane. (As sticky of an adhesive as urethane is, even it doesn’t adhere to polyethylene.) This way, we can rest the bottom of the window on the spacers at an angle to perform micro-adjustments as we carefully tilt the window towards the frame.
- In demonstrations online, I see a lot of professionals secure the windows in place with only a few strips of masking tape. However, the masking tape in our possession seems to stretch slightly. So the window can shift a half an inch and be completely out of alignment with the frame. While we do use some, we do not rely on masking tape to solely keep the window in place while curing.
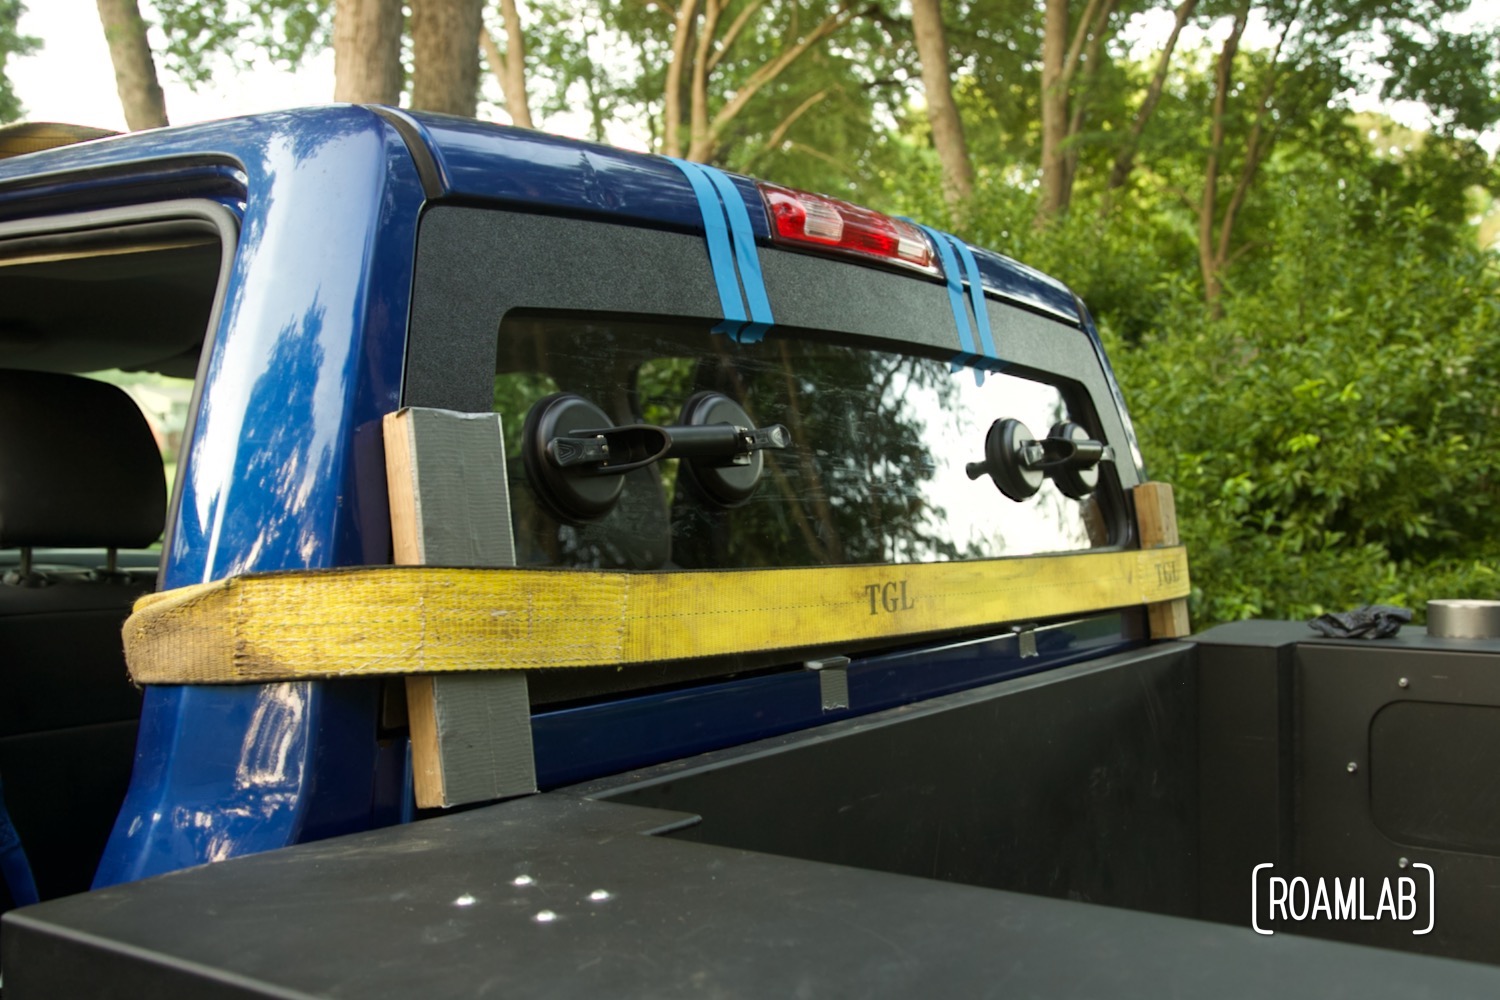
- In addition, the windows used in most demonstrations are curved to match the curve of the vehicle. Breezer windows appear to simply be laser-cut pieces of plastic with a frame to insert and remove the center pain. It is flat and resists following the curve of the vehicle. Since we found that the tape isn’t strong enough to completely hold the window in place, we adopt a two-step process. First, we apply masking tape as a guide. Then we use a ratcheting strap around the body of the truck to apply constant pressure on the corners of the window. We place a block of scrap 2×4 wrapped in duct tape on each lower corner to focus the pressure where the curvature is at its most severe. But we also reuse the plastic spacers from the original window and brace the blocks against the truck frame to make sure that we do not over squeeze the window.
- Do not over squeeze the window!
- We also had a ratcheting strap for the top corners of the window but our dry runs demonstrated that a ratcheting strap on the top window corners is unnecessary. The pressure applied to the bottom corners is enough to keep the top corners flush with the window.
The Seat Belt Mount
One initially distressing discovery from our dry run was that the Breezer frame comes in contact with the truck’s seatbelt holder. A lot of things are trimmable. But altering the seatbelt holder is a profound liability. We don’t have any immediate intentions of using the seatbelt. We removed the back seat to make room for our bikes. But that isn’t to negate that we may need it someday in the future of only to sell the truck. (Though that is highly unlikely.) Fortunately, in our dry run, we found that the window can still fit, we just have to be conscious of the holder.
The Full Breezer Window Install
Once we have our mounting process settled, it’s time to apply the primer and the urethane for the complete Breezer Window install. This process in itself is pretty simple:
- Prime the window
- Prime the frame
- Apply urethane to the window
- Secure the window in the frame
What takes time is all the preparation around the Breezer Window install. Once we are ready to go, the process itself is a blur.
Applying the Primer
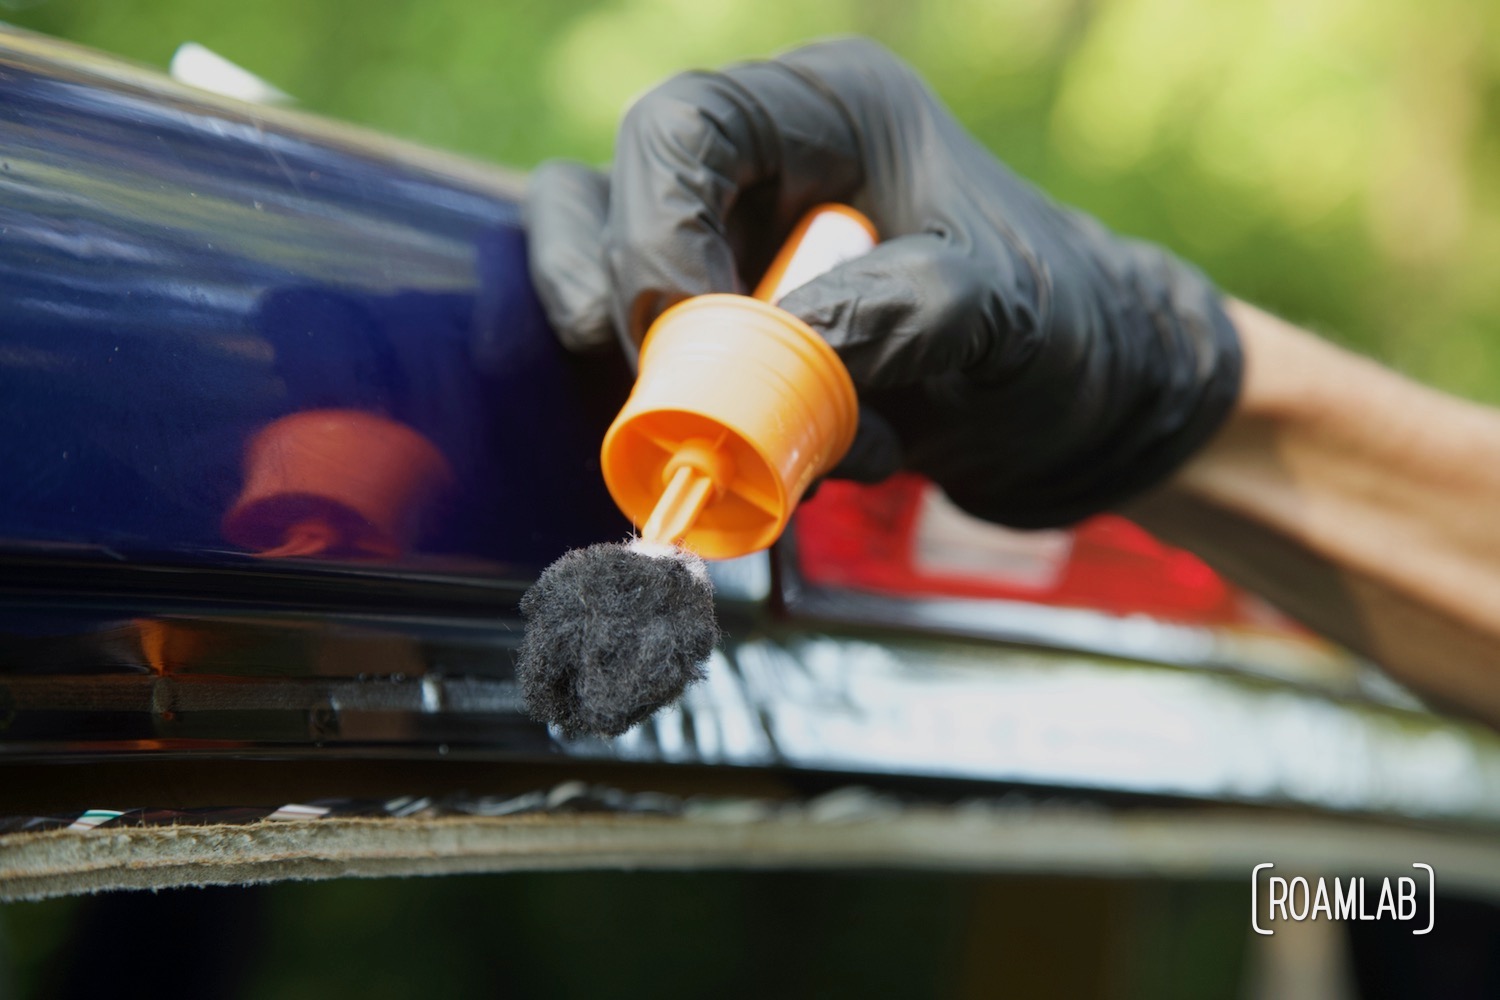
The 3M single-step primer comes in a small container with a long label of instructions, precautions, and ingredients. We plan to start by applying the primer to the window so that it can dry while we apply it to the truck frame. This way we can quickly move on to applying the urethane to the window. But, that long label also has an ingredient that concerns us.
While this primer is purpose-made for auto glass, this new window isn’t glass, it’s ABS plastic and one of the main active ingredients in the primer is Methyl Ethyl Ketone (MEK), a plastic solvent. Overuse of the primer could, hypothetically, harm the window. Then again, solvents are generally how materials such as plexiglass are connected. When I constructed the clear plexiglass case for our battery box, I used a solvent to “weld” the two pieces together. In this case, we follow the application directions without incident but apply no more than necessary for our purposes.
In comparison, we apply the primer to the truck frame with gusto. Here, the primer does double duty. It creates a surface for better adhesion of the urethane and covers any potential scratches to the automotive paint that occurred in the process of removing the factory window and trimming the old urethane. And yes, despite our best efforts, we do have scratches. For this reason, we are generous with our application of the primer to the truck frame to make sure that all the scratches are filled.
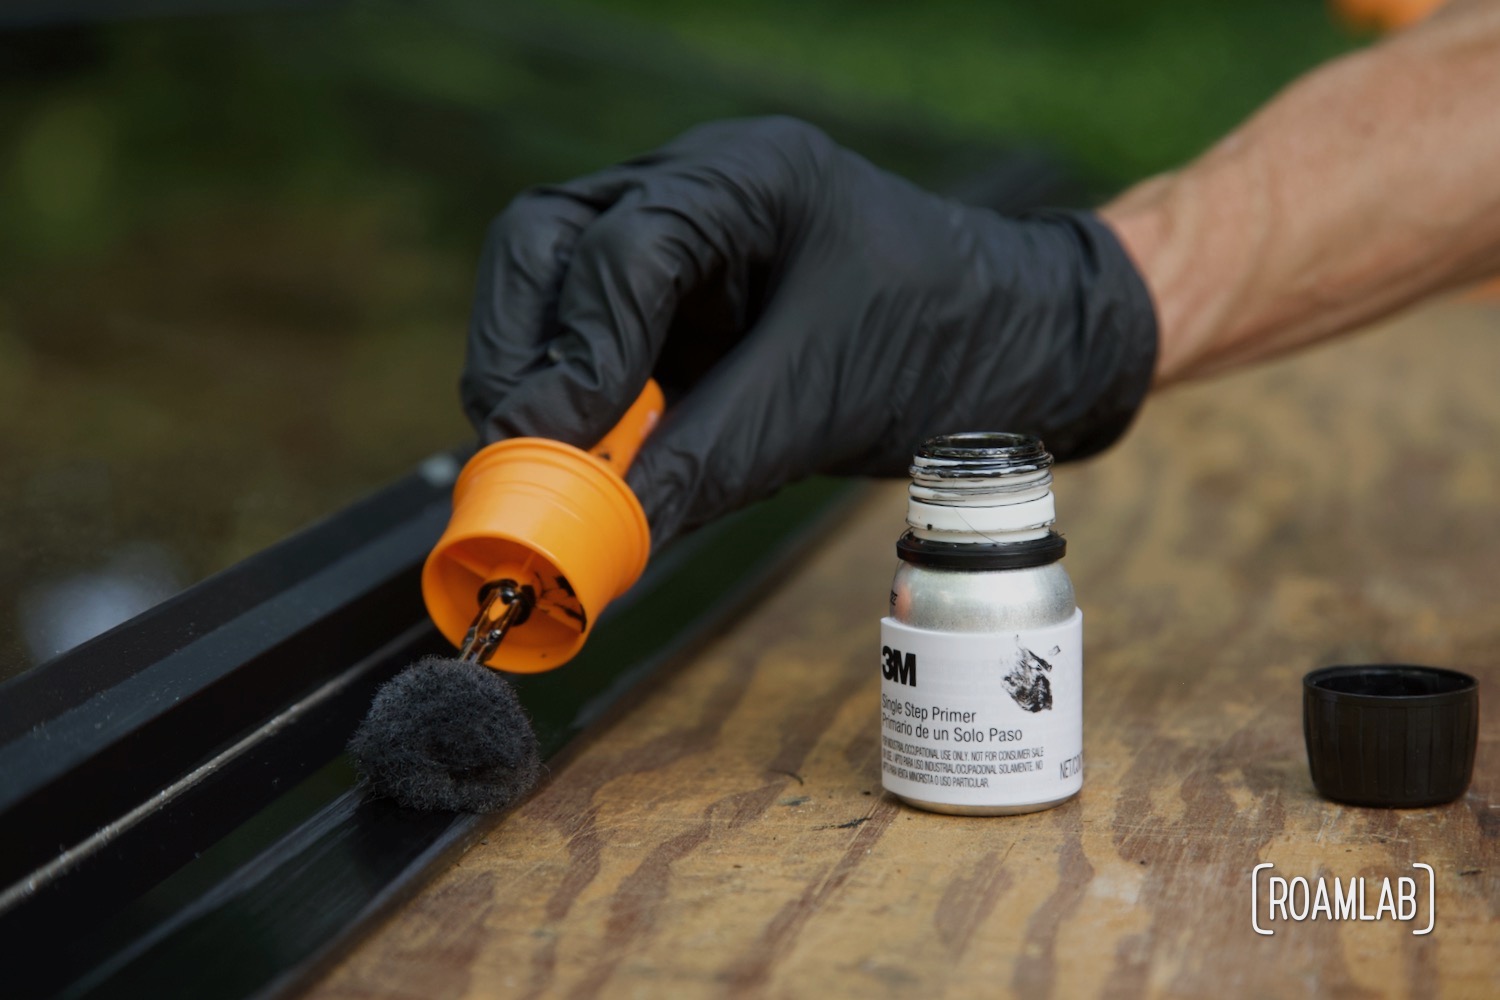
One dauber dip
One complication we encounter is the issue of daubers. The primer arrives in a container without an application dauber that long label of directions is very clear: only one dip per dauber. Fortunately, one dauber can soak up a lot of primer if given a good dip. Unfortunately, we have a lot of surfaces to cover. So, one dauber is not enough.
We use four daubers, two for the window and two for the frame. Daubers are not expensive, so be sure to err on the side of excess rather than run out of daubers. After all, while a full dauber is great for applying primer, a used-up dauber could just as well start wiping it away.
Prepping Urethane
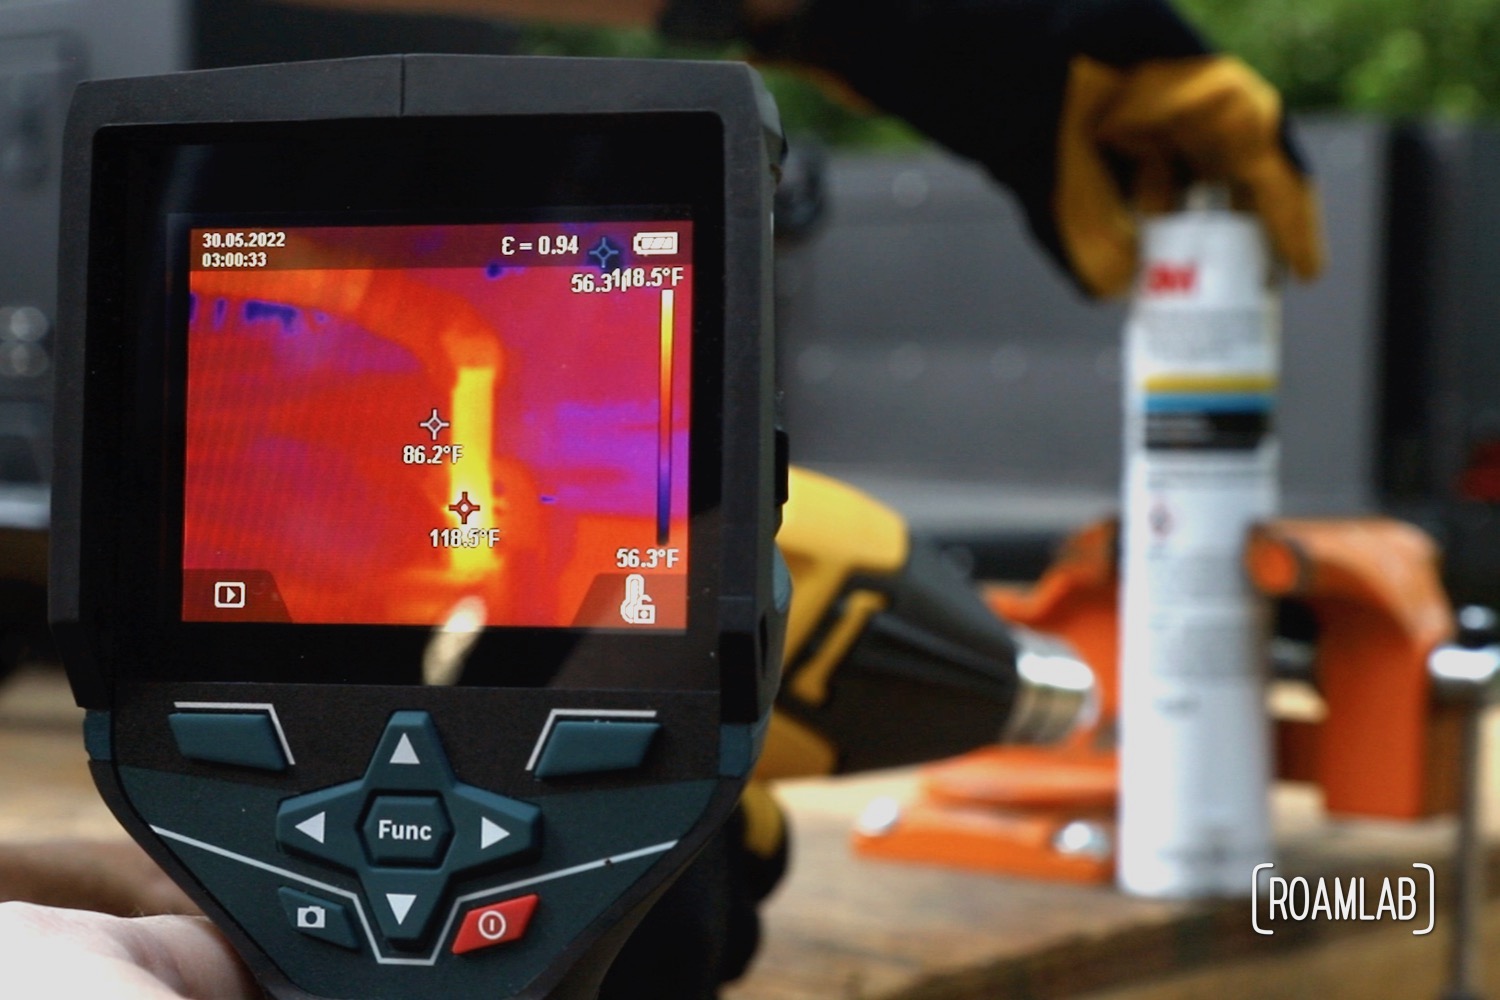
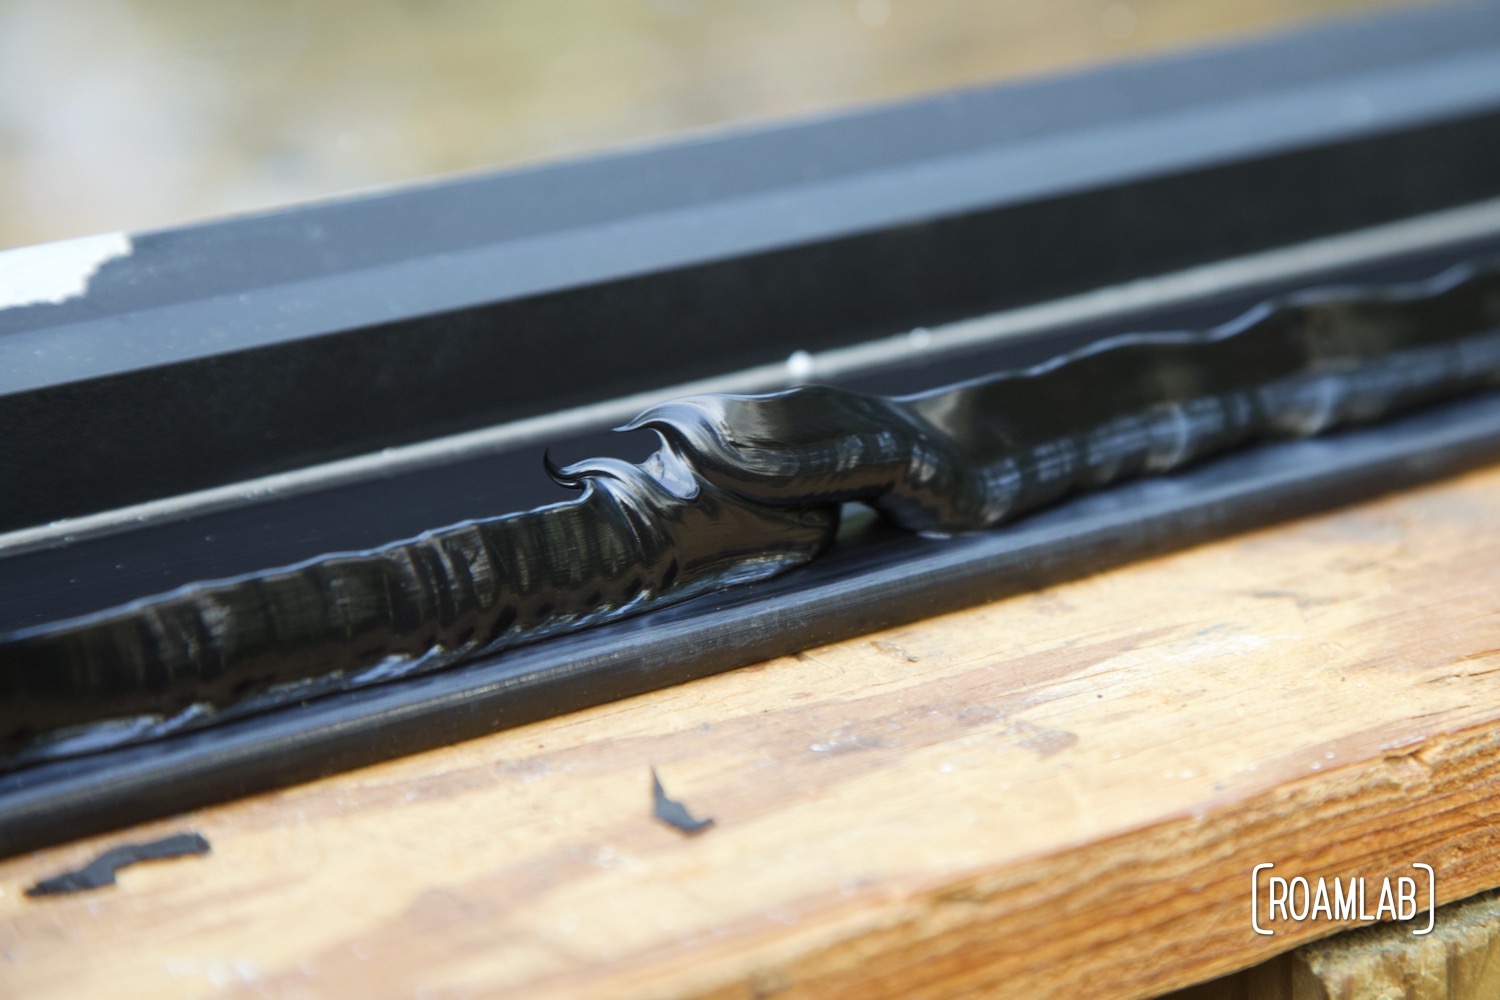
If there is one thing that we read about urethane in our research for this project, it is that it is thick, unwieldy to apply, and incredibly messy. This is a substance where an ounce of preparation is worth a pound of cleanup. We are using an applicator nozzle with a triangular wedge cut out on one side to create a pointed application bead. To thin the urethane for easier application, we also heat up the bottle with a heat gun.
While heating urethane is probably essential in cold weather, we find it to be unnecessary on this warm summer evening. But that is a conclusion we reach after heating the tube. At this point, the urethane is the consistency warm peanut butter—almost runny and certainly thinner than the urethane that appears in other video demonstrations. I suppose this could be chalked up to variations between manufacturers. All the same, heating our cartridge didn’t seem to hurt anything. And we got a cool picture out of the process.
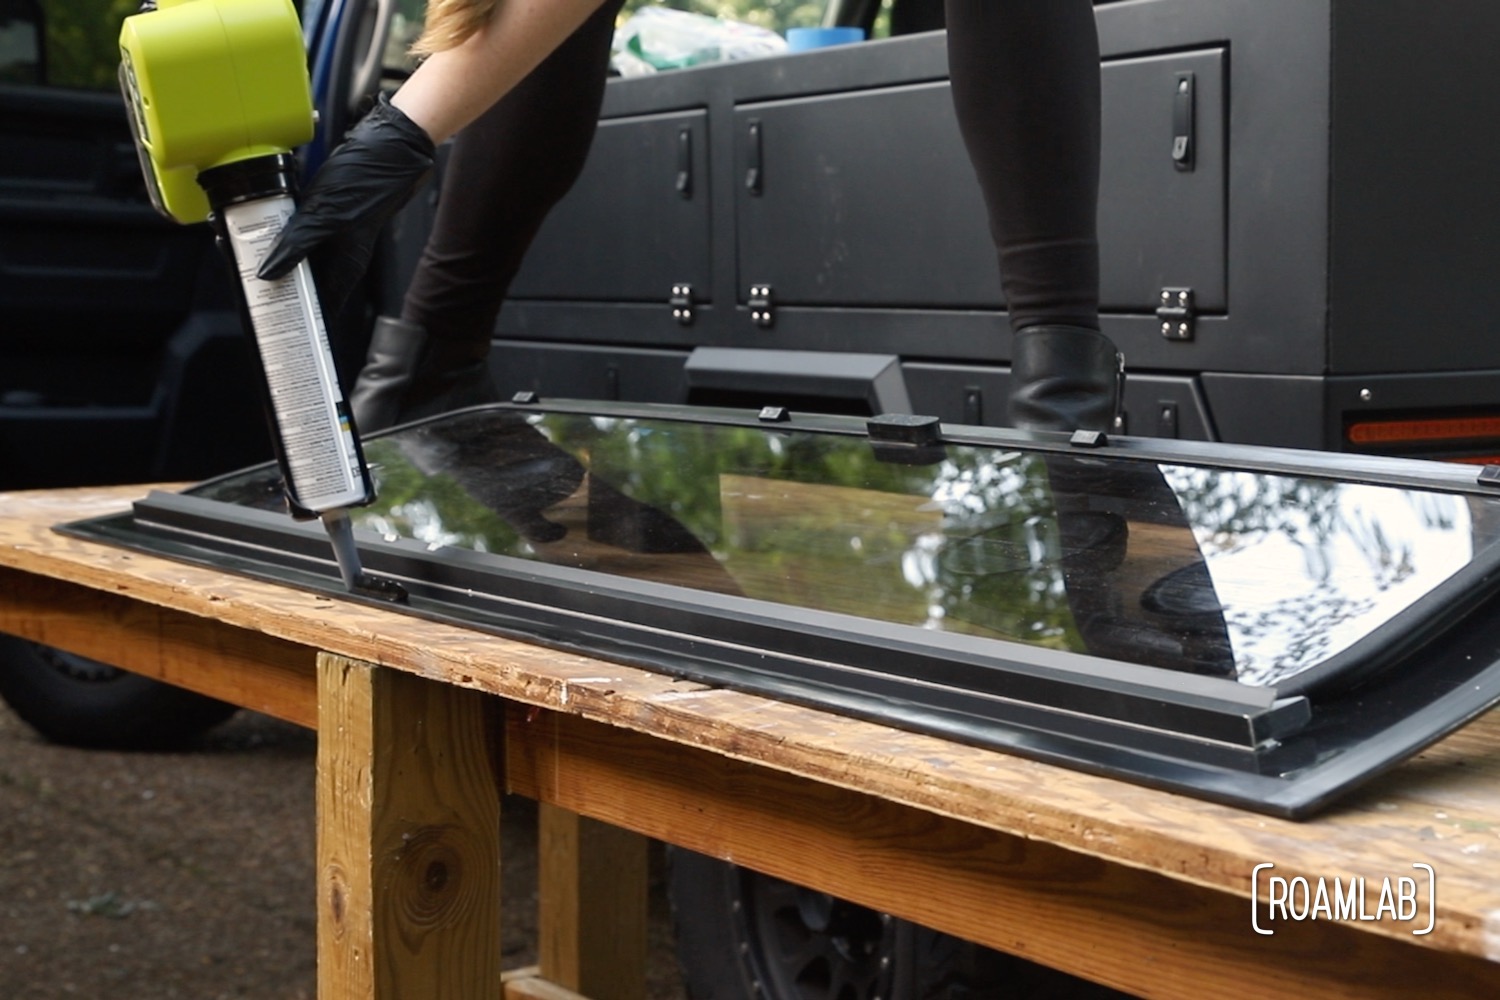
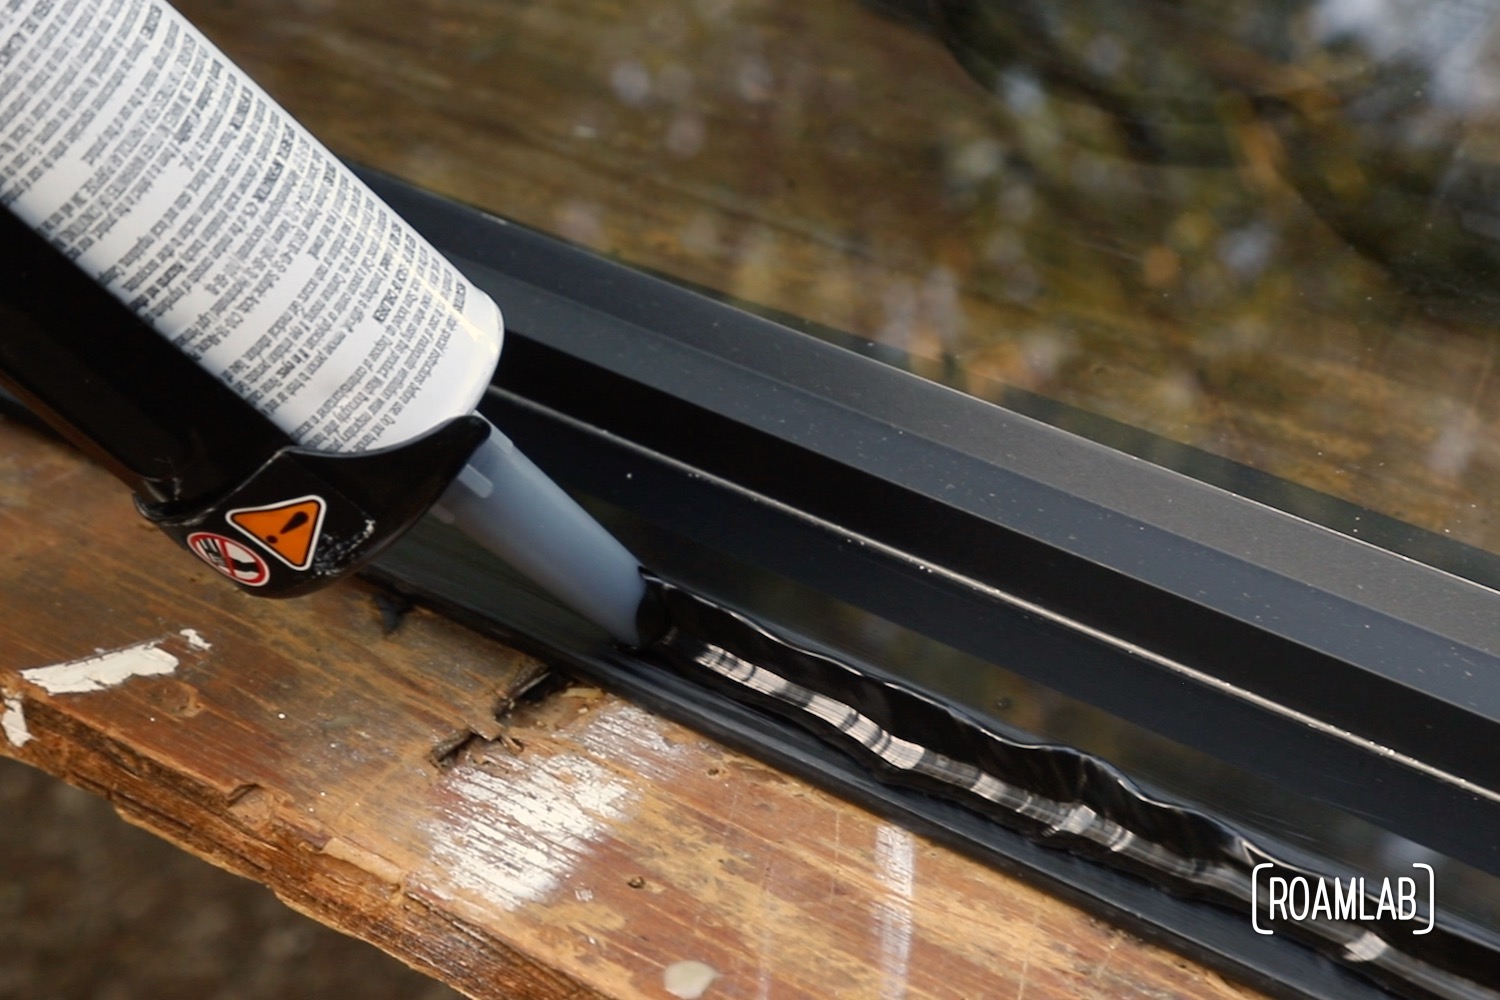
Applying Urethane
Once the urethane is warm, we open the tube with a conical tipped tool—so that we can open it as much as possible for unobstructed flow of the urethane—before screwing on the nozzle and inserting the tube into the applicator gun. I often use a manual applicator gun for easy control of the material I am dispensing. But, in this case, we employ a battery-powered application gun for a steady flow of urethane.
Applying the urethane calls for a steady hand as we attempt to apply the urethane in a single line. We start and end the line along what will be the bottom of the window. Here, if there are any imperfections, they are less likely to result in a leak. That said, the endpoint is a little messy and we do touch it up with a piece of clean scrap plastic.

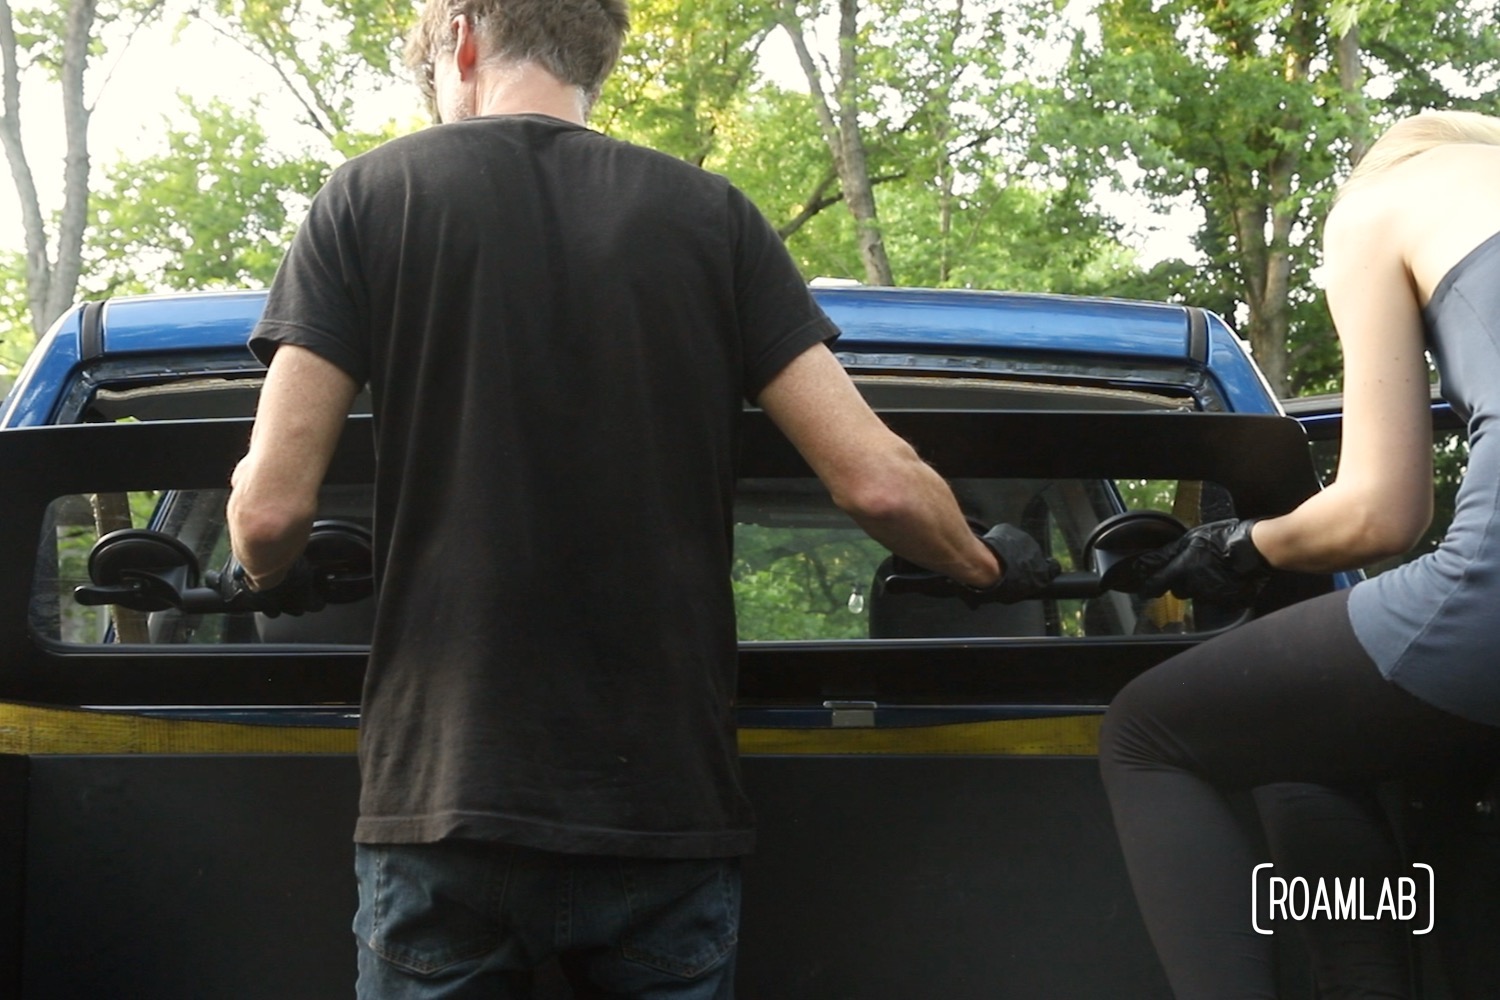
Securing the Window
At this point, after three dry rehearsals, the process of placing the window in the frame, taping, and strapping it in place is so uneventful that we are surprised when we are done. We each guide our respective sides of the window in place. Chris holds the window in position while I tape the top of the Breezer to the truck wall. Then I take over holding the window in place and positioning the wood blocks while Chris synchs the ratcheting strap. We complete the final stage of the Breezer window install in a matter of minutes.
Curing
With the window secured in place, we walk away and leave the truck to cure. While the urethane has a 10-20 minute work time, it won’t be fully cured until 24 hours from application. We’ll leave the truck alone to cure overnight. The next morning, we remove the spacers and tape but don’t drive it until the end of the day. Everything appears in order.
With the Breezer Window Install Complete…
After all the careful preparation, it’s satisfying to have the window finally in place. So far, the frame is securely connected and the window is reasonably easy to remove and reinstall. Sure, it’s narrow and awkward to crawl through. But we can crawl through. We have even crawled between the two a few times while on the road (though not at high speed).
That said, having completed one Breezer Window install, we can’t help but look at the window and imagine how it could be better. As noted earlier our original glass factory window is curved to follow the curve of the truck cab. But the Breezer window is constructed from a flat sheet of plastic cut in the shape of the window but lacking the curvature. This was a challenge to ensure the window had proper contact with every part of the frame. But we did it. And if we can work around that design shortcoming, it has us wondering what other tweaks we could make on our own.
Breezer solves the challenge of having a removable window, but the design doesn’t seem to be foolproof. If anything, it leads us the conclusion that—should our design for the passthrough change in the future—designing, fabricating, and installing our own removable rear window is very achievable. But, at this moment, that is all hypothetical.
Now that we have the Breezer installed, it’s time to finish up our passthrough prototype. We have a few more features to add, but we think the concept will work well and make life on the road much easier. If you have any suggestions or ideas, please let us know—we would love to hear from you!

Did you consider using black silicone sealer as an adhesive instead of the urethane?
Hi Mark,
No, we didn’t consider silicone. Urethane is the industry standard as an automotive glass adhesive and the manufacturer was definitive on the matter.
This is really helpful! How’s the Breezer holding up so far?
So far, so good! We haven’t noticed any leaks. The only challenge is finding a place to stow the window pain when it isn’t in the frame.