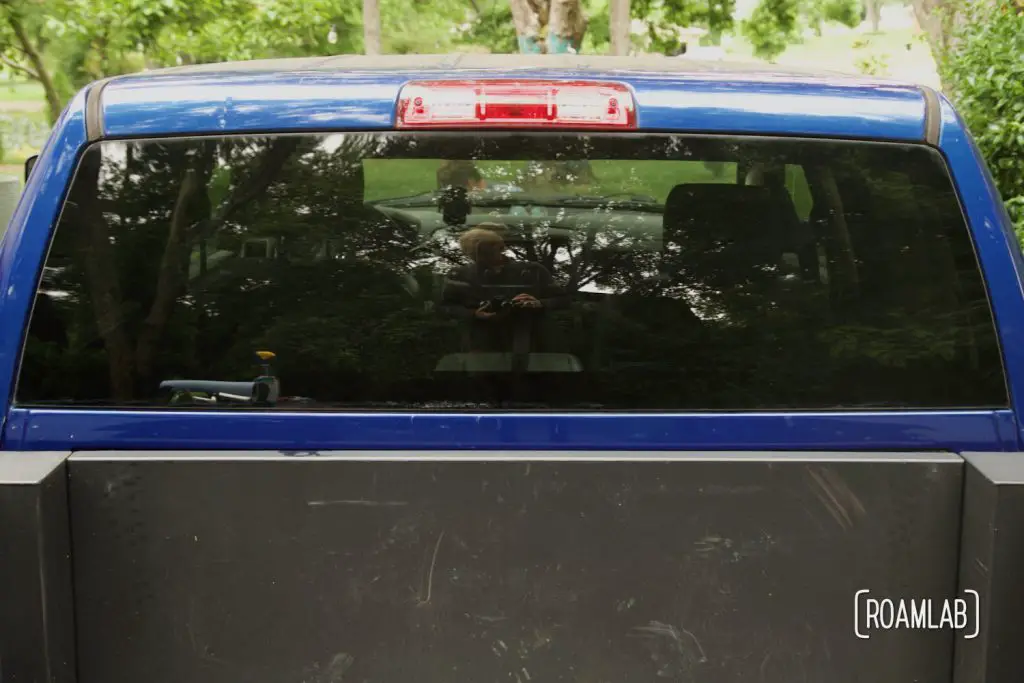
No, there is nothing wrong with our truck’s rear window. It isn’t broken. It doesn’t leak. But it is something worse: it’s in the way of our latest modification. We are making our own passthrough so that we can crawl between our truck cab and truck camper without going outside. For some, this is a massive mod where most of the rear truck cab wall is cut to make a large opening and easy access. But we are keeping it simple and small: just using the rear window. It already lines up with a window in our camper’s bulwark that we can open up without structurally compromising the camper. As the first step in this process, we are removing the rear window. But removing a window from a vehicle takes the right tools and a lot of patience.
A disclaimer: This process varies dramatically by vehicle. The general idea of how auto-glass is attached is fairly standard among recently built vehicles. But the particular placement of clips and spacers differs dramatically. We have a 2015 Ram 3500 Tradesman. That means, there are no frills.
How To Remove A Window
Auto-glass is not meant to be easy to remove. Our rear window has survived plenty of rough treatment on remote trails without fear of it spontaneously popping out of the frame. That is thanks to the urethane adhesive and sealant that bonds the glass to the metal frame. So, to remove the window, we want to cut through this urethane to disconnect the glass from the metal without doing too much harm to the metal frame. An additional perk would be to accomplish this without damaging the glass. (Though, breaking the glass is a common outcome, from what we have researched.)
Cutting the urethane is simple in concept but complicated in practice. The window is inset so that it is relatively flush with the body of the truck. So we can only access the urethane from the outside at an angle through a small gap between the truck body and window, or from the inside, where we have a clearer line of sight on the urethane but poor leverage and an increased risk of over cutting and scratching the truck’s paint. This limited access has spawned an extensive selection of specialized tools.
Tools
There are many different techniques to remove window glass that we read about online. The simplest is messy (just break the window). The next in order of simplicity is a series of expensive, specialized tools. But, being the detail-oriented people we are, and relatively budget-conscious, we decide to try to remove the window by the book with a basic set of auto-glass removal tools and see if we can beat the odds and remove the rear window in one piece.
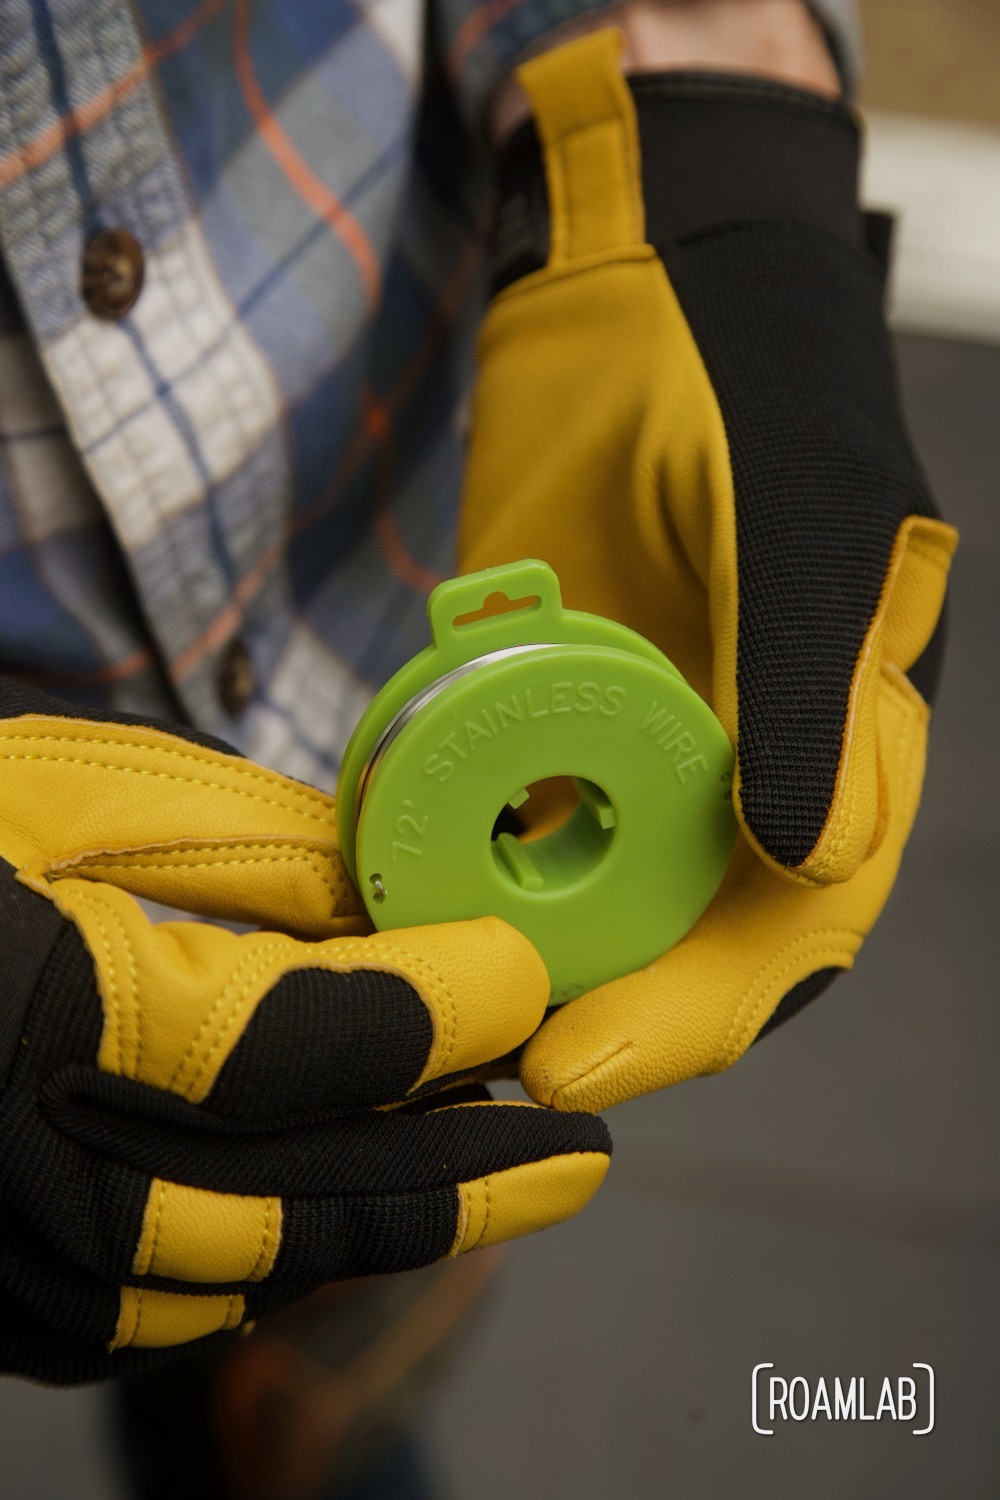
For this project, we are using
- Windshield removal kit
- Glass holder suction cups
- Panel clip pliers
- Phillips head screwdriver
- Painter’s tool
- Ratchet and socket set
- Masking tape
- Wire cutter
- Gloves
- Scraper
Optional Additions

Preparing the Work Area
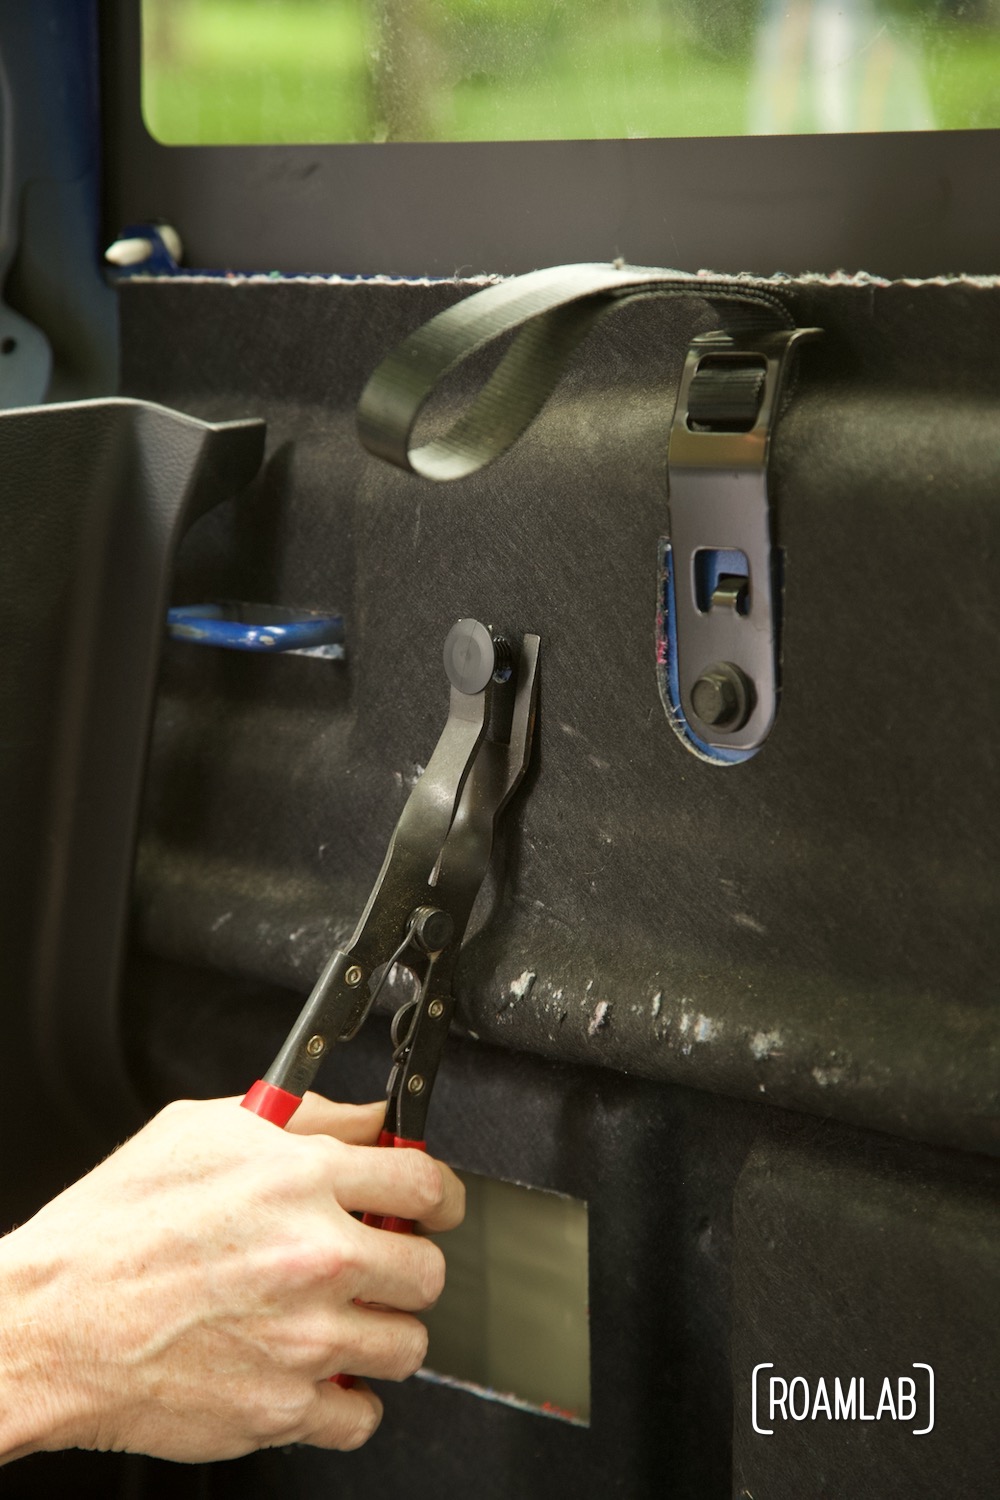
Before we start removing the window, we need to gain access to the work area. That means we will remove the back seat and any paneling or molding around the window. We have seen professionals remove a window without all this extra work. But the removal process is much more straight forward without these distractions around the work area. And as novices in this field, we don’t want anything to complicate the removal process. Fortunately for us, we already removed our back seat for bike storage, so, all we have left to remove (or at least pulled away) is the molding around the window. This is fairly easy to accomplish with a set of panel clip pliers, a phillips head screwdriver, and a pallet knife.
Cutting the Urethane
With the work area clear, it’s time to start cutting the urethane. We have two particular tools at our disposal: a windshield removal tool and a cutting wire with gripping handles. We have seen both demonstrated while researching so we’ll give them both a try and see which works best for us.
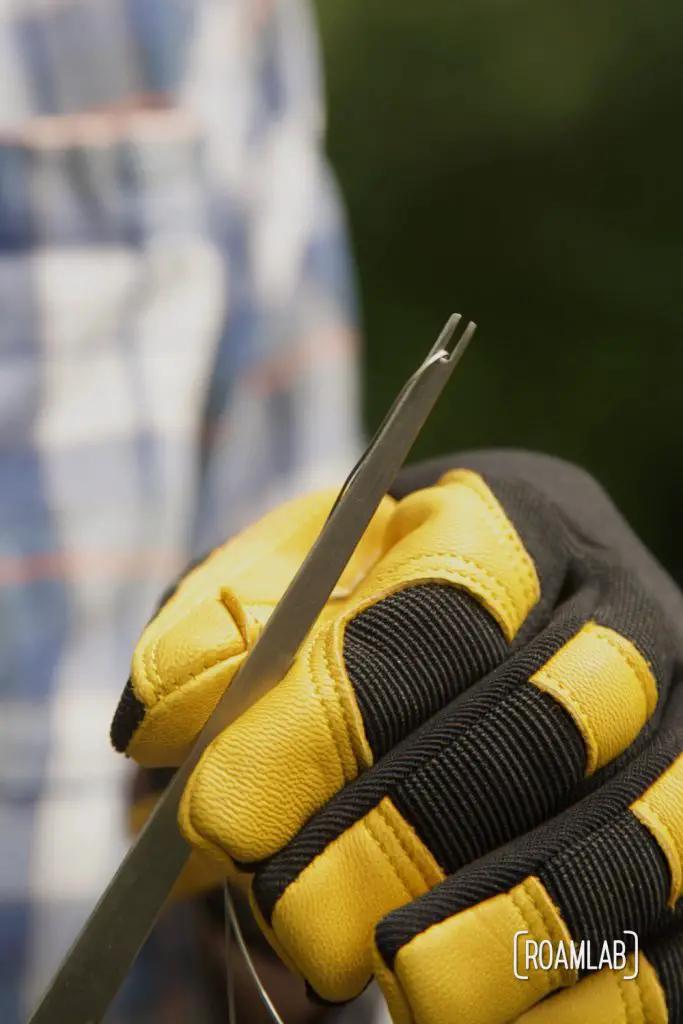
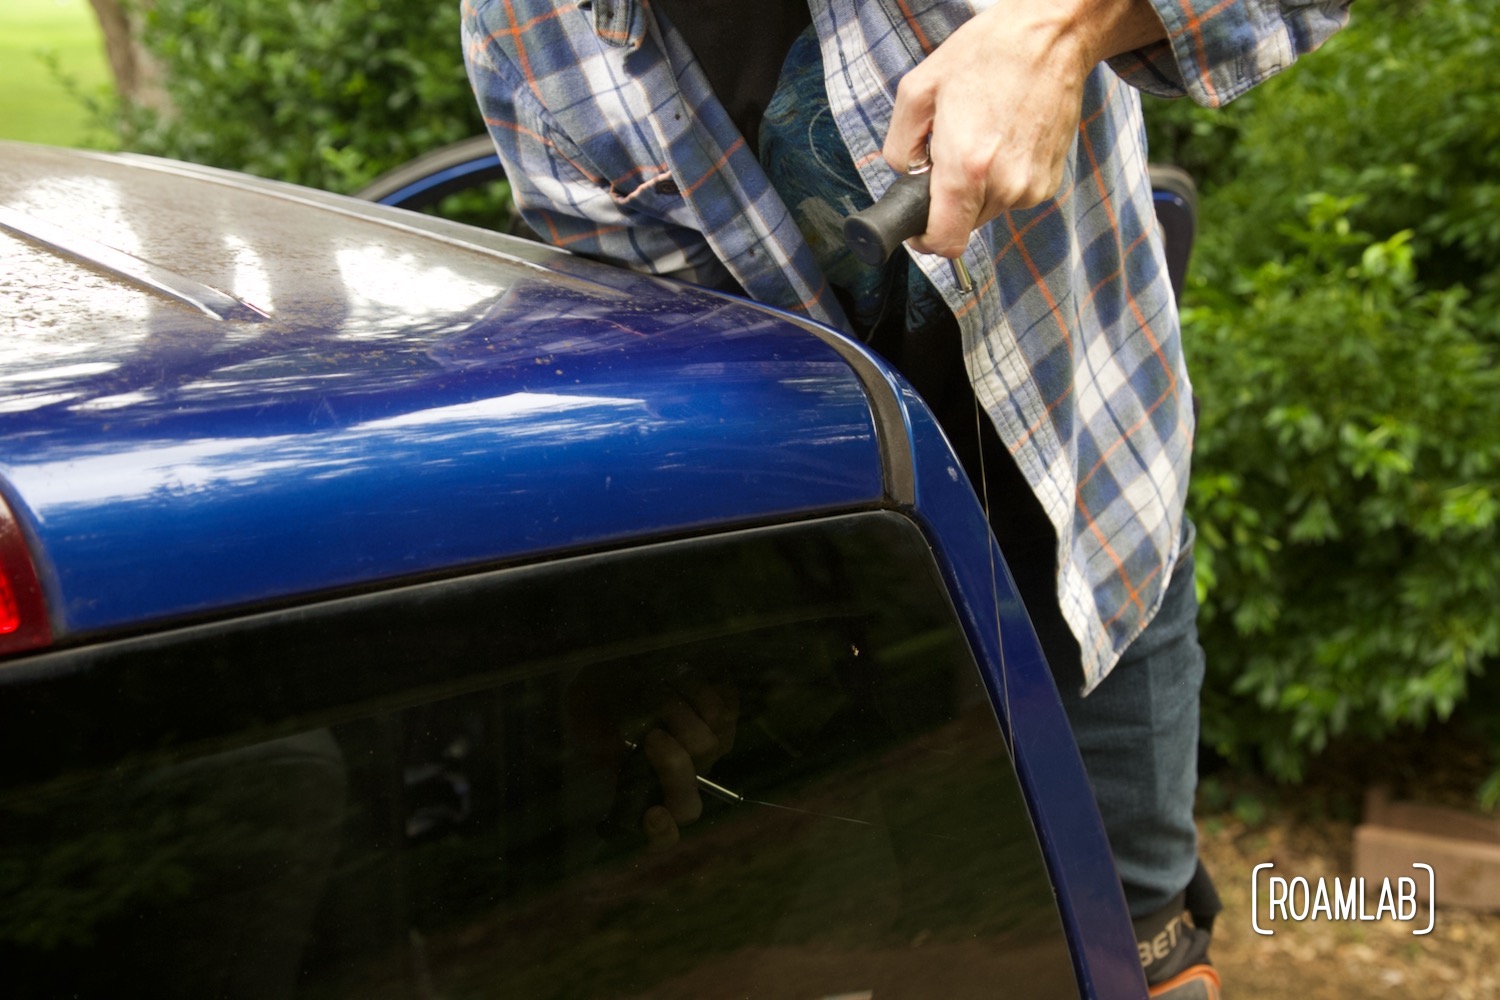
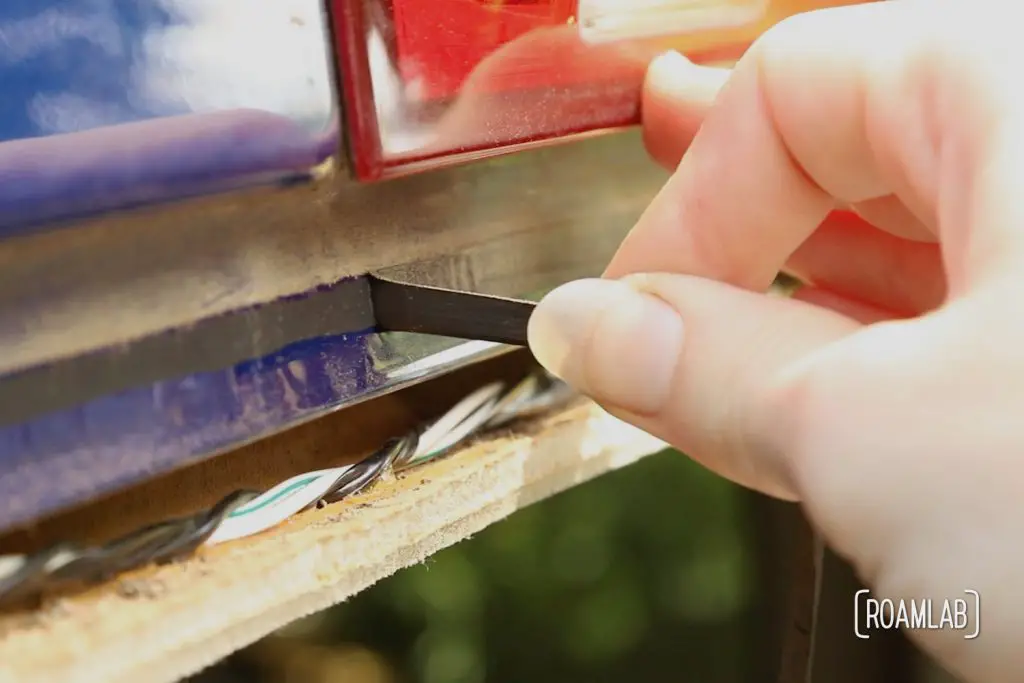
Windshield Removal Tool
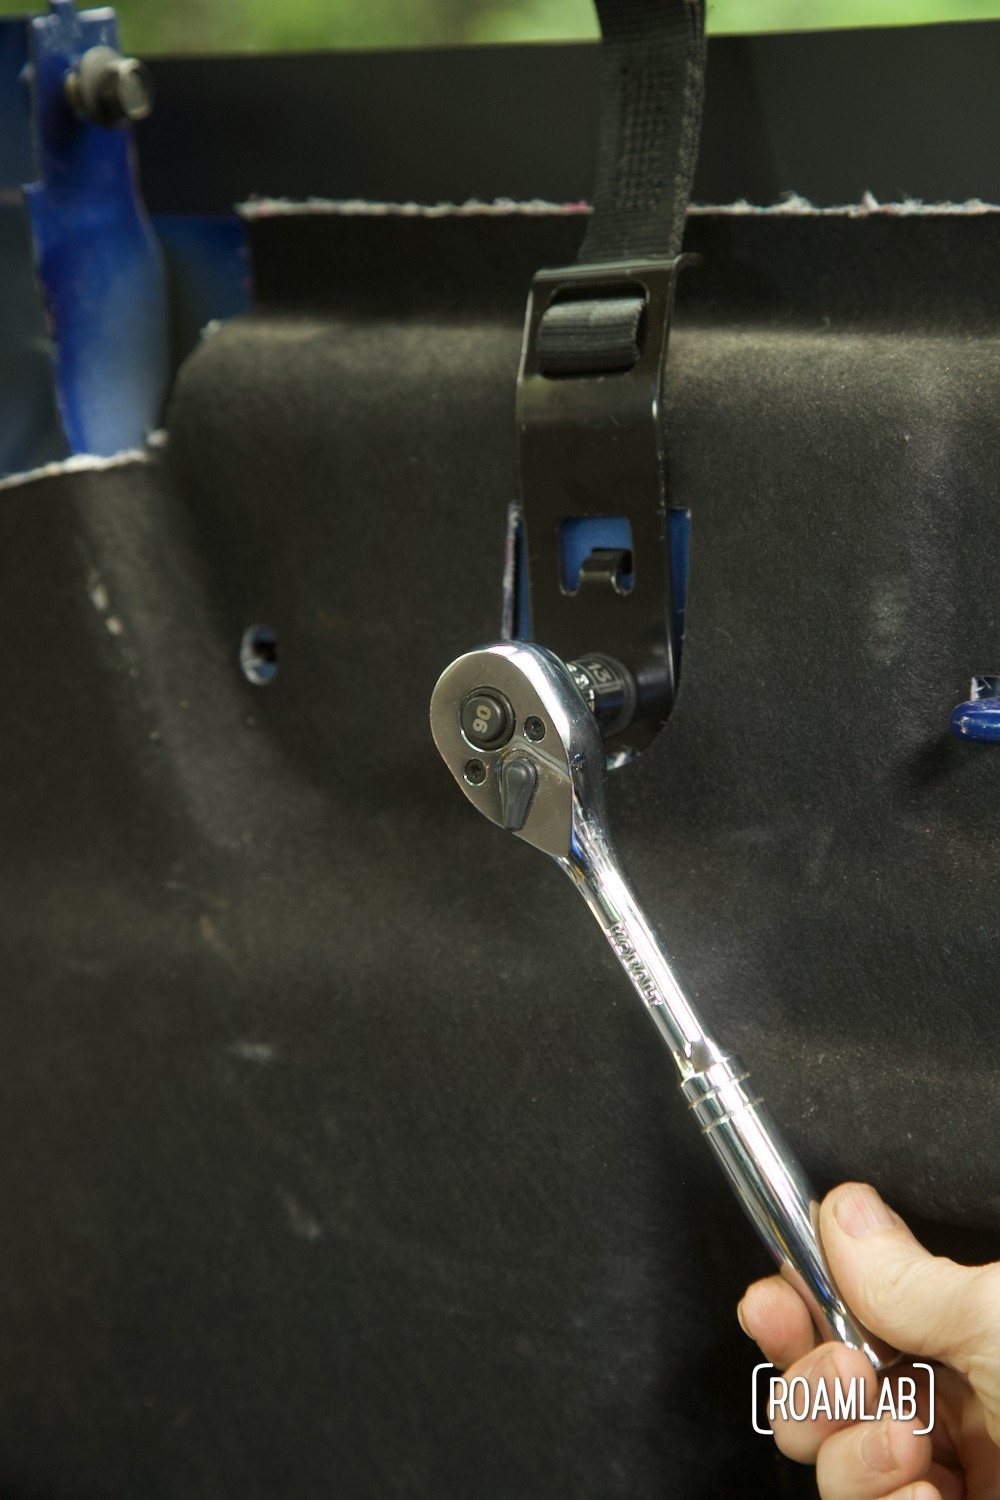
We start by using the windshield removal tool, a short blade bent at 90 degrees with a gripping handle. This tool seems like the most intuitive means of cutting the window free. The blade slips between the glass and the metal frame. While one hand holds the handle to control the position of the blade, the other hand pulls on an additional grip for extra leverage—similar to how a plow is pulled through the earth. So, for our first attempt to cut the urethane away, we find a corner with enough space to gently wiggle the blade in place, careful not to scratch any of the paint or stress the glass. But we hit our first stumbling block quickly. The description for this tool refers to cutting butyl adhesive, a substance we use in a lot of other projects. Working with urethane, however, seems to result in much more resistance. We try softening the urethane with a heat gun and while this seems to provide some assistance, it is a tedious operation and we quickly abandon the windshield removal tool to try the cutting wire and gripping handles.

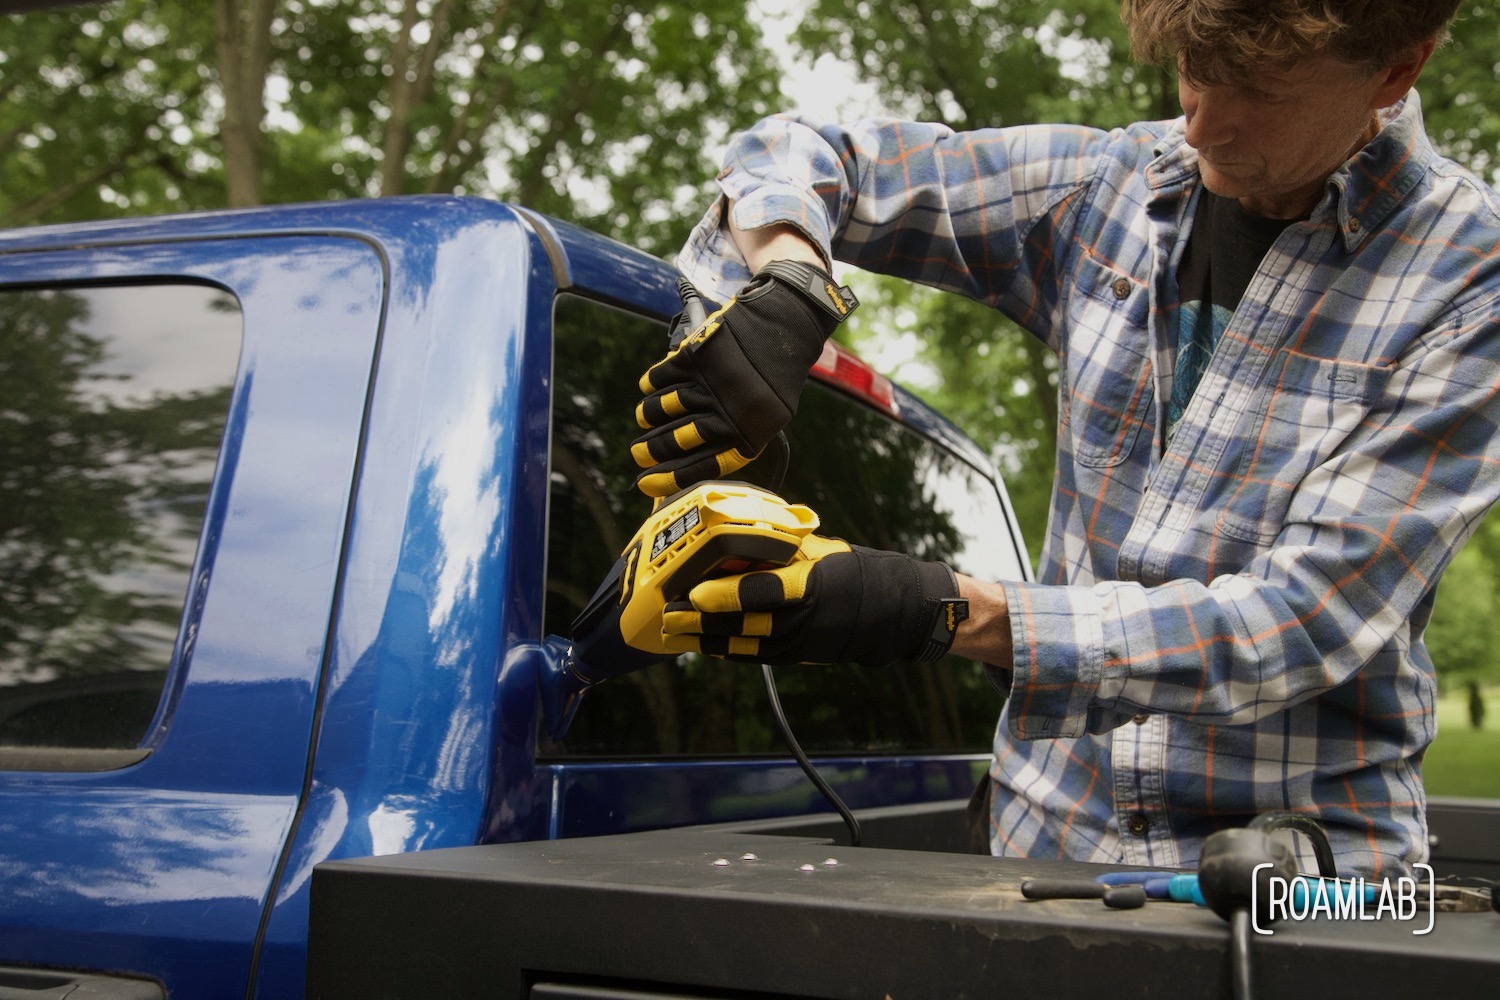
Softening Urethane With A Heat Gun
As mentioned above, we test using a heat gun to soften the urethane. Part of the reason we removed all the paneling inside of the truck was for fear of melting something while using the heat gun. Heating urethane is no joke. It “emits toxic fumes of nitrogen oxides when heated to decomposition “1. But we don’t get close to that point. For all the time we spend waving the heat gun around the urethane, it only makes a minor difference and certainly not enough to justify regularly pausing the cutting process to warm it up.
We can see how a heat gun would be useful in cold weather. But as we are working in the full heat of summer, we find that parking our truck so that the window is exposed to the direct light of the afternoon sun is far more effective. We then cut the urethane in the evening.
Wire Cutter
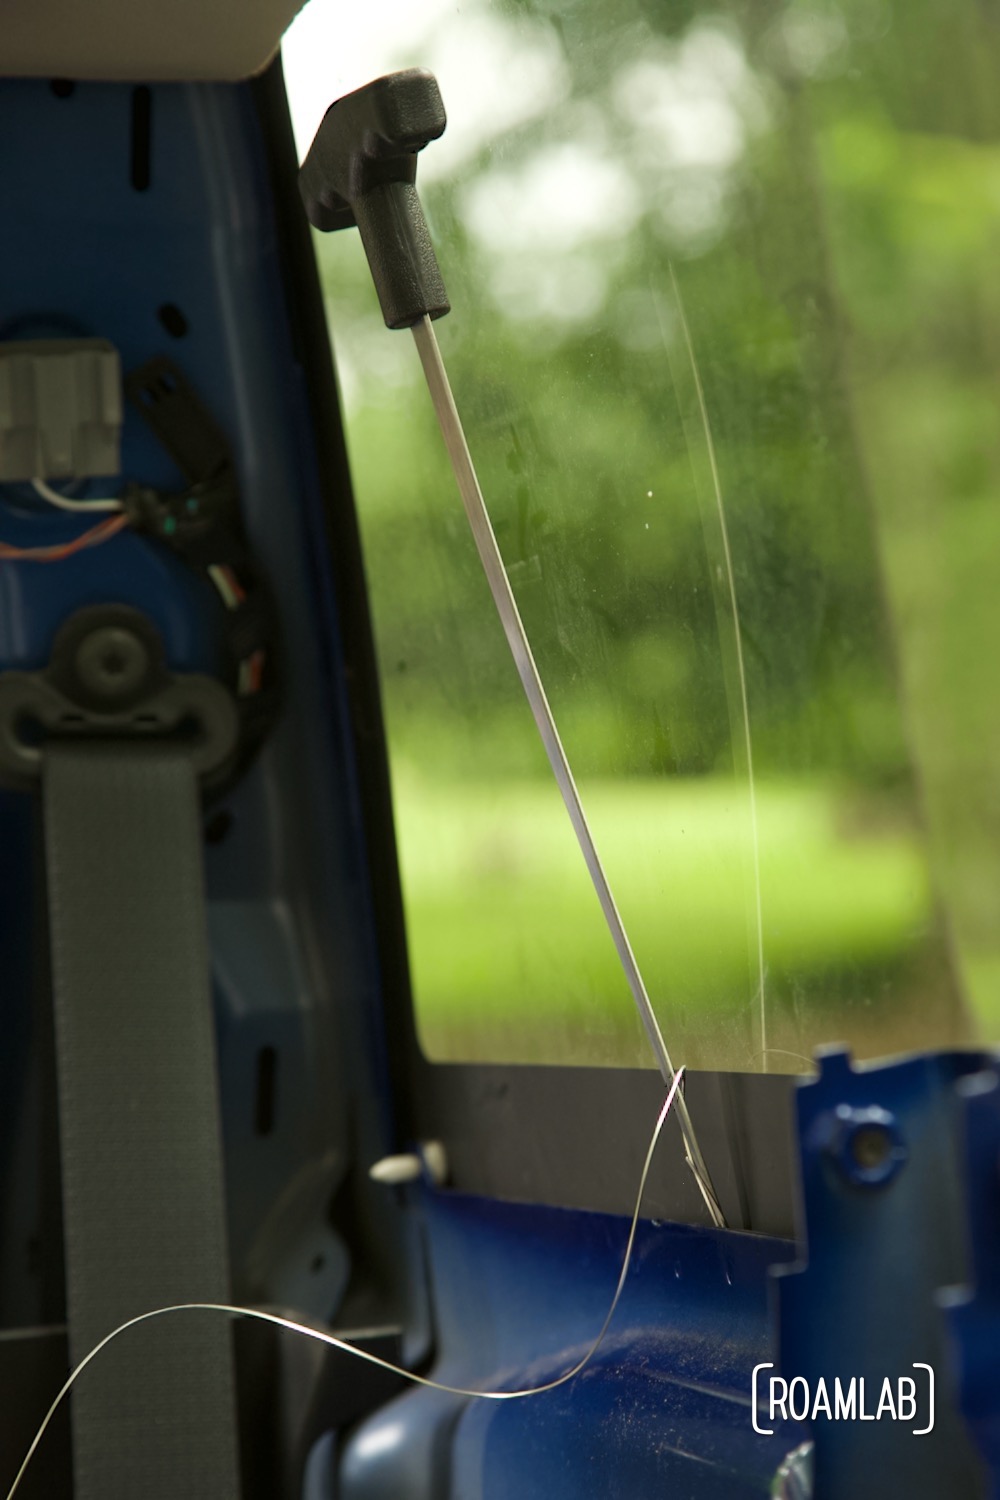
With one cutting tool rejected, we move on to the next set of tools in our kit: cutting wire, a wire feeder, and gripping handles. This method of cutting urethane is very simple: it’s kind of like the garrotte an assassin might use in a movie. But instead of attempting to strangle the dramatic lead with piano wire, we are cutting the urethane.
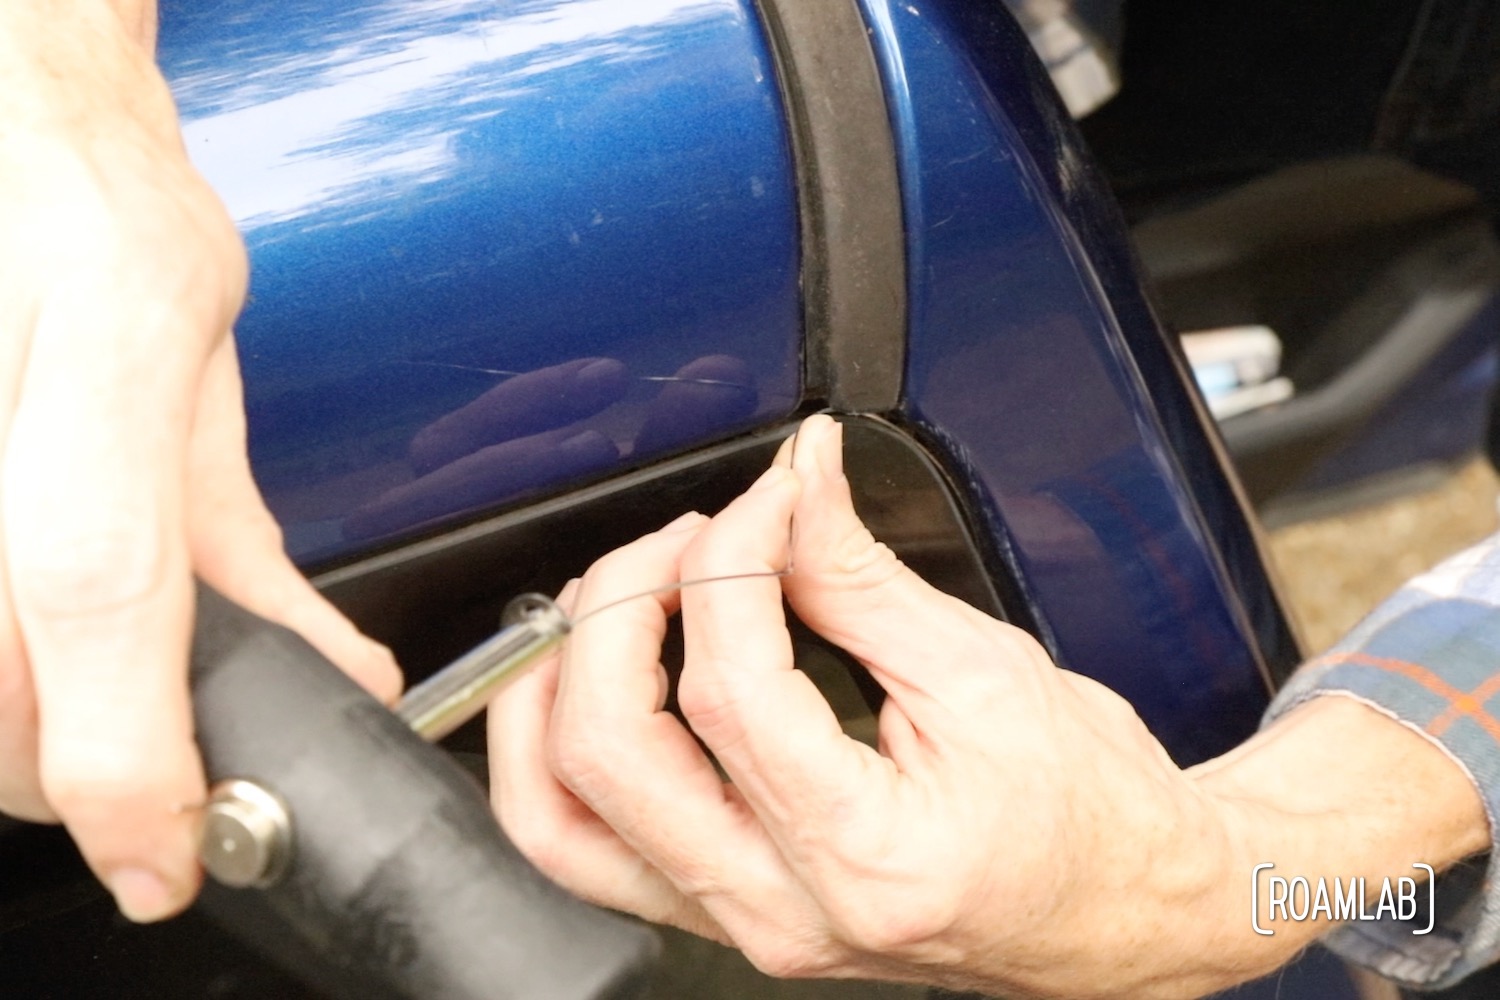
Wire Feeder Tool
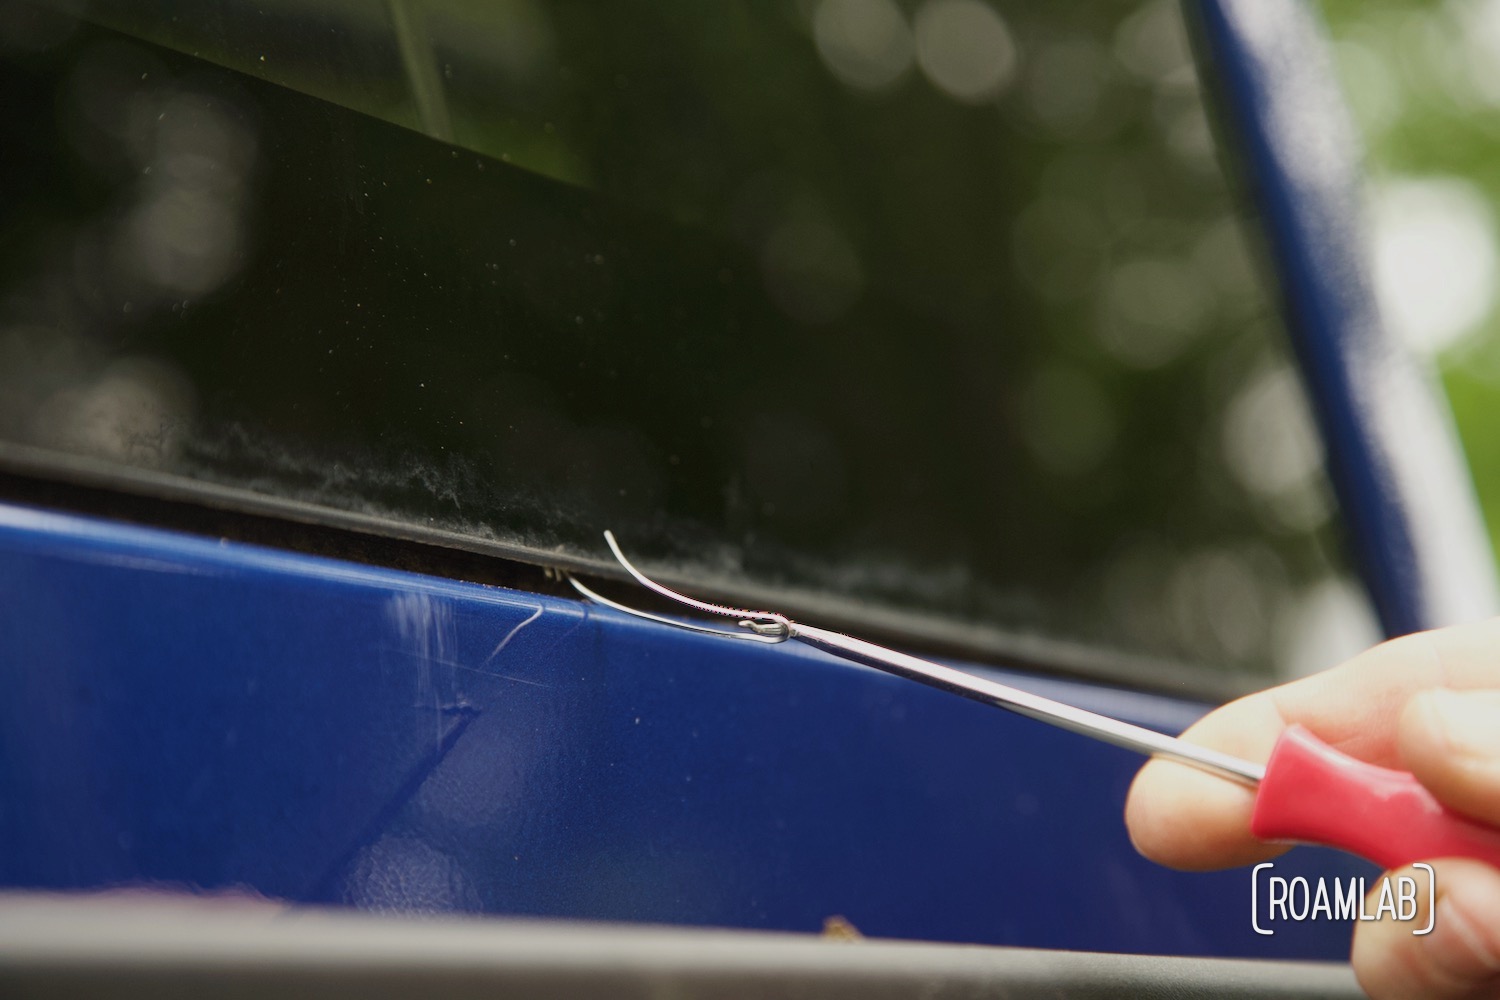
Before we can start cutting, we first must first feed the wire through the urethane. For this, we use a wire feeder tool to push a section of the cutting wire through the urethane. It’s very easy to puncture the urethane seal with the feeder tool alone. Once the wire is threaded in, we encounter a little more resistance. So we make an initial puncture with the tool before threading the wire. When we do encounter resistance, we are careful to wiggle the feeder left and right (passenger to driver’s sides) rather than front to back—an angle that applies pressure on the glass and could lead to a break.
One tool that did not come with our kit is a hook to retrieve the wire once it is pushed onto the other side. Fortunately, we already had a hook that worked perfectly well. We pull the cutting wire free of the urethane and are ready for the next step.
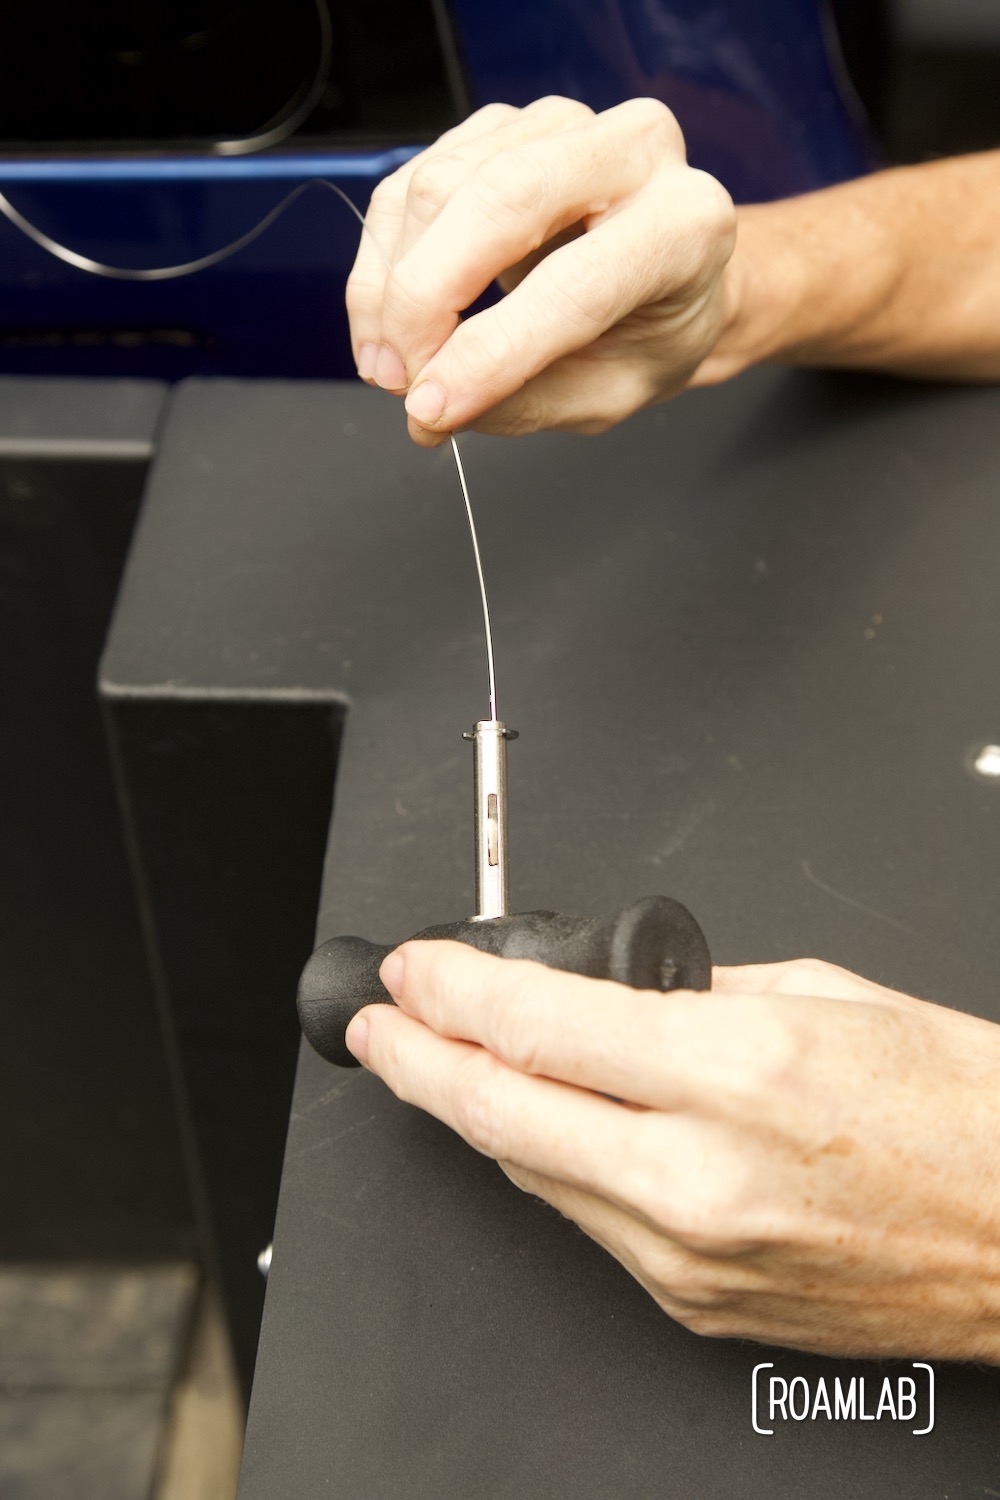
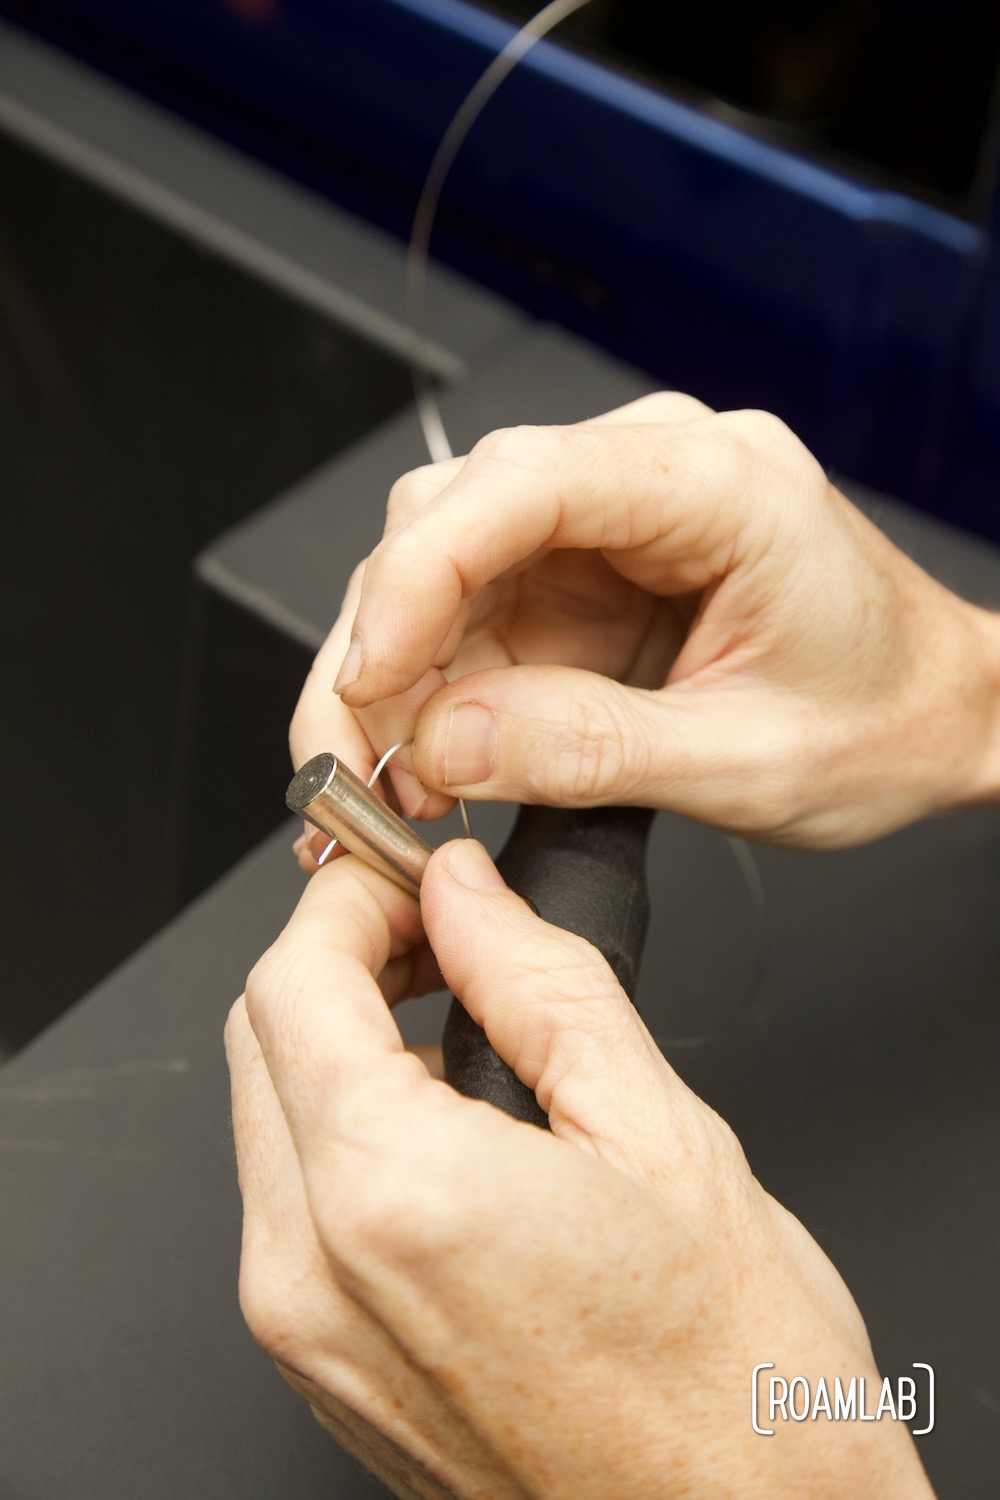
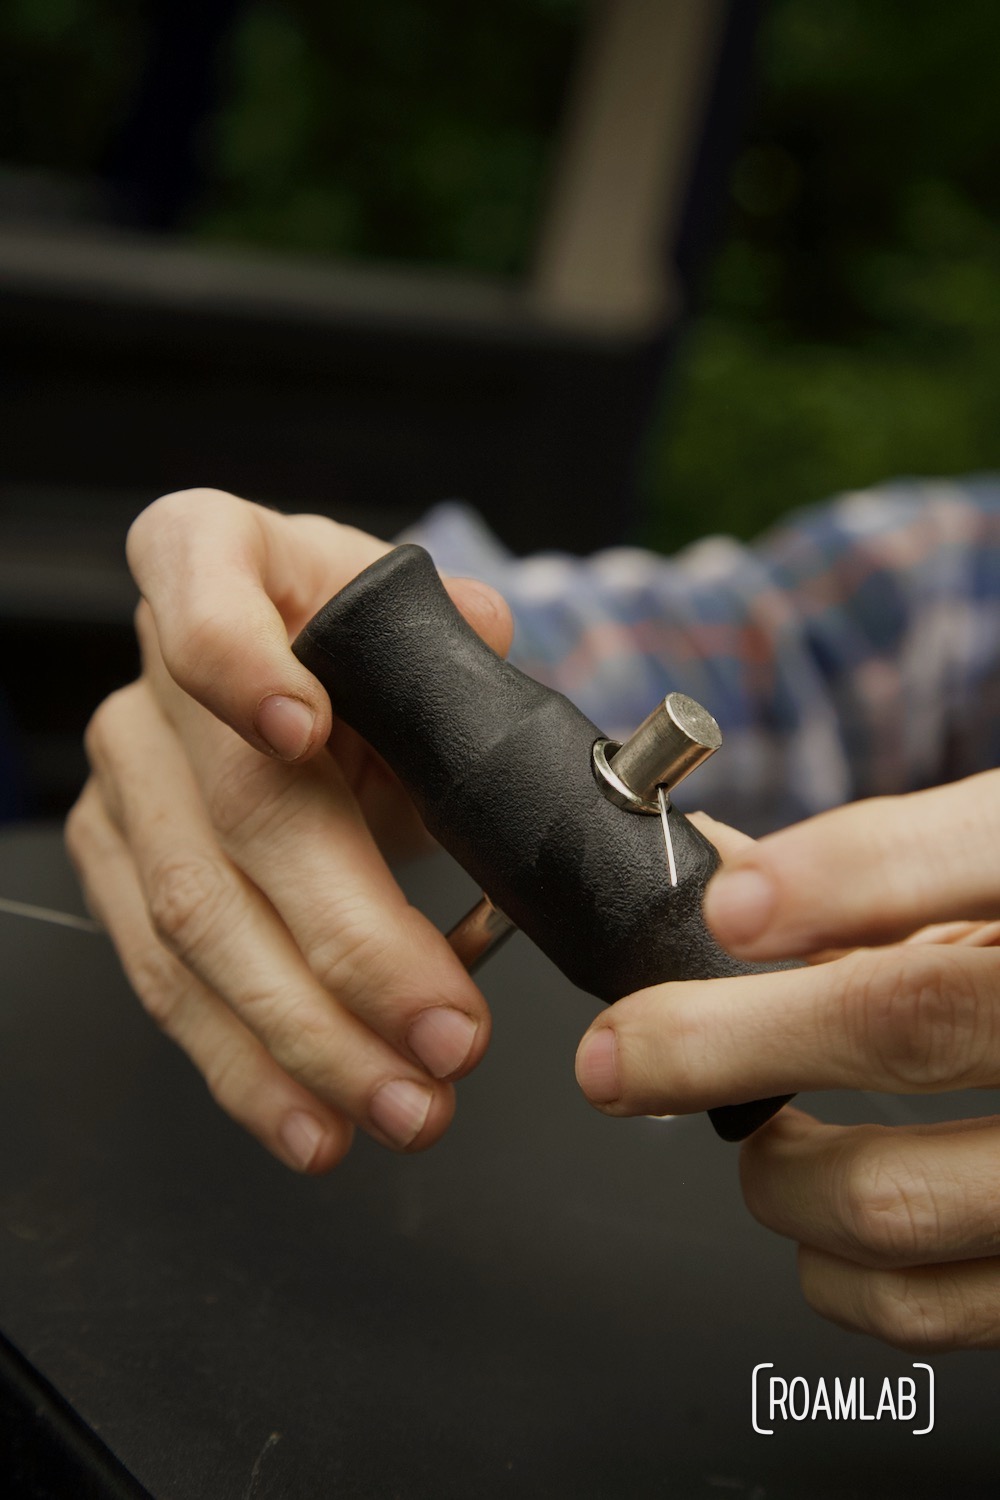
Cutting Wire and Gripping Handles
With the wire fed through, we can now thread it into a gripping handle shaft and the tip to secure it in the handle. Beforehand, we trim off the bent end of the wire, which had wrapped around the feeder tool. We also have to cut the wire to a comfortable length between the handles. There isn’t a single ideal wire length. It varies by what part of the window we are cutting. So, we start with a long wire and gradually trim it to a comfortable length as we progress. Cutting wire is cheap, so it is a simple matter to test what amount is right at any given time.
Cutting With Wire
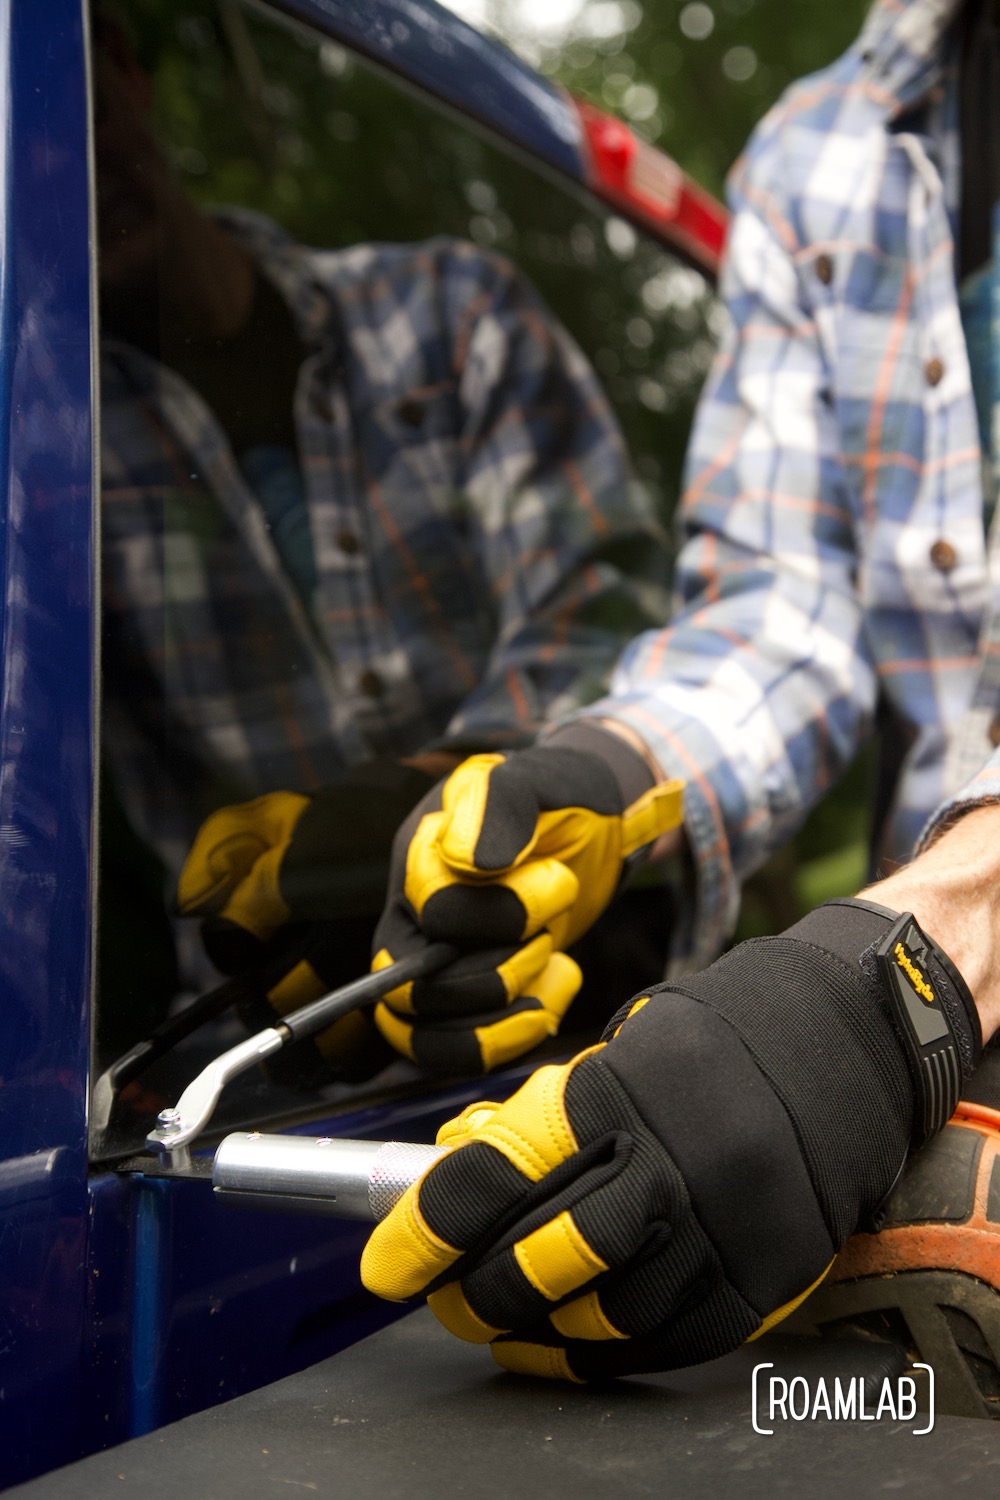
The cutting wire and gripping handles seem like a more involved and unwieldy tool than the windshield removal tool. But we find that it takes very little practice for us to get the hang of the process. Better yet, while this can be accomplished by one person, it is much easier to complete as a team, with one person pulling on one handle from the inside and the other person pulling on the outside.
While a lot of the wire demonstrations we watch online show users pulling the handles back and forth in a sawing motion, we find that we can simply use the handles to apply constant pressure in the direction we want to cut and the wire can slice through the urethane with minimal damage to the glass or paint.
The key is focusing pressure on the urethane without also pressuring the glass or metal frame. Pulling the wire in the direction of the glass could apply enough pressure to crack the glass. Meanwhile, the wire can also damage the paint and potentially expose the steel frame of the truck cab to rust.

Corners
The glass corners are a particular challenge. Here, the glass is at its most vulnerable the urethane is extra thick. Here we exert the greatest force and care to cut without breaking the glass. We wrap the wire around the corner, over the urethane, and then pull in the direction that we want to cut next so that we avoid pressuring the glass corner.
To be fair, each portion of the window has its own nuances. When cutting the longer edge of the glass, we need a longer piece of wire than when cutting the short sides. It’s common to break the wire, so we are commonly re-feeding new wire through the seal. Even so, we make decisive work of the seal. Despite frequent stops to document our progress.
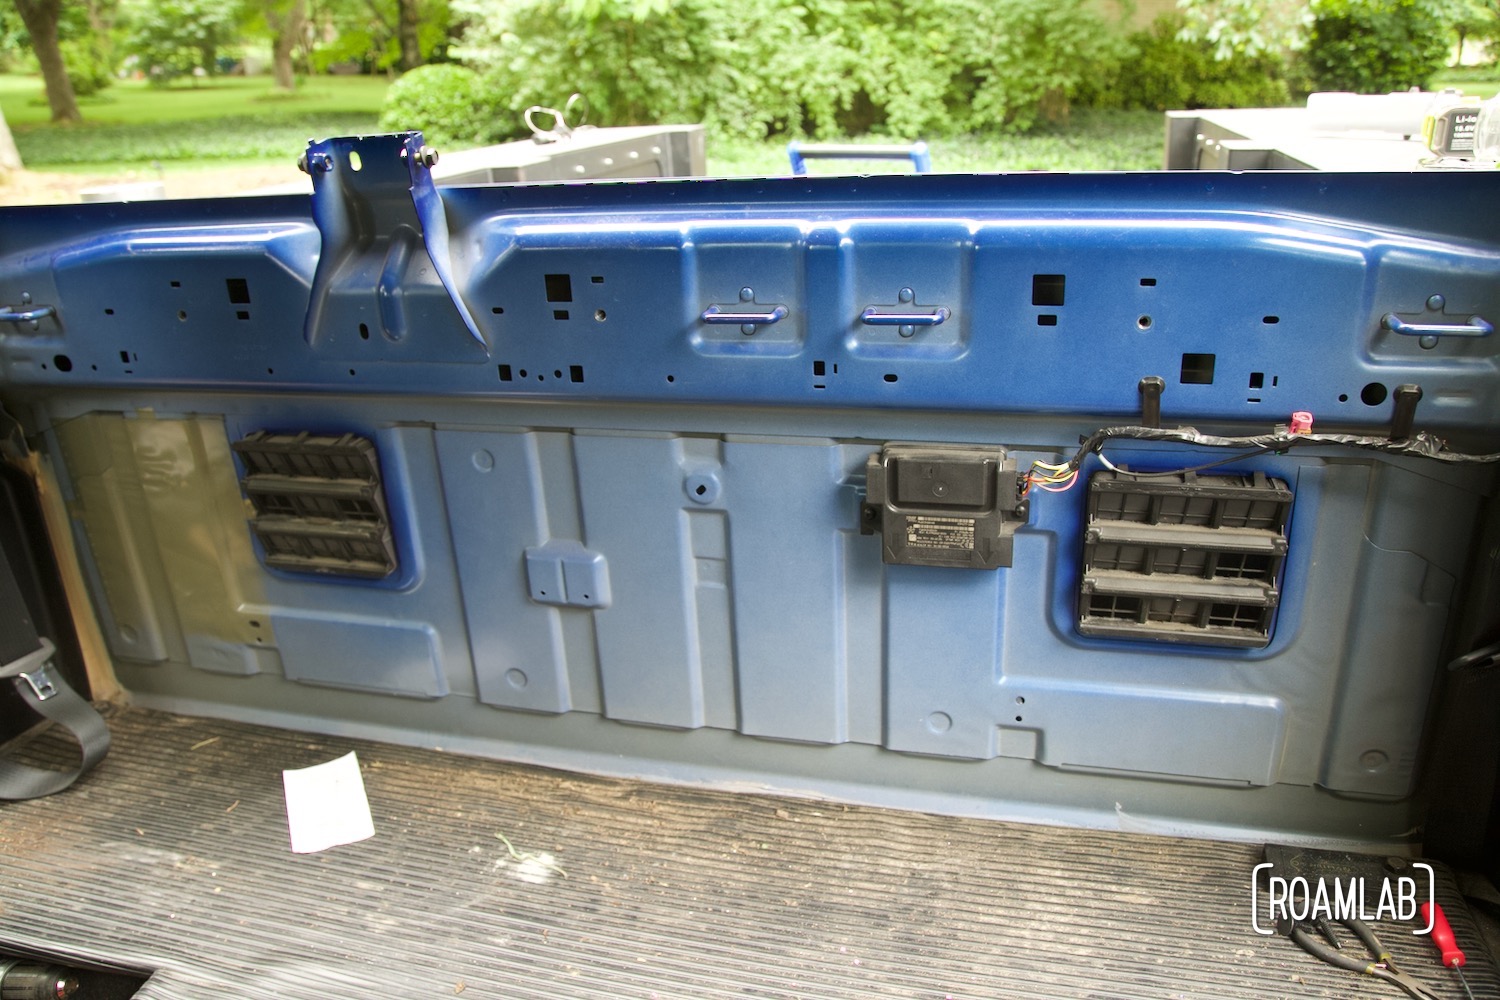
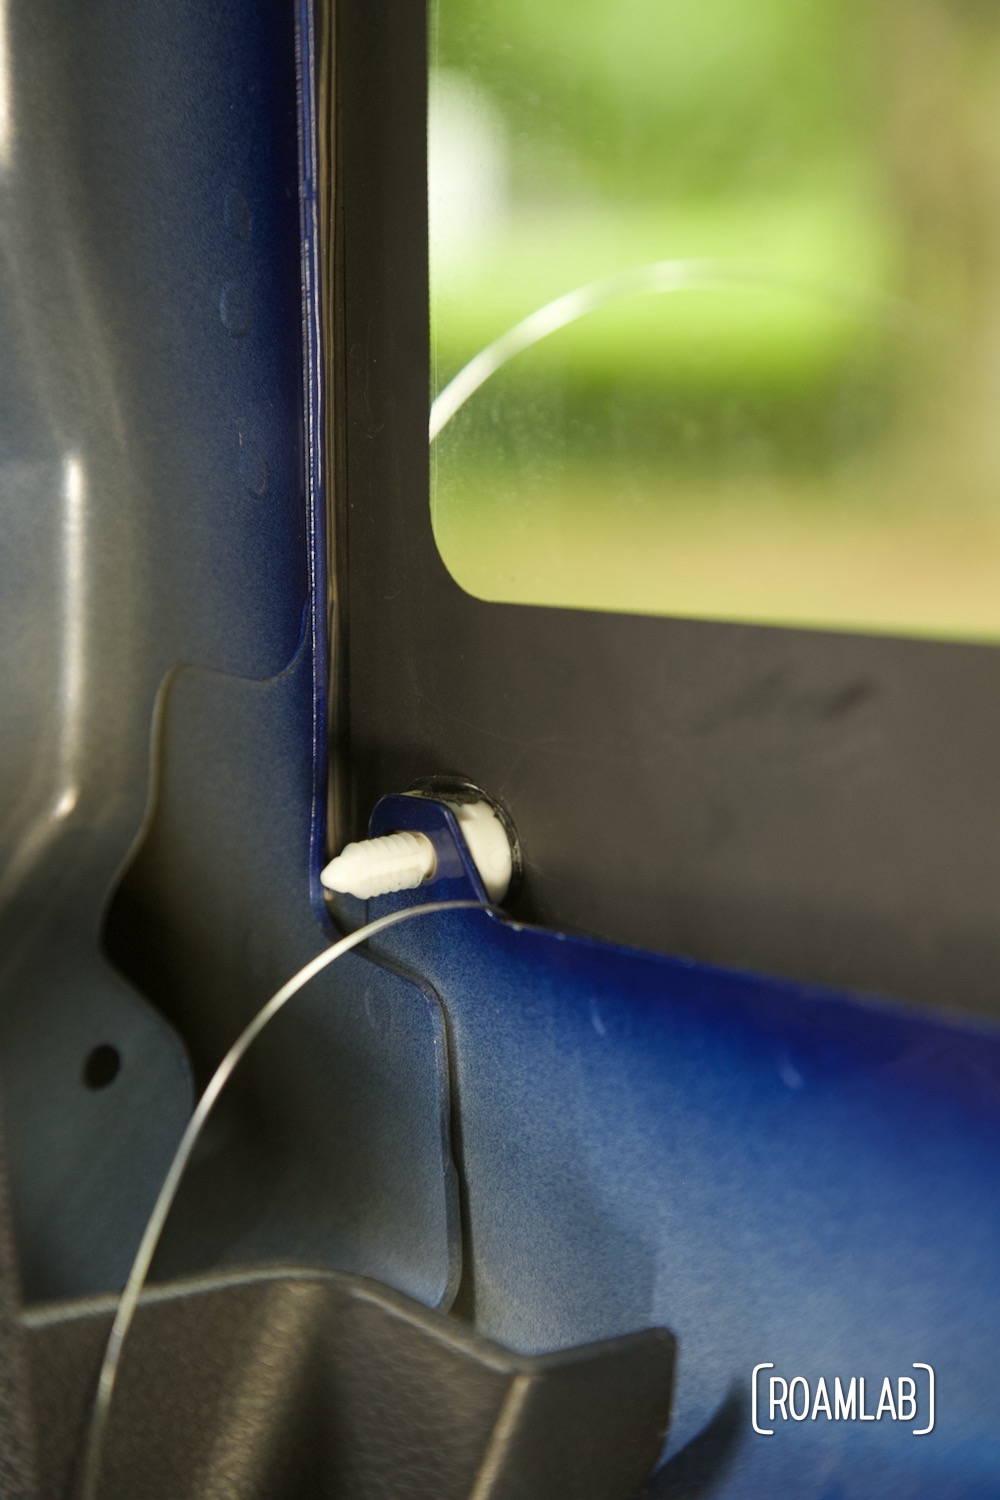
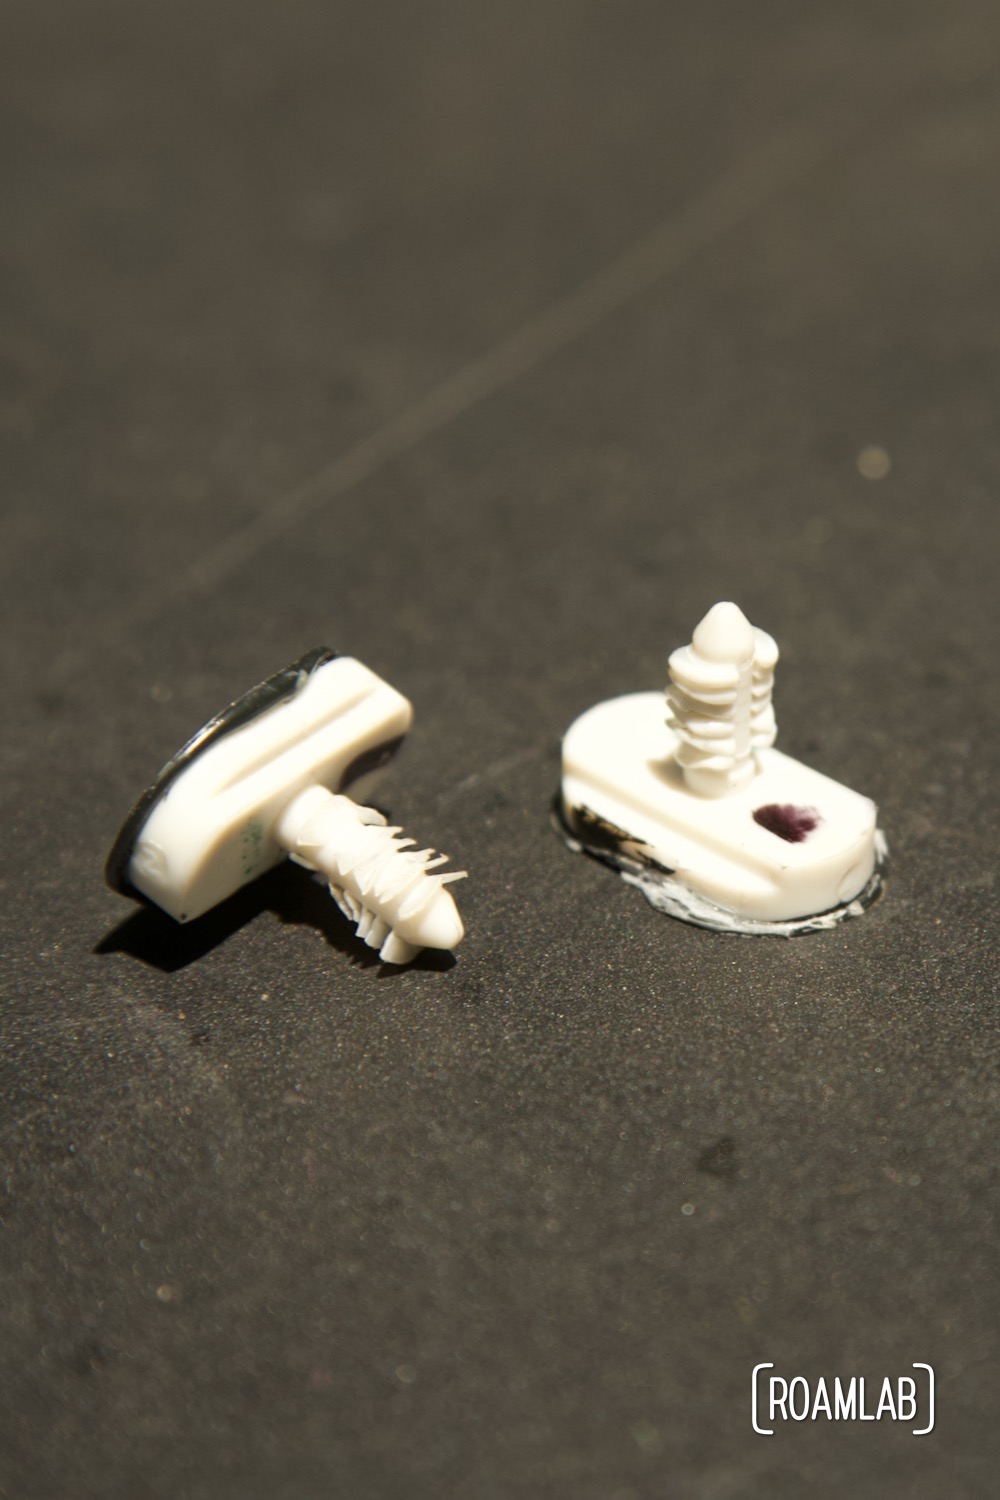
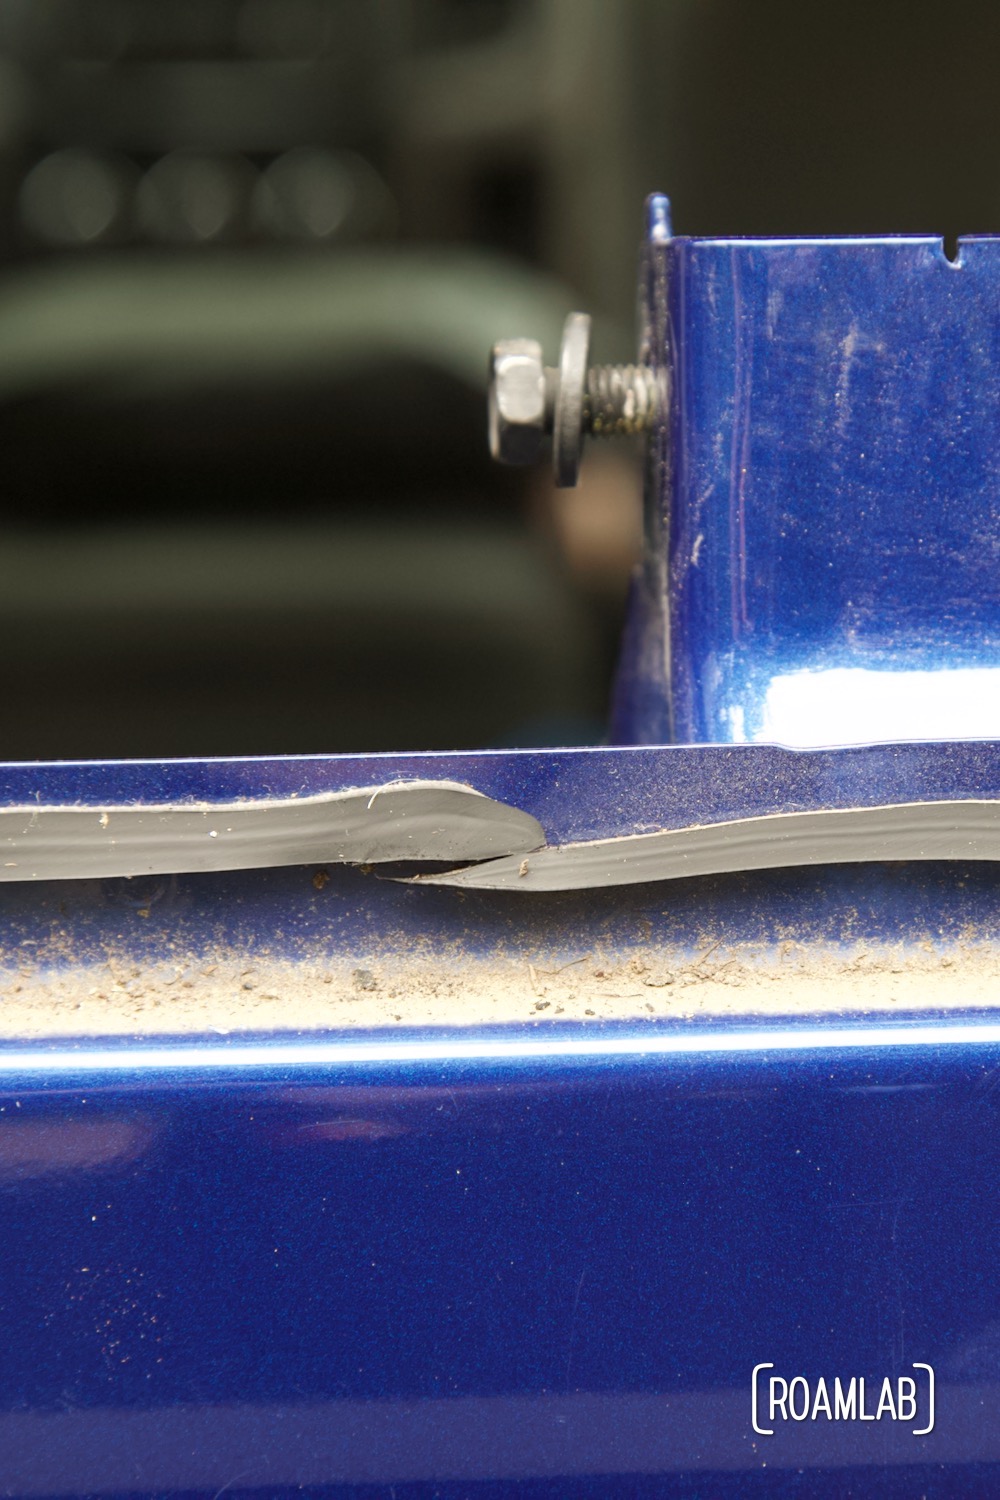
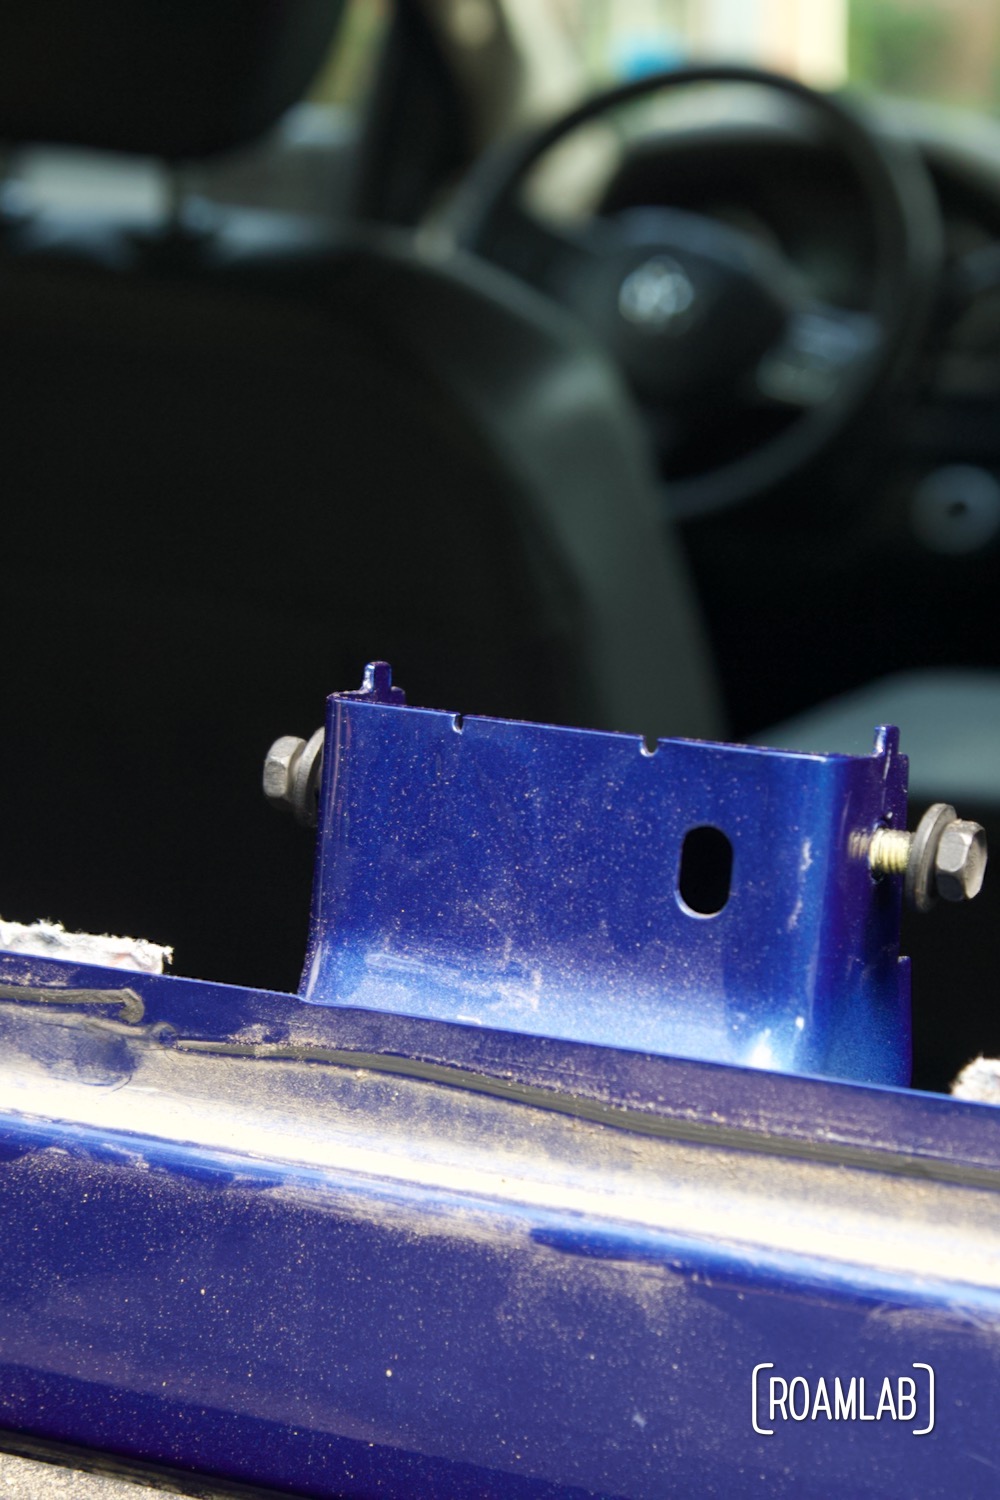
Obstructions
Along the way, we encounter additional challenges. Our 2015 Ram 3500 Tradesman has plastic spacers at the bottom corners of the window. They will be handy to help prevent us from over-squeezing the fresh urethane when we install our passthrough frame. We don’t want to break them but, right now, they are in the way. So, we carefully wind the cutting wire around the spacers. Now, we can continue cutting the urethane without damaging the plastic.
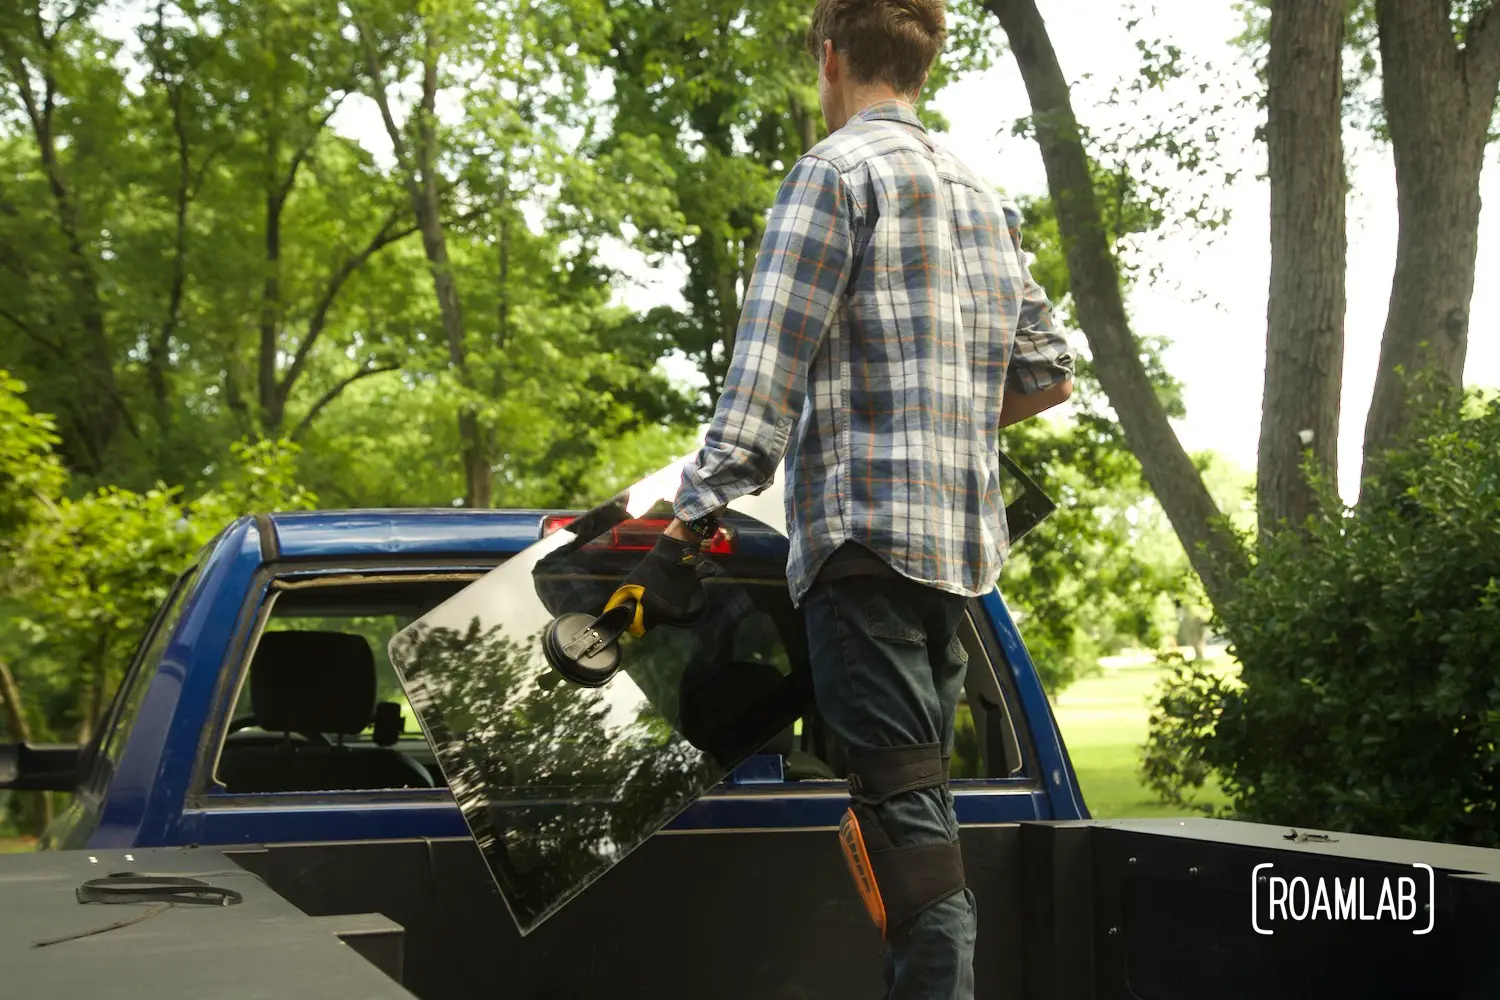
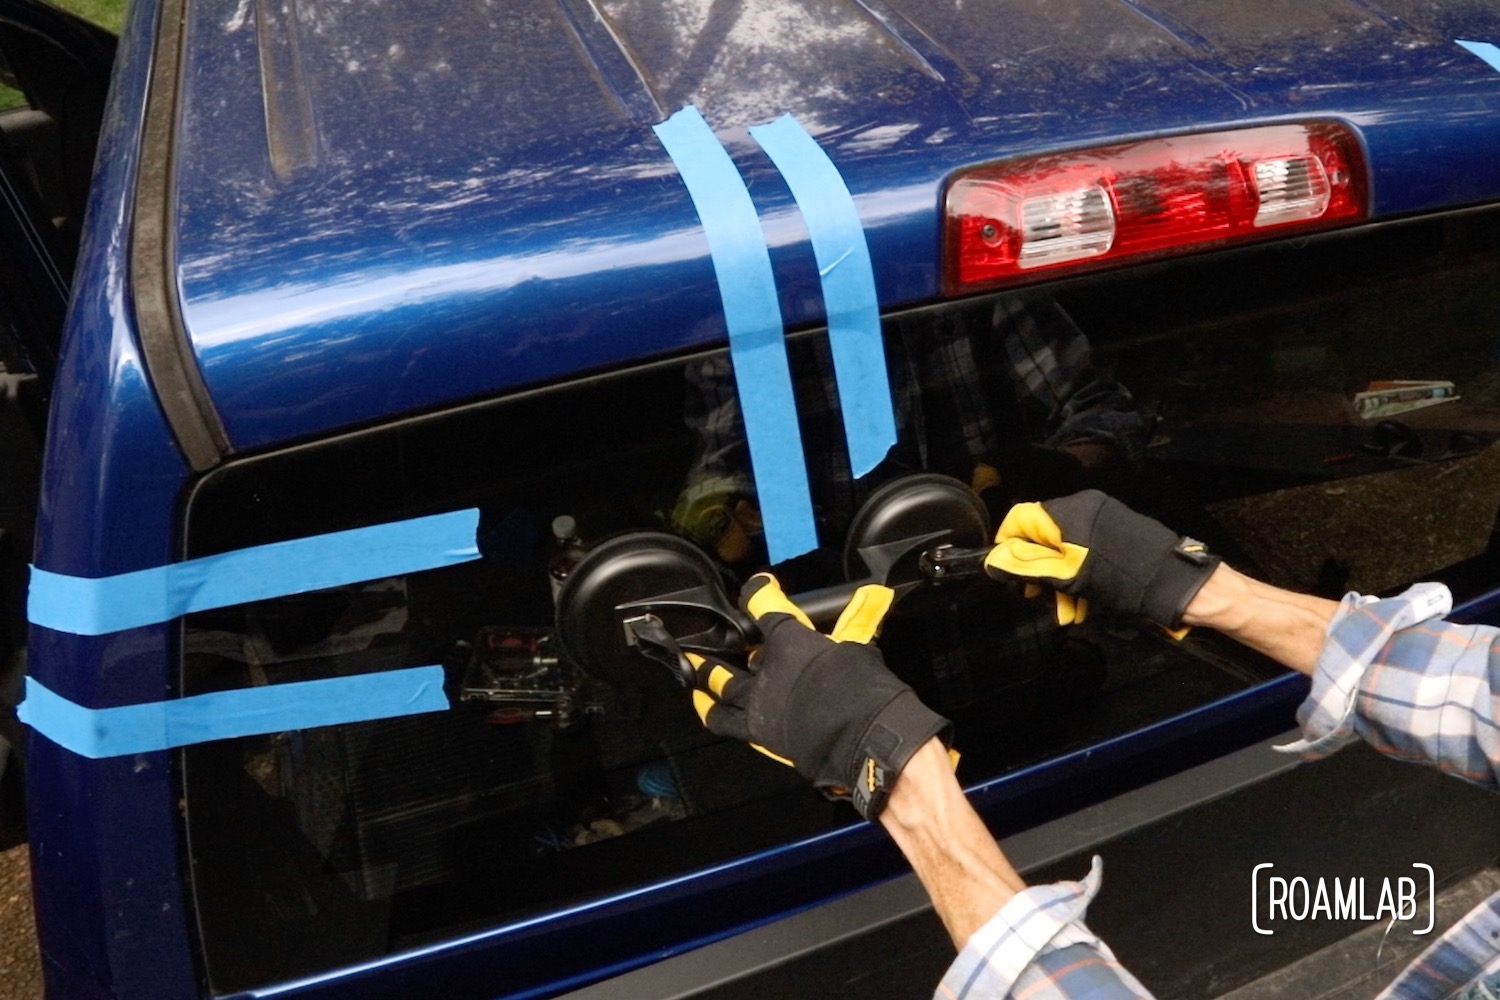
Removing the Rear Window
As we get close to completely cutting the urethane, it’s time to add our own means of securing the glass in place so that it doesn’t fall and shatter. We apply masking tape along the top edge of the window and suction cup handles in the center so that we can easily move the glass once it is free.
Cleanup
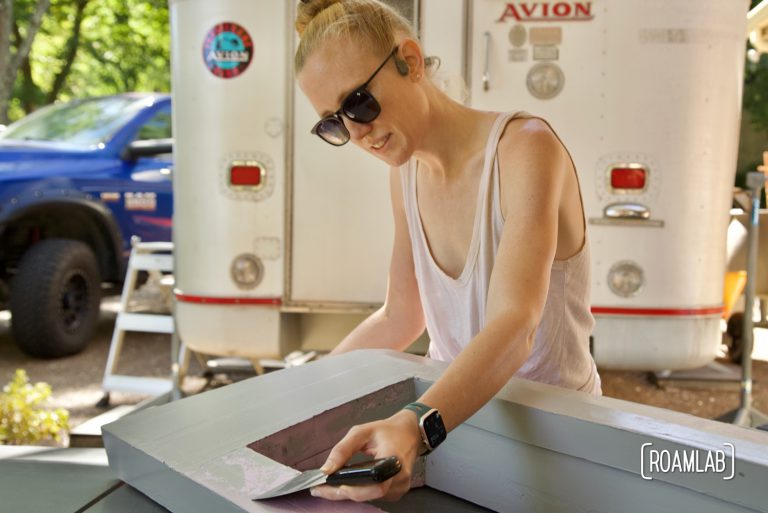
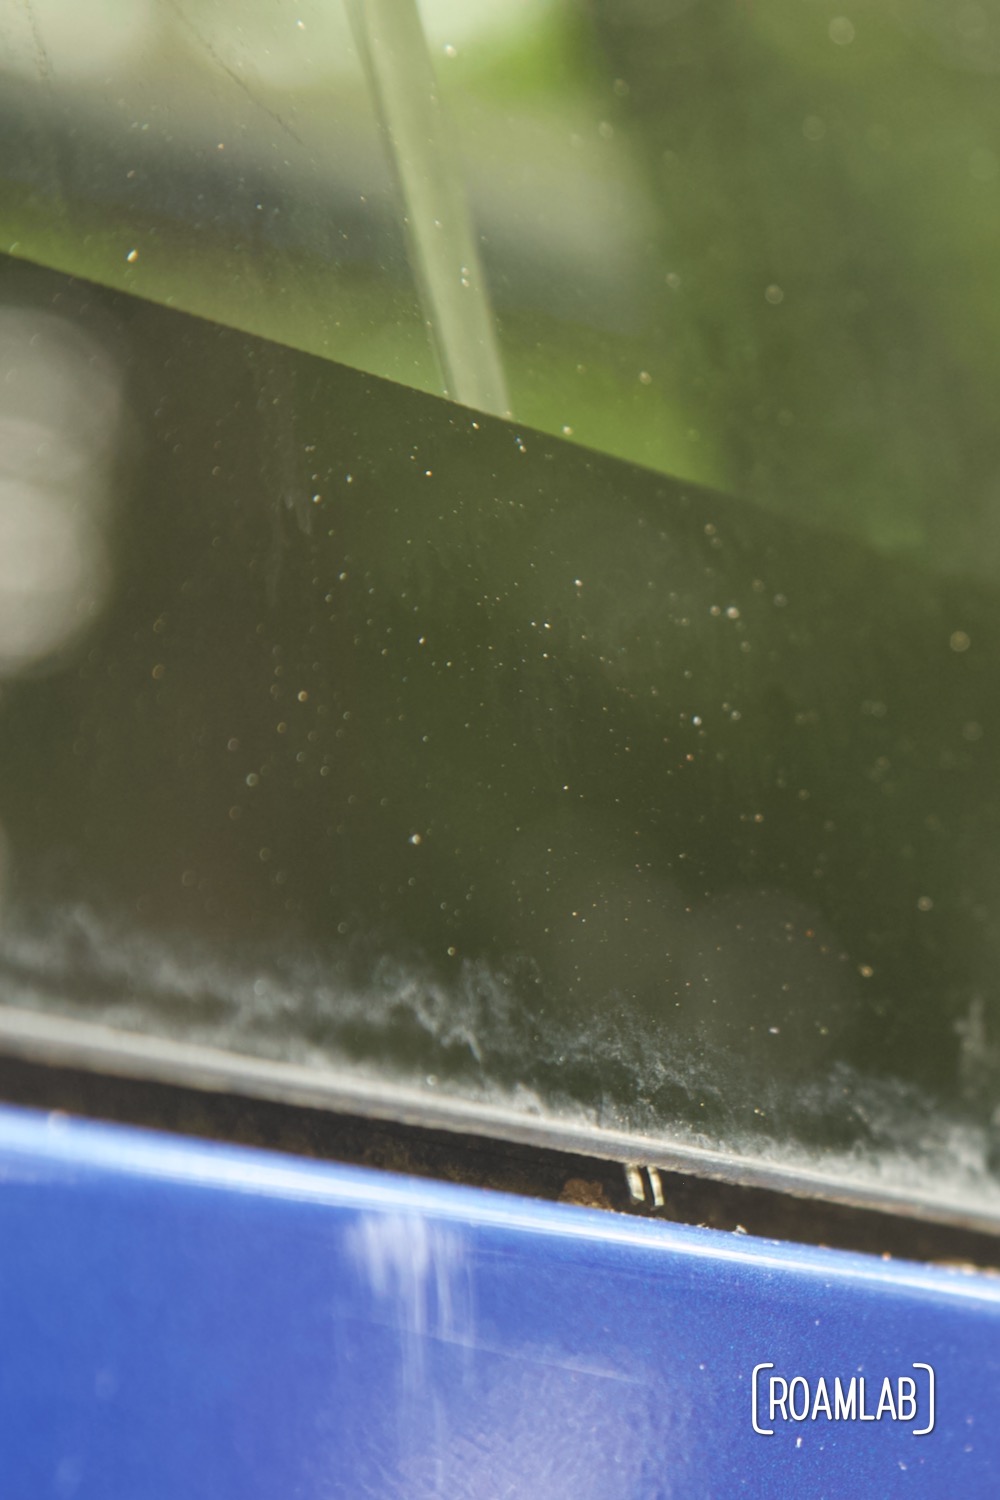
With the window removed, we are so close to done but we have a little bit of cleanup before we can move on to the next stage of our project: we need to trim off any excess urethane. We don’t need to remove all of it. It’s better to leave some urethan than scratch up the paint any more than necessary.
We use a glass scraper to slowly trim away the urethane in long smooth strips. That said, in some parts, we can peel the urethane away from the painted surface by simply pulling on a freed edge. Where this approach works, the surface is almost free of urethane. Either way, when we are finished, there is only a very thin layer of urethane that we will later prime and cover.

Conclusion
Overall, this has been a project full of trial and error. We experiment with a heat gun and windshield removal tool. But we quickly find that with a simple wire and a bit of muscle we can remove the glass without a scratch. While we have no plans to repeat this process any time soon, it is yet another opportunity to learn a new set of skills. And now that we have the window out, the clock is ticking for us to get our passthrough frame in before the next rain.


1 “Urethane.” National Center for Biotechnology Information. PubChem Compound Database, U.S. National Library of Medicine, https://pubchem.ncbi.nlm.nih.gov/compound/Urethane.