
Curved Windows DIY Truck Camper Renovation
A lot of the detail work on Avion truck campers is top notch. But windows have come a long way since 1970. After extensive work resealing and reenforcing many of our camper’s seams, one of the few remaining leak points is the windows. The current windows along the body are split into two panes. The larger top pane does not open. An understandable choice given that the surface these windows are built on is curved. It would be a huge challenge to build a curved window pane and frame that opens and is road ready. So, only the lower pane opens. It is a section just low enough for the pane to be flat. But this also means it is a very small opening: just enough for a little venting.
I fully understand and appreciate why the entire side window of an Avion doesn’t open. Mirroring the curved body with a window is a particular challenge. Funnily enough, this window design is an update from the three paned jalousie windows that you will find on Avion truck campers from the 60s. In that version, all the windows opened. But that meant for an obscured view from the windows. So, our current windows were the 1970 compromise between venting and views. But Chris doesn’t wear bell bottoms, I don’t offer my astrological sign, and window technology has drastically improved in the last half century. So, we are replacing our windows.
I want to have windows that fully open. I want to stick my torso through and greet the day. And, hey, I want to make my windows bigger. The two windows on the passenger side of the Avion are smaller and split apart because the kitchen stove sat between them in the original build. That section of wall between the two windows was the stove’s backsplash. Now, however, we are flipping the floor-plan. So, the kitchen is on the driver side of the camper and the passenger side windows are actually for the dinette. We are also expanding the passenger side windows to mirror the driver side windows in dimensions. This way, we are making four, identical windows. Best of all, while they will allow more light in the camper, these new dimensions will not expand past the preexisting ribs that form the frame of the camper.
Of the few companies that make windows for RVs, few build windows with any curve at all and Airstream is the only manufacturer we have found that makes windows even close to what we want. But even their top hinged windows don’t open as much as we are looking for. I spent a week researching, sourcing, and arranging to build my own windows. Maybe, one day, I’ll publish the extensive writeup I made from the process. All the same, while I found the resources, the windows would have been a mess. I lack the specialized tools to make simple, elegant, rounded windows. As much as we try to buy retail materials or make things ourselves, we contracted custom windows for this project. And that was a huge project, in and of itself.


Contents

Ordering Curved Windows
Now, we talk to a wide range of window manufacturers. At least we try to. Most won’t respond. Some say “no.” Others string us along and then stop responding. Finally, we find a vendor that says “yes.” The next step is to communicate to the manufacturer exactly what we want. Ideally, we’d be working with some local manufacturer. We’d bring the Avion to them to measure and demonstrate what we want. As the only manufacturer with whom we could contract is over seas, however, we have to rely on our own measurements, pictures, and descriptions to explain what we want in a window.
We find the easiest starting point is to point to a preexisting window that we do like and then describe how we want to customize it. Our goal is a window similar to our cabover window: black aluminum frame, double paned, top hinged, and smoked acrylic. The only things we want to change are the dimensions and adding a curve.
Measuring Window Dimensions
While we are replacing two sets of windows with different dimensions, it isn’t financially practical to order two unique sets of windows. Instead, we are ordering four windows with the same dimensions based on the maximum dimensions we can justify in the camper. These are limited by the placement of the camper’s structural ribs and where walls, seat backs, counters, and storage cabinets will be located in the completed build.
Window Opening Height
Determining the window height is simple, we will be using the height of the current window opening. Any higher or lower would take away space from the seat backs, counter height, and overhead storage compartments. This turns out to be a nice, even 22-inches.


Window Opening Width
The window width is a bit more complicated. We want to make the windows as wide as is reasonable. While the two windows on the drivers side are currently 30-inches wide, the windows on the passenger side are only 24-inches wide. Fortunately, that is no great constraint, as there is a lot of space between the two smaller windows to expand their openings. Unfortunately, there is a structural rib that does prevent these windows from being expanded the complete 30-inches. Of course we could move the rib, but I hate creating more holes in the aluminum camper than necessary and that rib is part of the camper’s frame. Instead, we measure the distance between the limiting structural rib. We will use this dimension for all our windows ordered. This turns out to be a little over 26-inches.


Calculating the Diameter of the curve
While we know what we want, communicating it to the manufacturer requires an understanding of particular terms. We know the height and width of the window we want, but how do we communicate the curve? Fortunately, there already is an industry standard. Manufacturers describe the curvature of a window by specifying the diameter of the curve.
Who remembers high school trigonometry? Me neither and I even enjoyed math. Anyhow, here is a classic case where you need those trigonometry skills. We have the length of a curve and the height of a curve, now do we solve for the diameter? Luckily, there is a formula for this:
Now, to get the actual measurements and plug them into the equation. For this, we are using a straight edge and a combination ruler and square. We place the straight edge perpendicular to the camper’s curve and then measure how far the edge of it is from the top of the window at a right angle. As this 50 year old camper was handmade and has had years on the road, we know that not all of the camper windows are exactly the same. So, we measure the angle on all three of the windows and then take the average for our calculation.
| Width (W) | Height (H) | |
|---|---|---|
| Window 1 | $latex 23\frac{3}{8}”$ | $latex 1\frac{13}{16}”$ |
| Window 2 | $latex 23\frac{3}{8}”$ | $latex 1\frac{15}{16}”$ |
| Window 3 | $latex 23\frac{3}{8}”$ | $latex 2\frac{1}{16}”$ |
| Average | $latex 23\frac{3}{8}”$ | $latex 1\frac{15}{16}”$ |


Now, how we measured this window is not exactly mappable to the curve diagram from above.. The width variable in this equation equates to double the height of the window as we measured it. (There are tools to measure the curve precisely as presented, we just don’t have them.) So, we plug in the W and H values to the equation where W is 46.75 and H is 1.9375.
This means that the diameter of the curve is 23.662-feet and the radius is 11.831-feet. Our supplier uses the metric system, so that means 3606.109mm.
With our measurements and order settled, we just have to wait for the manufacturer to build and ship our windows.
Reality Check
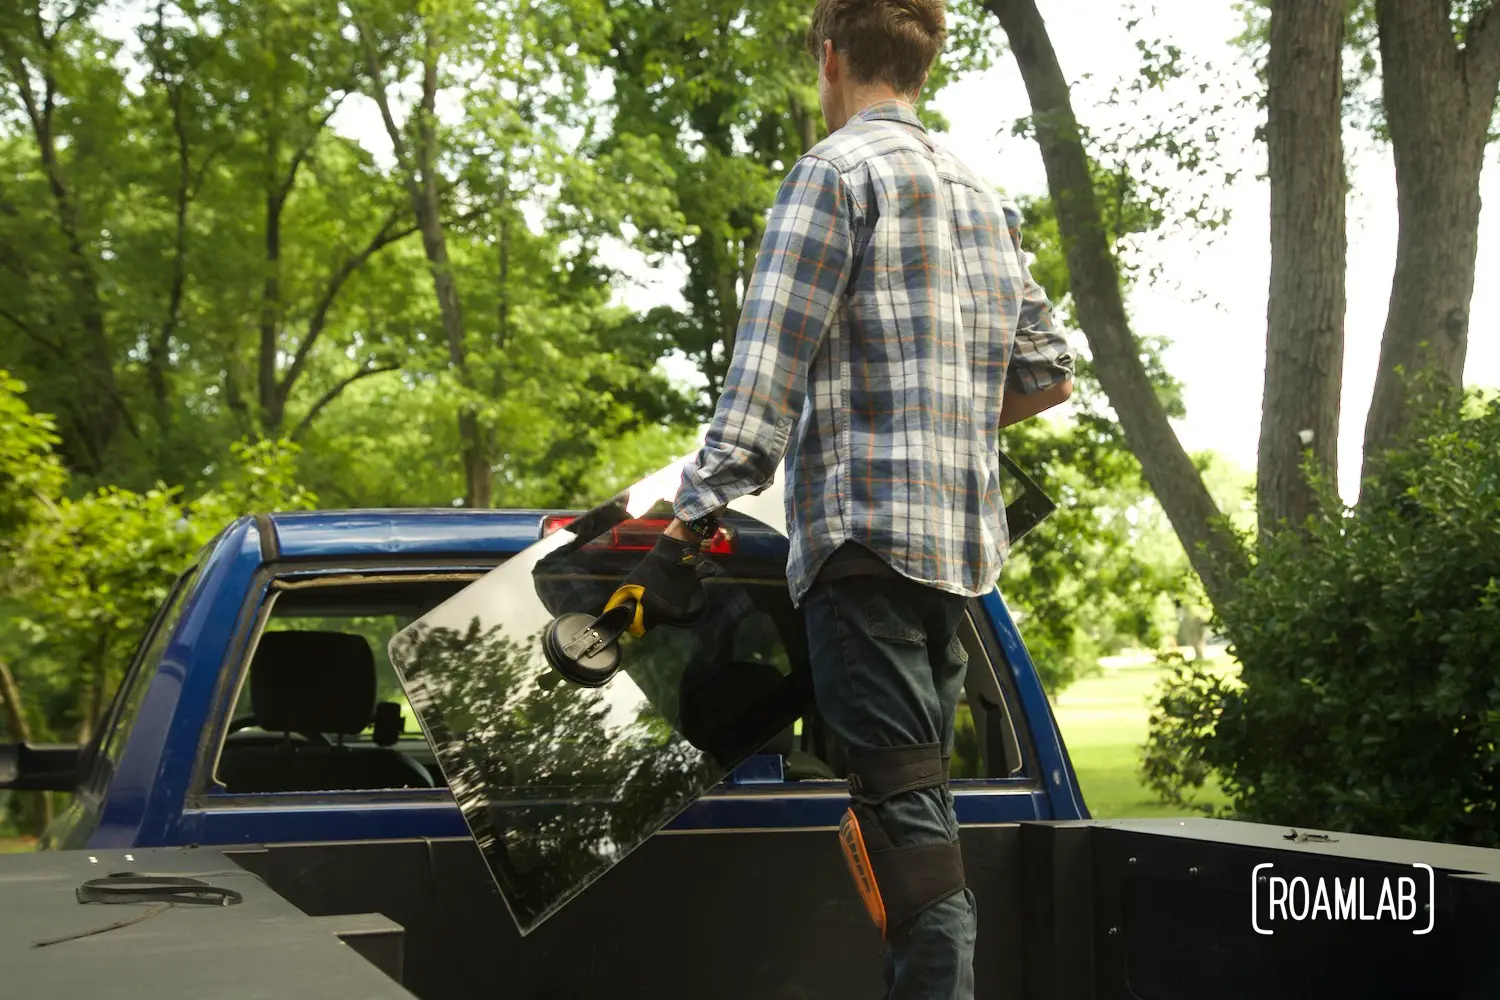
We reached out to every RV or boat window manufacturer we could track down. Only one even reached the point of getting into details and giving us a bid. So, our first impressions when we received our windows were muted by a pragmatic acceptance that a small batch, international order was bound to have something wrong. We ordered four curved, 26×22-inch double paned, smoked plexiglass windows with black aluminum frames. We received four curved, 26×22-inch single paned, smoked glass windows with black aluminum frames. So, not quite what we ordered. The end result is a bit heavier than hoped and not as well insulated. Fortunately, the glass is significantly more scratch resistant so we can worry less about scraping tree limbs or brush. Either way, compared to original windows, these new custom ones are so much better. And, frankly, we had been surprised how reasonably priced the windows were. So, we cut our losses and proceed. It’s time to install the window.

Installing Curved Windows
Out with the old (Windows)
First step is to remove the old windows. These original windows were secured with a combination of rivets, butyl tape, and some kind of sealant. So, removing them was mainly a matter of drilling out the old buck rivets and then delicately prying the window from the camper frame. The driver side windows were a little more complicated. It looks like the original buck rivets had already been drilled out and replaced with oversized and unshaven olympic rivets. It definitely wasn’t carefully executed and the rivets were a pain to drill out. All the same, with the rivets removed, much of the inner framing was also released. The framing was mainly folded sheet metal. We’ll be replacing that with extruded aluminum U bars. But that is for a different section.
While we could have removed the windows all at once. We started with just two. Under better conditions, we wouldn’t worry, but we are working outside in late winter. So we are vulnerable to the elements and rain is a frequent visitor. So, we’ll be working on this project with the two passenger side windows to start.


Preparing Window Openings
When we ordered our windows, we made several calculated compromises:
- While the original camper windows were rectangular, we wanted windows with curved edges. Curved windows are structurally stronger than rectangular ones (think about the windows on airplanes). This means that we will need to patch the edges of window openings to fill in the difference between the edges of the original and new windows.
- While the original camper windows had different dimensions, all four windows will now have the same dimensions. This means we need to reframe the openings to support the new frames.
- While the camper’s curve accelerates from the side of the camper to the roof, we decided that it would be simpler and less error prone to order a window with a constant angle that averages the curve and compensate for the difference when framing the window.
All together, this meant that installing the new windows was more than simply a matter of unmounting old and mounting new. We needed to patch and reframe the original openings to support the new windows. Like most of our projects, what seemed like a quick project that we would wiz through was a drawn out process as we strategically worked during the few dry days of late winter and planned sealing for the rare warm spells.


Patching Window Openings
With the new curved windows, we have a lot of patching to do. We now have corners to patch on our passenger side windows, where the new windows are larger than the original windows. Moreover, we have a wall to replace on the driver side, where the new windows are smaller than the original windows. Fortunately, we have lots of scrap aluminum. Unfortunately, we are running low on the thicker gauge aluminum sheet that we use for exterior work. So we get a little creative with the patching process. While we are at it, we take the opportunity to patch some other holes and cracks that are near the windows.


Framing Window Openings
The space between the outer and inner aluminum walls of the camper is 1.5-inches. To reinforce the new window openings and preserve the gap between the camper walls, we frame out the windows with 1.5-inch wide U-bars, braced against the camper’s ribs. The horizontal bars are quite simple, following the same process as when we reinforced the camper roof. The vertical bars, however, are a challenge. These, like the side windows are curved. There is specialized equipment for curving an extruded aluminum bar without too much warping. We tried out some different approaches when trying to create a new rib when we extended the camper’s cabover. Instead, we followed the manufacturer’s lead and cut a few scallops into the bar to let it bend where we most needed it.


Mounting New Windows
Finally! With the openings framed, I could install the windows. The period between removing the old and installing new windows was a precarious one. We would have to cover the openings before each new rain storm and take time to reassemble our work space between each interruption. This meant that we took the build in stages. This was particularly the case when it came to installing the windows.
Each window came with an inner and outer frame. Screws would hold these two together in place and secure the window in its opening. Of course, 12 screws does not make a watertight window frame. So, along with that, I used Sikaflex 252, a bonding and sealing product that I first was introduced to when installing our Arctic Tern Roof Hatch. First I clean the frame and camper where each will bind to the other. On the camper, I outline this overlap with painter’s tape to minimize the mess when excess Sikaflex is squeezed out when mounting the frame. I use a caulking gun to liberally fill the portion of the outer frame that connects to the camper body with Sikaflex 252 and immediately clamp the window to the camper body. As this is a time consuming process that takes up most of my clamps and wears out my hands, I install one window at a time. Allowing the Sikaflex to fully cure before unclamping and moving onto the next window.
Unfortunately, Sikaflex 252 only comes in white and black. So, as a final flair and a means of matching with my cabover window, I use some grey Sikaflex 121 sealant to complete the connection between the window and camper body with an evenly faired transition.


Finishing Touches
Once cured, I screw the inner frame to the outer frame as a final point of connection. These windows do come with the customary fly screen / privacy shade inner window frame. But I personally don’t like the look or feel of it. So I’ll be introducing my own custom solution later. As it is, the camper is sealed, once more, and ready for the road.
It feels so good to finally be able to fully open our windows. What do you think?


Mike.
Hi Lexi
Great job I recently purchased a 1969 C 11 while all original it needs of floor, wings and everything else and am light years behind your efforts. The insulation is oozing water as I remove it so you can imagine the work ahead of me. I would like to replace the windows and have a hard time finding the size and curve. can you please advise where you purchased your windows and if you wouldn’t mind sending your vendor list it would save me a ton of time on the computer simply tracing tour tracks. LOL
Lexi Goforth
Hi Mike,
Welcome to the Avion family! You have an exciting and rigorous task ahead of you. If you have oozing insulation, it sounds like you have a lot of sealing work to prioritize. We removed a lot of the old vents from the roof to minimize leaks. It’s an ongoing battle but the roof is key. As for window vendors, are you proficient in a second language? It may be a good guide when looking for a manufacturer. Otherwise, a lot gets lost in translation.
Mike
Thanks for your reply, it’s certainly quickly turned into a labor of love. Do you have any go to supply links or manufacturer ie windows, list you would like to share?
I’m currently working on the wing replacement and finishing the insulation removal . So I have time to wait for any supplies that I have to order.
Btw any leads on enter steps and handle thanks
Mike
Lexi Goforth
Hi Mike!
I completely understand. I’m working on a list of resources that we have used for the camper. It’s still in its infancy but check out the Shop Our Rig page. Your question about aluminum thickness has me writing a post about buying aluminum. (For us, that involved an 18-wheeler on a residential street). You may want to check our Vintage Trailer Supply for a handle. I know they had the handle at one point though I didn’t spot it on a cursory check. As for steps, I have to admit, that’s an area where we are still spitballing a solution. We are contemplating building a custom back bumper that will include steps. But it’s not on the top of our to-do list. Right now, we rely on a set of folding steps that I like well enough but it’s annoying to have to pull out and assemble each time we move. I hope at least some of that helps.
Mike
Did you consider Airstream windows?
Lexi Goforth
Hi Mike!
Yes, we did consider Airstream windows. I think they would certainly warrant a try. They will likely require some massaging to work in the Avion but I think most non factory applications will. They just weren’t quite what we wanted.
Hugo Harris
Hi Lexi!
Inspiring blog! Where did you source your windows in the end? I have a 1964 Mercedes L319 panel van (https://bit.ly/2SzNpG7) that I would like to install windows in. The panel curvature is too great for anything off the shelf so I’m interested to see if i can take the same route you did.
Hugo
Lexi Goforth
Hi Hugo! Being a van, you may be in luck. We did encounter a few specialized vendors in van windows. They weren’t sharp enough of a bend for us but they may work for you. Our windows came out of a manufacturing hiccup.
bob carlseen
im impressed. I am currently looking for similiar windows to add to side of my Space Kamper, all composite short bed truck camper.
Lexi Goforth
Thanks Bob,
The right windows certainly make a big difference in a camper build.