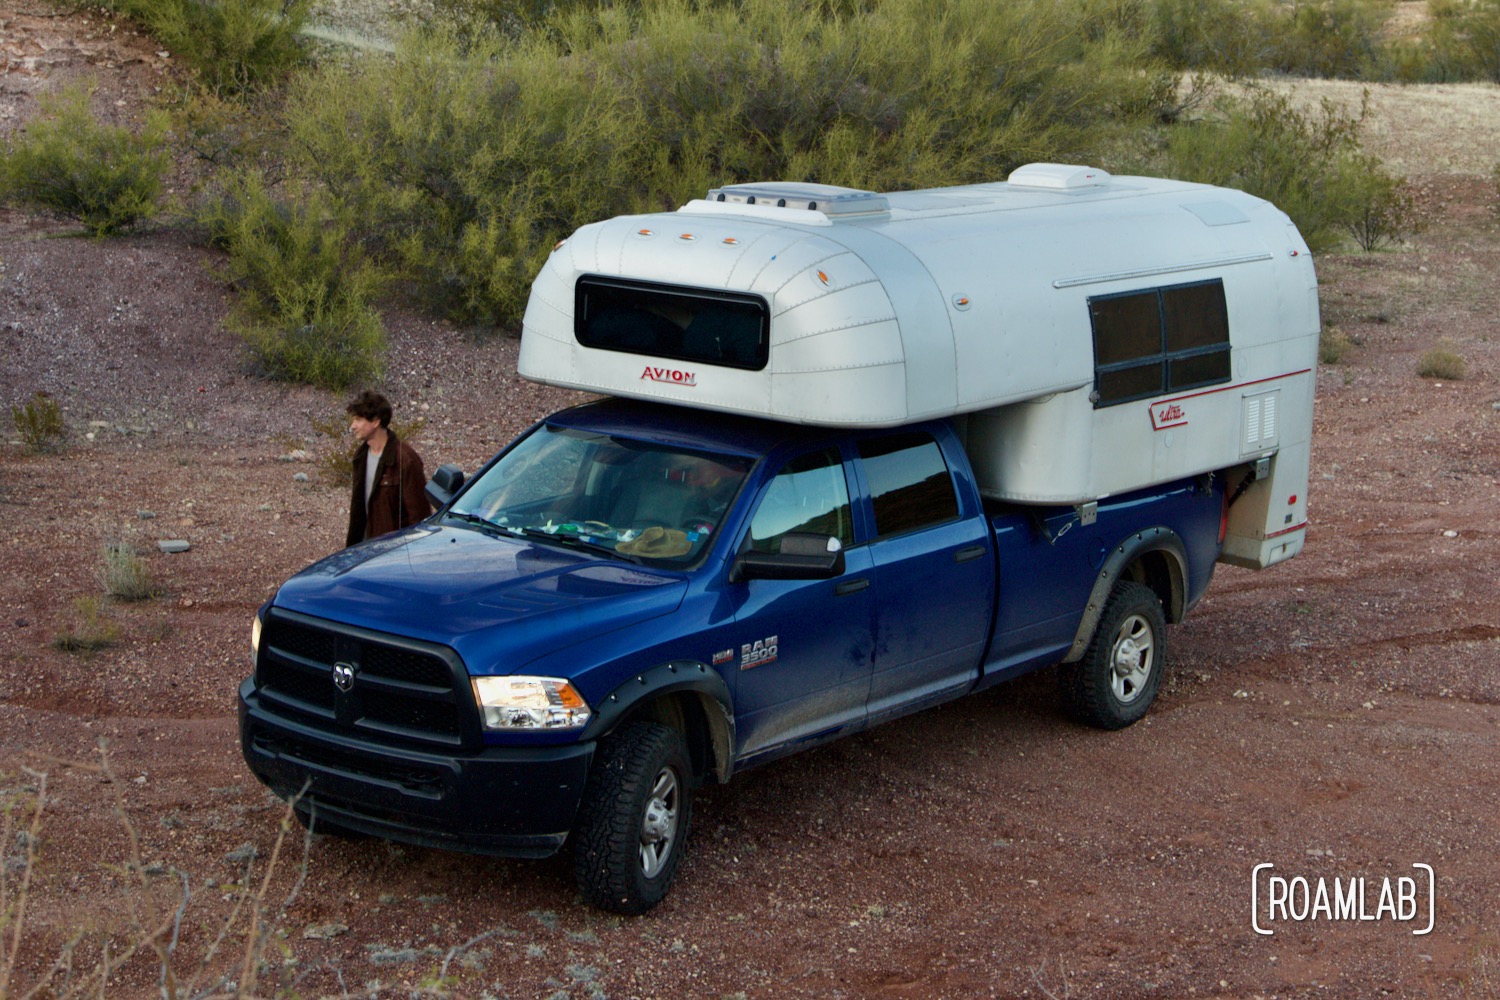
Installing A MaxxAir Fan DIY Truck Camper Renovation
We do most of our traveling in the winter. So, our focus, more often than not, is on staying warm. Yet, our plans for the future are far more wide-ranging, and that will require some consideration of temperature control. We are on the fence regarding air conditioning units. They consume so much power as to be impractical. But one addition is without question: we need a fan to aid circulating air through the camper.
Choosing a Fan
We spend a lot of time researching different fans catering to campers. Most share similar core features: air circulation through a 14×14-inch roof entry with low power consumption. What distinguishes the models are frills like remote controls, temperature controls to turn the fan on and off, or built-in lights. What sells us on the MaxxAir is its ability to operate in the rain. Other fans will label themselves as operable in the rain, but that tends to only refer to circulating the air already in the camper. The MaxxAir can take in outside air without the accompanying rain. Better yet, it should be able to operate while the rig is in transit.
But enough about the fan. How did we install it?
Installing the Fan
The MaxxAir Fan, like many camper fans, requires a 14×14-inch opening into the camper. The Avion had two fans at the time we acquired it. As part of our gut, we remove those fans and patched the remaining hole so that we could continue to travel. Now, with a new fan in play, it’s time to reopen one of the original locations to install the fan. As part of our earlier project reinforcing the roof, we also added new braces around the opening to frame out the new fan.


Mounting the Frame
With the hole cut and framed by 1½-inch aluminum C-bars from the inside, it’s time to install the outer frame that comes with the fan. This is the core component that seals the fan to the camper, so being solid and watertight are vital features. As a first step, we line up the frame with the roof. While the roof opening is 14×14-inches, the alignment of the frame is critical. The four attachment points on the fan must face the driver and passenger sides of the campe so that we can mount the fan with its streamlined side facing future highway wind resistance. The frame is easy to move right now, but after the next few steps, it won’t be!
The frame already comes with holes drilled for screws. We go ahead and follow these to drill pilot holes into the camper frame. As we complete each hole, we secure it with a cleko, which we regularly keep at hand. (While these are usually a tool to hold aluminum in place while riveting, it also comes in handy for cases like this.)
Sealing the Frame
Once we drill all the holes, it’s time to seal the frame to the camper roof. For this, we are using SikaFlex 252, the same sealant-adhesive that we used when mounting the roof hatch. Now, I’m a little obsessive about cleanliness when it comes to these kinds of projects, so I tap off the edges of the roof where the sealant will squeeze out, to make cleanup easier.
DIY tip: SikaFlex 252 is INCREDIBLY thick. Even with the caulking gun, your hands can quickly cramp up while trying to apply it. So, it helps to warm up the bottle by keeping it inside a heated room before application. I tend to set it on top of a vent if the heater is running. When applying, be generous. It’s better to have Sikaflex squirting out the sides rather than have an incomplete seal. I will often slather it on both surfaces that I am bonding.
Once I have applied the SikaFlex to the frame, it’s time to double-check that we align everything correctly and then clamp it in place. Don’t over clamp. The last thing you want to do is apply all that Sikaflex and then squeeze it out while clamping so that there is nothing to do the adhering and sealing work. It’s good to have it secured well enough that you are applying pressure and seeing some Sikaflex squeezing out around the edges. Once all the clamps and in place, you can go ahead and use a plastic scraper to clear away any Sikaflex that has squeezed out between the frame and roof.
Securing the Frame
Once the frame is clamped and cleaned, it’s time to screw the final holes. We have already drilled the pilot holes. This step would be the time, if we were using screws, that we would insert them. Instead, we have an aluminum body and aren’t very fond of steel fasteners causing corrosion in our camper. So, we will be using aluminum pop rivets. Rivets also have a better bite into sheet aluminum than screws.
With the rivets or screws in place, we leave the frame and camper alone while the Sikaflex cures.
Sealing the Frame (Part II)
Once the SikaFlex 252 has completely cured, it’s time to do some final touches with Sikaflex 121. This SikaFlex is just a sealant. Unlike the SikaFlex 252, it comes in grey, which I prefer as a finishing touch when working on my aluminum camper. On this step, I apply and smooth SikaFlex along the edges, where the frame meets the roof, and the tops of the rivets or screws, to minimize leaking. Now, sit back and allow the SikaFlex 121 cure as well.


Mounting the MaxxFan Roof Component
With the frame in place, the final step of mounting the fan is incredibly simple. The fan is secured with four screws, two on each side. All we have to do is open the fan top to expose the mounting points.


Strangely, this mounting project is drawn out far longer than I would have expected. The truth is, after securing the fan to the roof, we travel with the fan in this state for years. We don’t have power in the camper yet or install the walls. So all the fan is just a manual vent until the time came to wire the fan into our new electrical system and complete the interior installation.


