When we first stripped the electrical system out of our 1970 Avion C11 truck camper, we still lived in the days when acid cell batteries were the obvious choice for RV power systems. Lithium cell batteries were on the market but outside of the budget of most any RV owners, including us. Years later, lithium is not only a viable choice but also the rational choice for most RV builds. Along with price points dropping, lithium battery chemistry has continued to advance, creating more safe and stable options. Our slow build process has paid off with the opportunity to outfit our camper with relatively lightweight and impressively durable batteries. Yet, with our extended history of meticulous DIY RV build projects, this isn’t going to be a simple upgrade. No, we decide to build lithium batteries ourselves1.
Key Parts in Our Lithium Battery
To build these batteries, we purchase sixteen 3.2V 180Ah LiFePO4 batteries. We arrange these in series to create two, 24-volt 360-amp-hour batteries. To complete the battery, we have two battery management systems, four battery terminals, a collection of bus bars, and two custom made aluminum and plexiglass battery boxes. All that’s left is to assemble them into one complete package.2
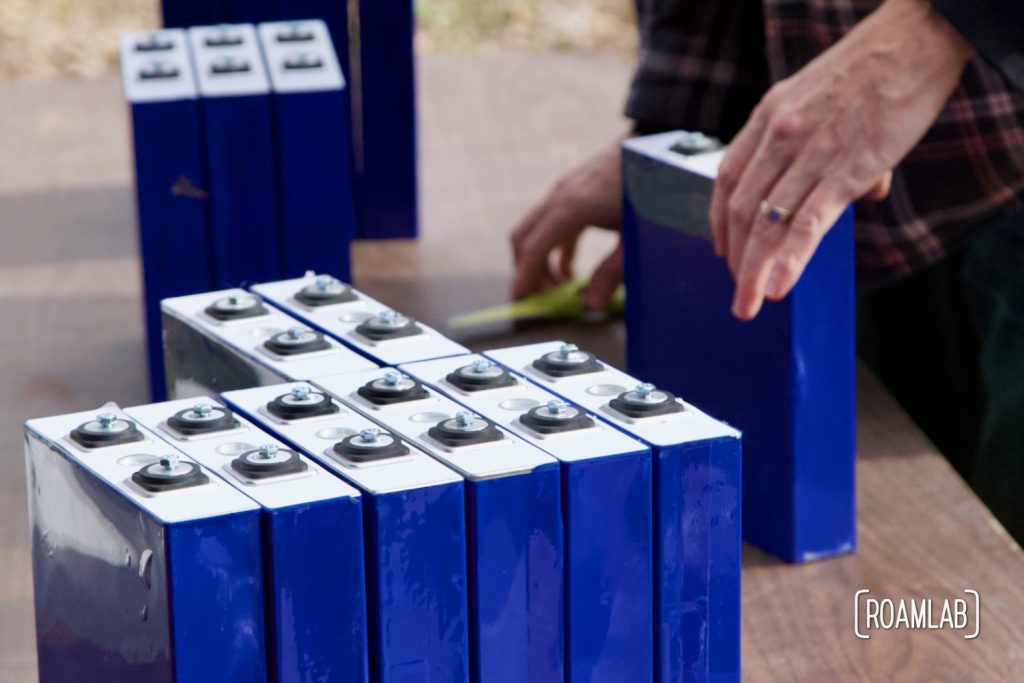
The Lithium Battery Cells
We bought a stack of sixteen 3.2V 180Ah LiFePO4 cells. Depending on how we connect the cells, we can create batteries anywhere from 3.2-volts to 48-volts. We settle on making two 24V (360Ah) batteries, an ideal voltage for our fulltime RV living. With this settled, we can more on to purchasing the equipment to assemble these cells into safe and robust cells.
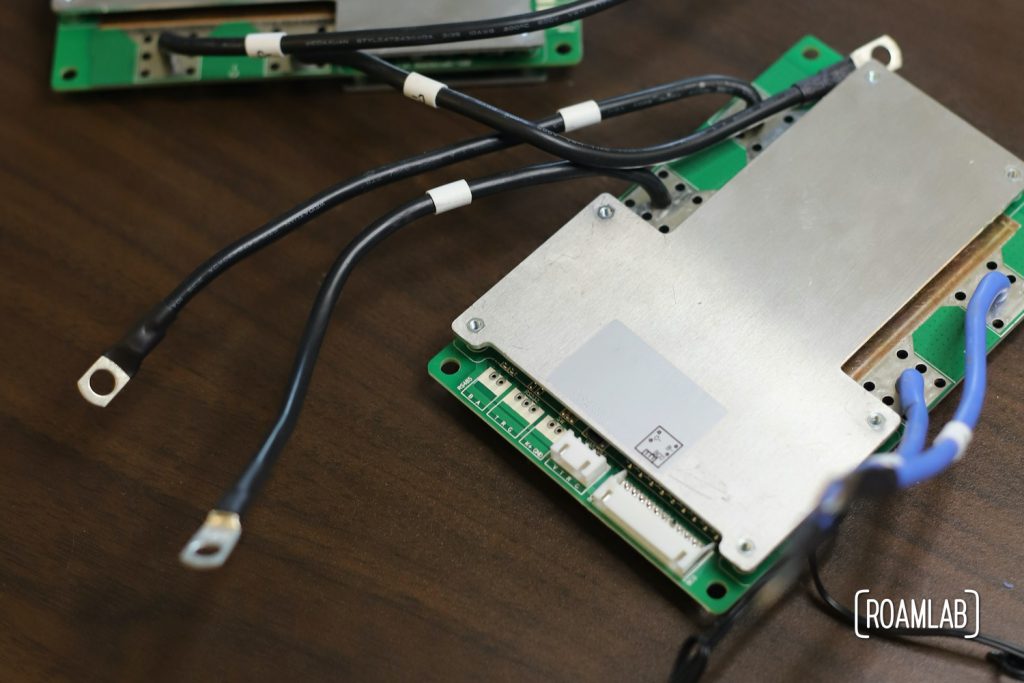
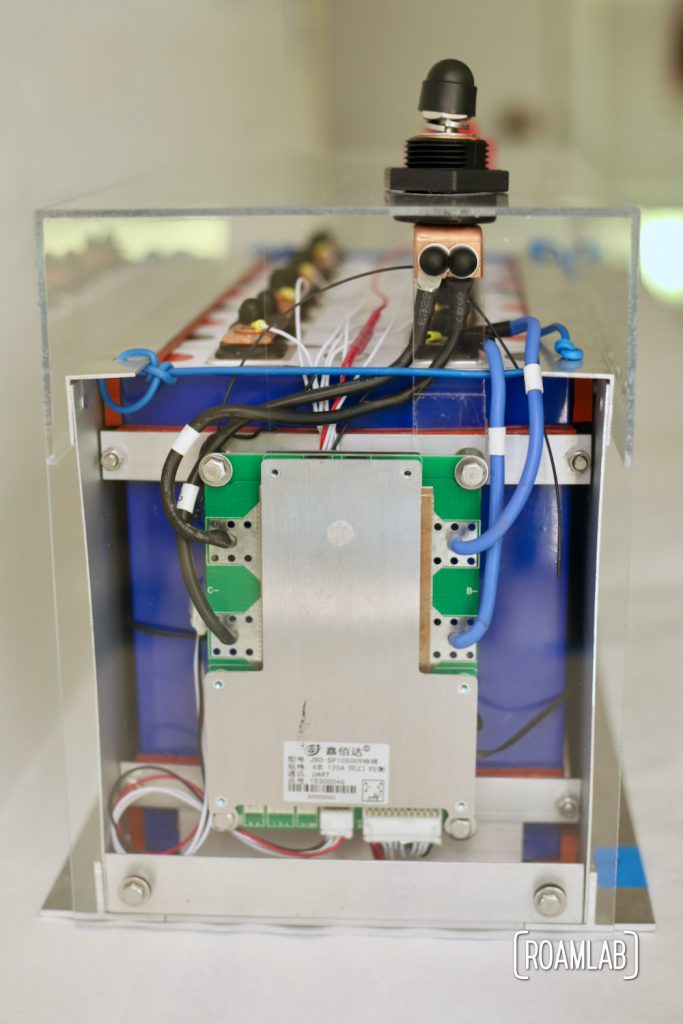
The Battery Management System (BMS)
The BMS is connected to each cell to monitor, protect, and report on the state of the battery cells. We purchase two BMSs: one for each battery. Unfortunately, the BMS creators did not design these with hobbyists in mind. We have to do a lot of prep work before we are ready to install these.
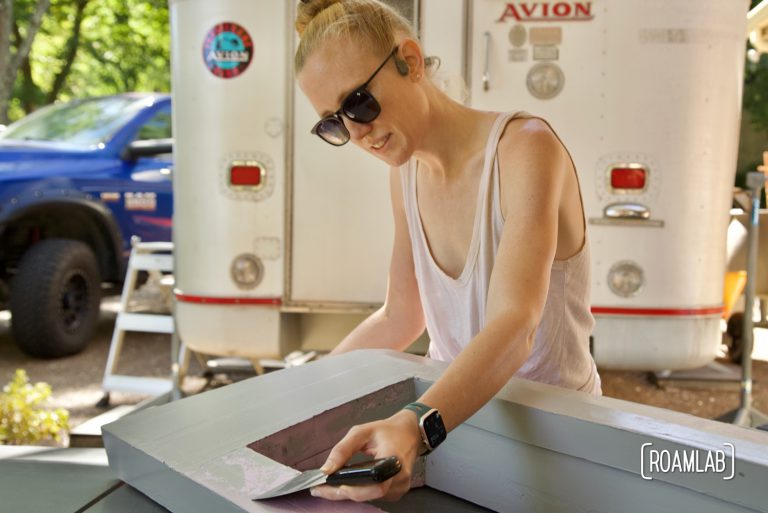
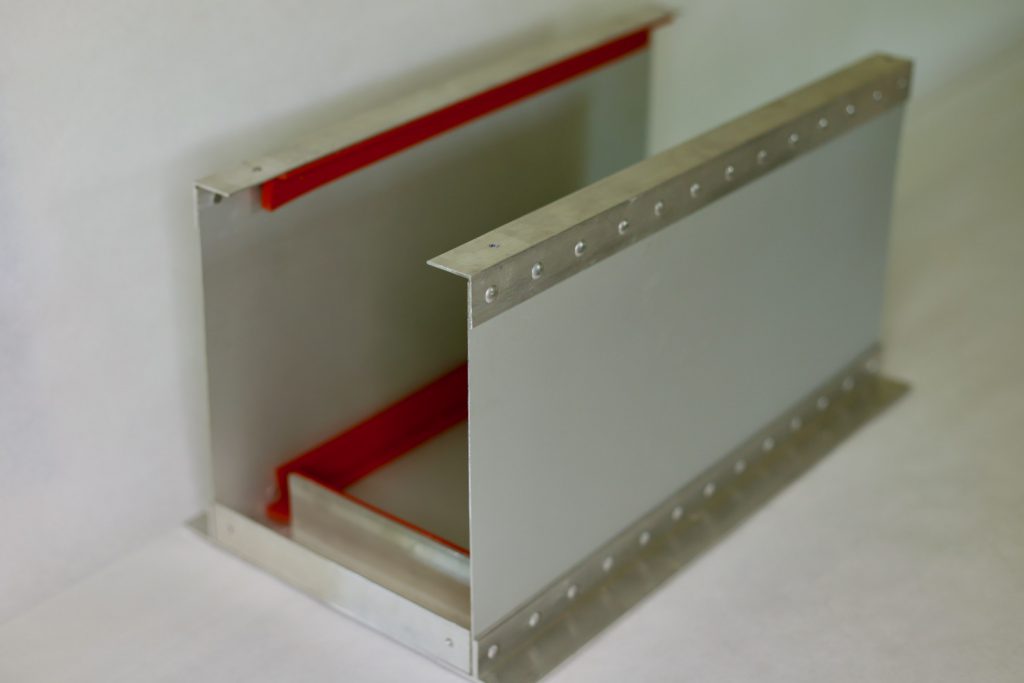
The Battery Box
Most batteries we encounter come in an opaque molded plastic battery box wrapped in branding and warning labels. But we are assembling our batteries, so we decide to make a battery box. Our case features a riveted aluminum base with silicone rubber padding to snuggly hold the cells together and a plexiglass cover to protect the electrical connections from shorts while still making the inner workings visible.
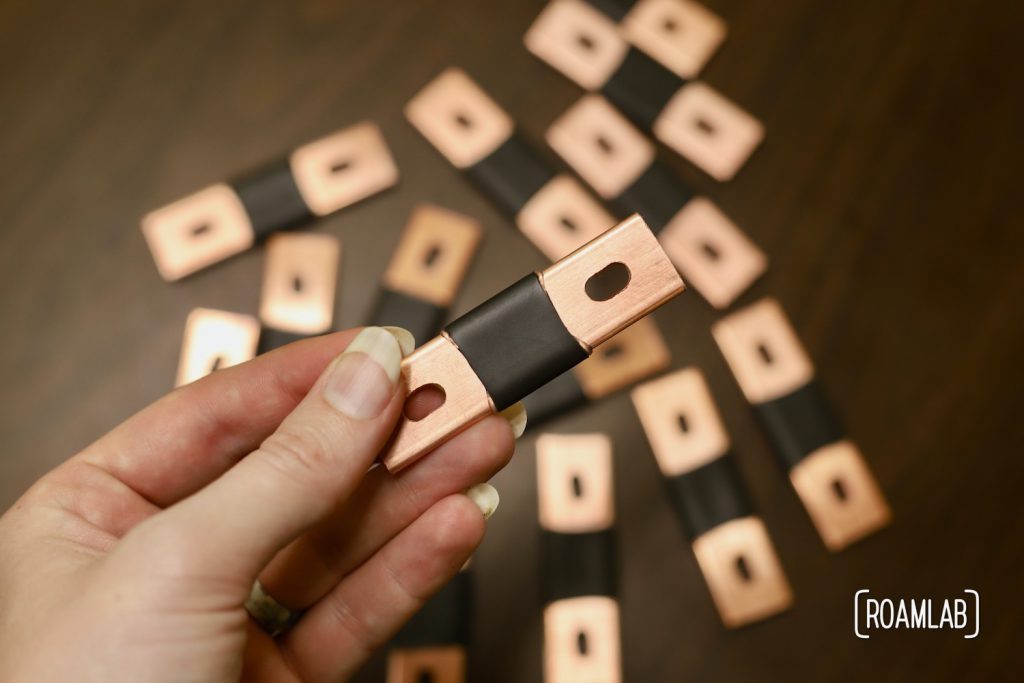
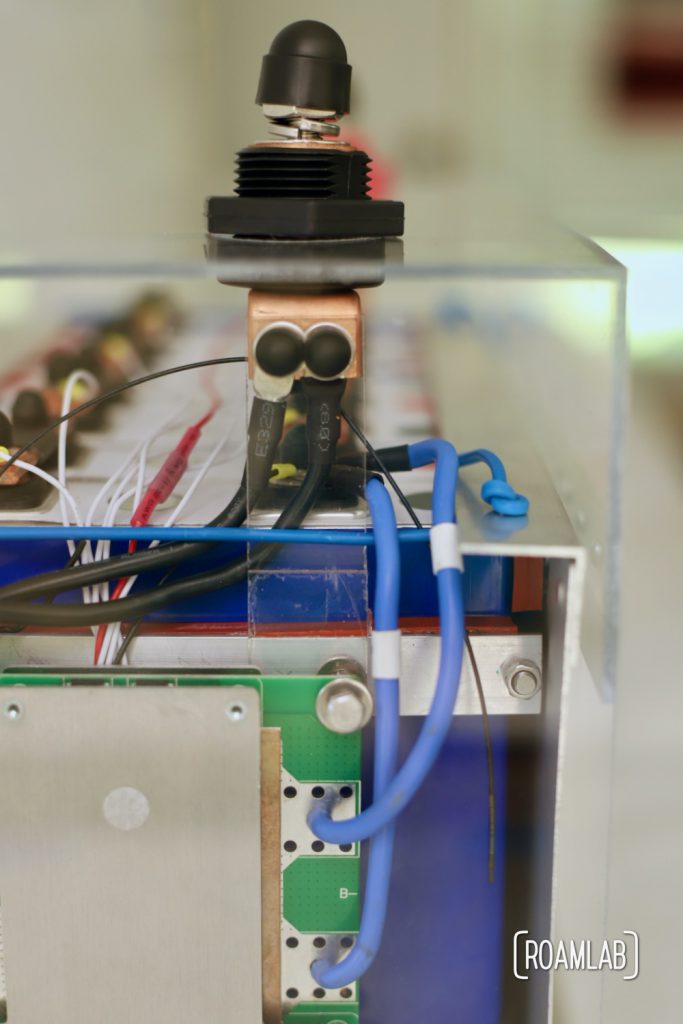
The Bus Bars
Our battery is only as strong as its weakest link. A high resistance connection will limit our battery and can damage the battery or even cause a fire. So, we use 1/8″ thick copper bus bars to connect each battery cell to the other. We make these our of copper bar and heat shrink.
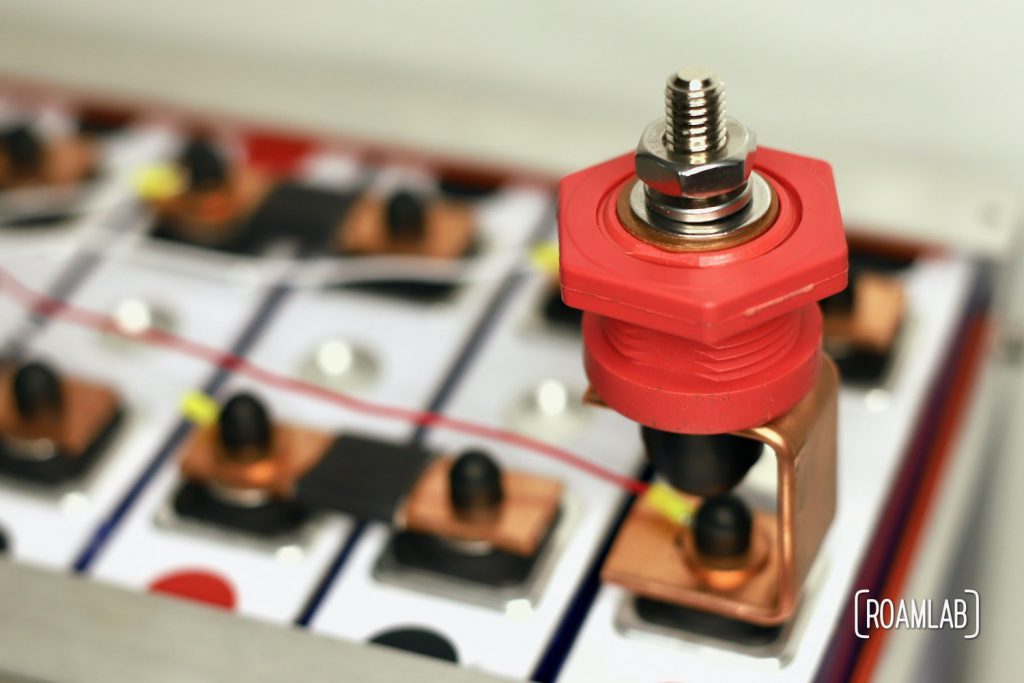
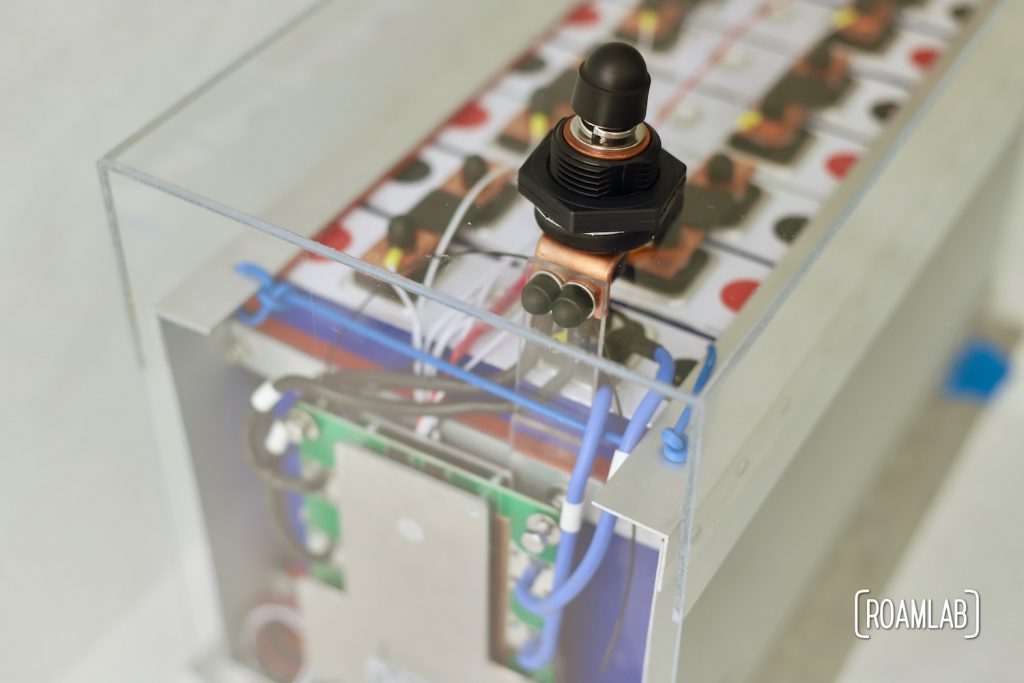
The Terminals
The terminals are the only entry and exit point for power on our battery. Like the bus bars, these terminals must be robust enough to transfer power without overheating. Surprisingly, this level of terminals gets expensive! We bought our positive and negative terminals as a set from Amazon.
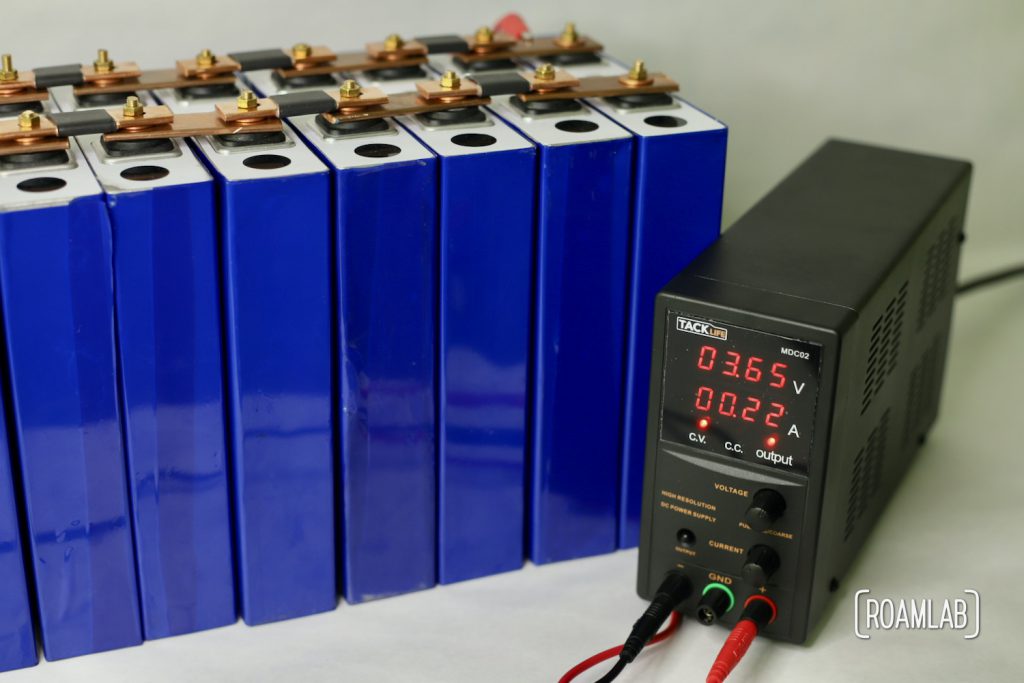
Preparing the Battery Components for Assembly
Before we are ready to assemble the battery, we must balance the battery cells and configure the BMS. These are both nuanced processes that must be addressed before assembling the battery.

Assembling The Lithium Battery
Assembling the lithium battery is relatively strait forward. To get to this point, we have done a lot of wire crimping, drilling, and other preparatory steps. But when the time comes, we are simply setting the cells in the battery box, securing them in place, and then hooking them up. Each cell is connected to its neighbor in series and wired to the BMS for monitoring. We bolt each connection securely before covering each bolt with an insulator cap to minimize the risk of creating a short. With the internal connections complete, we then hook up the positive and negative terminals for the battery. These will be the sole battery input and output. Once we have confirmed that the cell is operating properly, we can cover the assembly with our plexiglass case and hook that batteries up to our larger system.
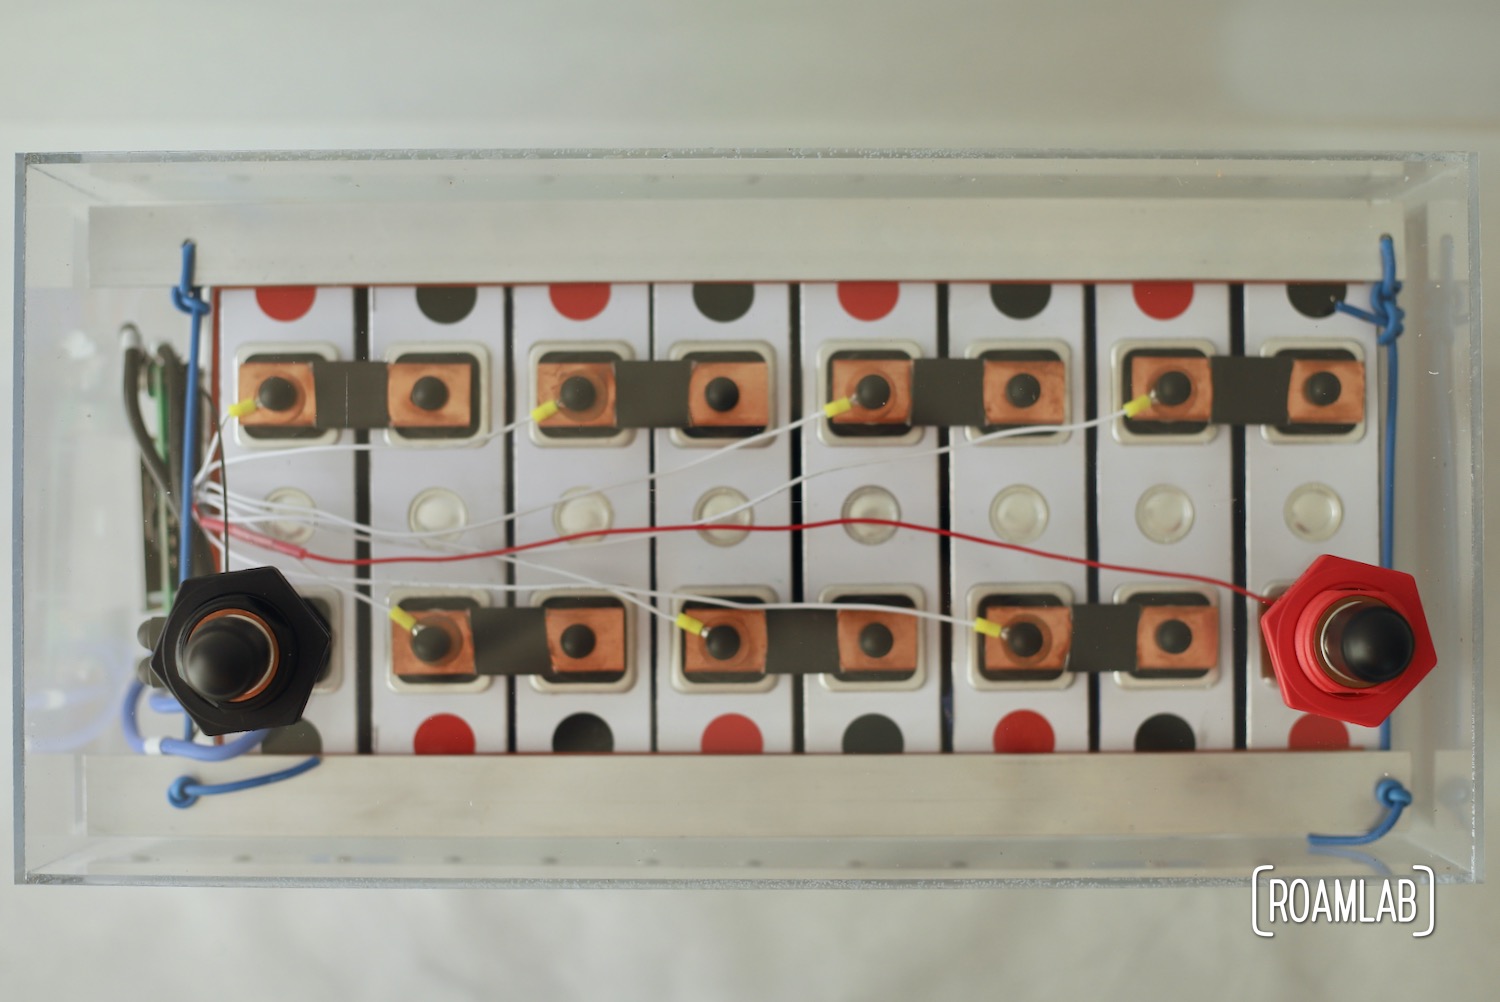
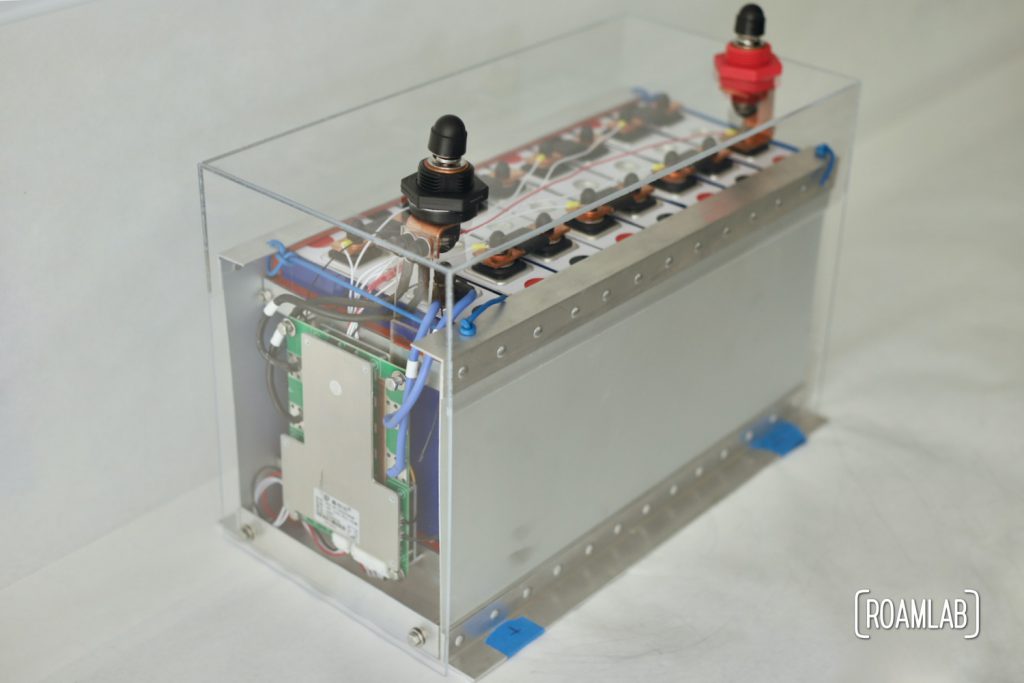
All Together
The best part about our battery case is how it exposes the inner workings of our new batteries. Here you can see the cells, BMS, bus bars, and other components hooked together and protected under the plexiglass case. Now it’s time to hook these batteries into our RV and give them a try!

1 You can read more about our thinking on that point in our articles Best Camper Battery and What To Know When Choosing A Lithium Battery For An RV
2 Learn more at Series Vs. Parallel: Connecting Cells to Build A Battery