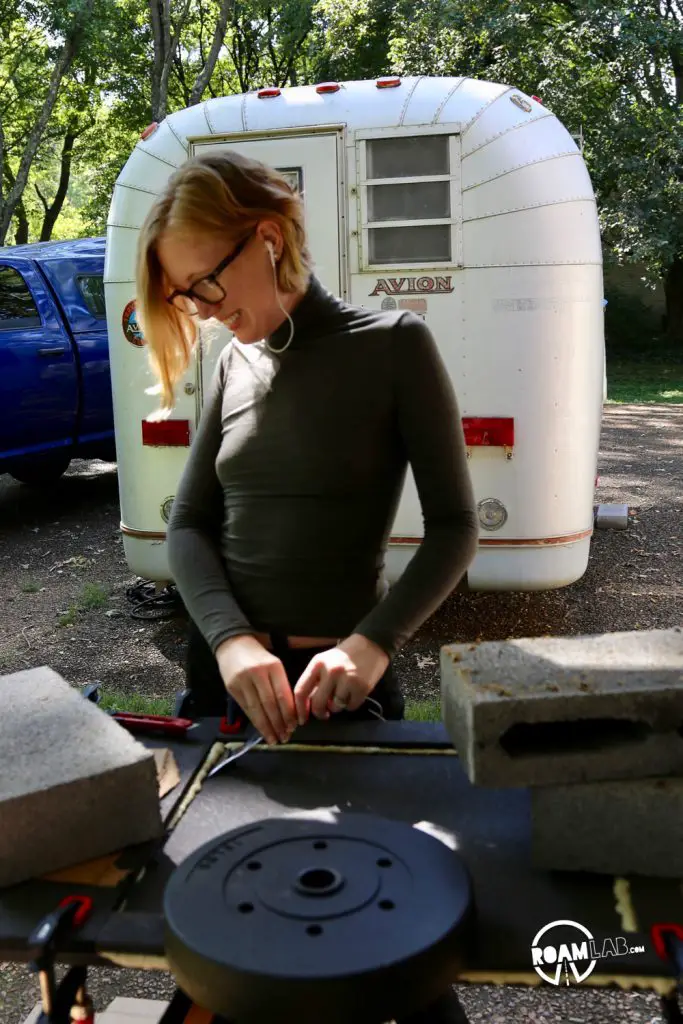
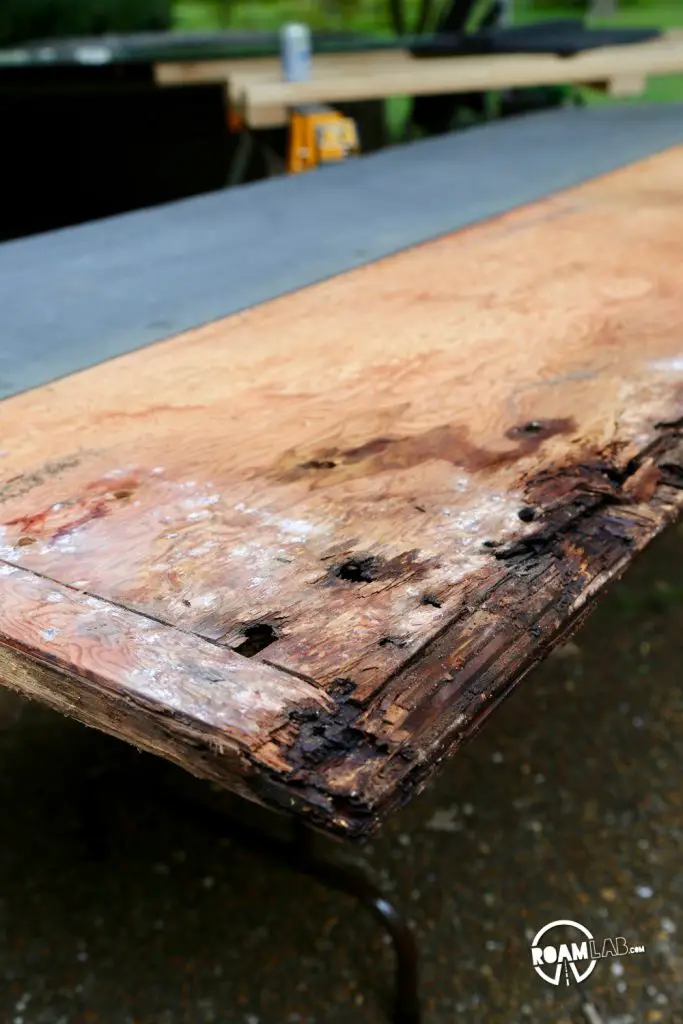
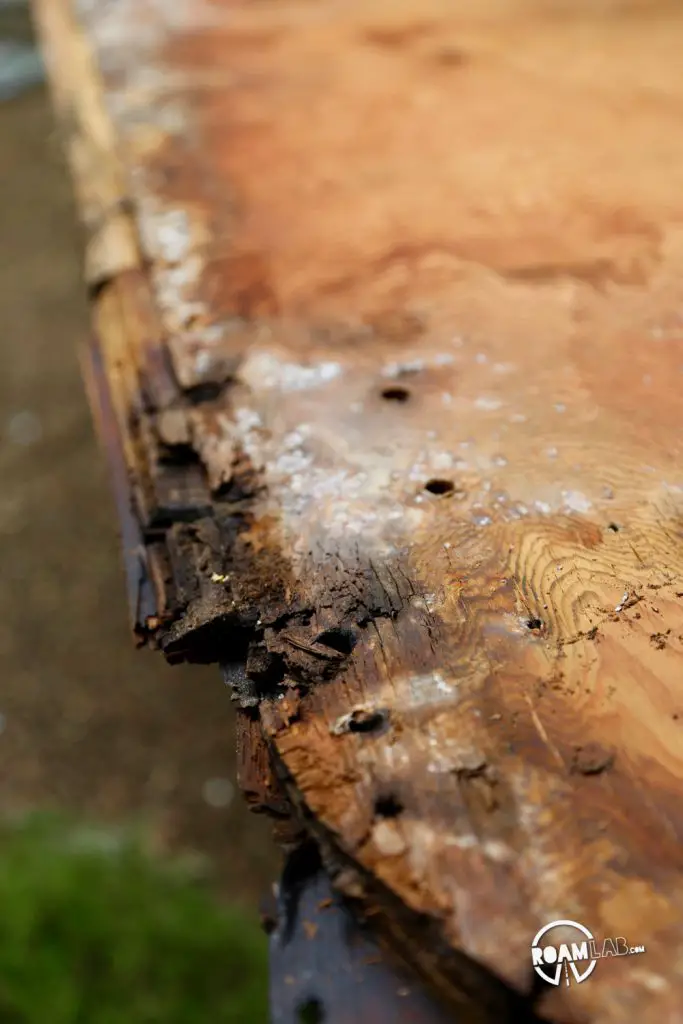
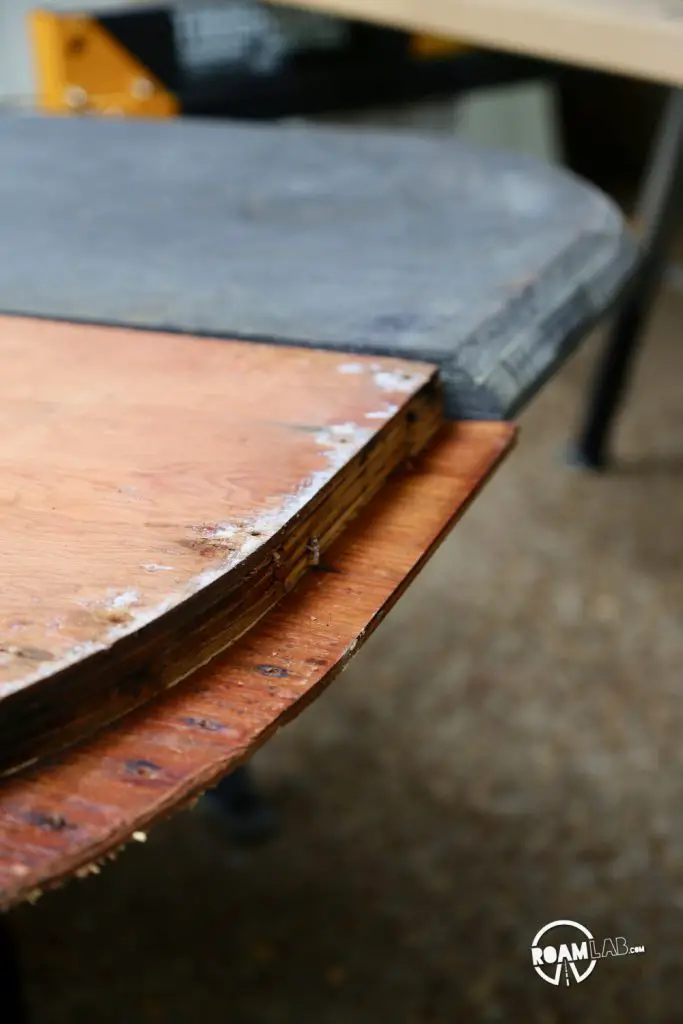
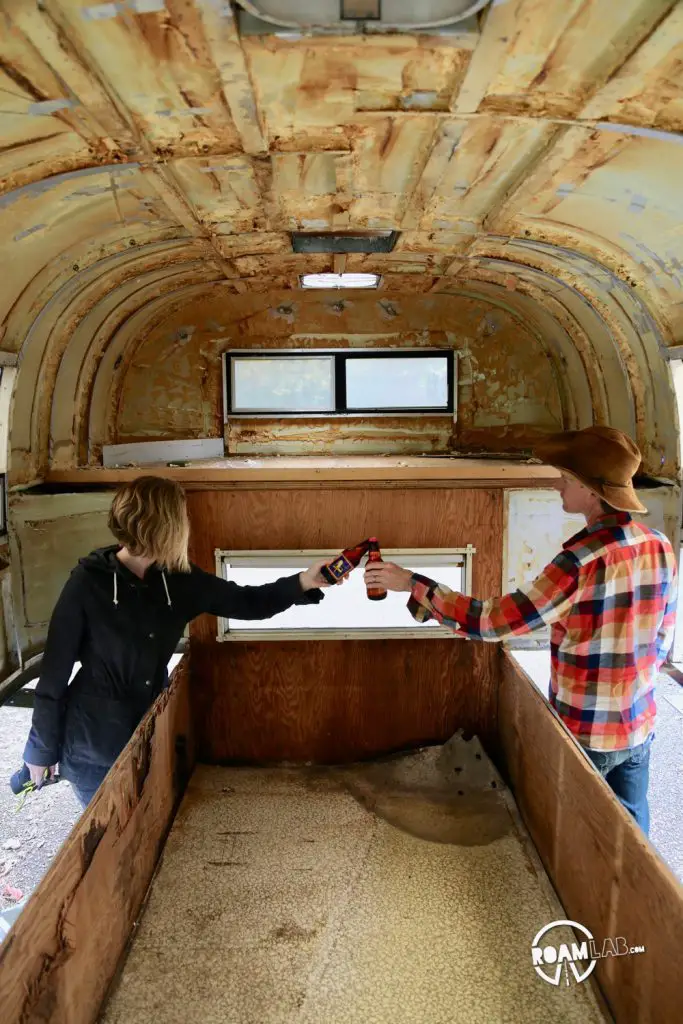
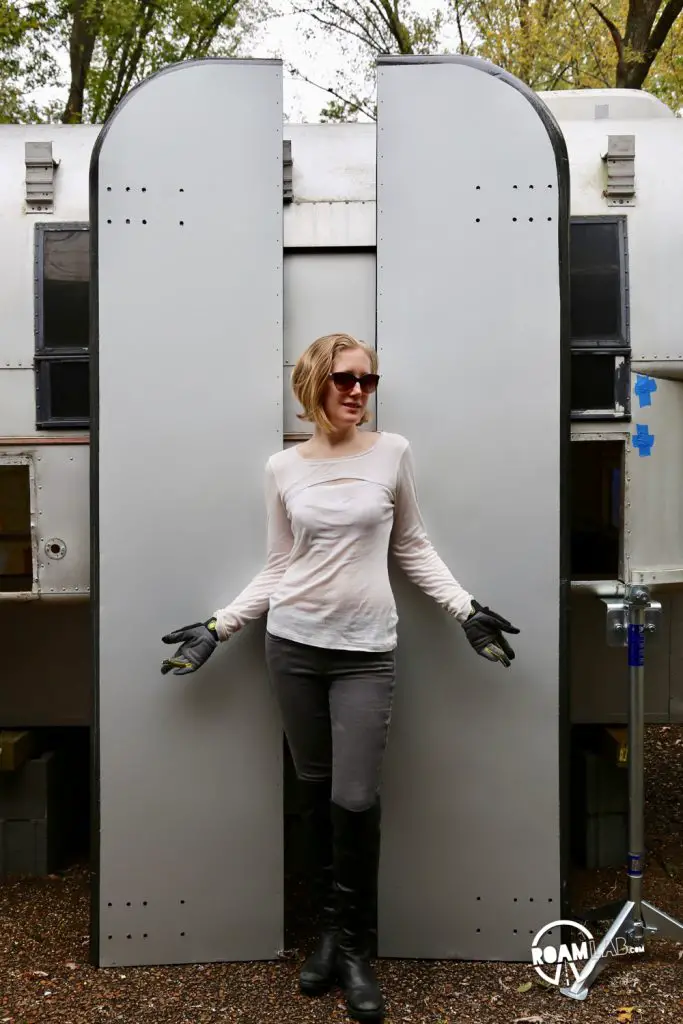
No, when I say “wings” there aren’t any feathers involved. The wings of a truck camper form the portion of the camper that fits around the walls of the truck bed. These are the points by which the truck is lifted and lowered and the anchor points for tying down the camper. They are incredibly important for the day-to-day use of a truck camper and ours were terribly rotted out. Before we can confidently raise, lower, and move the camper again, it is time to replace the wings.
Truck Camper Wing Design
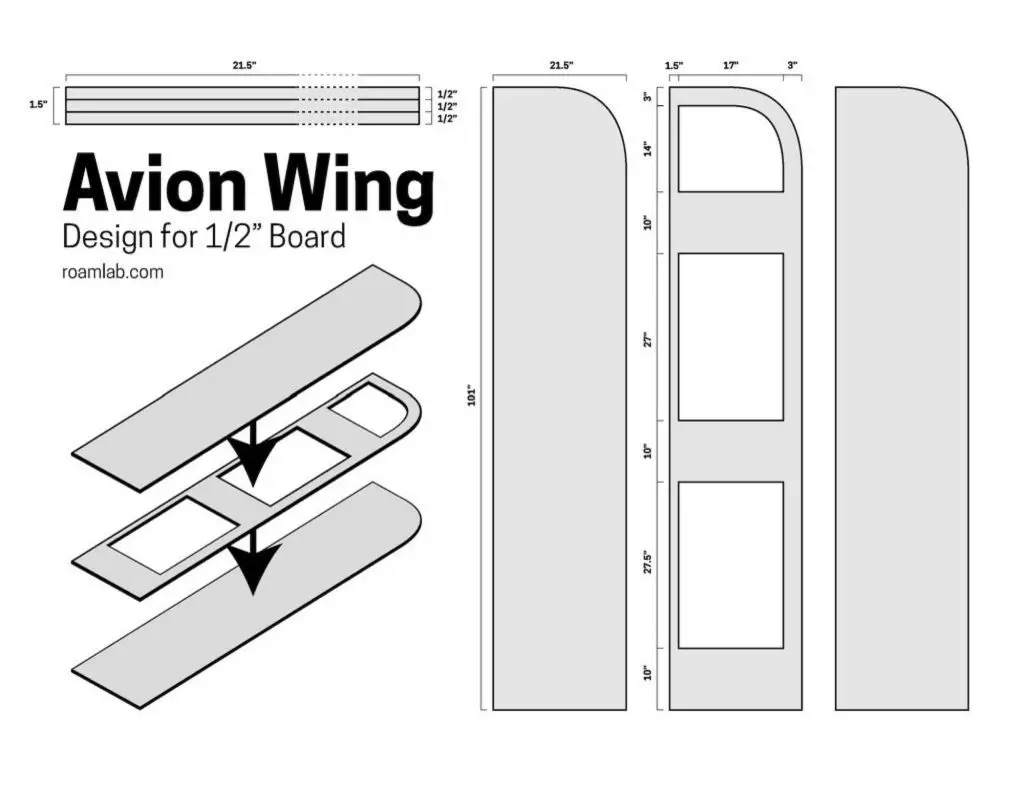
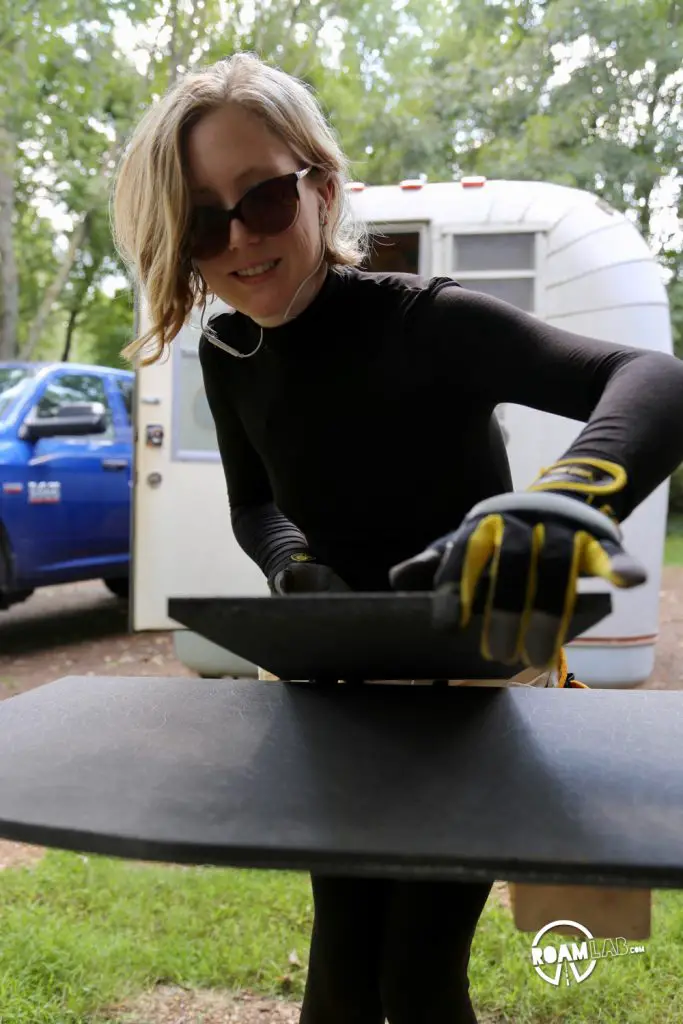
As with all the wood components in the truck camper, we are replacing the plywood wings with a fiberglas-foam composite. The end result will be similar to the design of the original wings but with a new, light, rot resistant material. In preparation, I mock up the design of these wings.
Building the Replacement Wings
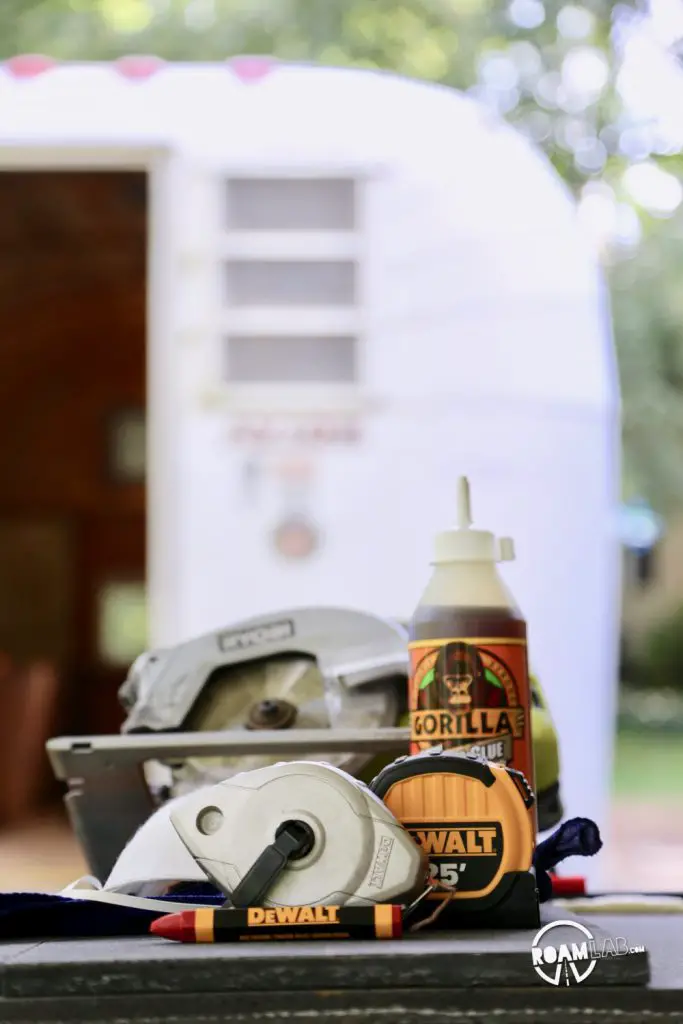
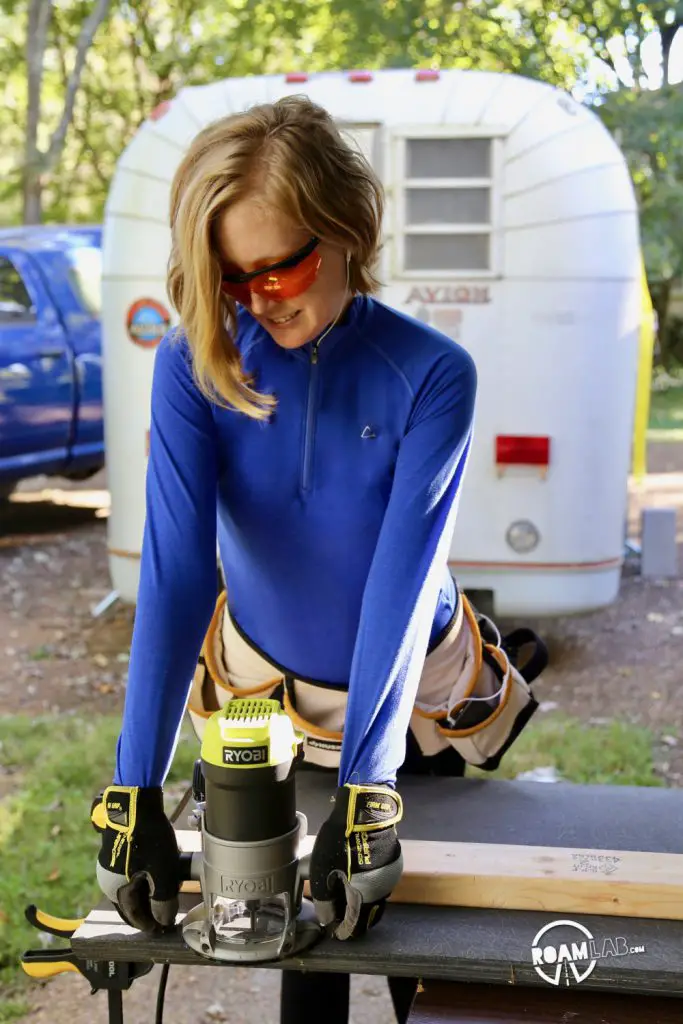
It has been quite a while since I’ve been in a shop class, but a little time in our improvised shop jogged my memory. No, we don’t have a fancy drill press or table saw, but we have the basics and a willingness to learn. The overall build process could be broken down pretty simply into cutting, gluing, and bonding. So, that’s what I’ll do here.
Cutting
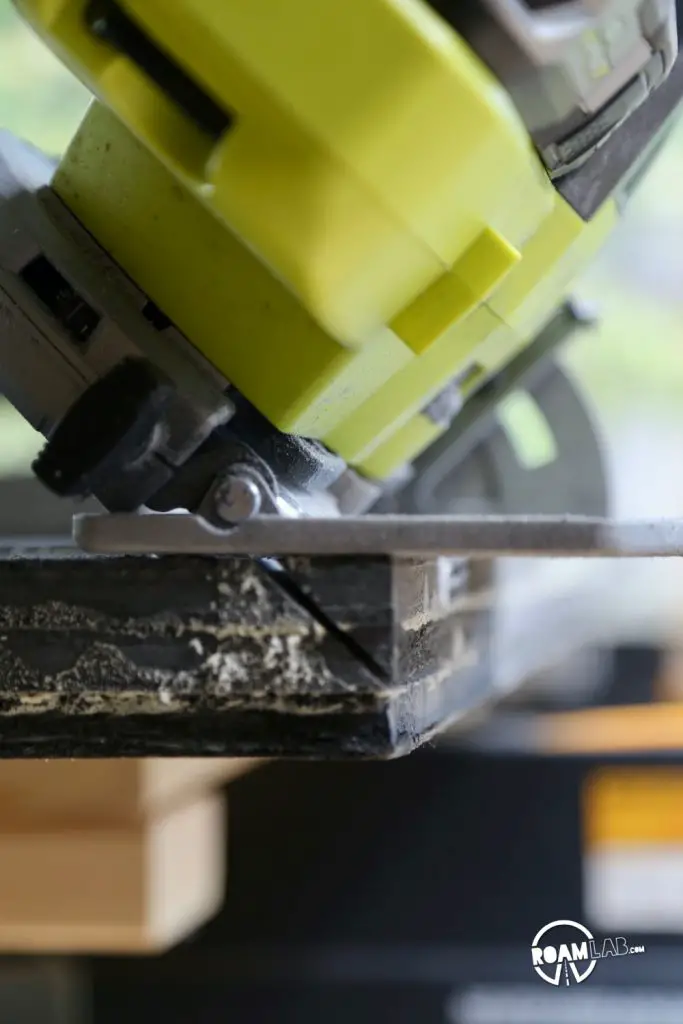
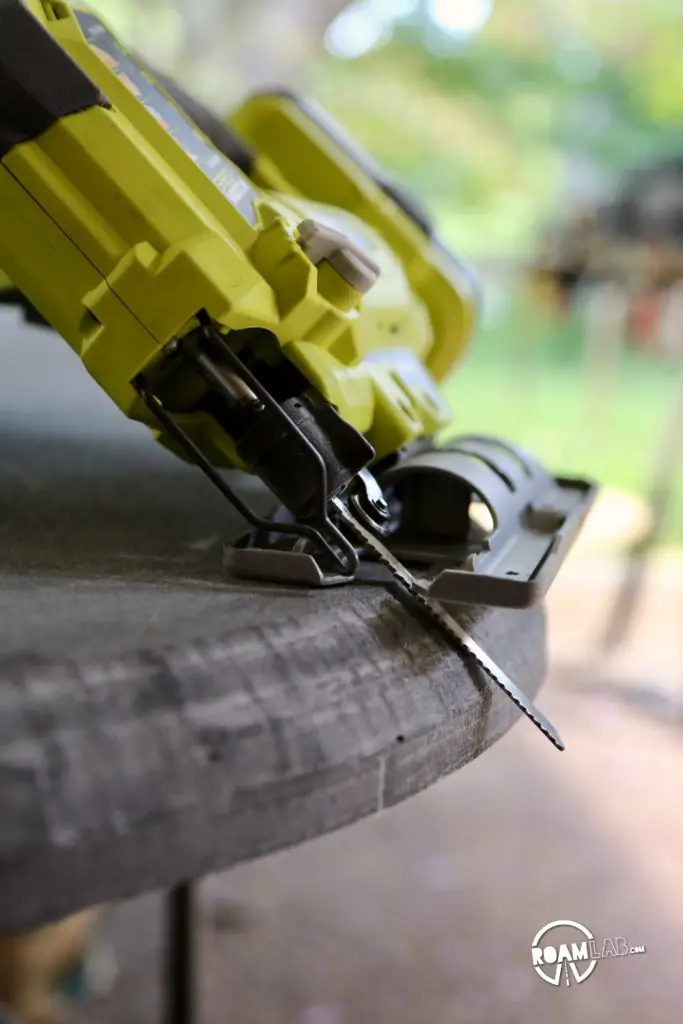
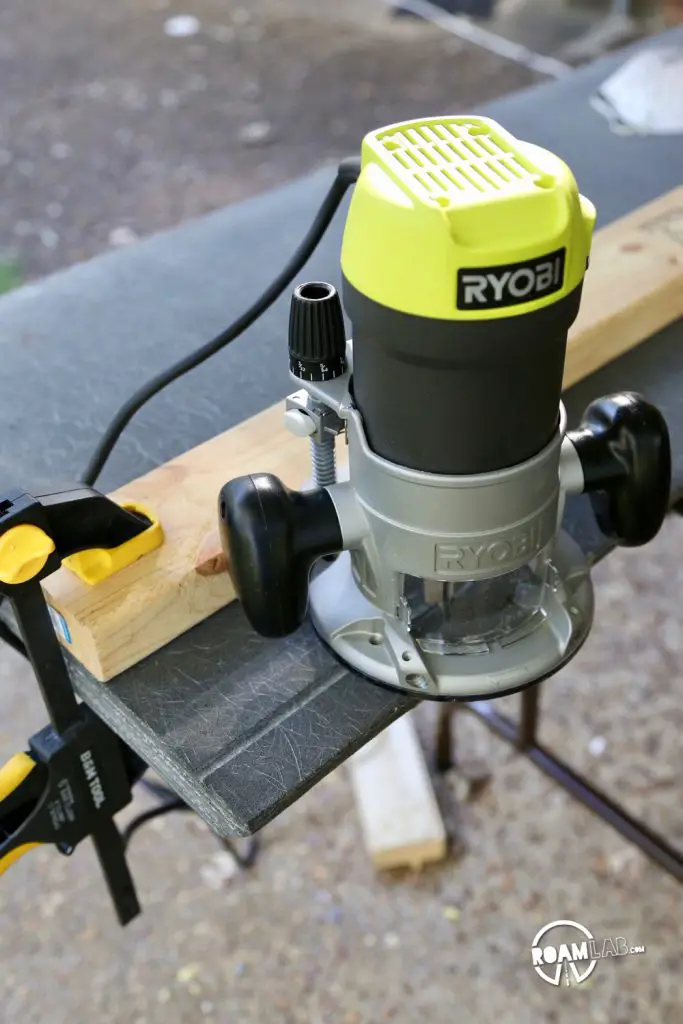
Fiberglass composite is structurally similar to plywood. As such, my circle saw and jigsaw work as well cutting through composite as it does wood. The composite even has slivers of its own. They just happen to be fiberglass rather than wood.
Fun fact: when you cut a fiberglass composite, it shoots a lot of fine fiberglass dust into the air. After several days concluding in carefully washing fiberglass dust off of my forehead and cheeks, I got a face shield in addition to the safety glasses and face mask I was already wearing.

Gluing
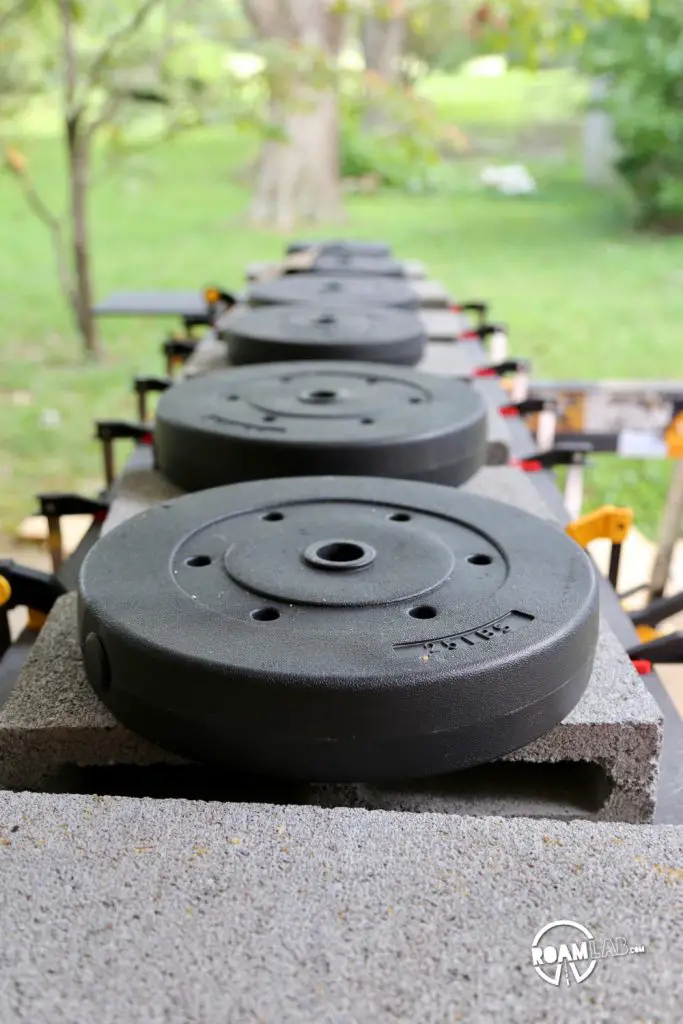
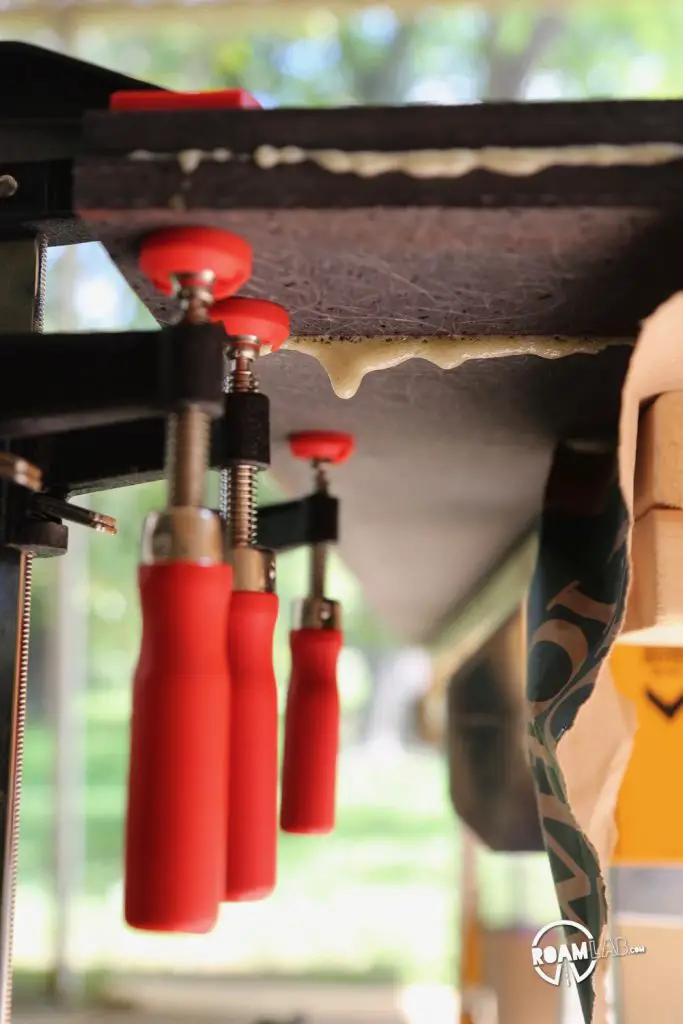
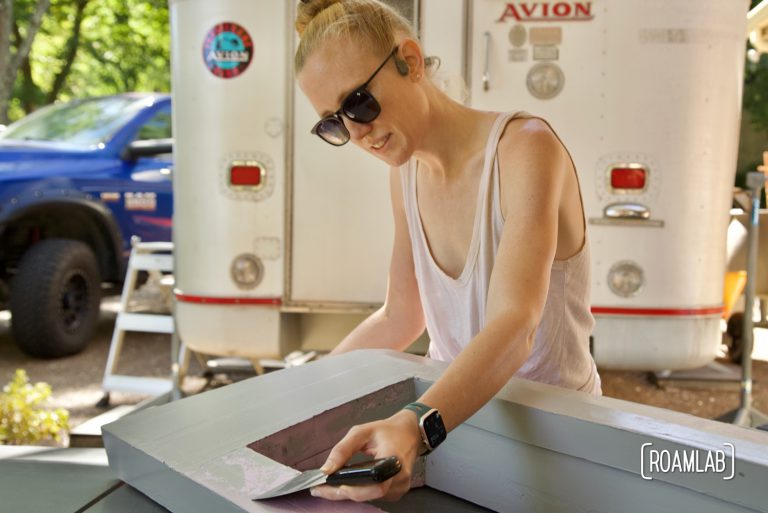
Resin tends to be the ideal bonding material for fiberglass composite. That being said, for this first phase of building, I am sandwiching insulation foam between the composite boards. Resin does not play nice with foam. So, we are using Gorilla Glue. Gorilla Glue is twice as expensive as epoxy, but the foaming action takes advantage of the porous composite board without destroying the insulation foam. In a few strength tests we run, the material itself rips before the glued bond fails. So, this is more than adequate.
The foaming action of the Gorilla Glue is ideal for bonding the composite board together, but only if the foam is penetrating deeply into the board rather than just pushing it apart. That is why it is critical to clamp together or weight the boards down so that they do not shift during the curing process.
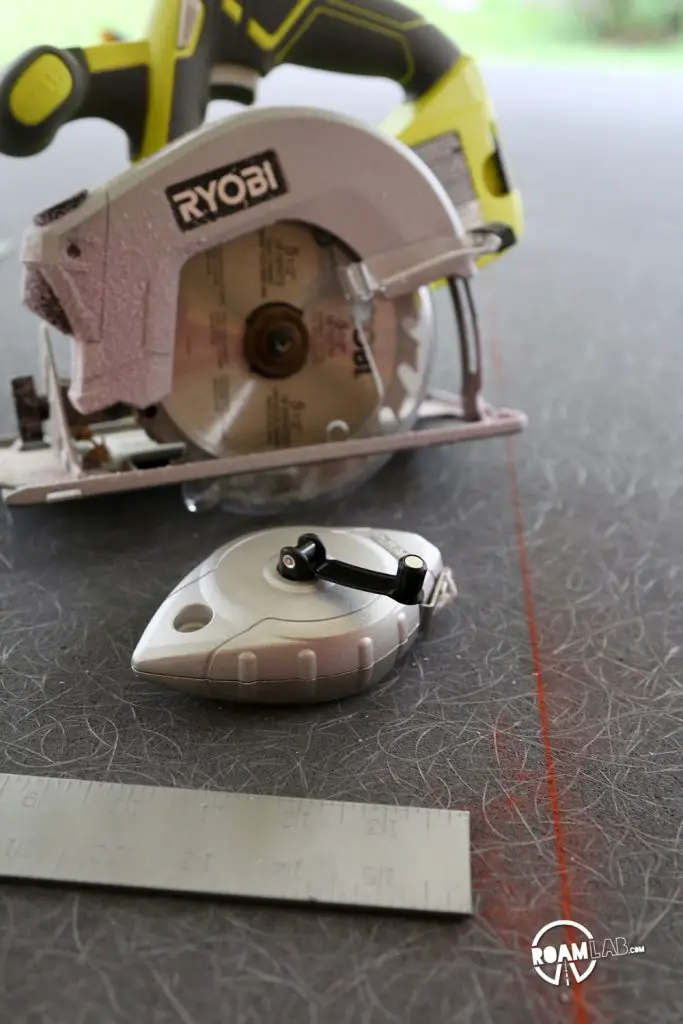
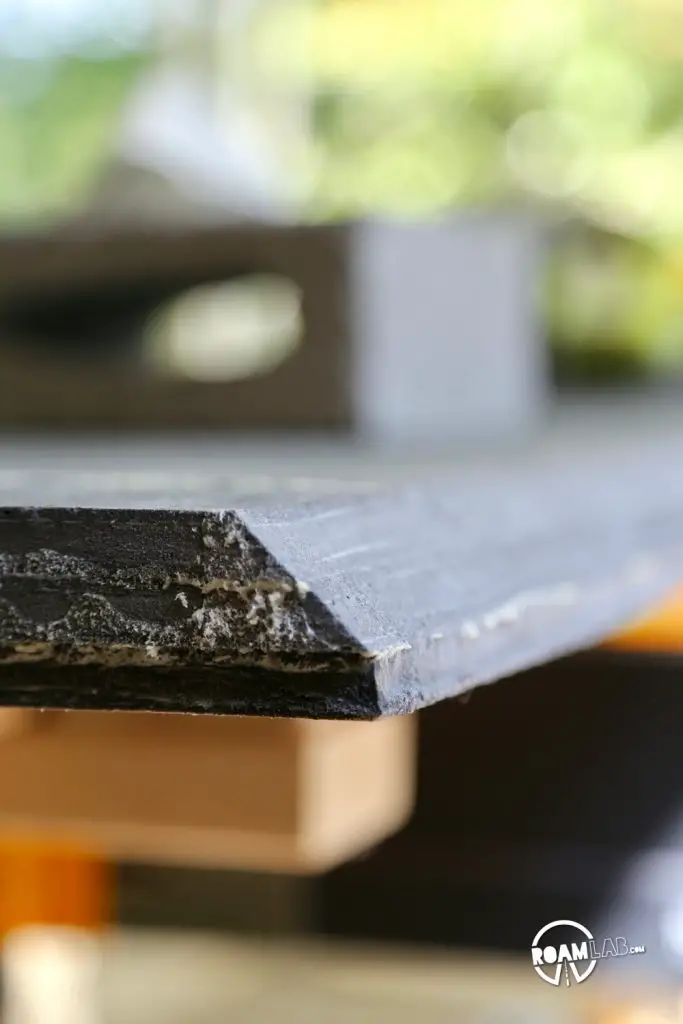
Beveling
A lot of truck campers I see have a sharp, 90° edge. The Avion, smooth as ever, connects to the wing with a “C” slot. To fit snuggly into this slot, the wing edge is beveled. So, it’s up to me to mirror this form in my replacement wing.
Bonding
These camper wings involve many separate parts:
- An aluminum outer shell to be bound to composite
- Three sides of composite to be bound along the edges to other portions of the camper
As such, we will use a two-fold bonding process: resin to chemically bond composite board to composite board (or aluminum) and screws. Lots and lots of screws.
Bonding Aluminum
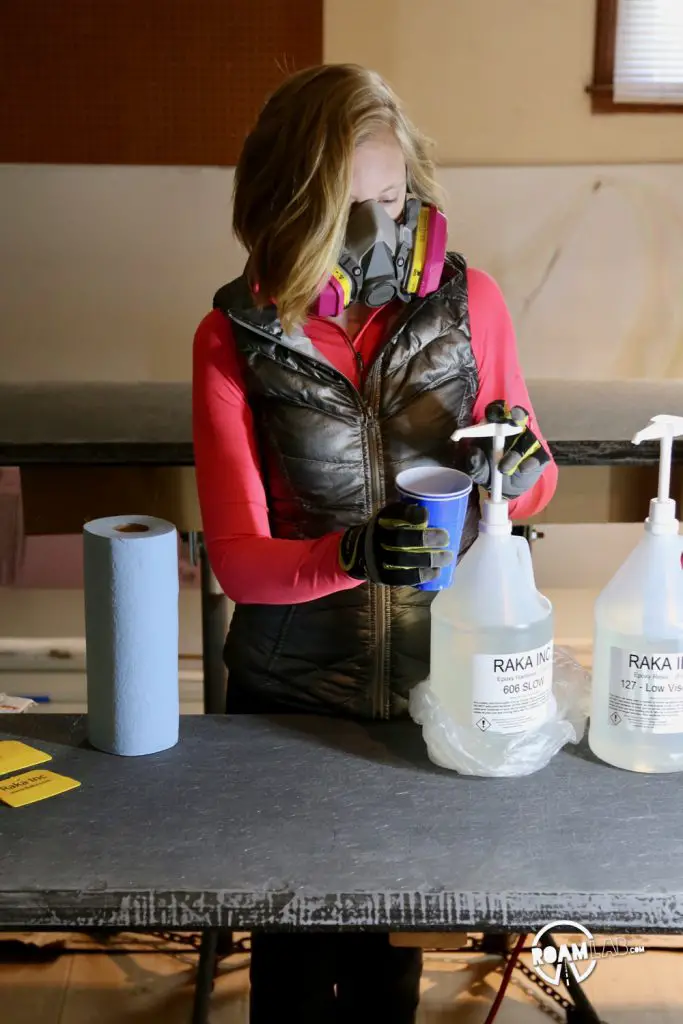
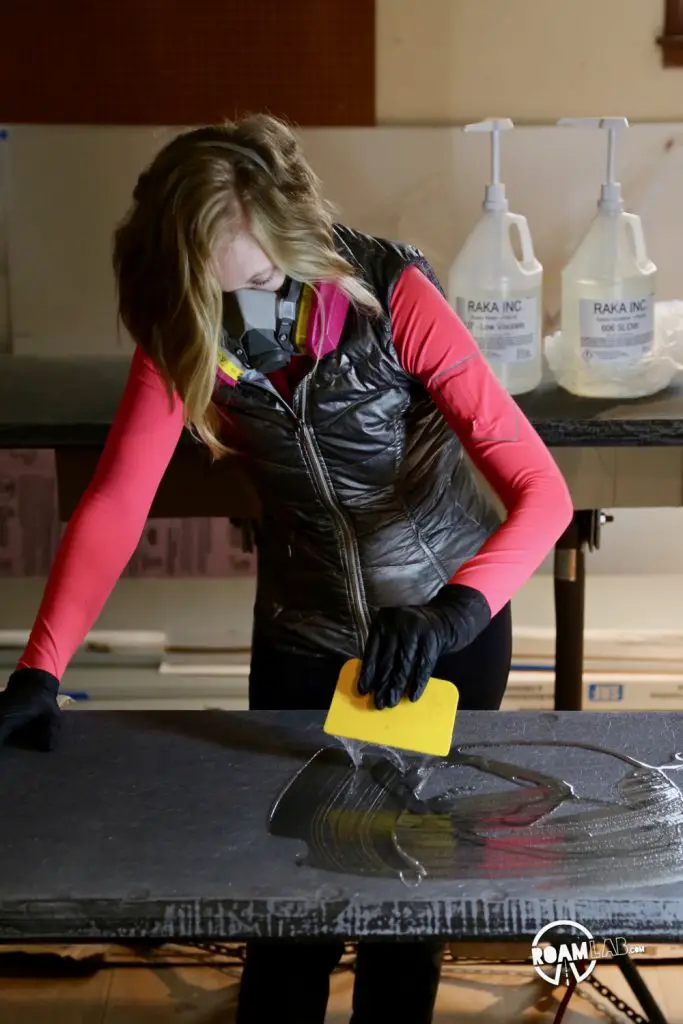
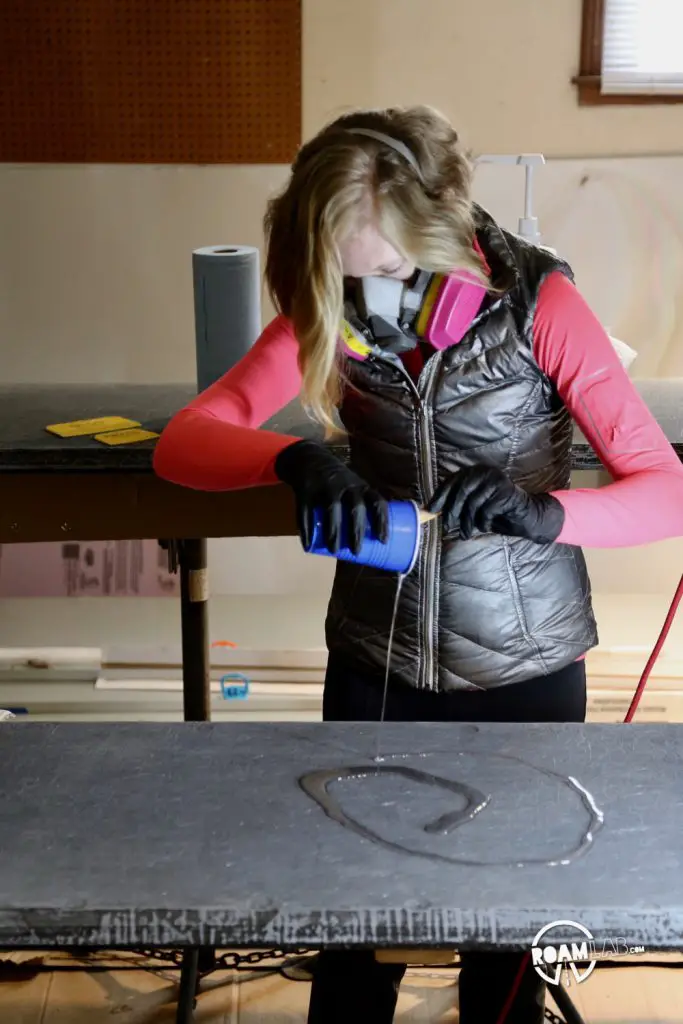
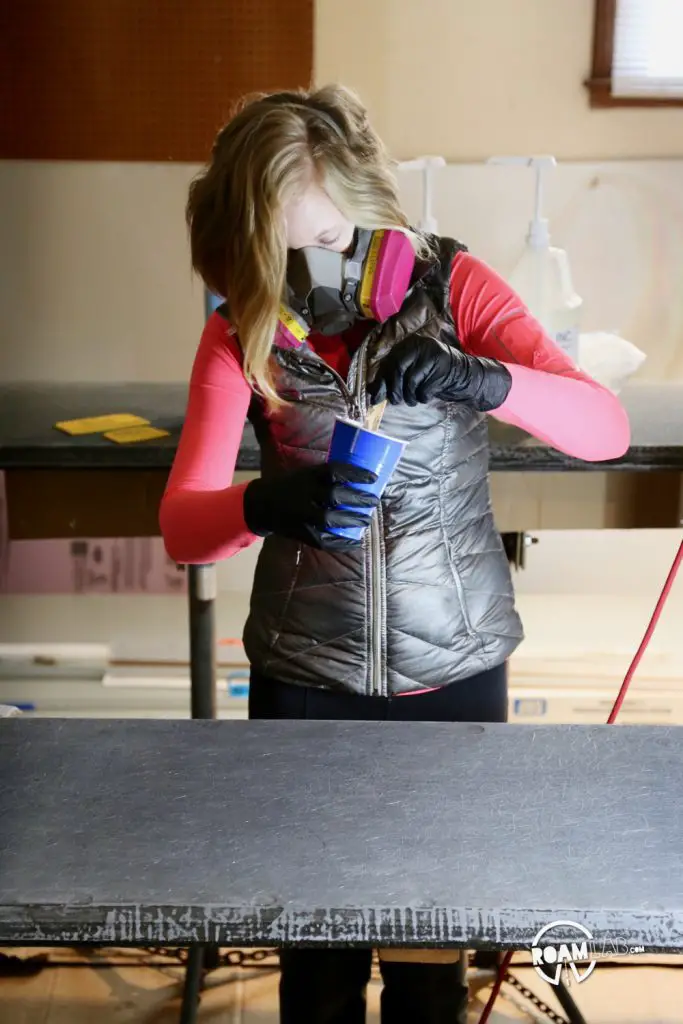
Bonding Aluminum is extra touchy because the it is critical to have a clean surface on the aluminum to bond against but the aluminum oxidizes quickly. We clean the aluminum with rubbing alcohol and prepare the composite board by roughing it up with a sander. I have cowboy clean the aluminum as I mix the resin so that we allow as little time as possible for the aluminum to oxidize.
I pour two layers of resin. The first layer is a thin primer resin, meant to penetrate deeply into the fiberglas-foam board for optimal bonding. For the second layer, I mix in silica powder, a thickening agent that also aids in bonding. This brings the resin to the consistency of peanut butter, which I spread along the aluminum, with an effort to cover every part of the aluminum that is meant to be bound to the fiberglass composite. With both sides now coated with resin, we bring them together and weight them down to make sure that as much of the aluminum and composite material is in contact as possible.
Screw It All
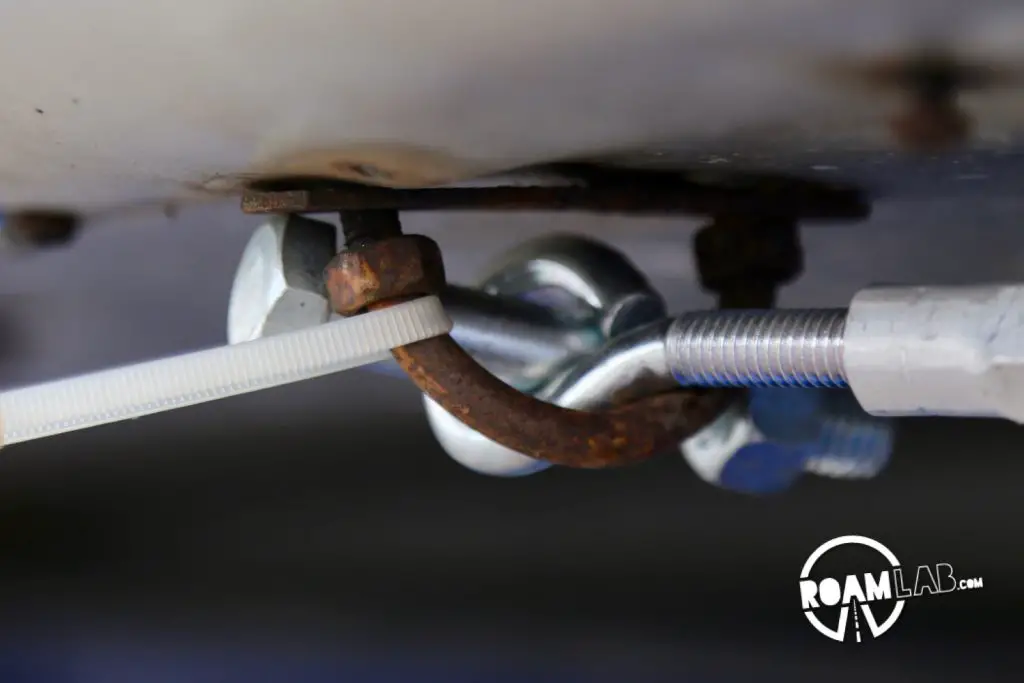
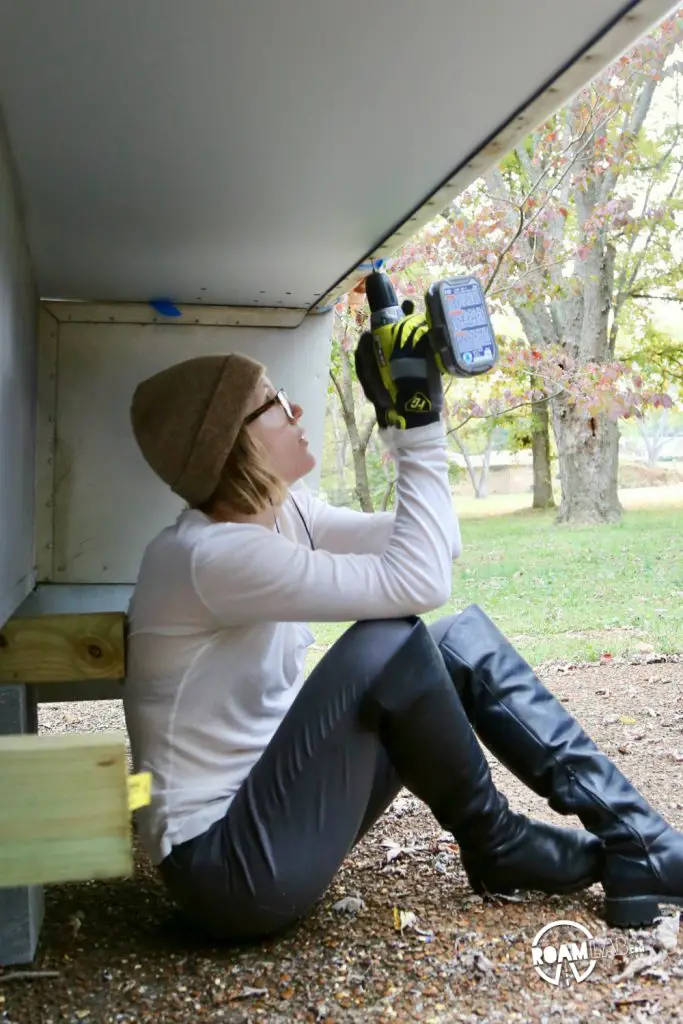
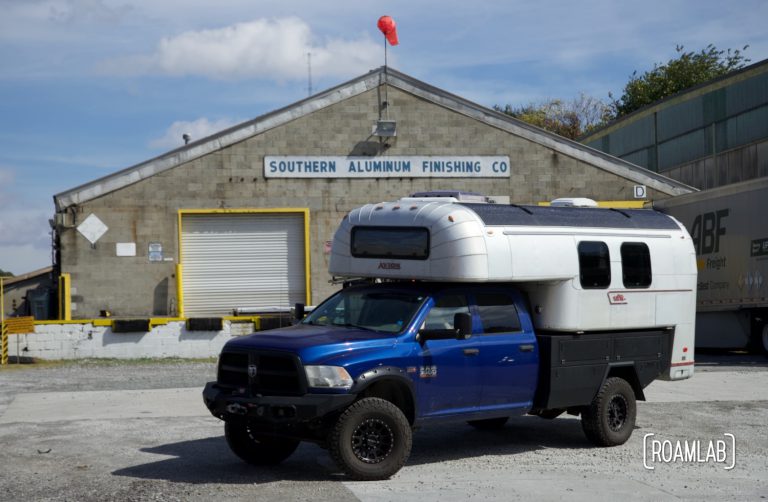
This composite material bills itself as being screwable. To be extra careful, we wanted screws with as large threads as possible. Our vendor recommended dry wall screws. A little inquiry revealed, however, that drywall screws are designed for dry environments. Otherwise, they are prone to rust. Living in a camper, leaks are a given, and we will never assume a place is dry. Instead I hunted down Type 316 marine grade stainless steal deck screws. The few, the proud, the Type 316 marine screws are designed to withstand corrosive environments. We wanted the best of the best and we got them. Now, it is time to install these wings.

Installing the Replacement Wings
Each step in this renovation new and nerve-wracking. But this is the first point at which we remove and replace structural portions of the camper. We only have a vague idea of how critical each portion is to the overall structural integrity of the Avion. Apparently, though, the greatest challenge in removing these wings is just taking them out. We resort to cutting the rotten wings out in chunks.
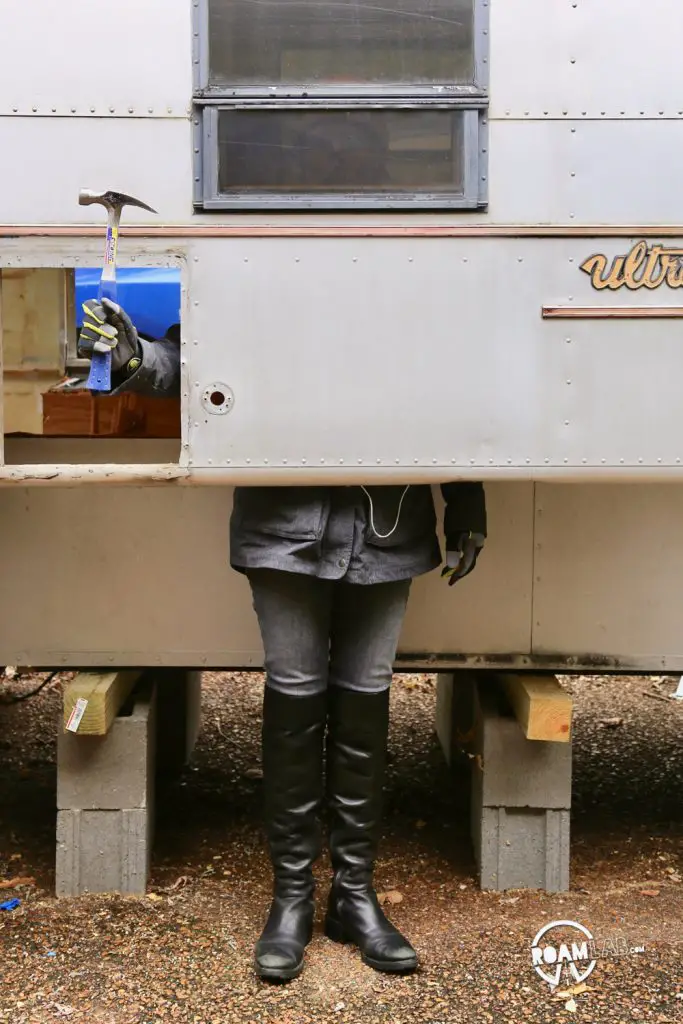
After many adjustments to ensure fit for the new wings, we shove them in place, resorting to a mallet and crowbar for “fine tuning.” Once in place, it is time to screw the wing in from every point we can!
A Note On Safety
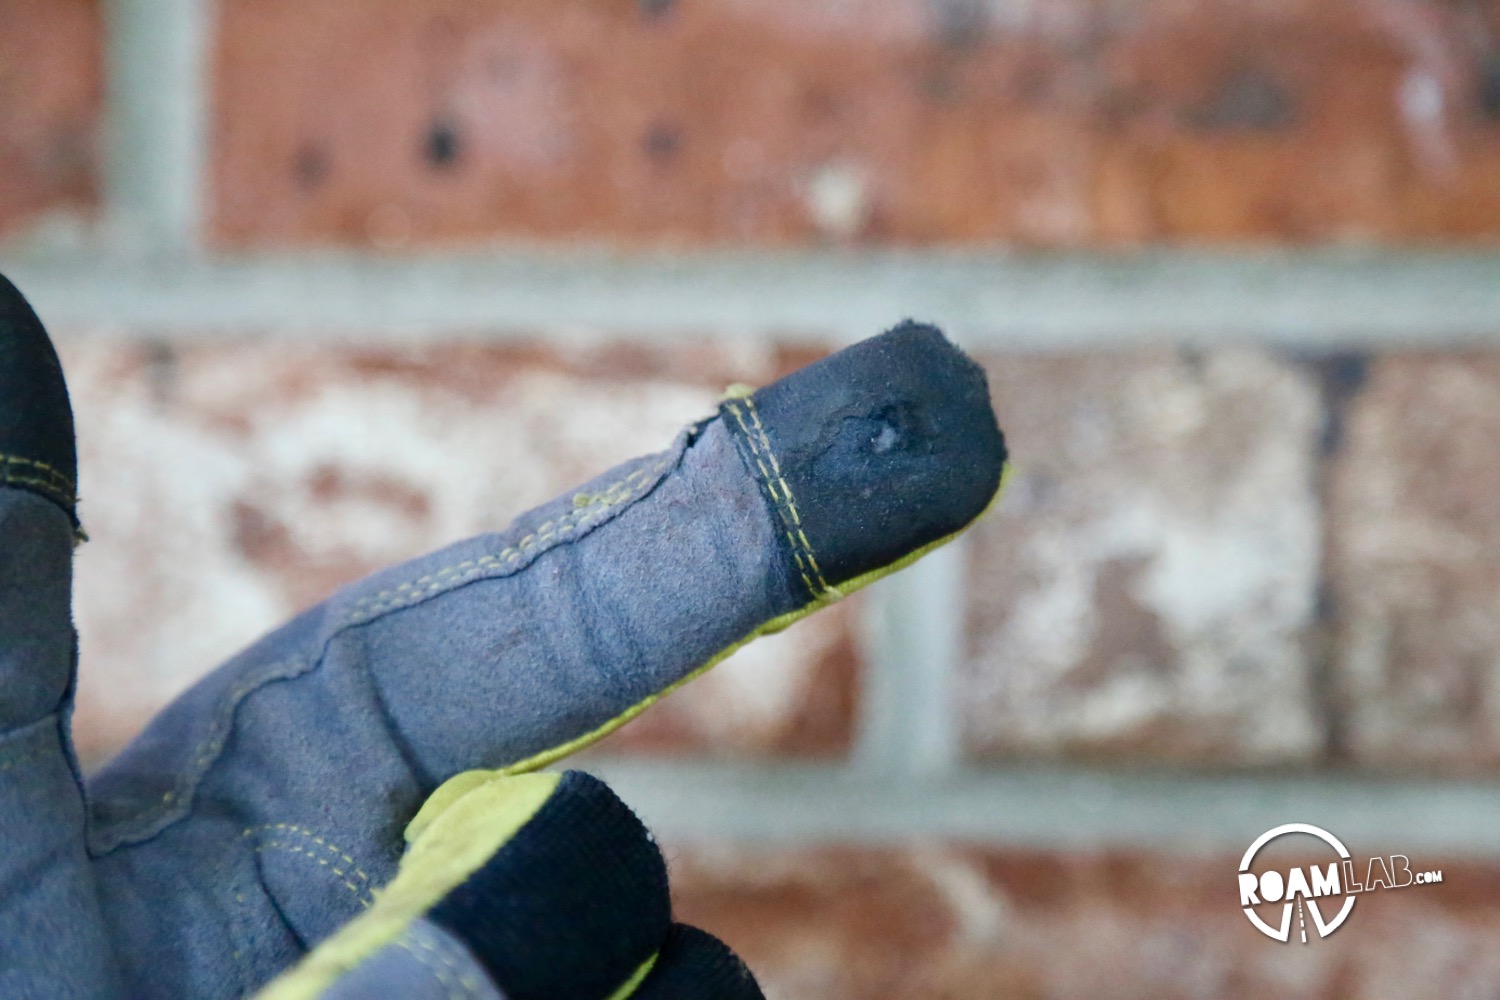
As with any building project, I’m going to do something stupid. Today, I almost cut off the tip of my finger. So, remember kids: when working with power tools, always be aware of our surroundings and where everything is—particularly where your fingers are relative to a blade.


[…] thick with 1/4″ plywood sandwiching 1″ of insulation in a design quite similar the the truck camper wings which we have already […]
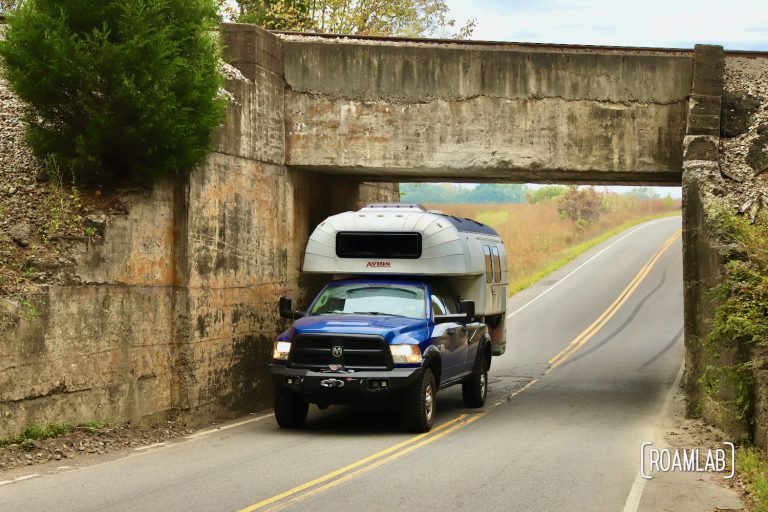
[…] since we last drove with the Avion on Dodgy II. That time, we had no confidence in the tie downs (rightly so!) and took the drive from Florida to Tennessee at 45 miles per hour. Now, we have new wings floor, […]
[…] pieces I begin building out the replacement bed. My approach and materials mirrors my work on the wings and the camper floor. Sandwiching the fiberglass and foam takes three and a half days of measuring […]
Thanks for posting such great info about your project! Can you share details of the specific Fiberglas-Foam composition board you have been using for your wing bases and floor? How does it’s cost and weight compare to marine plywood and where can you get it?
Hi Don!
There are a lot of different manufacturers of this type of fiberglas-foam composite but we went with Coosa. It is definitely more expensive than marine plywood but it is much lighter and more rot resistant. The end result could be even lighter than what we did but we deviated from the original design by using half-inch boards rather than quarter inch boards so it was 2/3rds of the weight of the original pieces. (We did use quarter inch boards when making the cabover bed because that was less structural and weight mattered more in that case.)
Unfortunately, the manufacturer doesn’t sell directly. So, you’ll have to find a vendor in your area. We worked with Advanced Plastics but I figure it probably varies by your location.
Hi!
I am really excited to see the improvements you have made to your Avion. I have a 1967 c-10 and am considering many of the mods that you have done, especially the extension of the cab over! Because you have had the camper stripped down, I have questions!
When you extended the cab over, I just need to clarify that there is no welding. You riveted the structural extensions into place?
My truck is a flatbed and I would like to get rid of the wings and just square those sides out. I do believe that I would need to weld the structural pieces in for the frame and floor. I could not get a good view of the wall connections to your camper’s wings. Do you think it would work?
Sorry one last opinion question. I would like to reuse the woodwork, (most of it I want to change stuff!) Do you have any tips on removing it without damaging it?
Thanks for taking the time to read this, there is so little content regarding Avions that your site is a goldmine! The use of the hard foam as both a structural component and great insulation is fabulous!
I appreciate any advice you can give,
Josh
Hi Josh!
Welcome to the Avion family. You have a fun project ahead of you. We didn’t do any welding for this project. We did reinforce the interior ribs with extruded aluminum to help redistribute the weight. Along with that, we replaced the old wood bulwark with a thicker composite. I think this is a spot that a lot of people overlook. It’s one of the few vertical sections made of wood like the floor rather than aluminum.
The rounded edge that transitions the walls to the wings is some heavy duty extruded aluminum with a C-channel that the wing slides into. If you are removing it, you’ll definitely want a strong frame to replace it. I’ve seen others convert their Avion slide-ins into flat beds but I can’t really speak to the specifics.
As for the woodwork, I assume you are talking about the cabinetry. If you want to preserve it, I think the key just comes down to patience and an extensive set of screw heads. Having the “bowtie” attachment was a game changer when trying to remove corroded screws.
Goodluck!
Lexi
Lexi,
Hello! I will start planning and preparing. I agree that the composite is the best bet, I have an ETA of January for my departure and I would like for the weather to cooperate a little more, (I am in Ohio). I will search for other Avion flatbed conversions, glad you have seen some. I will hit you up with updates , (and more questions) as I go!
Thanks again,
Have a great night,
Josh
Good Luck!
I look forward to seeing how your build progresses.
Hi Lexi
I noticed none of these campers are polished on the exterior. Is there a reason. I would think a polish and good wax would be a good idea. Any thoughts?
Thank you and. Great article!
Jim
Hi Jim,
The reason Avion campers are not shiny like Airstreams is that they are constructed of anodized aluminum. You may have noticed this look on a lot of Apple watches and iPhones. The anodization process makes the aluminum much more strong and scratch-resistant while imparting a satin effect to the surface. It’s a profoundly practical material to use on a camper that will inevitably have close brushes with tree limbs and other pointy objects.
At the time these campers were designed, Avion took great pride in the high-quality materials they used in building these rigs. Anodized aluminum is more expensive than what you’ll encounter on most aluminum campers.
To make an Avion high gloss, you would have to remove the anodization and miss out on its benefits. It’s doable but pretty much irreversible. Once the anodization is removed, you can’t just spray it back on. You would have to replace the altered aluminum with new anodized sheets. So we are happy with our durable design just the way it is.