We have reached the final step in our series on installing a Warn Zeon Winch. One might think that this step of spooling the synthetic rope onto the winch is a simple matter of powering on the winch and toggling the remote to spool in. But this first spooling is a critical one and executing it properly can make a significant difference in the rope’s reliability and longevity.
Our Work Thus Far
This is the conclusion in a series of posts. To get here, we have removed the factory grill and front bumper, installed a new Warn Ascent front bumper, mounted the Warn Zeon Winch, and installed our rope. So, those may be valuable reference for you. Of course, if all you are interested in is spooling synthetic rope, then read on!
Spooling Synthetic Rope
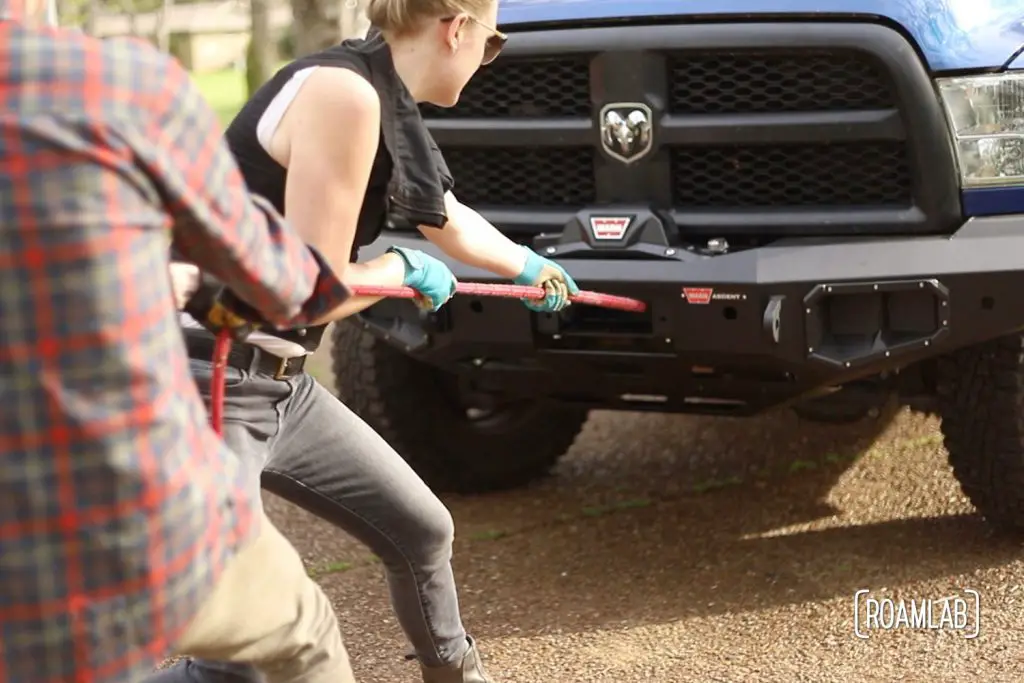
There are a lot of nuances to working with a winch. The synthetic rope comes in a loose state but must be carefully wound under some moderate resistance to have everything evenly set for future years of safe use. So, this first time winding the rope is effectively setting the template for this rope. The process is a little more round about and error prone than for future spooling. Don’t be afraid to pause, unwind, and start again if everything isn’t lining up quite right. This was my first time so I restarted a couple times.
A Time For Teamwork
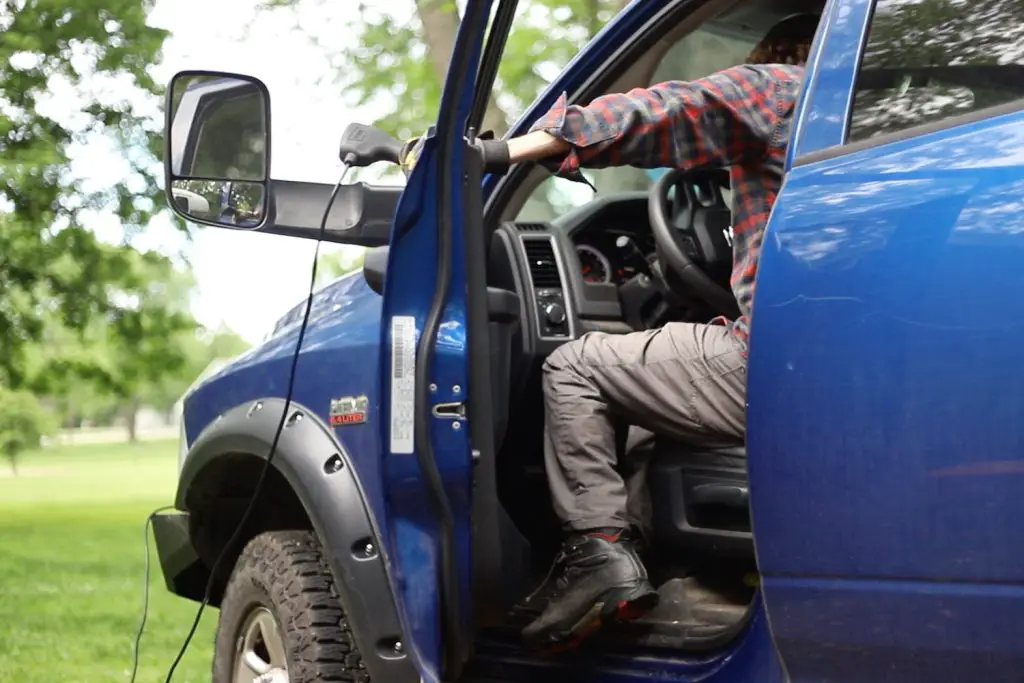
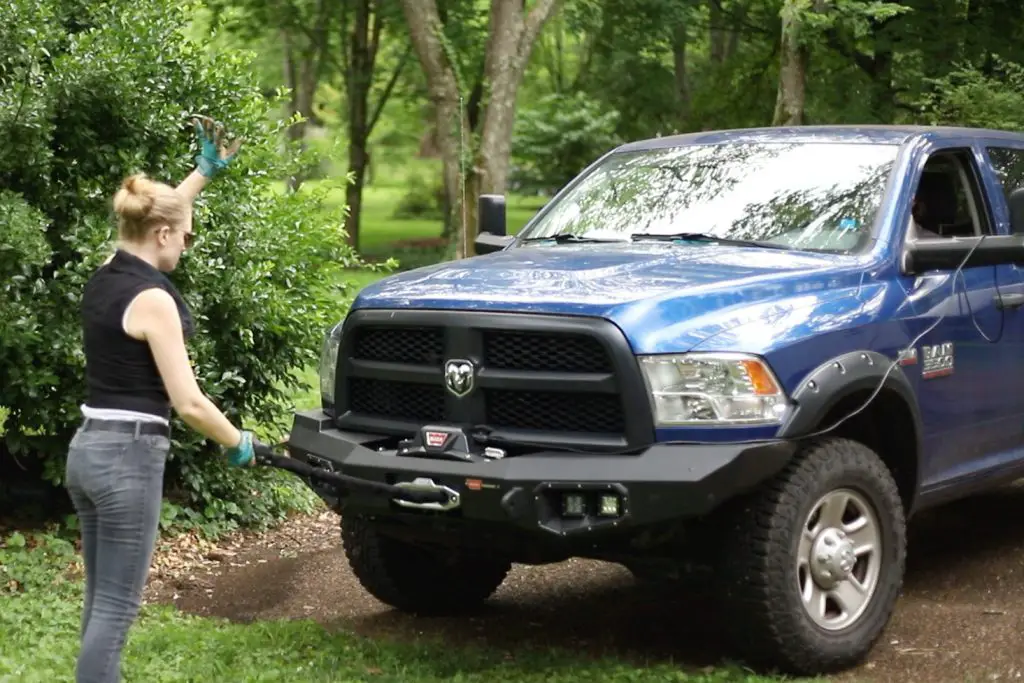
Ideally, this is a two person task. The process involves a lot of starting the truck, shifting the gears, stopping the truck, and micro-adjustments on the winch. So, it’s much easier to have one person act as the driver and the other act as an assistant outside to observe and adjust the winch. The driver will remain in the driver’s seat, controlling the vehicle and winch while the assistant monitors progress and adjusts the rope alignment as needed. It’s important to regularly pause while winching in the rope to make sure that the rope is coiling evenly and tightly onto the drum. If the rope is sinking into the lower layer of rope, it means it was not coiled tightly enough. You will need to unspool the rope and repeat the relevant steps.
Getting Started
Step 1: Position vehicle on a smooth, level surface long enough to stretch out the rope.
Right from the beginning, we had a few hiccups around this. We don’t have a section of pavement long enough to stretch the synthetic rope, so we chose a relatively flat section of the yard. While it is generally flat, it does have a few gopher holes that contributed to inconsistent amounts of tension as we spooled the rope. In future, I’d try to find an unused parking lot or other stretch of flat pavement instead.
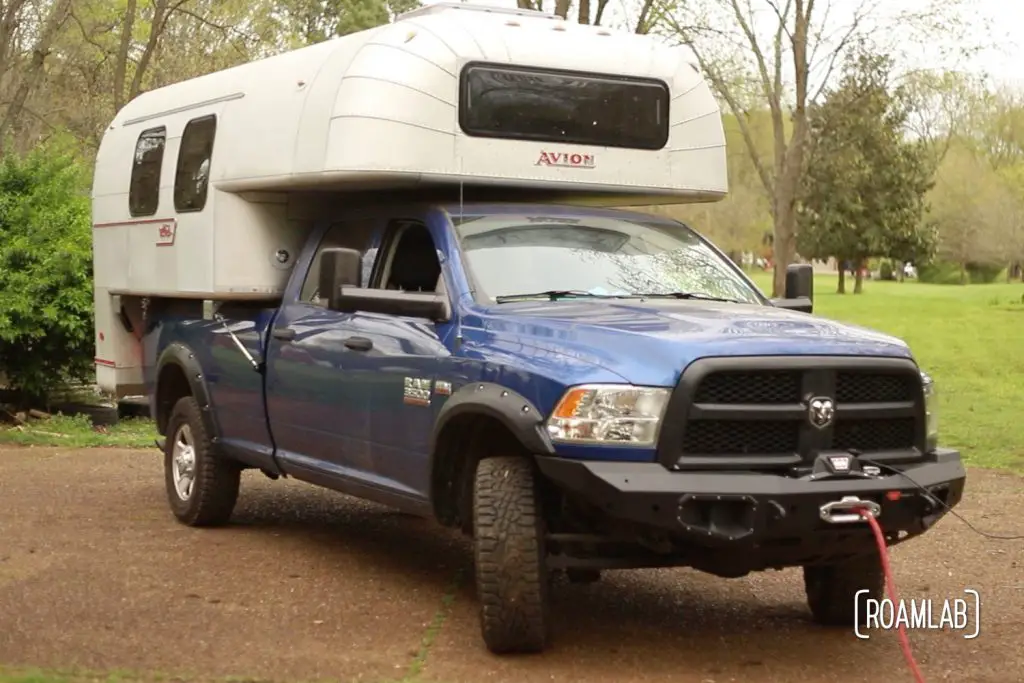
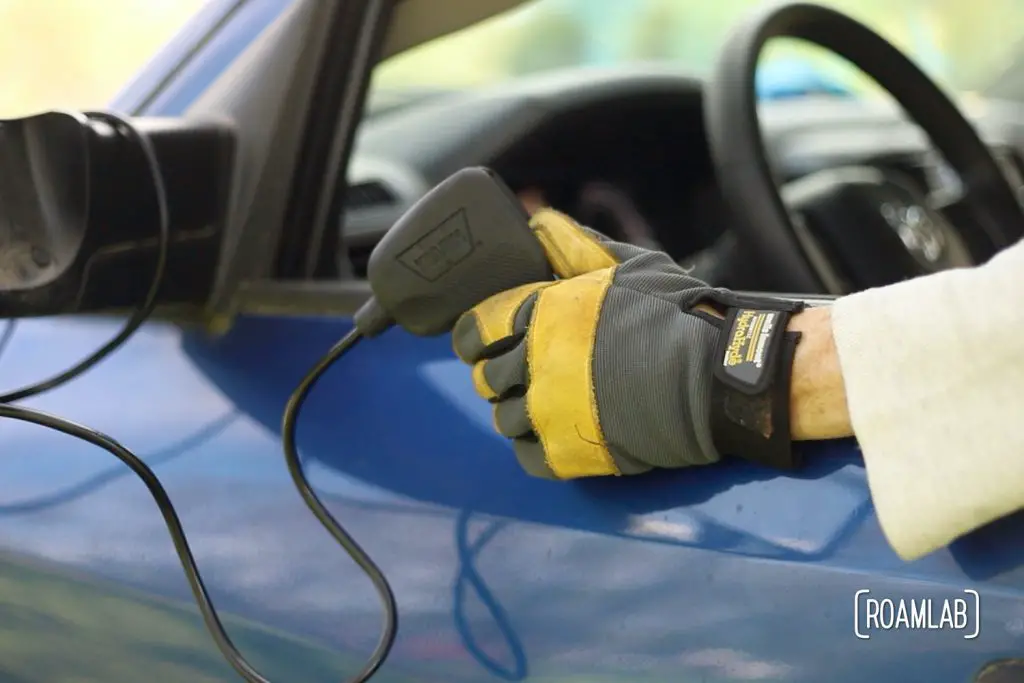
Step 2: Attach winch remote.
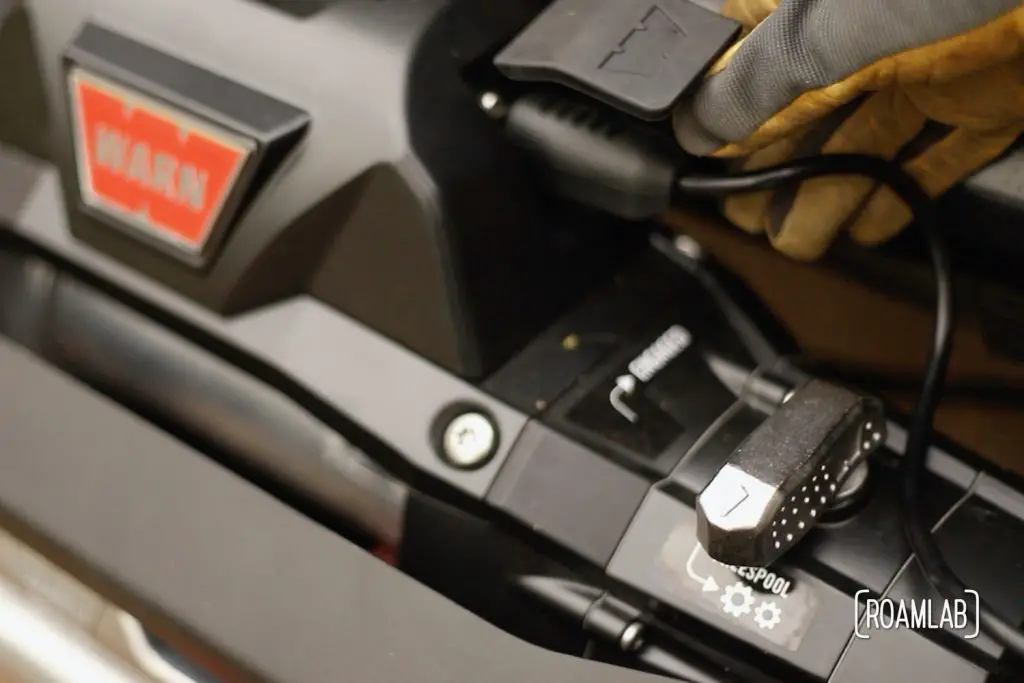
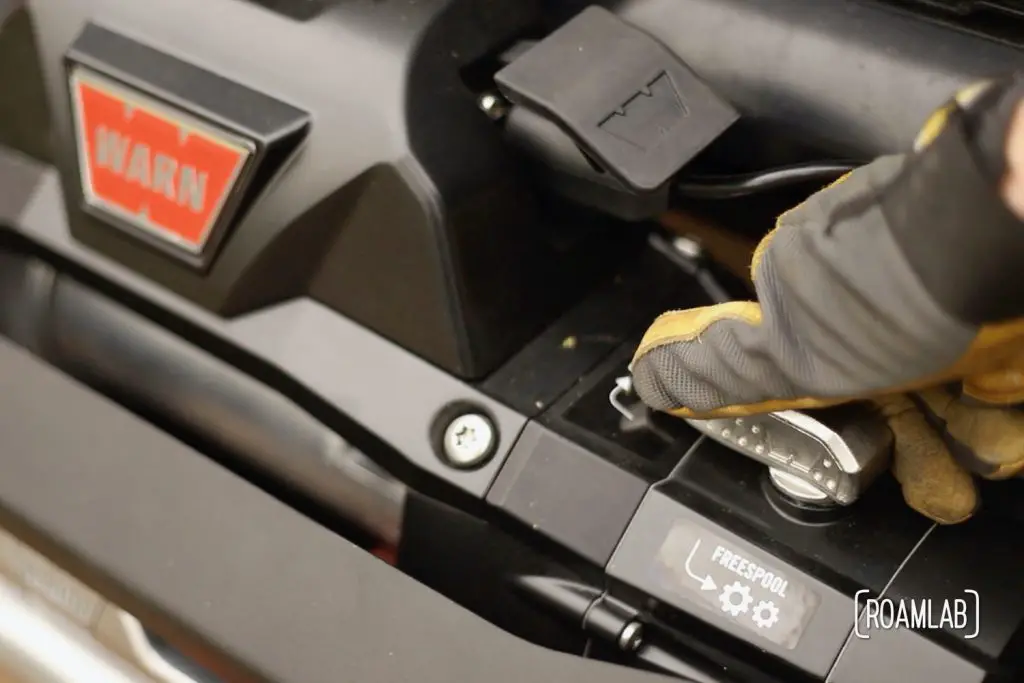
Step 3: Engage the winch clutch.
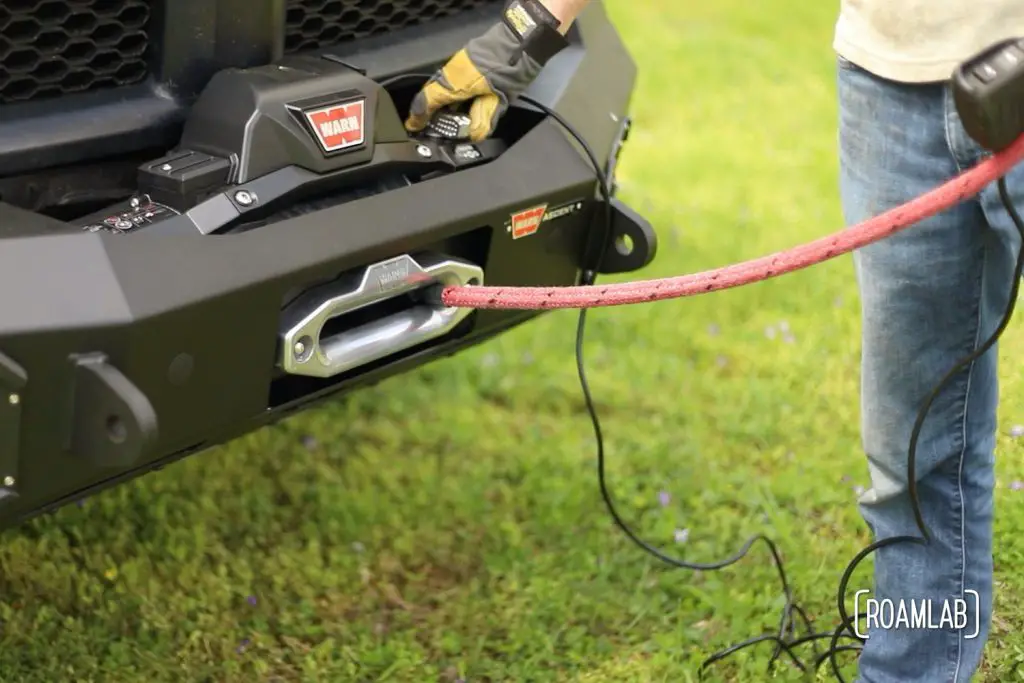
Step 4: Spool in rope so that it wraps around the winch drum 10 times.
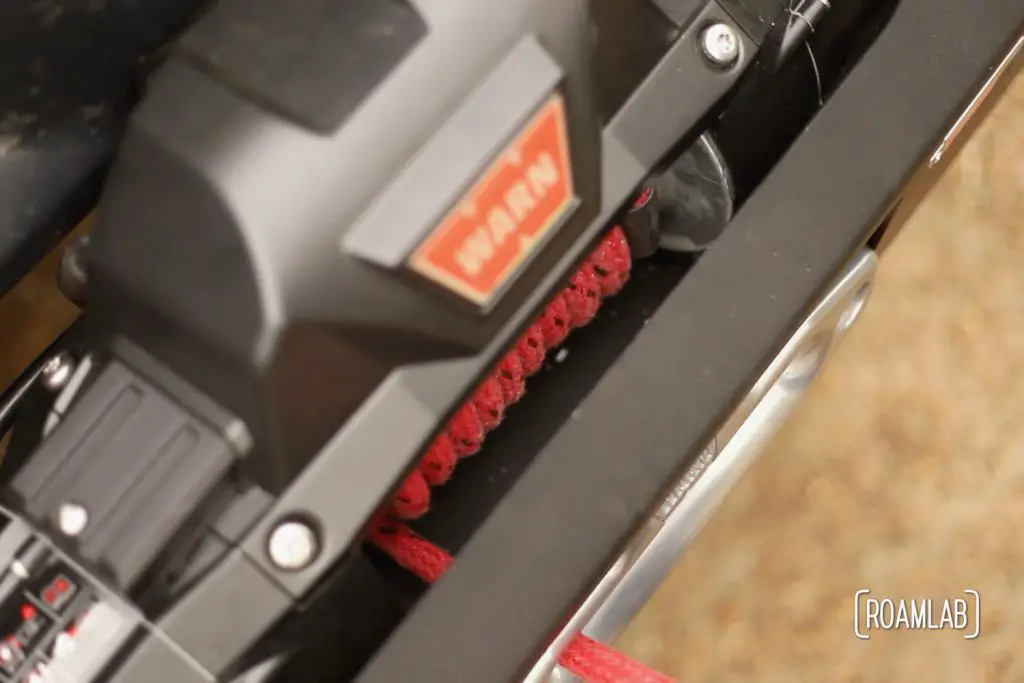
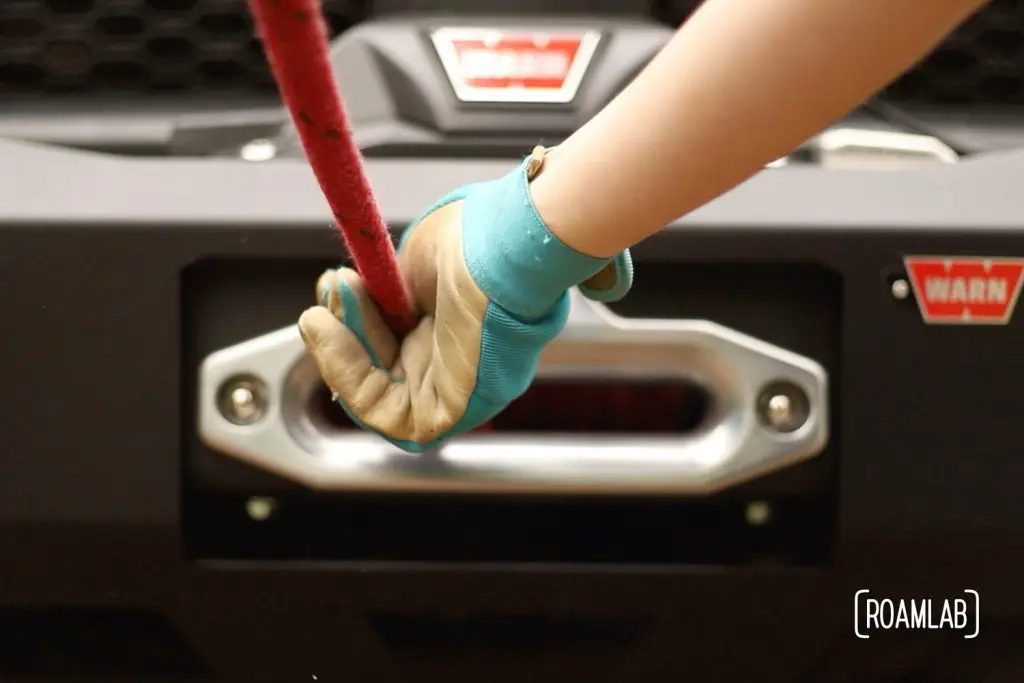
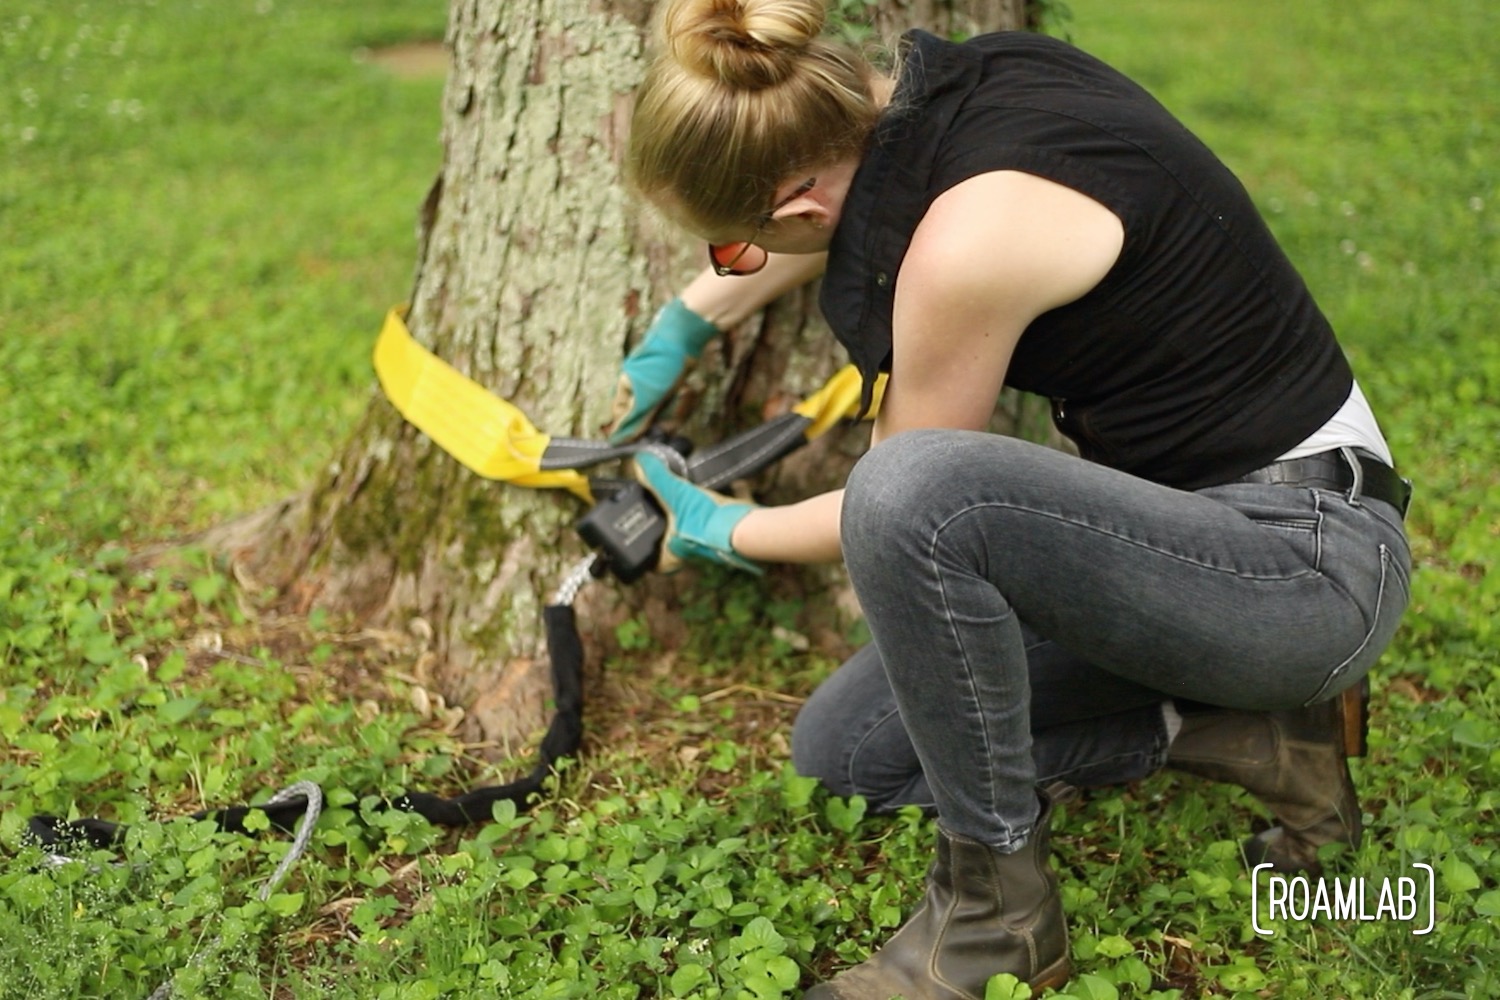
Step 5: Attach hook end of rope to a suitable anchor point.
The Right Equipment For The Job
This is where you likely need additional equipment to proceed without damaging the rope. We are using a sturdy tree as an anchor. This means that we need straps to ensure that we do not damage the tree or the rope.
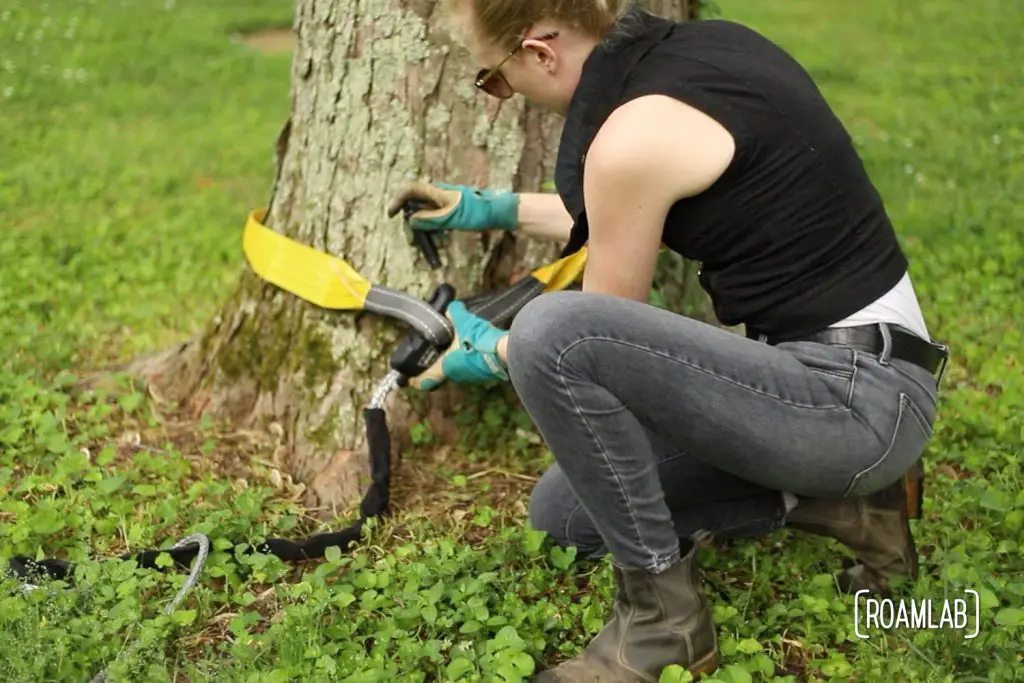
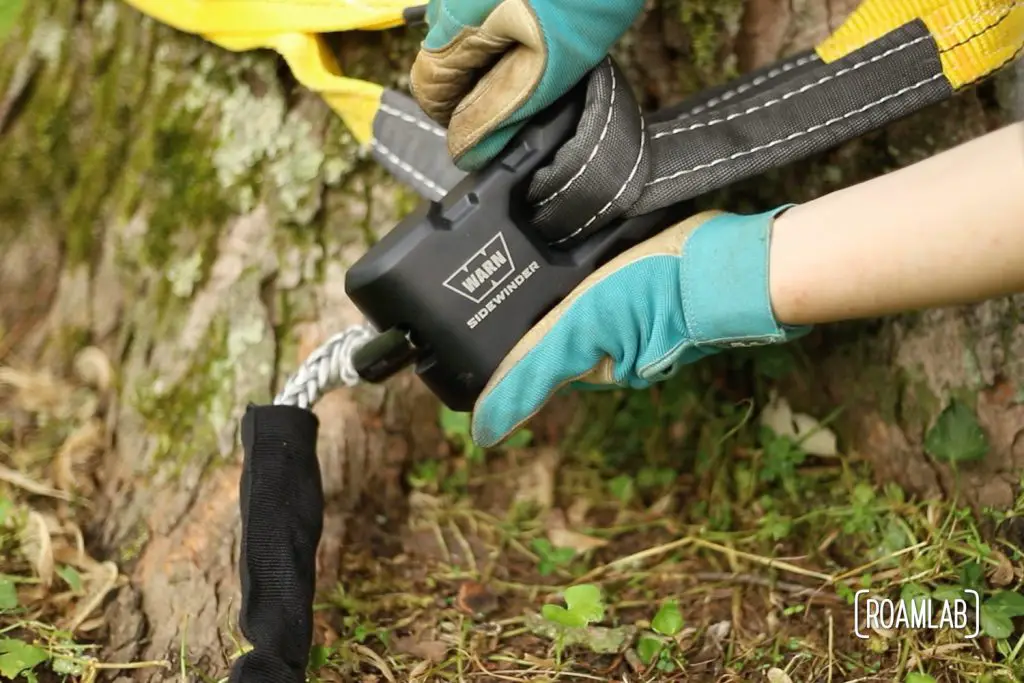
Step 6: Back the vehicle away from the anchor point until there is very little slack in the rope
Step 7: Leave the vehicle in gear or park and turn the vehicle off.
This is just to get rid of the slack, so we’ll be starting the truck back up when the time comes to wind in the rest of the rope.
Step 8: While standing 8 feet away from the rope, power in the winch until all the slack is wound onto the drum.
It shouldn’t take much rope to wind in the slack.
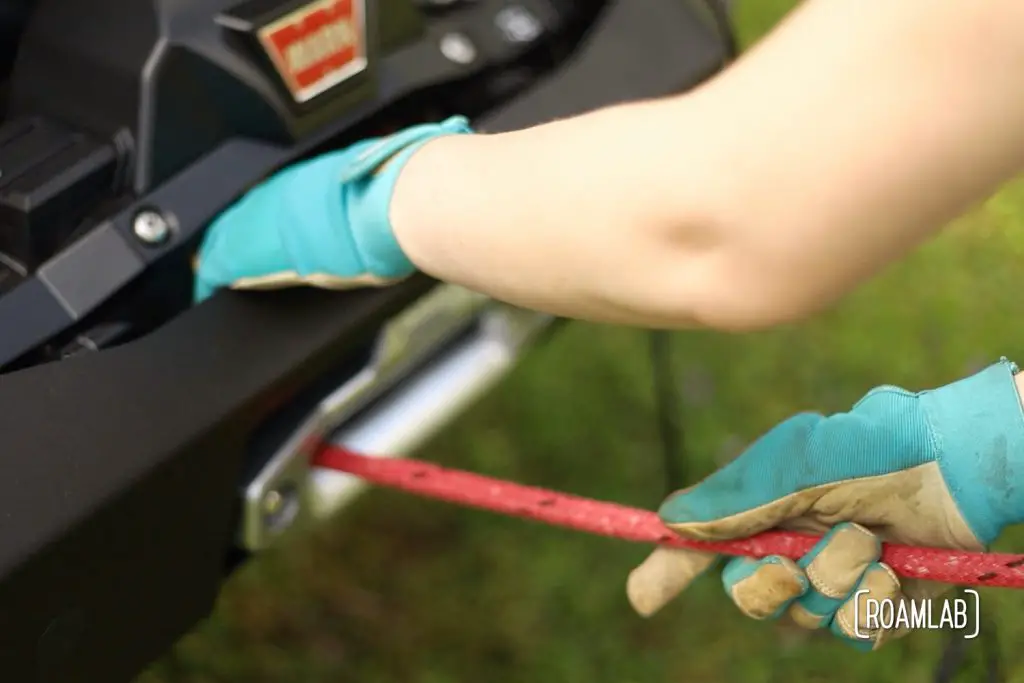
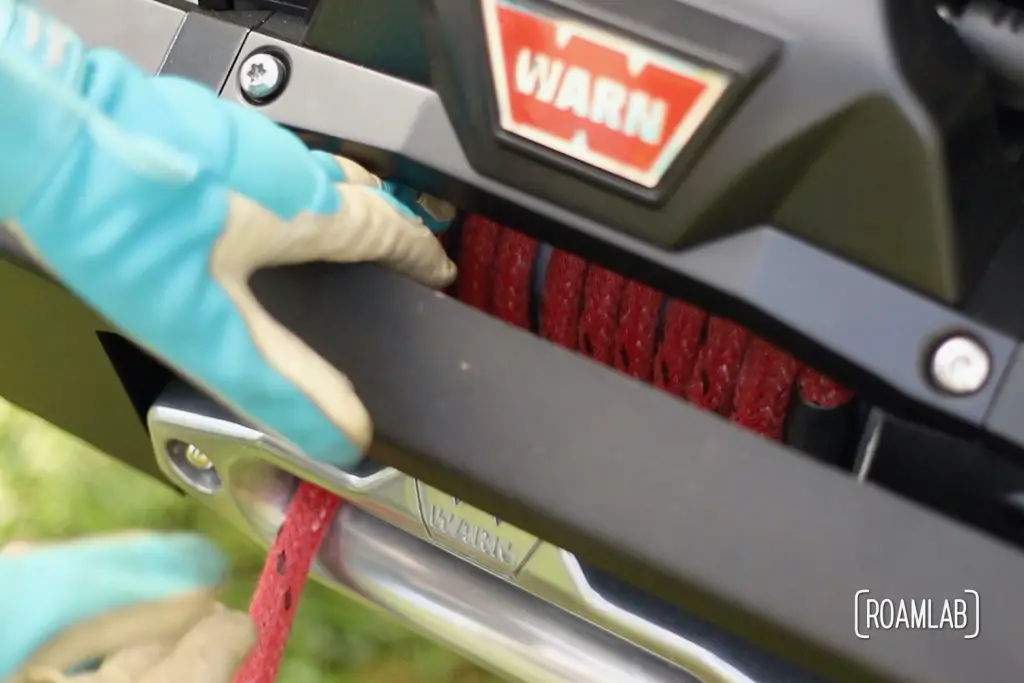
Step 9: With gloves on, use one hand to hold the tension of the rope while using the other hand to push the rope loops to the right side of the drum so that there aren’t any gaps between the loops.
Step 10: Shift vehicle transmission into neutral
Step 11: Winch in 6-feet of rope while applying moderate pressure to the brake pedal.
Quality Control
Check to make sure that rope is evenly spooling and not sinking into the lower layers of line. If it is, you will need to spool out the rope and start over.
Step 12: Continue winching in 6-foot sections of rope as described in step 11 until within 6 feet of the winch anchor.
Step 13: Disconnect hook from anchor.
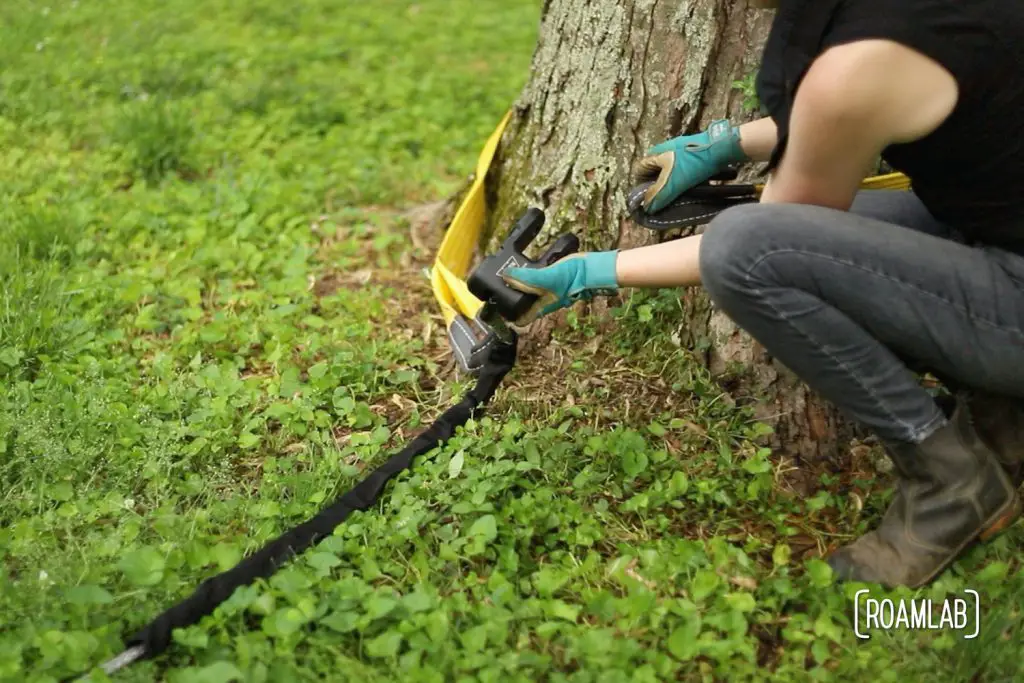
Step 14: Hold tension on the rope with the hook strap while pulsing in the next 3 feet of rope

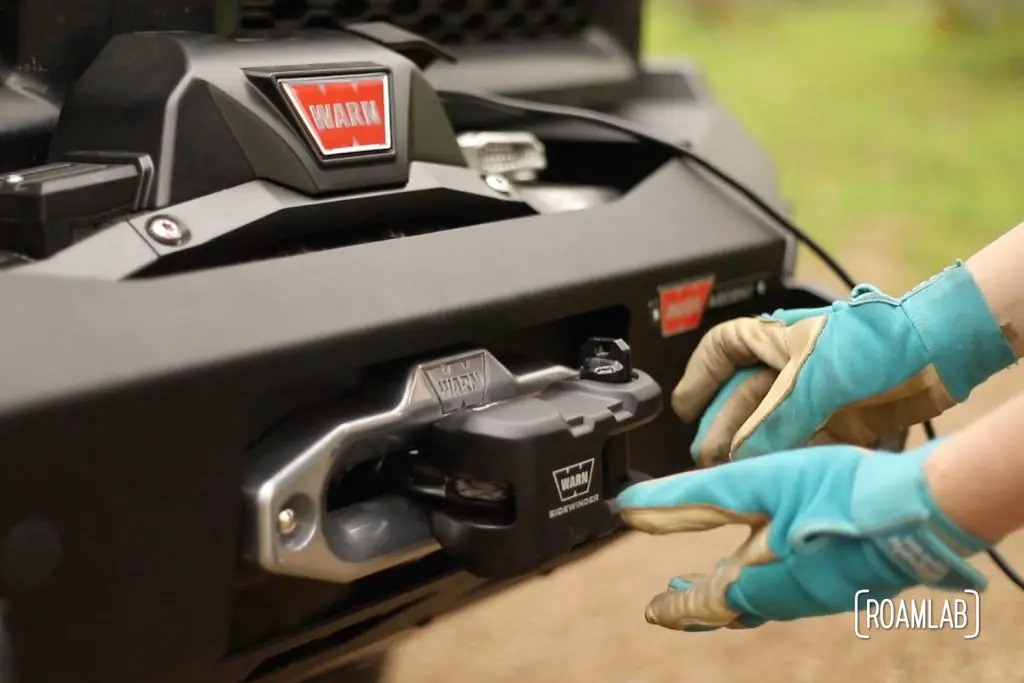
Step 15: Attach rope to an appropriate point on the bumper.
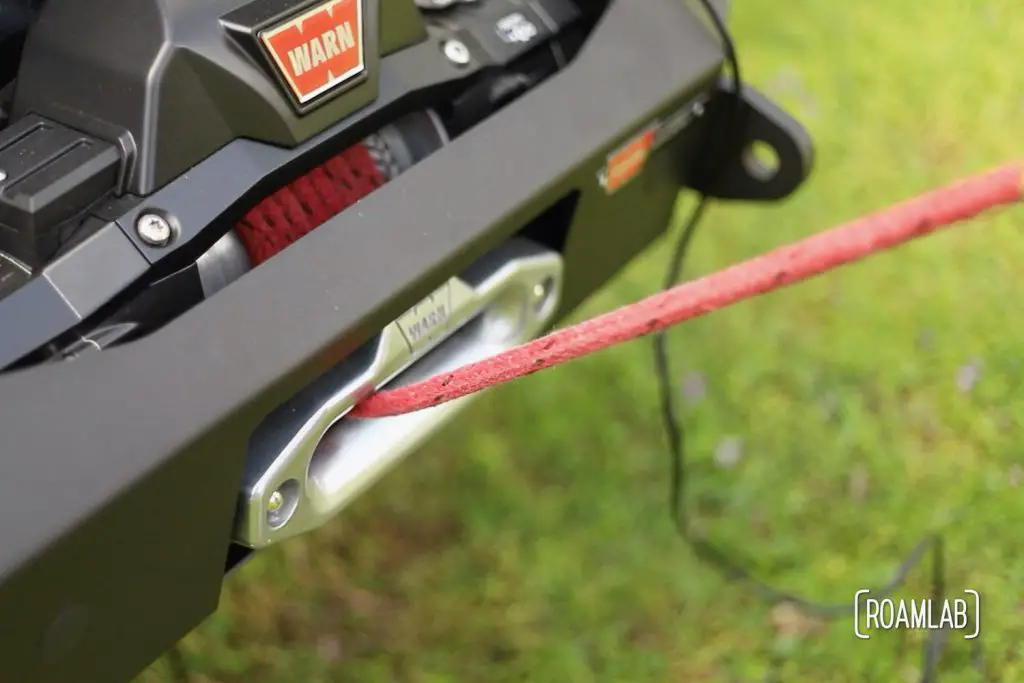
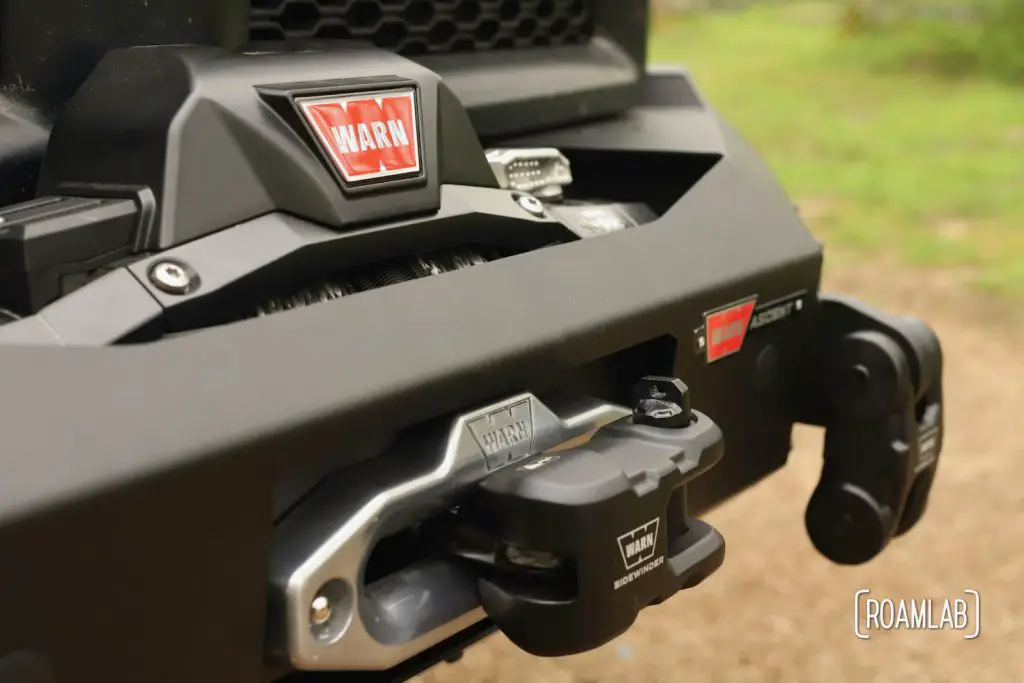
This is generally the case. We are using a Warn Sidewinder, however. So we simply continue to winch the rope until the Sidewinder is securely held against the fairlead.
Step 16: Continue to pulse in rope until most of the slack is taken.
All Done!
And there you have it! The winch and accompanying gear is now appropriately stowed on our bumper and we are ready for adventures on the trail.
