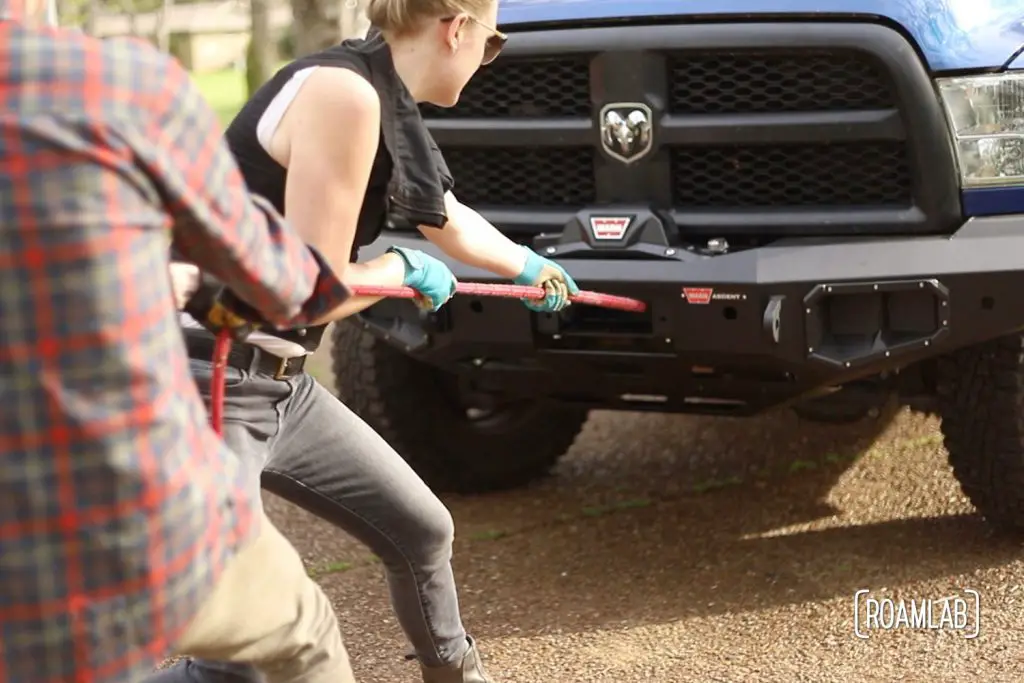
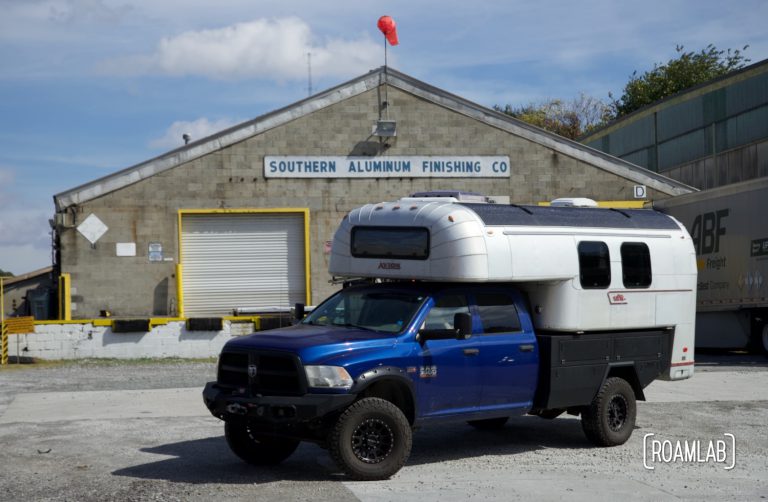
Installing a winch has been a long time coming, for us. There are many trails in the past that we have abandoned because we were uncertain whether we might get stuck in some remote location. That is why winches are a central tool in vehicle recovery when off-roading. Whether stuck in mud, sand, or snow the winch can be a critical aid in pulling a rig to firm ground.
The Build Thus Far
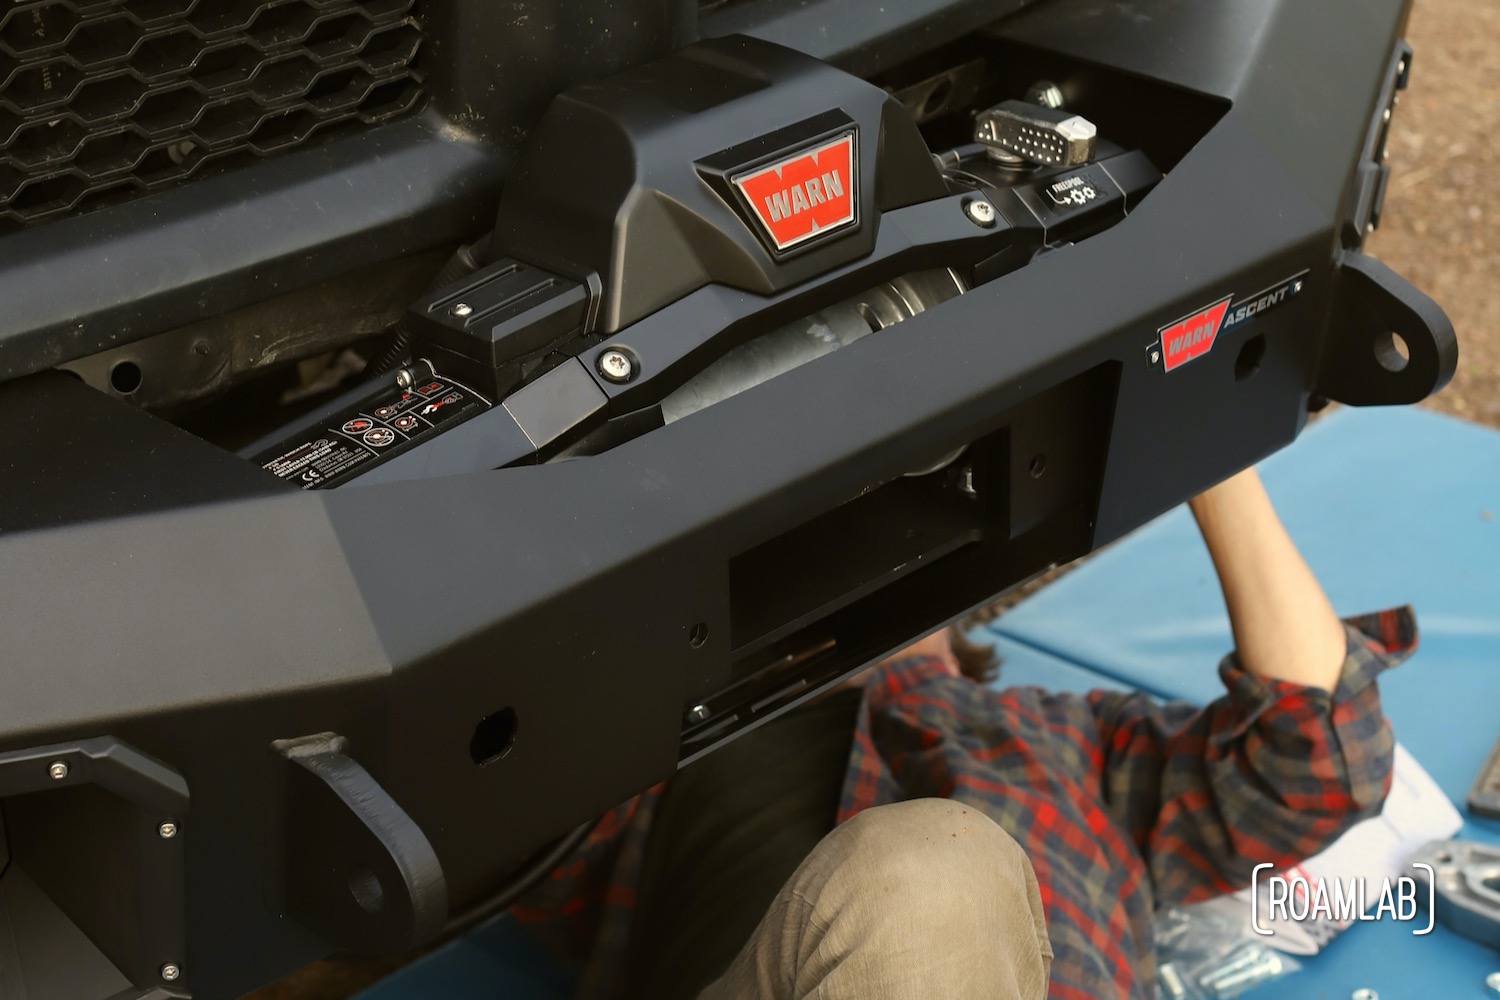
To get to this point, we needed a proper mount for the winch: a new bumper. So, after removing the factory grille and front bumper of our 2015 Ram 3500, and installing our new Warn Ascent front bumper, we are finally ready to install our new Warn Zeon 12-S winch.
- Removing A Truck Grille
- Removing A Front Bumper
- Installing A Warn Ascent Front Bumper
- Installing A Warn Zeon Winch on an Ascent Bumper
- Installing A Spydura Synthetic Rope on a Winch
- Spooling Spydura Synthetic Rope on a Winch
About the Warn Zeon Series
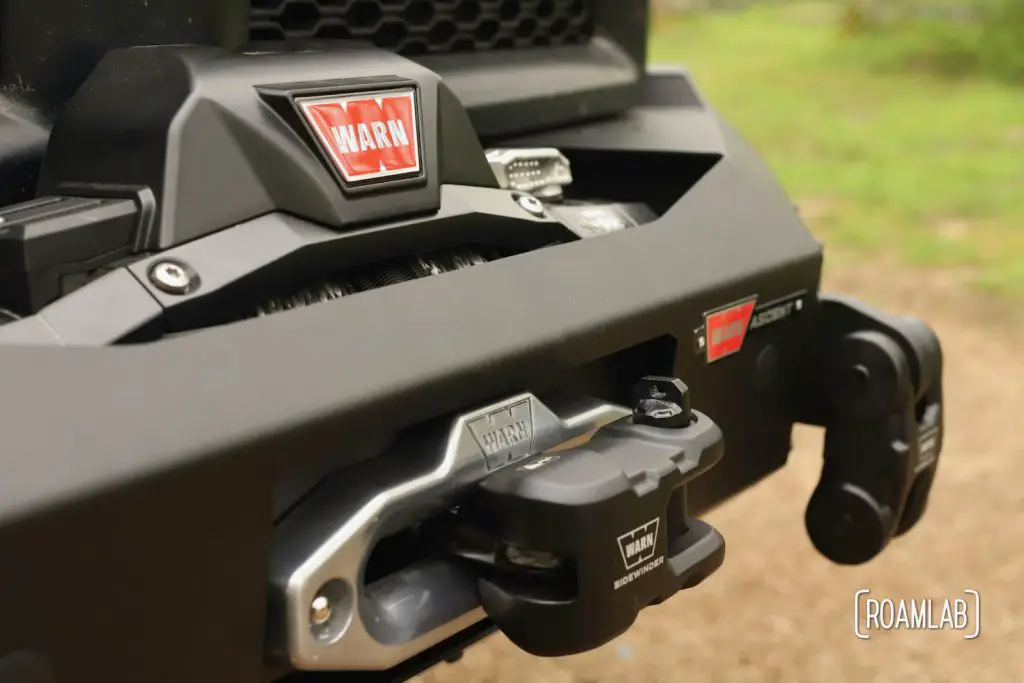
The Warn Zeon winch is a standard within the off-road vehicle recovery sphere. Many aftermarket winch bumpers are designed with support for the Warn Zeon in mind. The variable, then, comes down to how heavy your rig is. Warn builds a wide range of winches for light to heavy weight tasks. In our case, we selected the Warn Zeon 12-S, which—as the name suggests—is rated for 12,000 pound loads. It is sleek, powerful, and durable.
Installing the Winch
There really are only three parts to the Warn Zeon winch that have to be assembled: the winch, the rope, and the fairlead. In concept, all you have to do is attach the rope to the winch. Then attach the winch and fairlead to the bumper. But in what order? This whole process can be fairly simple if you have a solid and easily accessible location that you can mount the winch to and attach the rope before doing anything else.
While the instructions that came with our winch go into deep detail for installing the rope, the rest of the setup is pretty much summarized in an illustrated blowout image. I’m sure this is because the winch could be installed onto any number of different bumpers or mounting arrangements. But we are mounting the Zeon winch to the Ascent Bumper. And the order you do things does make a big difference. So, here is how I mounted the Zeon Winch to the Ascent Bumper. The order may seem strange, but trust me. There is a method to my madness.
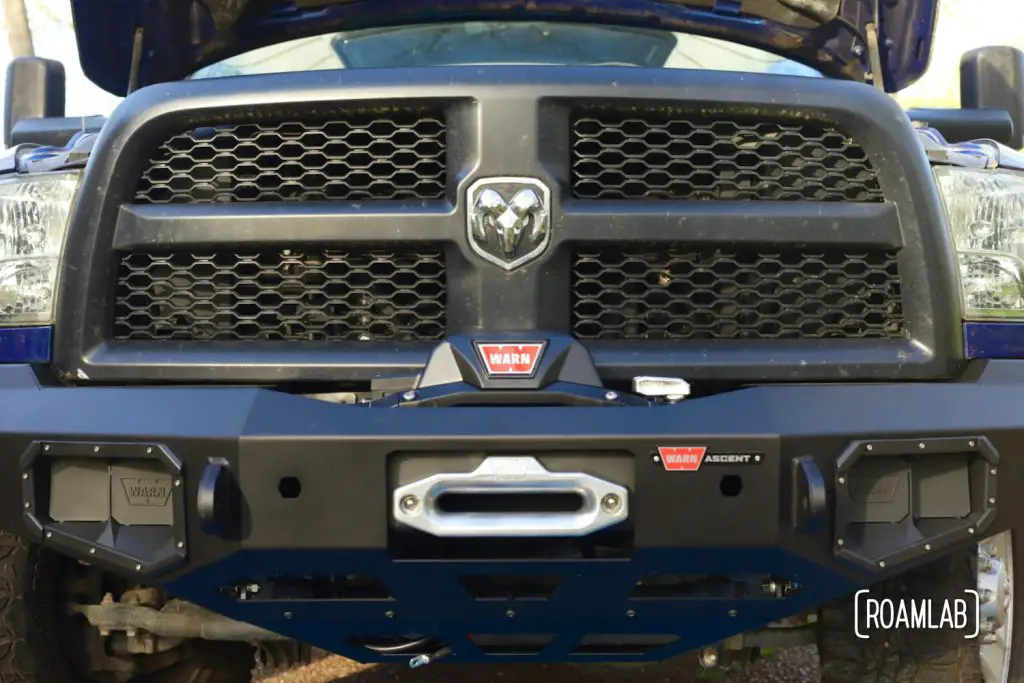
Mount Winch
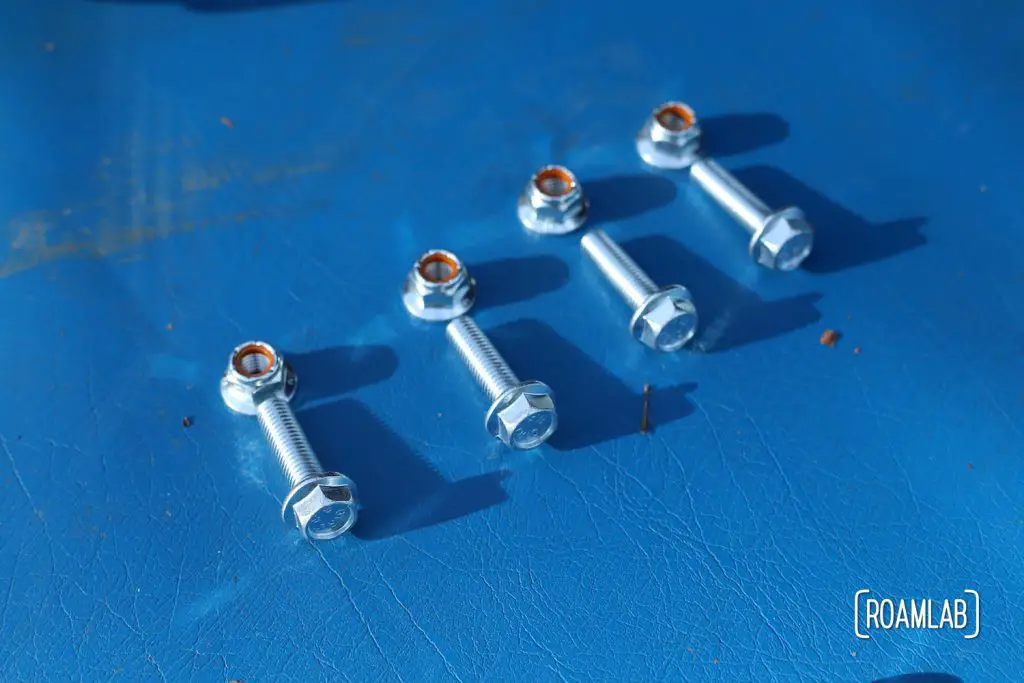
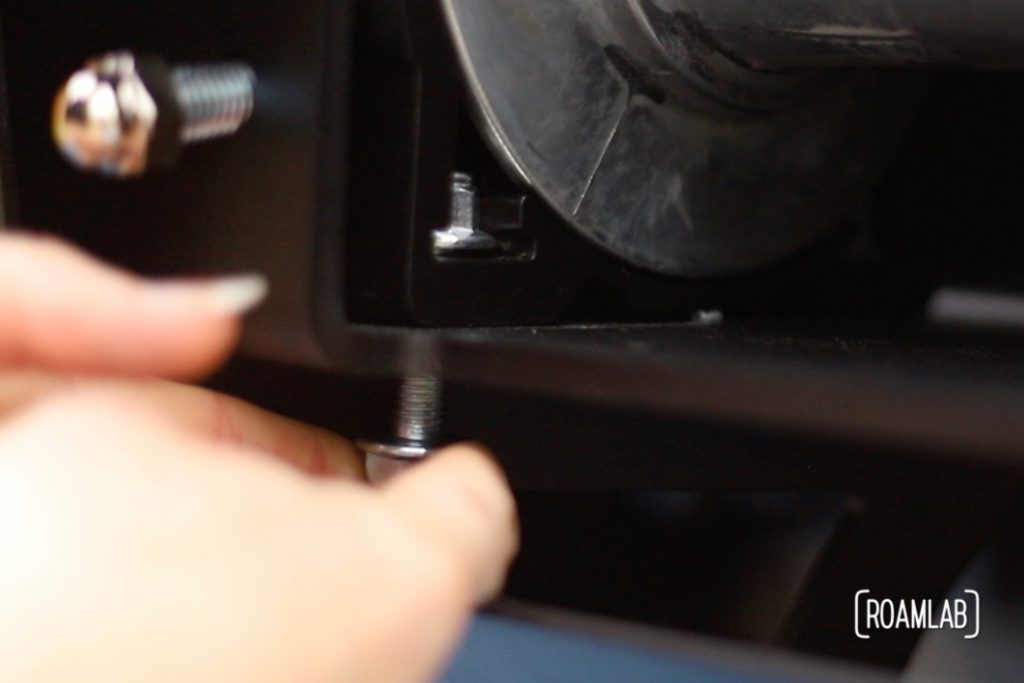
Step 1: Bolt 1/16-14×1.25″ bolt, 7/16 washer, and 7/16-14 nut to the bumper where the fairlead will be mounted
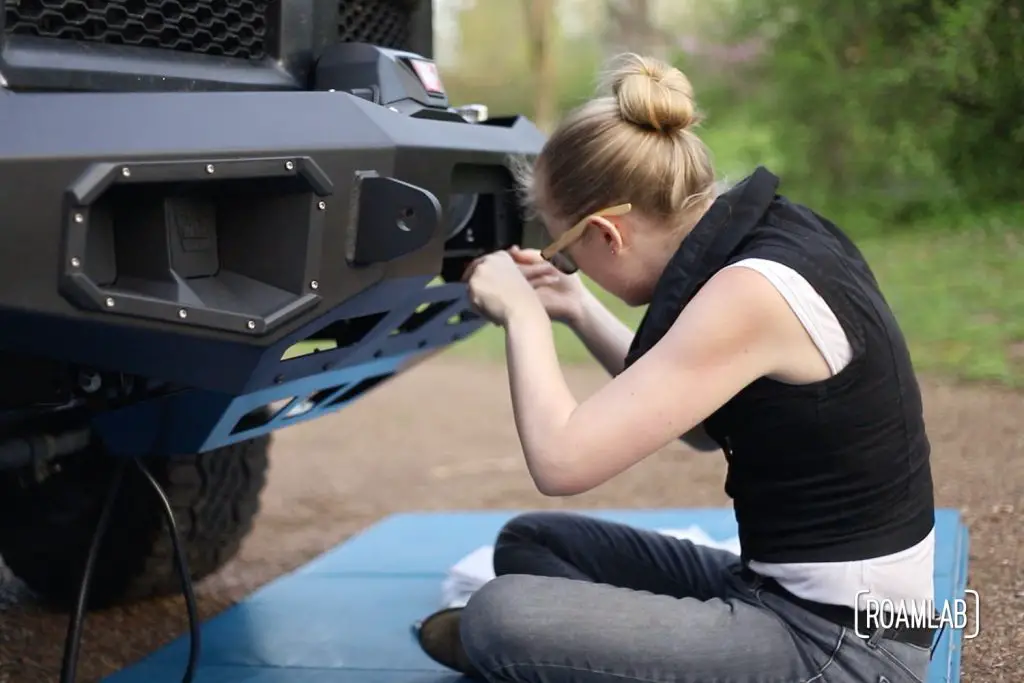
These are the nuts and bolts for the fairlead. Logically, this would be the last item to mount. Even so, the fitting between the winch and bumper walls is so snug that you cannot fit the bolt for the fairlead in place once the winch is bolted in place. By the same token, though, you have severely limited access to the winch when the fairlead is in place. We found the most simple solution is to secure the fairlead bolt and nut in place (without the fairlead) before installing the winch. Once the winch and rope are completely secure, we can complete mounting the fairlead.
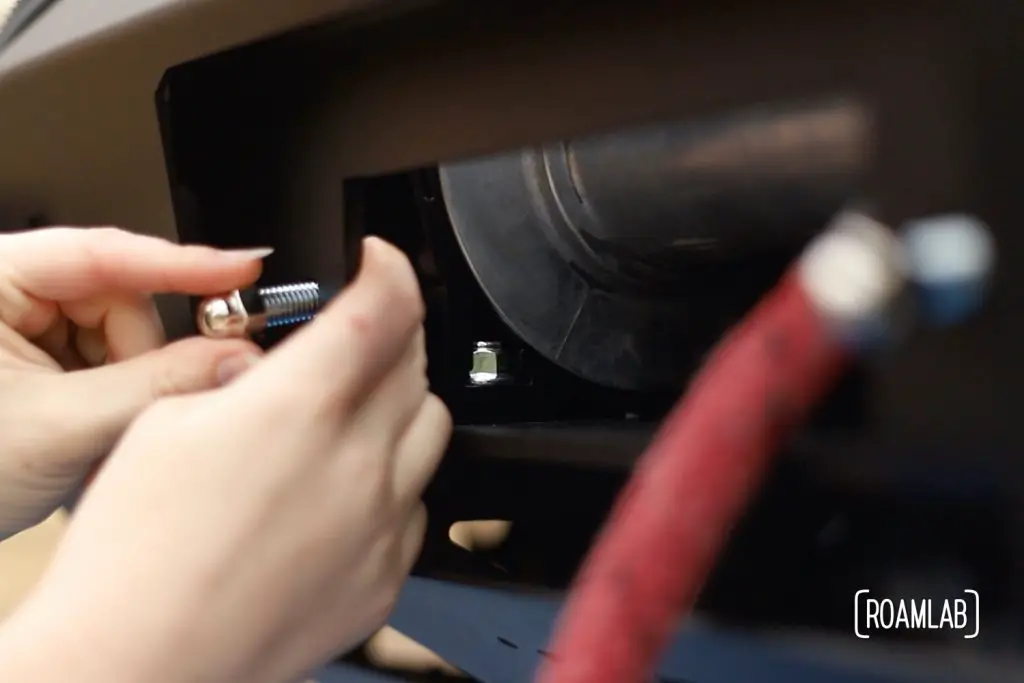
Step 2: With assistance, place winch in bumper tray
The power cable for the winch does tend to get in the way of this step. We set the winch close to the bumper so that we can arrange the wires first and then feed them through as we set the winch into the bumper tray.
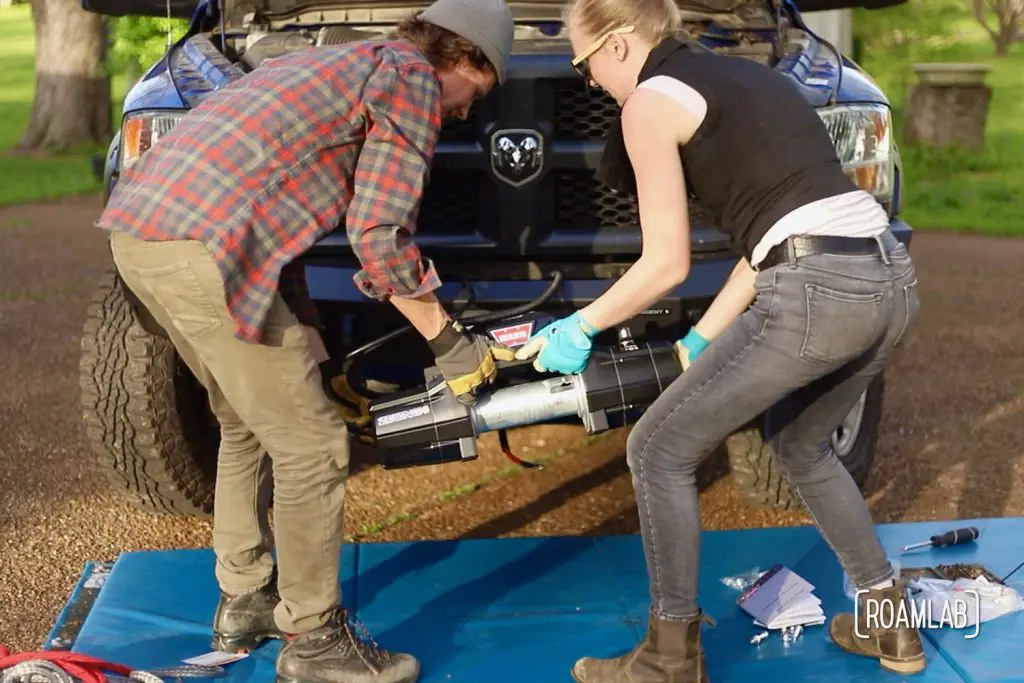
Step 3: Secure winch in place with four M10-1.5 nuts and M10-1/5x35mm bolts.
Access to the nut mount points on the winch is very restricted once the winch is in place. I use a long screwdriver to push the nuts in place. The openings for the nuts are snug enough that the nuts won’t spin while you are tightening the bolt.
Wire Winch
Once the winch is secured in place, it still needs electricity to be able to do its work. We are powering the winch off of our truck battery. Because this is electrical work, keep safety top of mind. Remove all jewelry and wear eye protection. We have silicon rings for days like this when we do electrical work for this reason.
Step 1: Locate a route for the wires to reach the vehicle battery while avoiding sharp edges, moving parts, and hot components.
Before working with the cables, we ran the truck for a short while so that we could easily pinpoint hot regions to avoid. You may want to use some zip ties to secure wires in place.
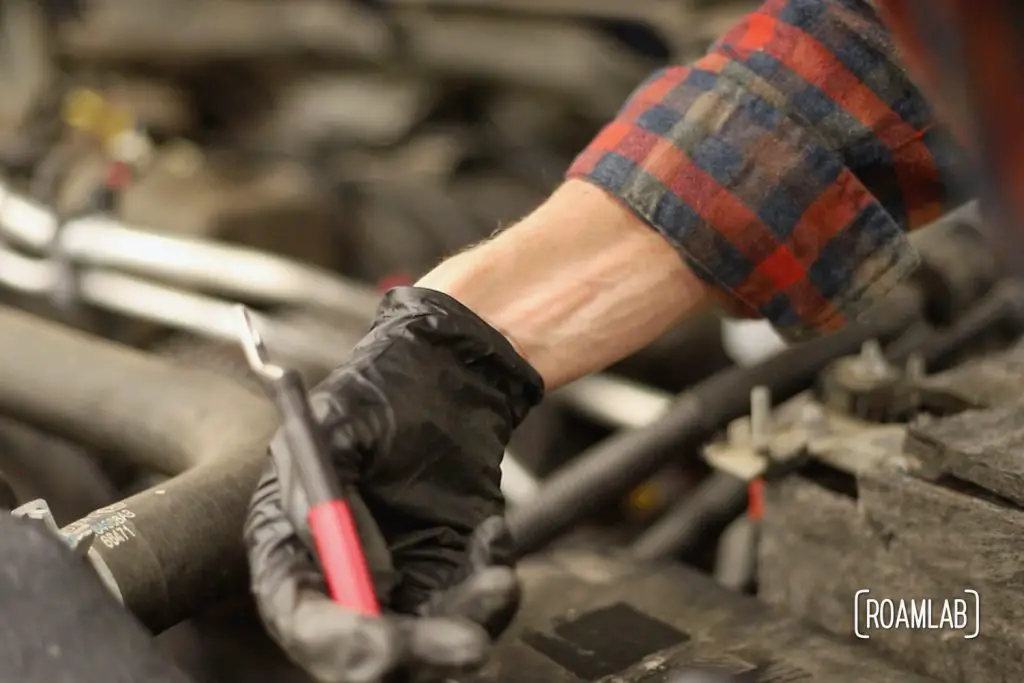
Step 2: Bolt red cable to battery’s power.
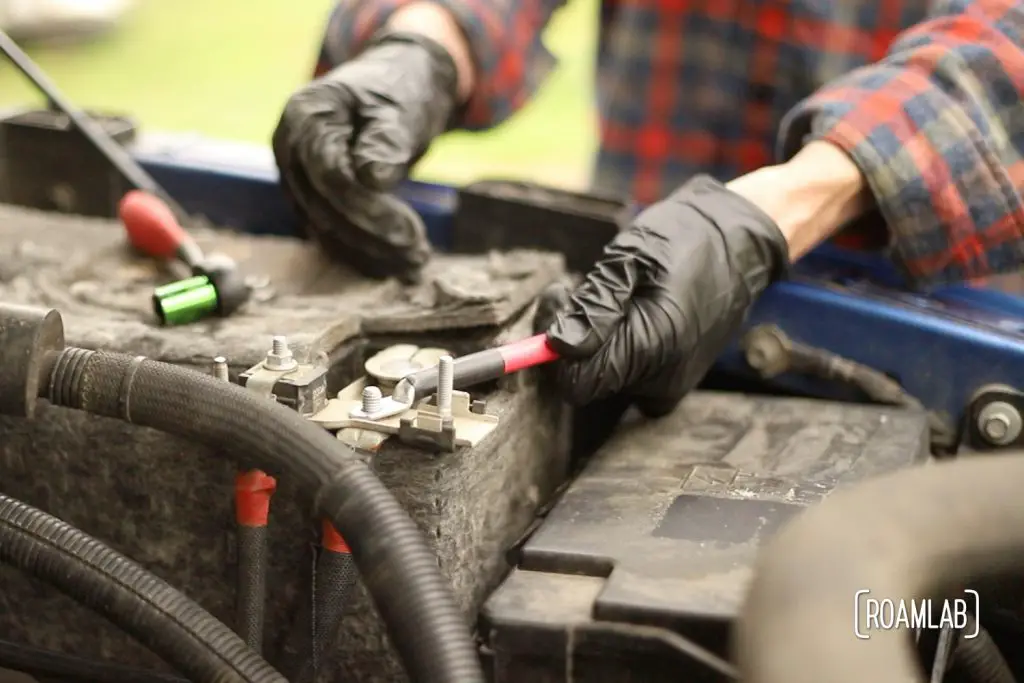
Step 3: Bolt black cable to battery’s ground.
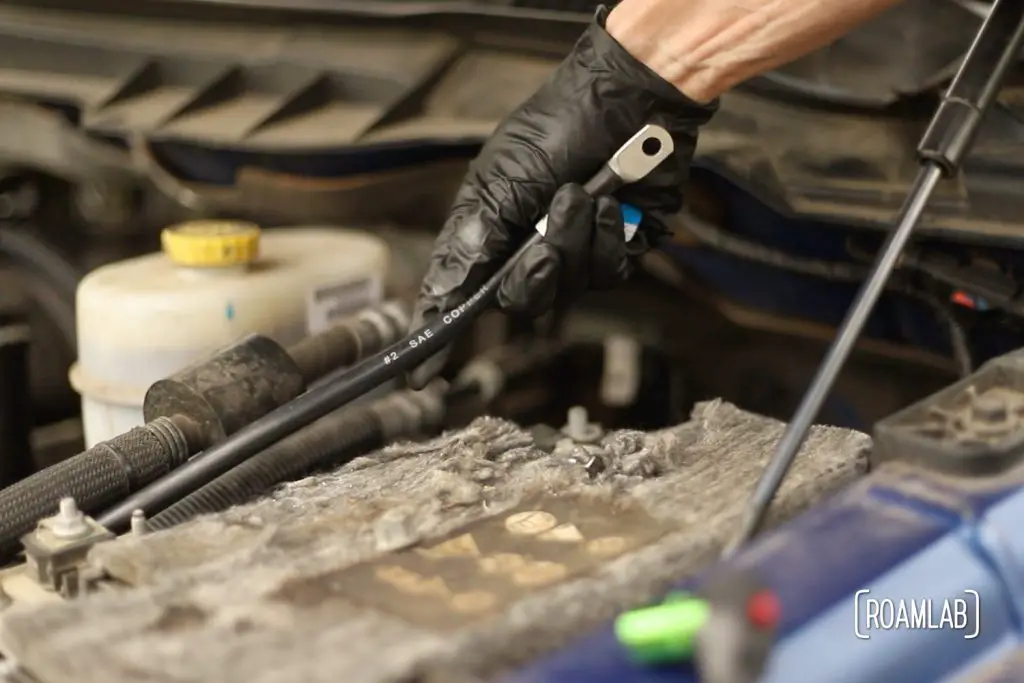
Step 4: Make sure each lead is firmly bolted to the battery.
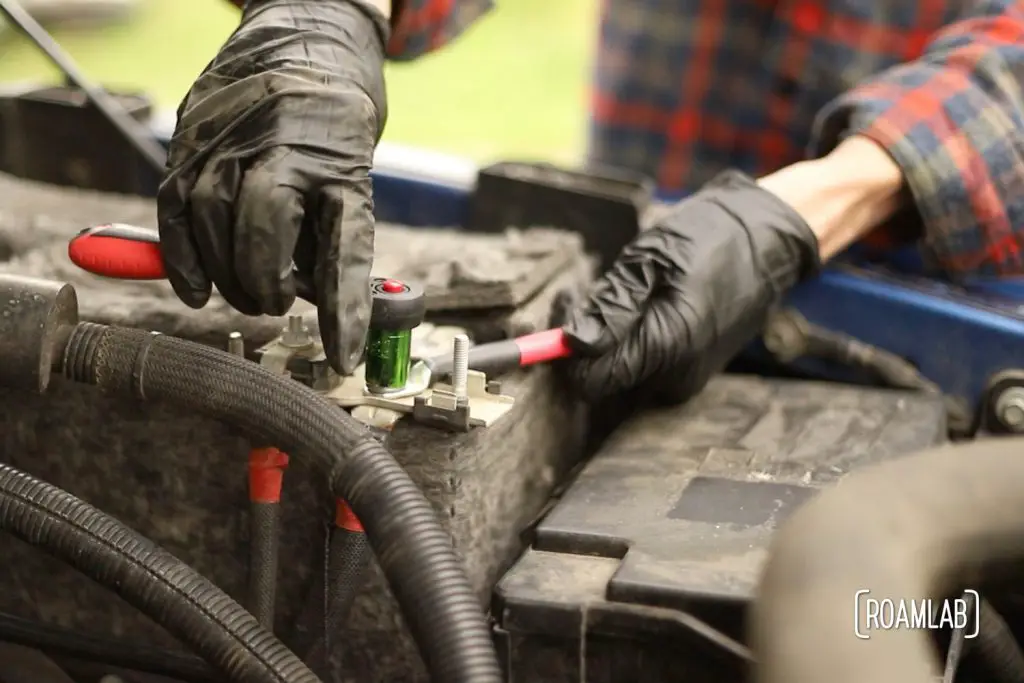
Now you can test your new winch by hooking up the remote and toggling the controls the wind in and out.
Next Steps
The winch is securely mounted the front bumper and wired to the battery. Of course, we are missing something. Yes, the rope. You can mount different ropes or cables to the winch. We will be using the synthetic rope that came with our Zeon 12-S winch. But, since that is its own set of steps, we are splitting that into its own post, coming soon. This does mean that we also are leaving the fairlead off the bumper until the rope is installed. But we will address that along with the rope.
All the same, we are ready for our next step: Installing A Synthetic Rope.
