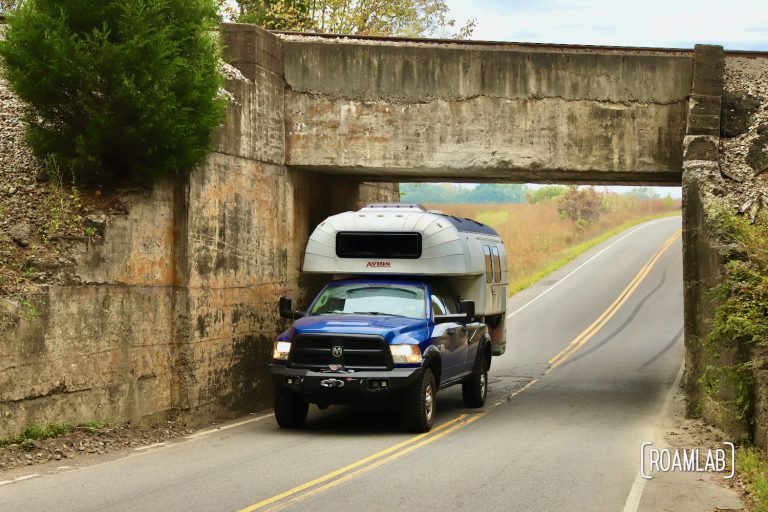
We got serious about our overlanding ambitions the day we bought our 2015 Ram 3500 Tradesman truck. Dodgy II: The Truckening has 4-wheel drive and the power to carry our planned truck camper. What it doesn’t have is the bells and whistles that make for a fully equipped overland vehicle. While there are many modifications we intend to pursue, foremost on our minds is a winch. And to have a winch, we need a bumper designed to support that winch.
Winching a truck and camper out of a deep mud pit can take a lot of force. While it is the role of the winch to real in rope connecting the truck to some stable anchor on solid land, the process is only as secure as its weakest link. So, having a rugged bumper to secure the winch and bind it to the truck’s frame is key.
So, I was over the moon when Warn agreed to sponsor us. They are a leader in vehicle recovery equipment and reaching out to them was a no-brainer. A few weeks later, an 18-wheeler stops by with a 300-pound pallet to drop off. We have the bumper. Now to get it on our truck.
Equipment
Having the right tools for this process is critical. Installing a truck bumper is not like assembling an IKEA bookshelf. You’ll need your standard tool set along with a torque wrench and a mat or creeper for working under the truck.
- Torque Wrench
- Socket set
- (optional) under truck creeper

The Build Thus Far
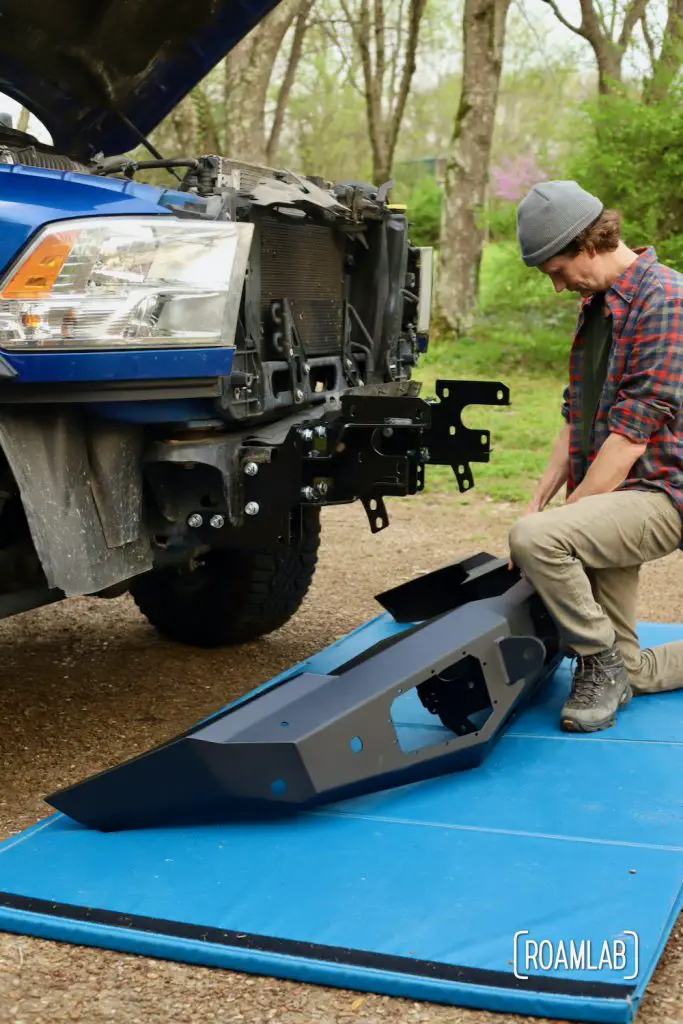
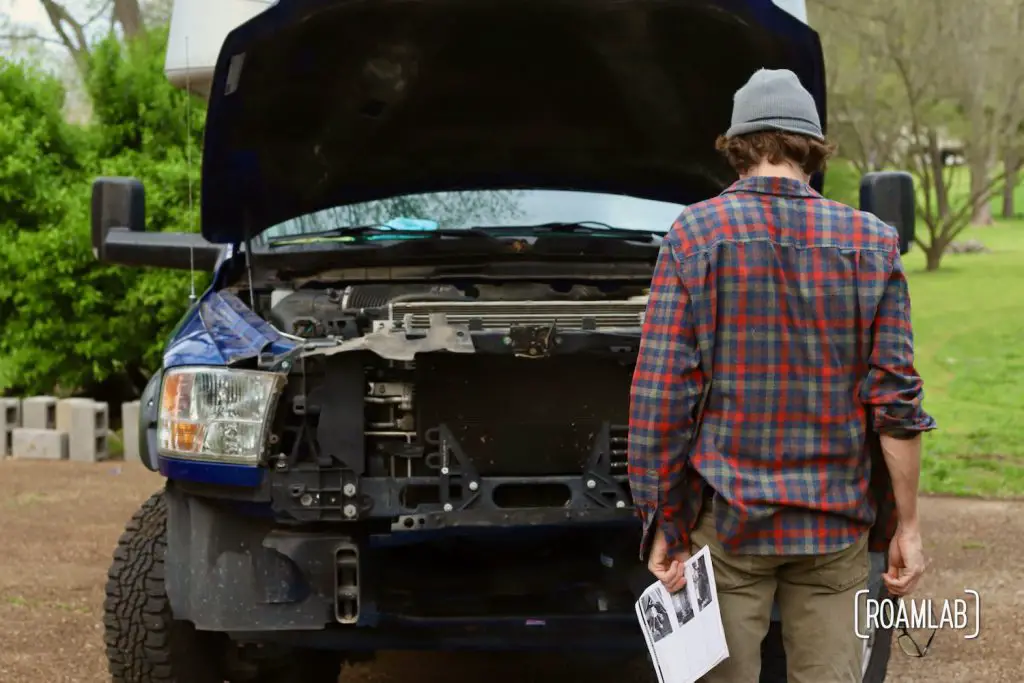
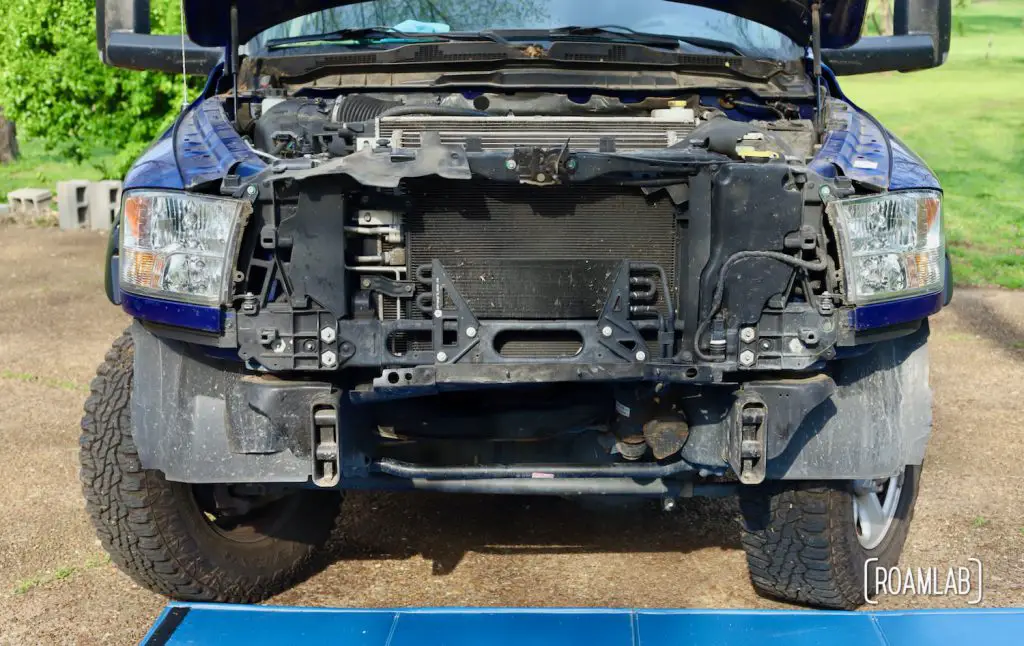
To install the Warn Front Bumper you first need to remove the factory grille and bumper from your truck. We cover this process in past posts and videos. So, check out How To Remove A Truck Grille and How to Remove A Truck Front Bumper before continuing with this step. We’ll be here when you are ready.
Installing Warn Ascent Front Bumper on a 2015 Ram 3500 Truck
While mounting the Warn Ascent Front Bumper is super simple, there are several steps that surround the process. We found ourselves flipping back and forth quite a bit, so I’ve split these steps into a few short chapters to help keep things in perspective.
Preparing to Install the Front Bumper
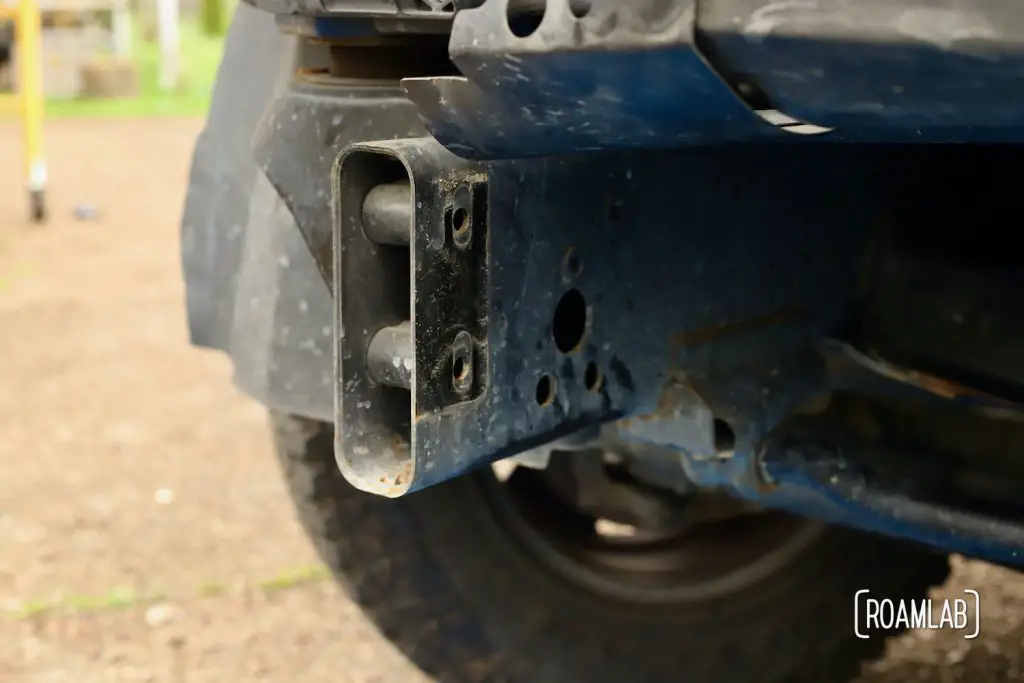
Before we can install our new front bumper, there is still a bit of cleanup we need to do. When removing the factory bumper, we left the mounting bracket on the truck frame. Now we need to remove that bracket to make room for the new mounting bracket. For diesel owners, this means a little additional clearing to reach that bracket.
Diesel Specific Modifications
Since we have a gas engine, there are a lot of diesel specific directions that we skip over. But I’ll include these for reference. In case anyone with a diesel engine is following along.
From these directions, it appears that the intercooler blocks access to important tie bolts. We need to remove these tie bolts to replace the bumper mounting frame bracket. So, diesel owners need to loosen the intercooler to access the tie bolts and attach the Warn bumper mount before reattaching the intercooler and completing the install. Sorry, I don’t have pictures of this process. Our gas truck did not require these steps.
Step 1: Remove four screws and three panel clips to release the intercooler shroud
Step 2: Unbolt and remove the collision brackets from the frame on each side.
We can see on our truck where these brackets would be but there are no collision brackets on our build.
Step 3: Near the base of the intercooler, remove the hose clamp from the intercooler tube.
Step 4: Release the intercooler mounting bracket from the vehicle’s frame by removing two bolts.
With the intercooler loosened, we can continue preparing the mounting for the new bumper. When we are done working in this area and no longer need access, we will reinstall everything but the collision brackets. (Step 2 on the Mounting the Bumper section)
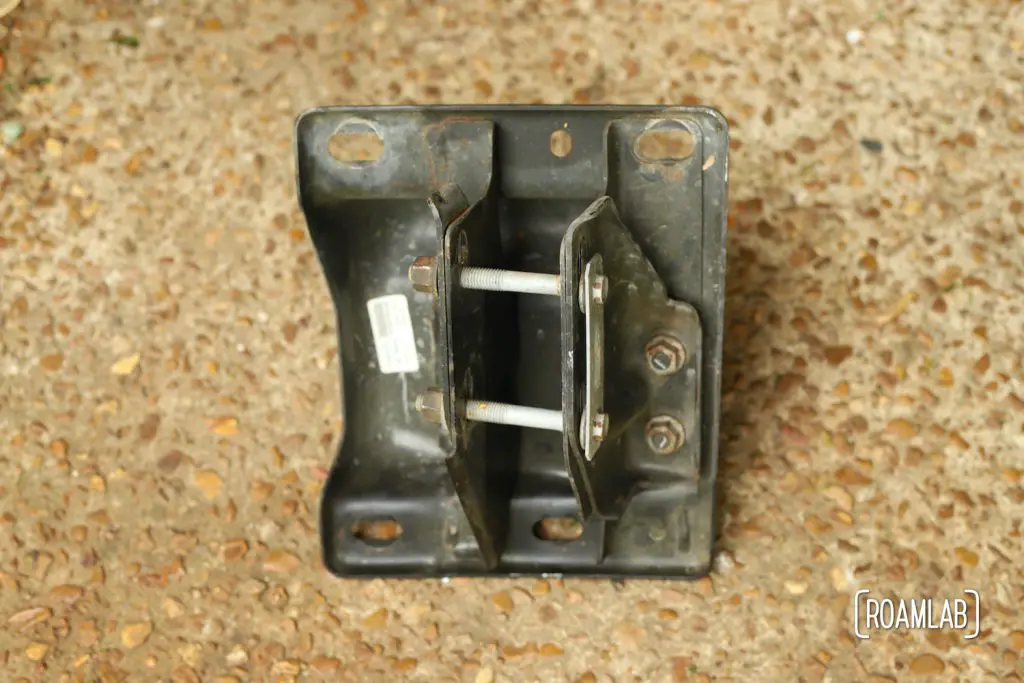
Removing The Front Bumper Mounting
From this point the instructions for gas and diesel trucks the same. Start by removing the front bumper mounting by freeing the tie bolt plate.
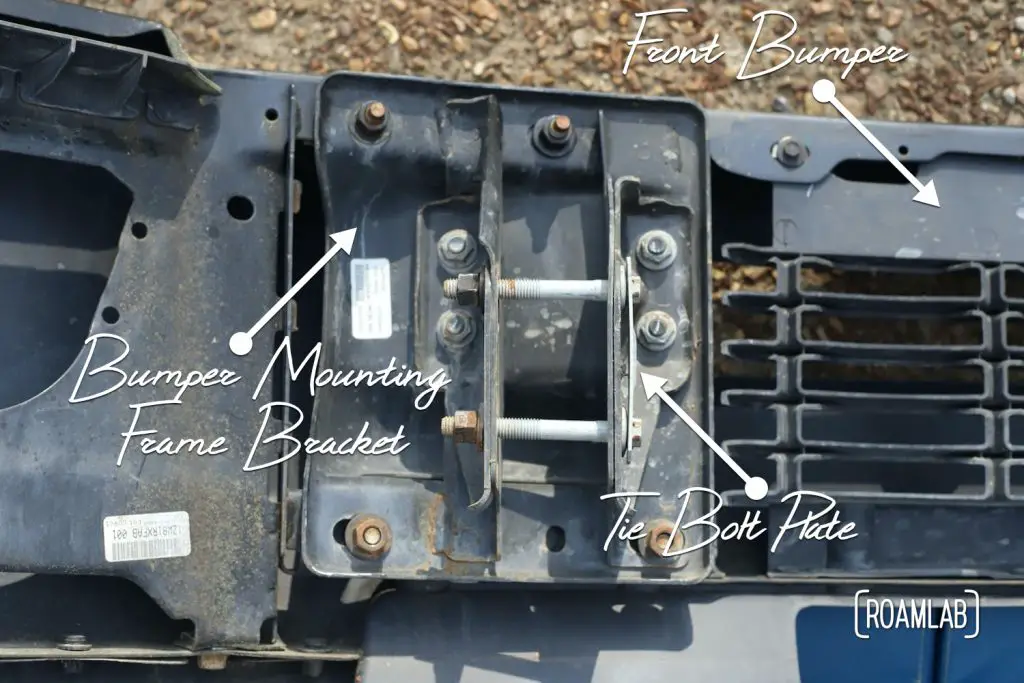
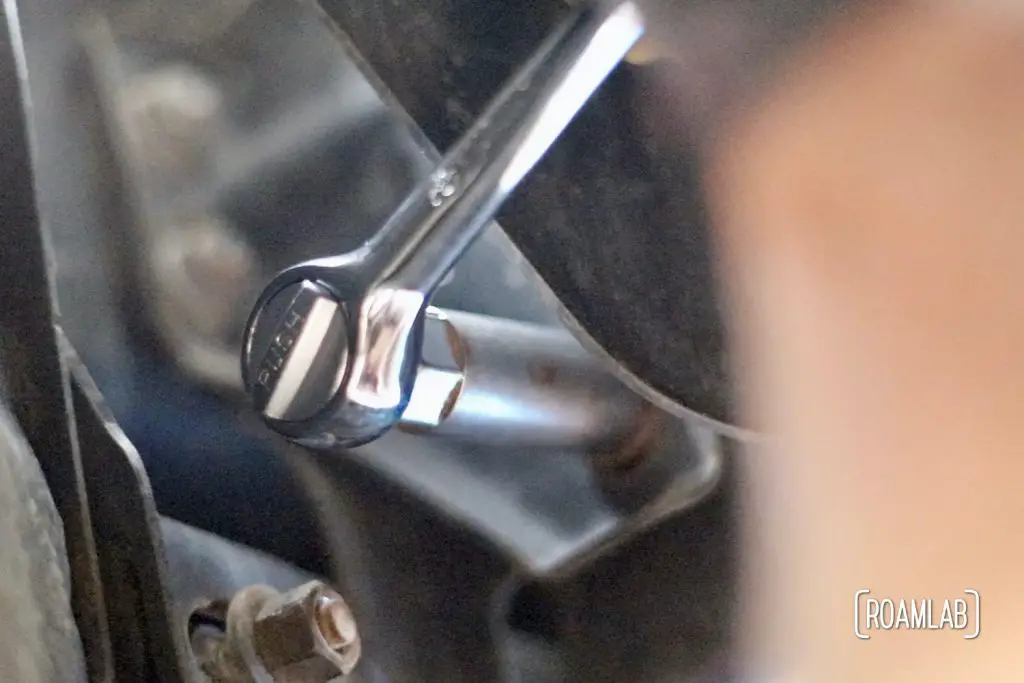
Step 1: Unscrew four flanged nuts from the tie bolts, under the truck—two for each front bumper mounting.
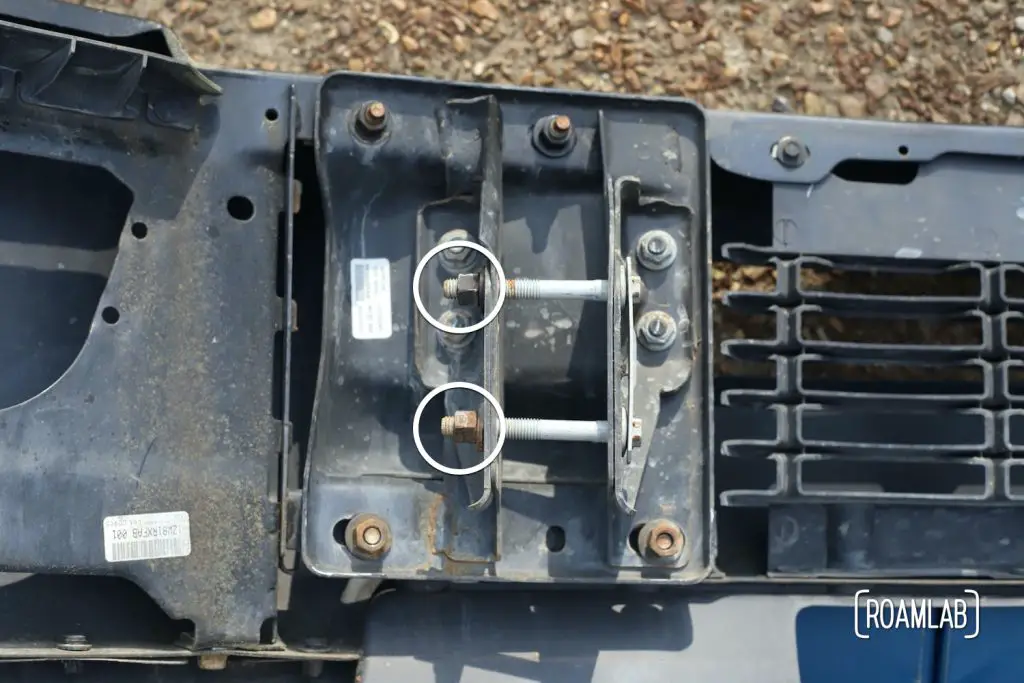
Step 2: Remove the tie bolt plate along with the two tie bolts for each front bumper mounting.
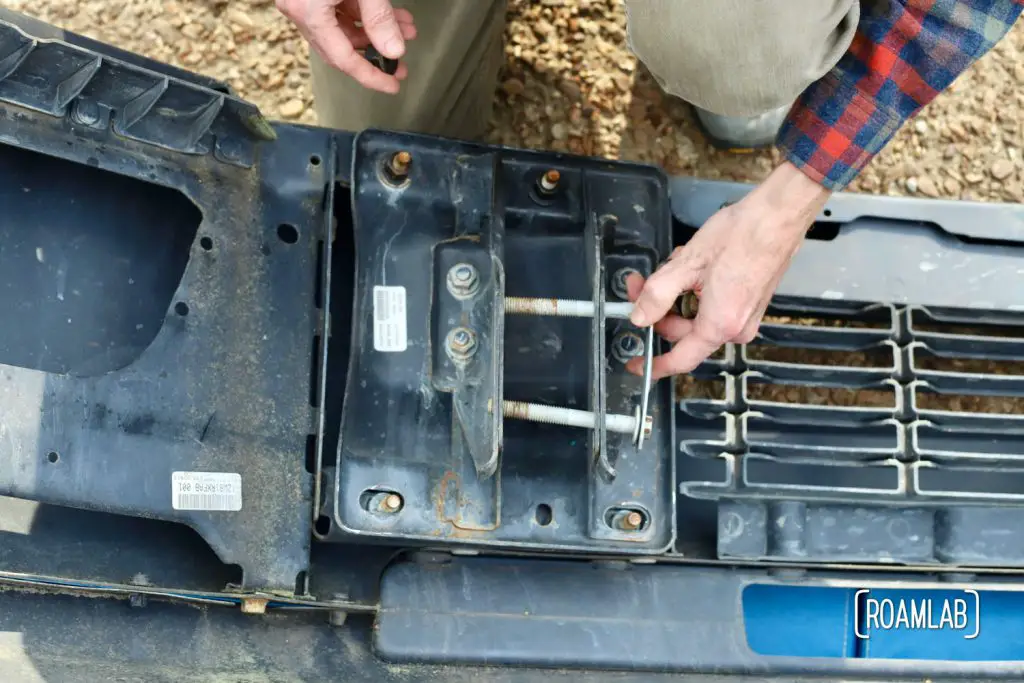
Step 3: Remove the stock front bumper mounting frame bracket from the truck frame.
We are done with these, so we set them aside with the original factory bumper.
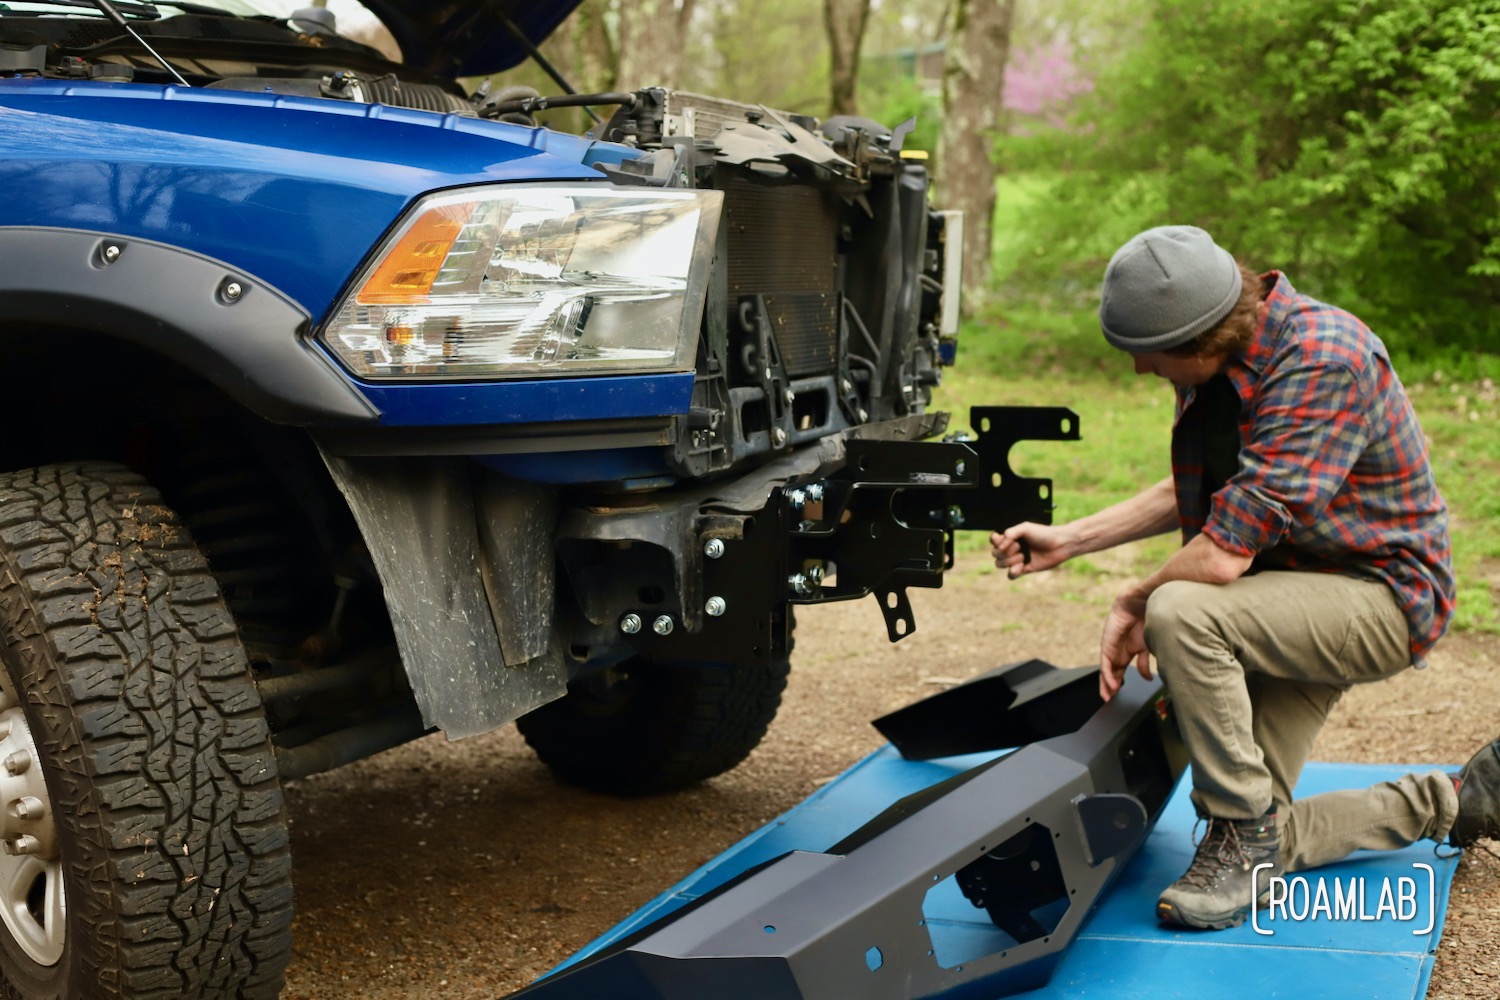
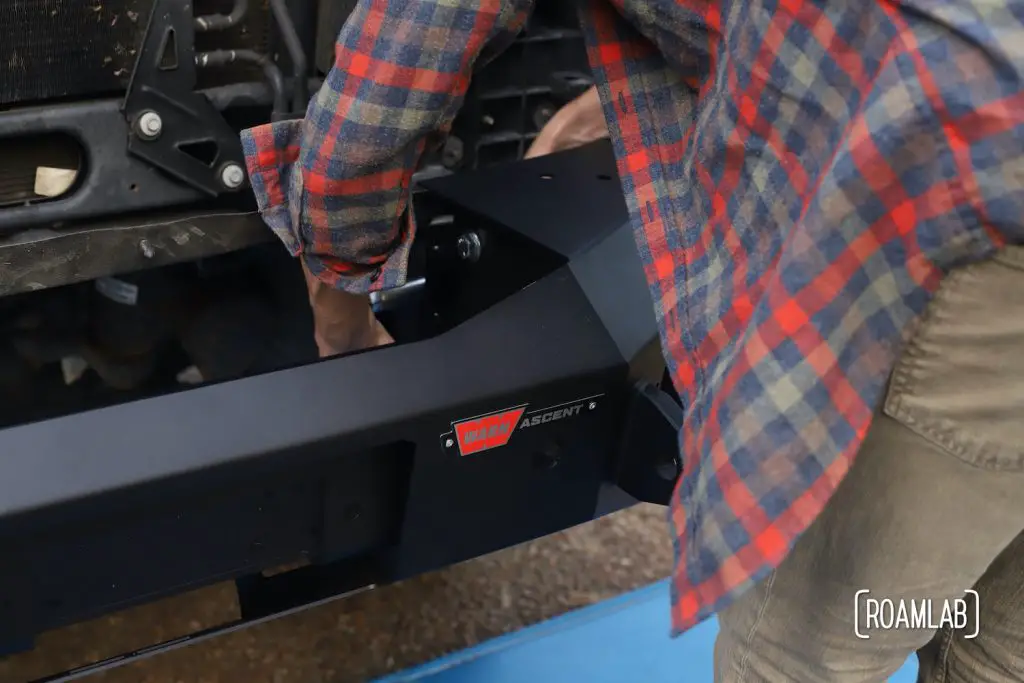
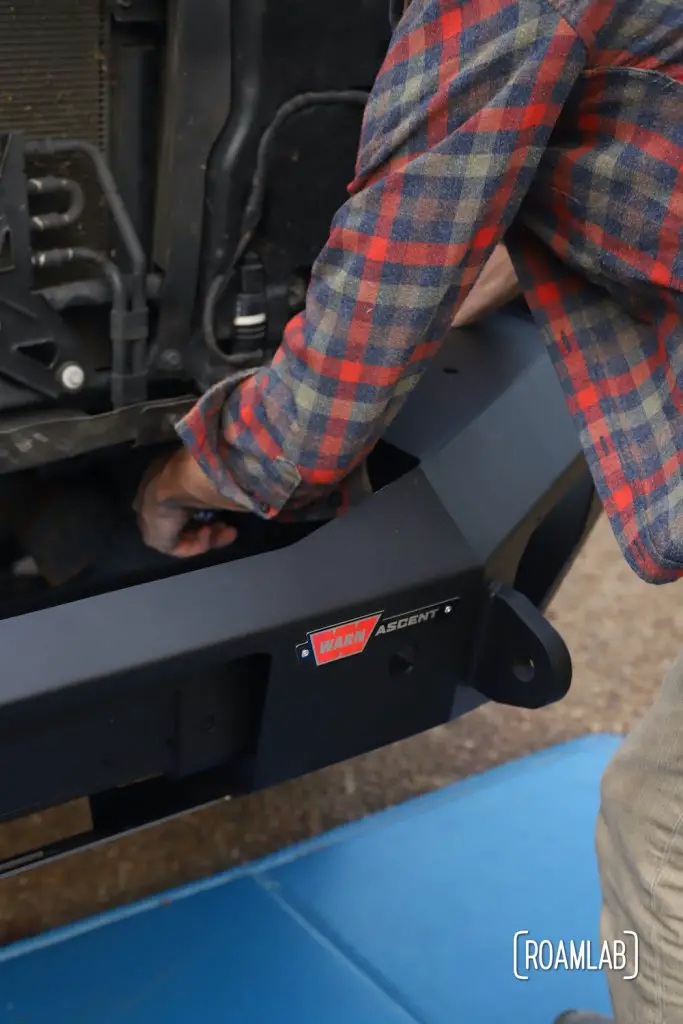
Installing The Warn Ascent Bumper
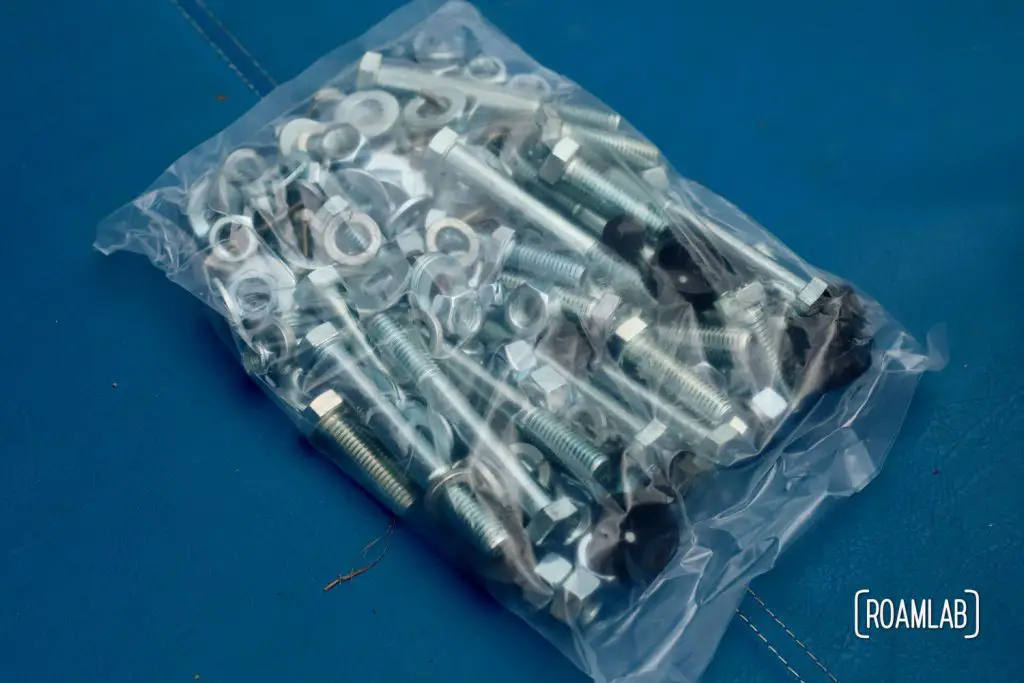
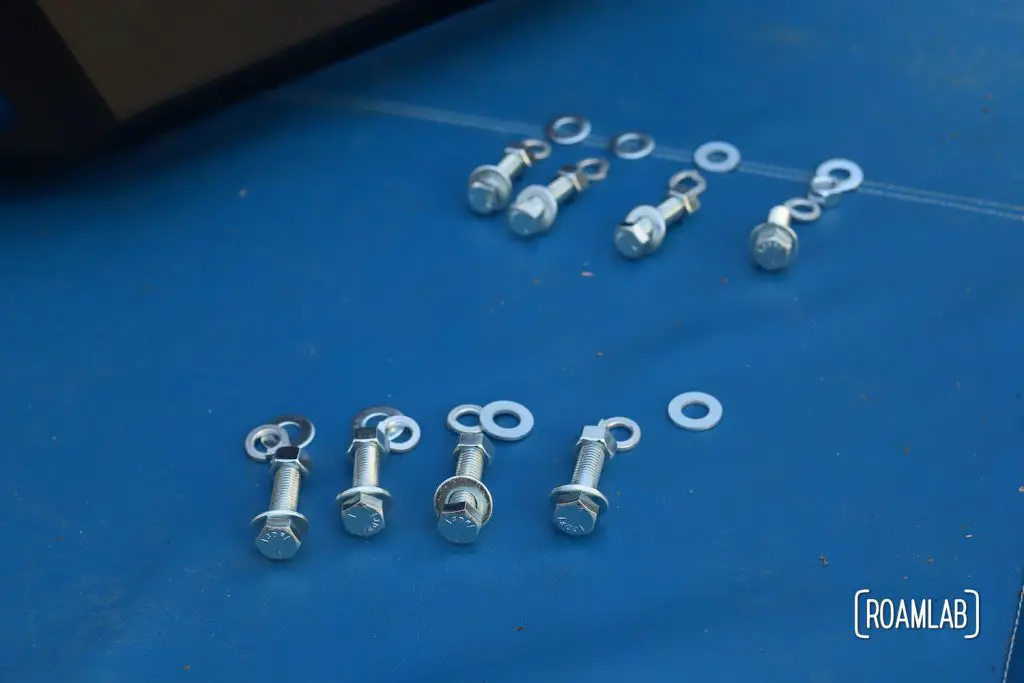
The Warn install directions include beautiful blowouts of the parts and hardware. But we know that there are times that instructions and parts get misplaced. So I’m listing out the specifications of each piece of hardware used in each step.
Mounting the Bumper
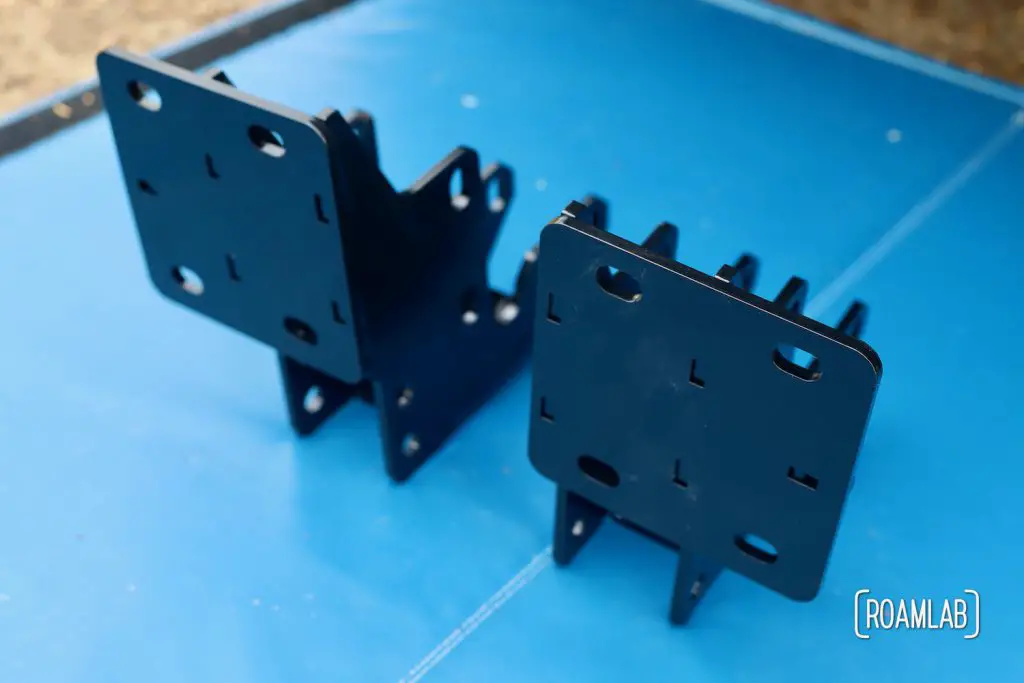
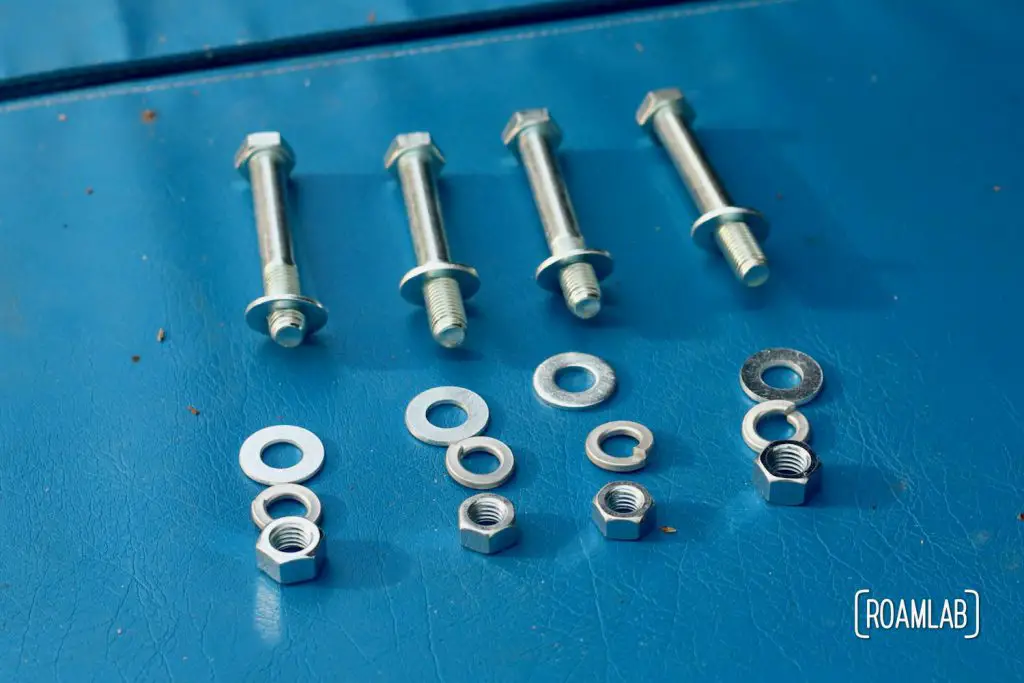
Step 1: Install frame brackets using the same holes freed by the tie bolts and collision brackets. Thread through a ½” -13 x 4″ hex capscrew and ½” flat washing and secured with a ½” flat washer, ½” lock washer, and ½” – 13 hex nut. Only finger tighten at this point.
Step 2: Reinstall the intercooler mounting and hose.
This only applies if you had to remove the intercooler mounting plate and hose in the earlier diesel-only steps. Since we did not, we skip this step.
Step 3: Install bumper mounting brackets, to frame brackets. Bind with a ½” -13 x 1¾” hex capscrew and ½” flat washer secured by a ½” flat washer, ½” lock washer, and ½” – 13 hex nut.
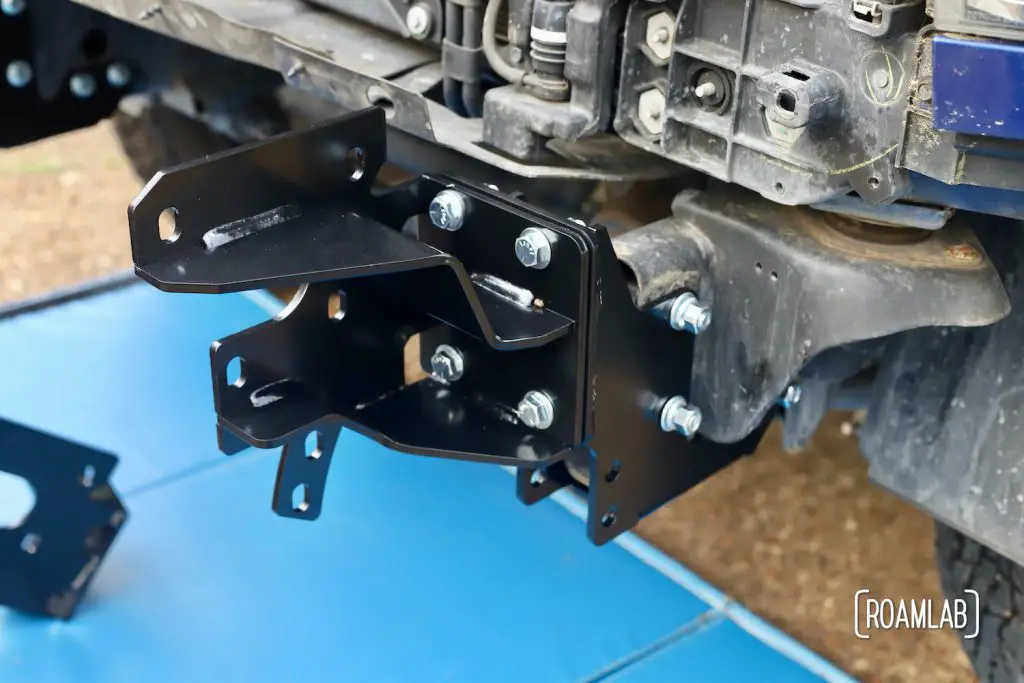
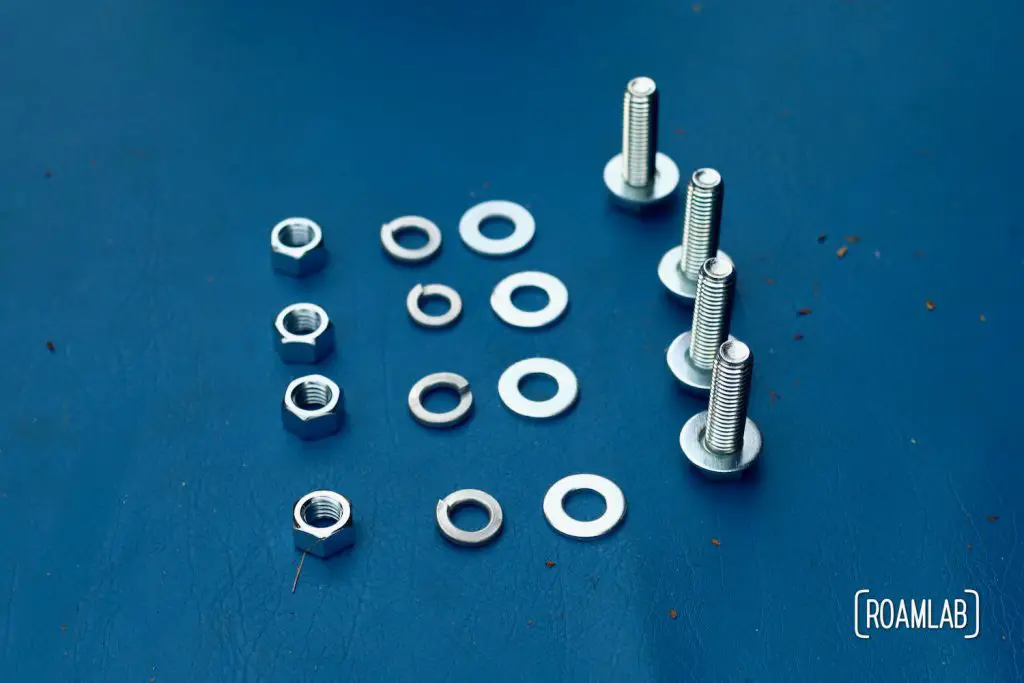
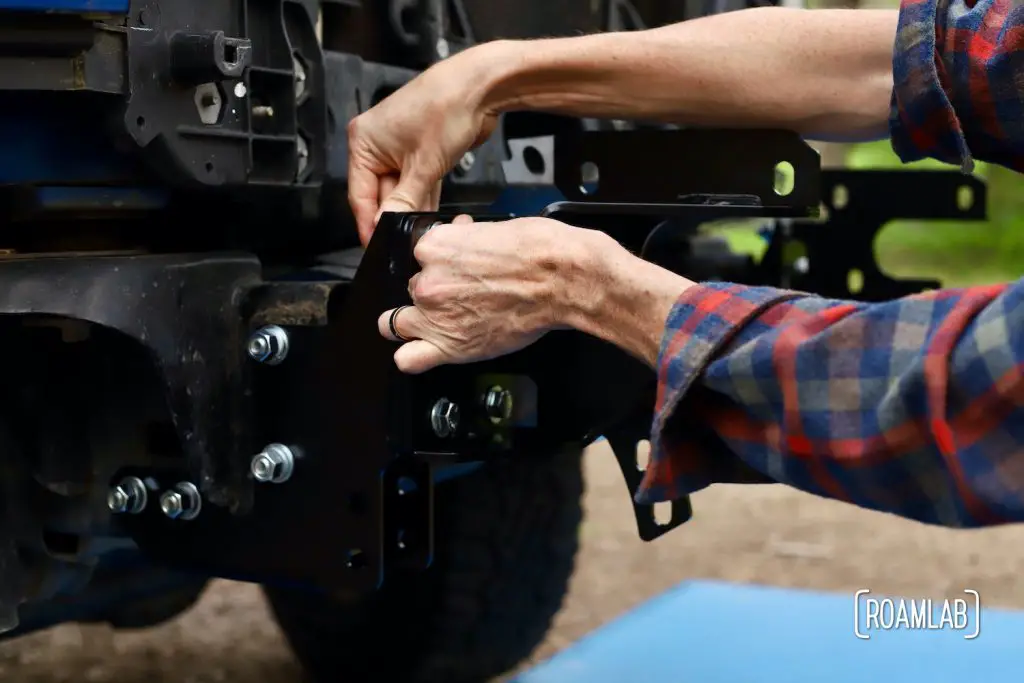
Step 4: With assistance, position the Warn Ascent bumper in place on the bumper mounting brackets. Bolt the top four points with a ½” -13 x 1¾” hex capscrew and ½” flat washer secured by a ½” flat washer, ½” lock washer, and ½” -13 hex nut. Bolt the lower two points with a 7/16″ -14 x 1¼” hex capscrew and ½” flat washer secured by a ½” flat washer, 7/16″ lock washer, and a 7/16″ -14 hex nut.

Step 5: Tighten all hardware from Steps 1, 3, and 4.
For this step, we find it helpful to have one person tightening the nuts and screws while another holds the bumper in place. We first secure everything using our standard ratcheting socket wrench and then use a torque wrench to tighten to Warn’s recommendations.
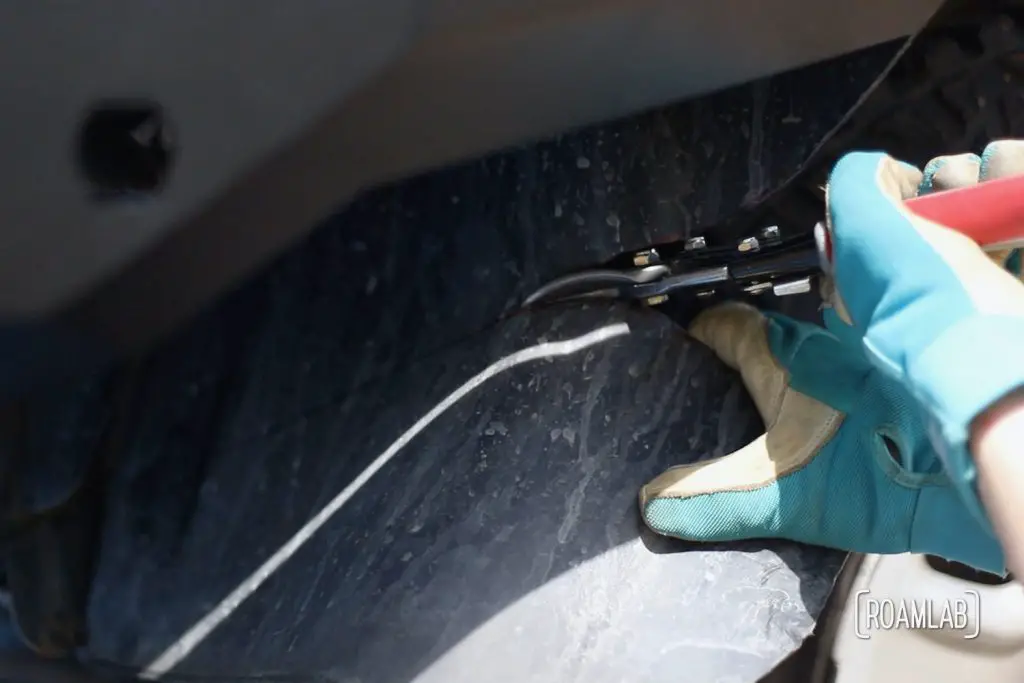
Step 6: Secure block heater plug out of the way with a zip tie.
The blog heater plug was released while removing the truck grille. Not in our case, though. This is another feature that appears to be specific to diesel trucks. In which case, you can just skip this step.
Step 7: Trim excess inner fender flap.
Mark out the new desired outline and cut away the excess flap. I used a wood working crayon and a pair of snips.

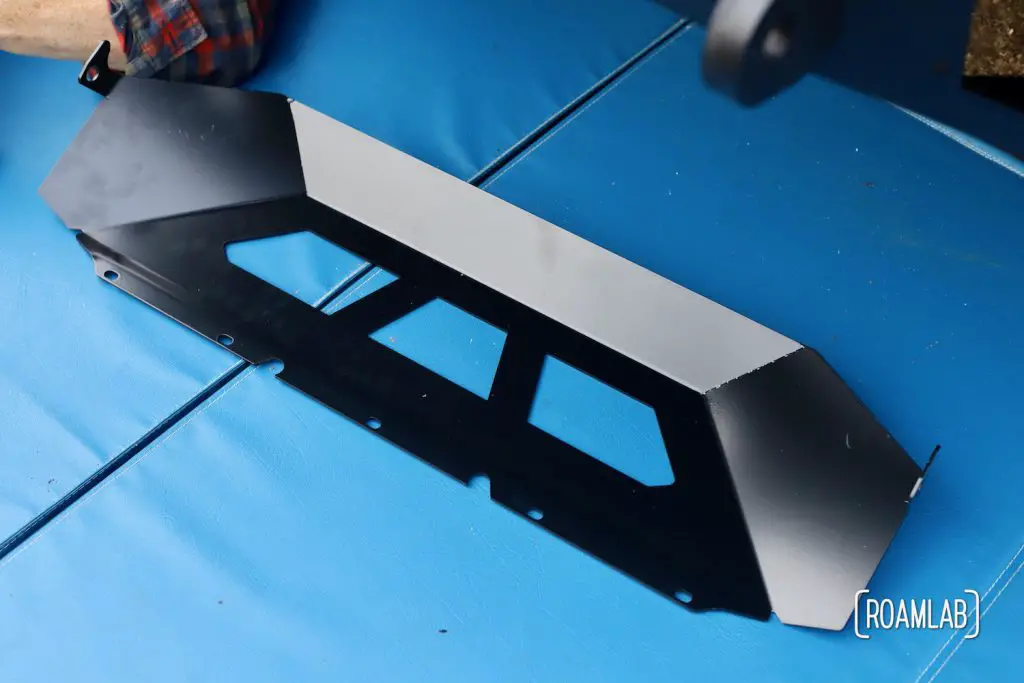
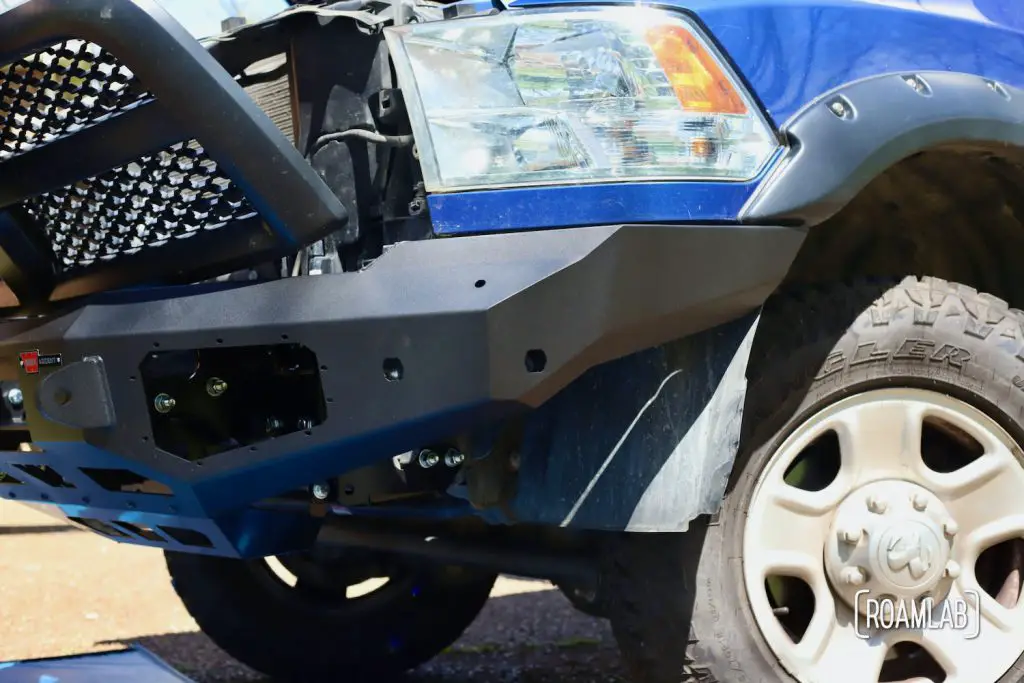
Step 8: Install skid plate to front bumper using five 5/16″ – 18 x 1″ button head capscrews secured with 5/16 – 18 lock nuts. Bolt skid plate to frame brackets with a ½” – 13 x 4″ hex capscrew and ½” flat washing and secured with a ½” flat washer, ½” lock washer, and ½” – 13 hex nut.
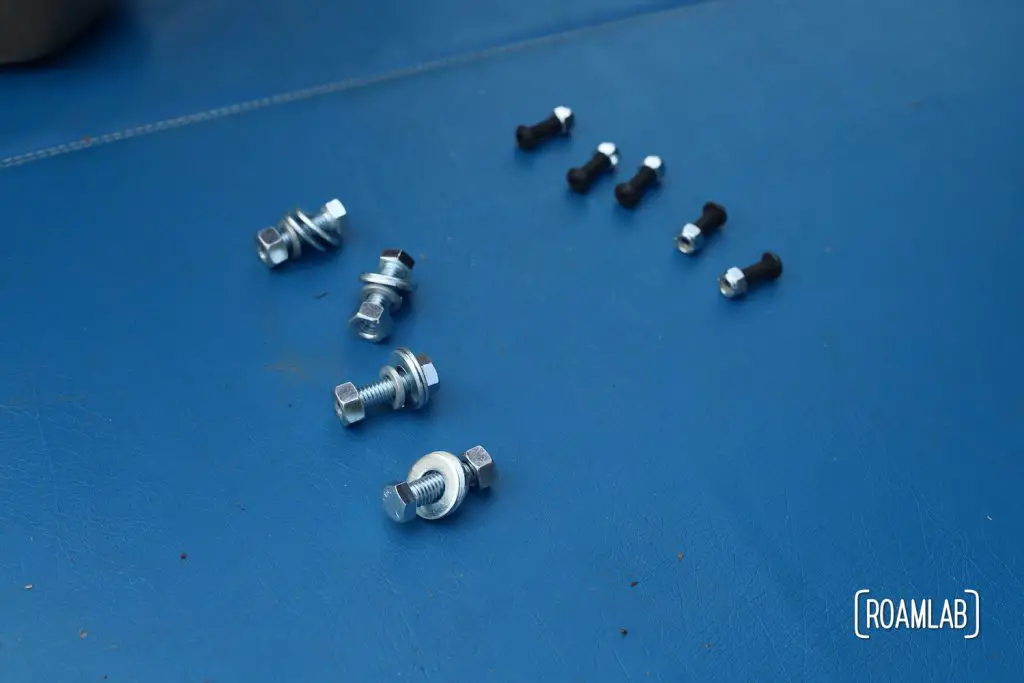
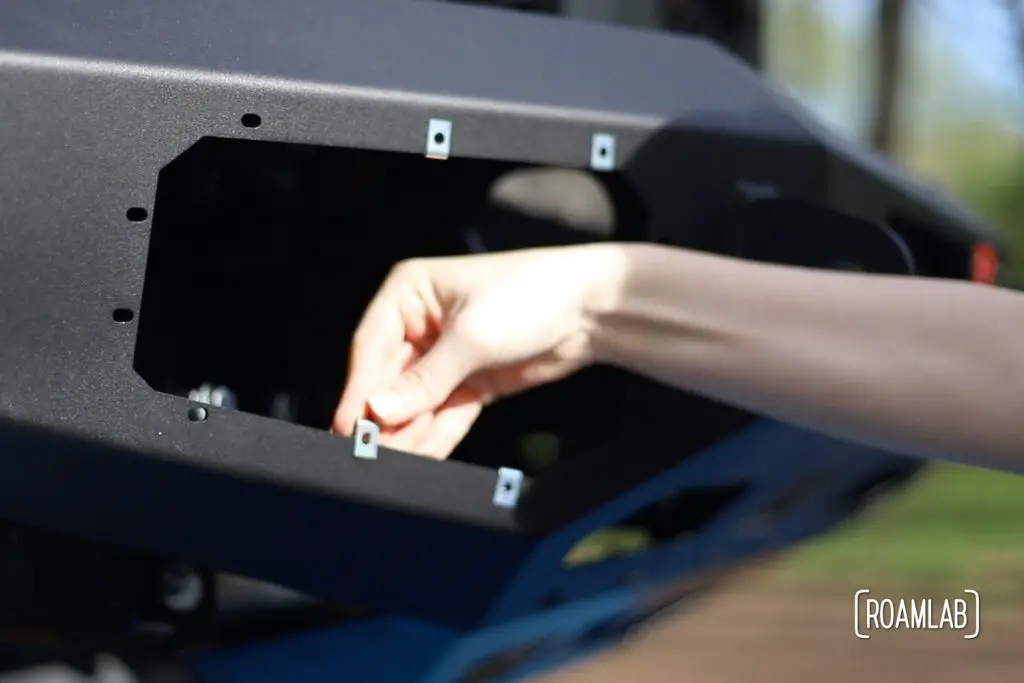
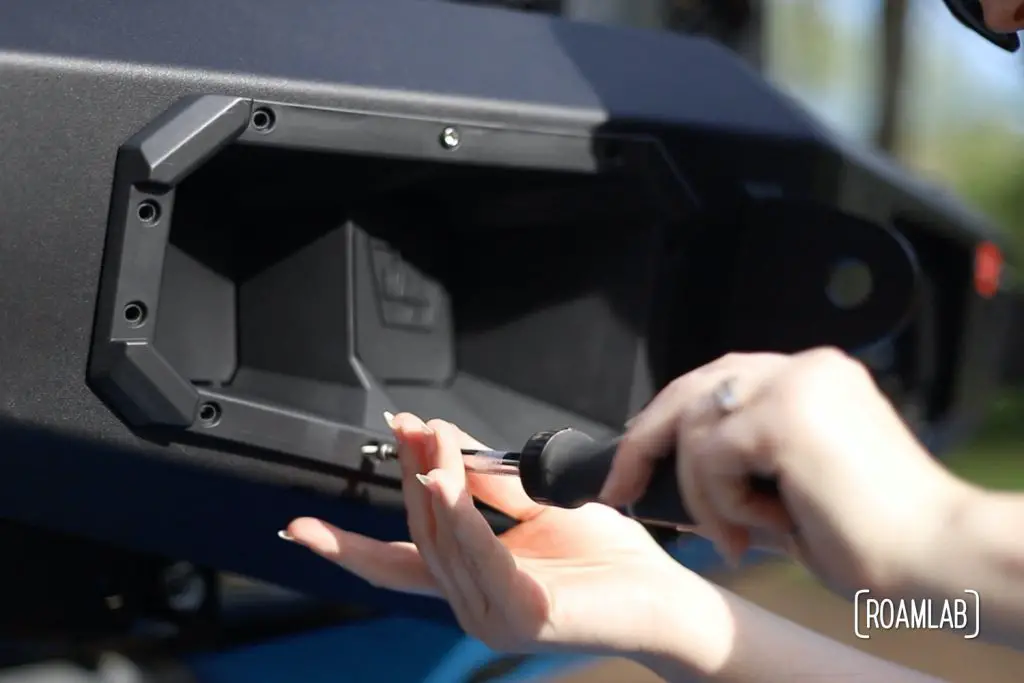
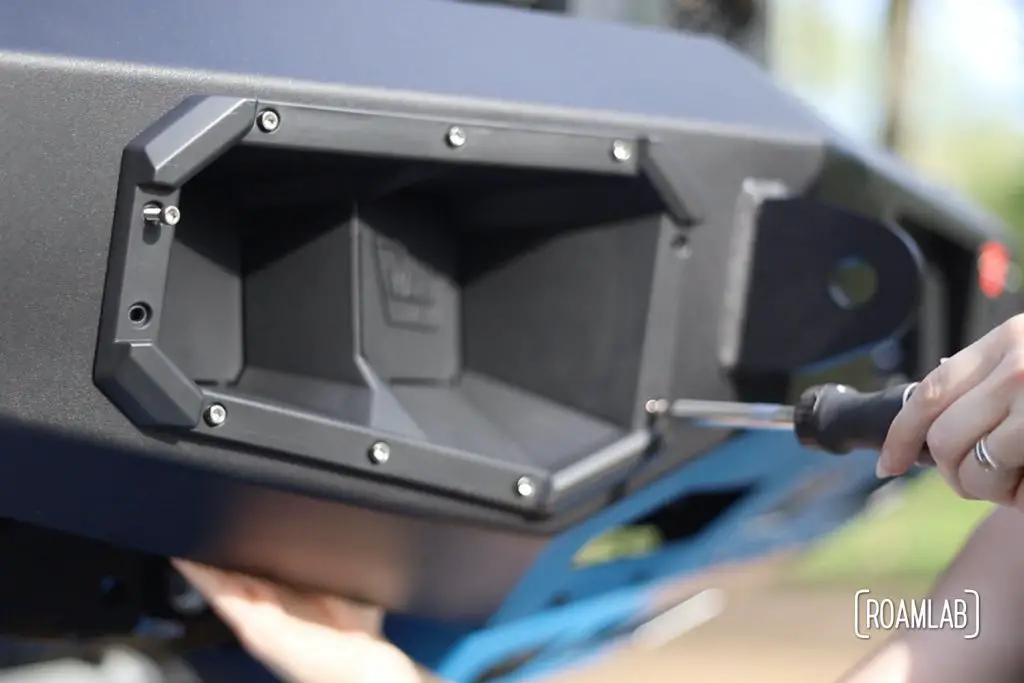
Step 9: Mount light bracket and light ports to bumper. All are secured using #10 – 24×1¼” socket head capscrews through U spring nuts.
The light port brackets are secured by the capscrews on the left and right sides of the light ports.
Lights do not come with the Warn Ascent Bumper. Fortunately, the brackets are designed to take the very common 3-inch pod lights that most any off-road lighting supplier will carry. We’ll get more into detail about those at a future post.
Transferring the Park Sensors
With the lights in place, this would be the point where you remove the parking sensors, harness, and carriage from the stock bumper and install them on your bumper. We have a bare bones Tradesman truck model, however. So, we don’t have any parking sensors.
Final Touches
Step 1: Plug unused holes for Baja Tubes and parking sensors with provided hole plugs.
Final Thoughts
There is a fair bit of wiggle room when mounting the bumper. So, the first time we tightened the bolts, we thought the bumper looked a little unaligned. By loosening the bolts and having one person hold the bumper in place while the other retightened the bolts, we were much happier with the final alignments.
Of course, we still have more to do. The bumper does not come with lights. So we will be selecting lights to fill those slots on the bumper. More to the point, we are ready for our next step: Installing a Warn Zeon Winch.