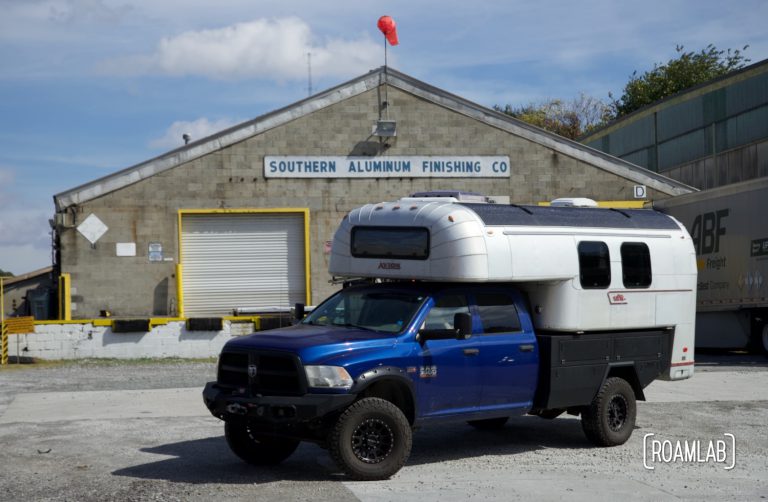
After years wandering overland trails in our 2015 Ram 3500 Tradesman truck, it’s about time for some off-road upgrades. First on our list is a winch. For a winch, we need a solid front bumper that will support said winch. To install a new front bumper, we need to remove the old. And, to remove the old, we need to remove the grille of our 2015 Ram 3500 Tradesman truck. So, in this post we will break down the process to remove the truck grille.
Equipment
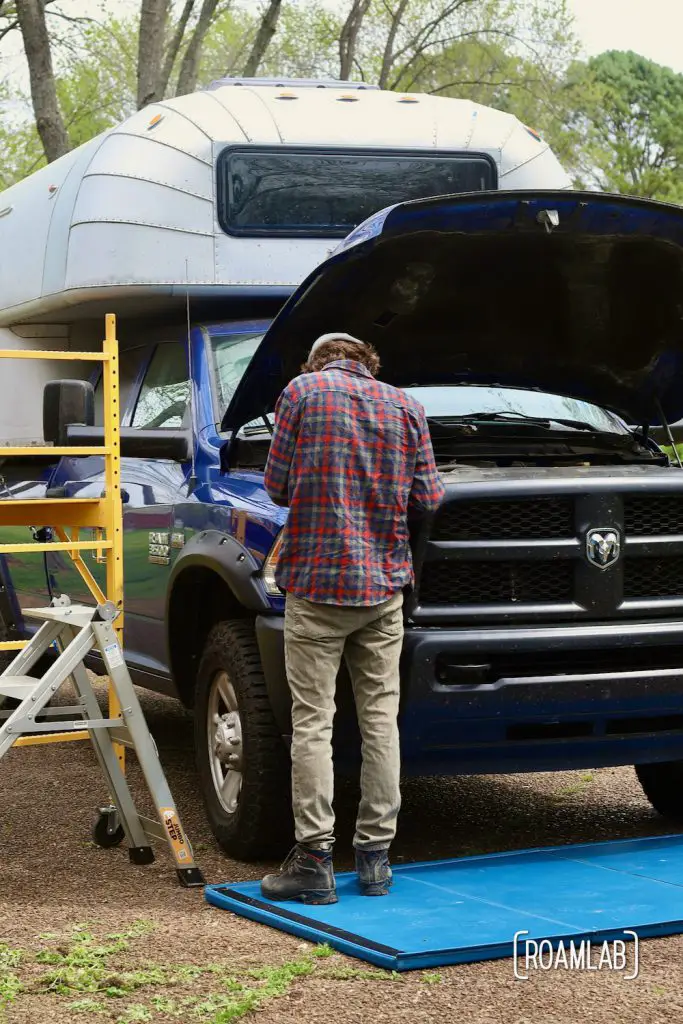
Removing the grille is a relatively quick and strait forward process, provided you have the right equipment. We’ve accumulated a lot of tools over our years of DIY camper and truck projects, but there was a particular specialized tool we needed for this project: a panel clip removal tool or panel clip pliers. Overall, be sure you have the following handy before you start work:
Removing the Grille
There is something you should know about our truck: it’s a gasser. Most one-ton trucks are diesel but with our particular use case, we opted for gas. We don’t consider this to be a terribly relevant characteristic until we start removing the grille. A lot of instructions are for handling hardware particular to a diesel truck. So, it turns out we have an even easier time removing the grille than most will.
Unless you are removing the grille to replace it, be sure to have a secure location to store the clips and screws you remove while following these directions. Personally, I like to use a piece of paper, a roll of packing tape, and a pen. After I complete each step, I place any removed clips and screws on the sticky side of a strip of packing tape, tape it to the paper, and then label that step with the step I just finished. That way, I can reverse my way through the steps and confidently locate the appropriate hardware.
Let’s Get Started!
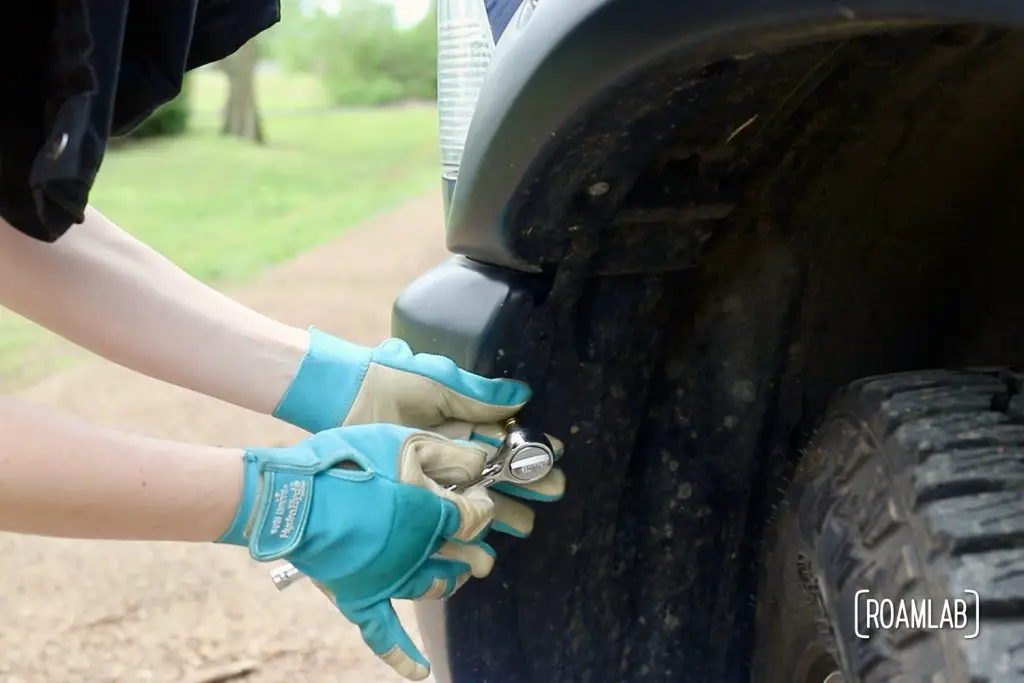
Step 1: Remove lowest screw from inner fender well on each side.
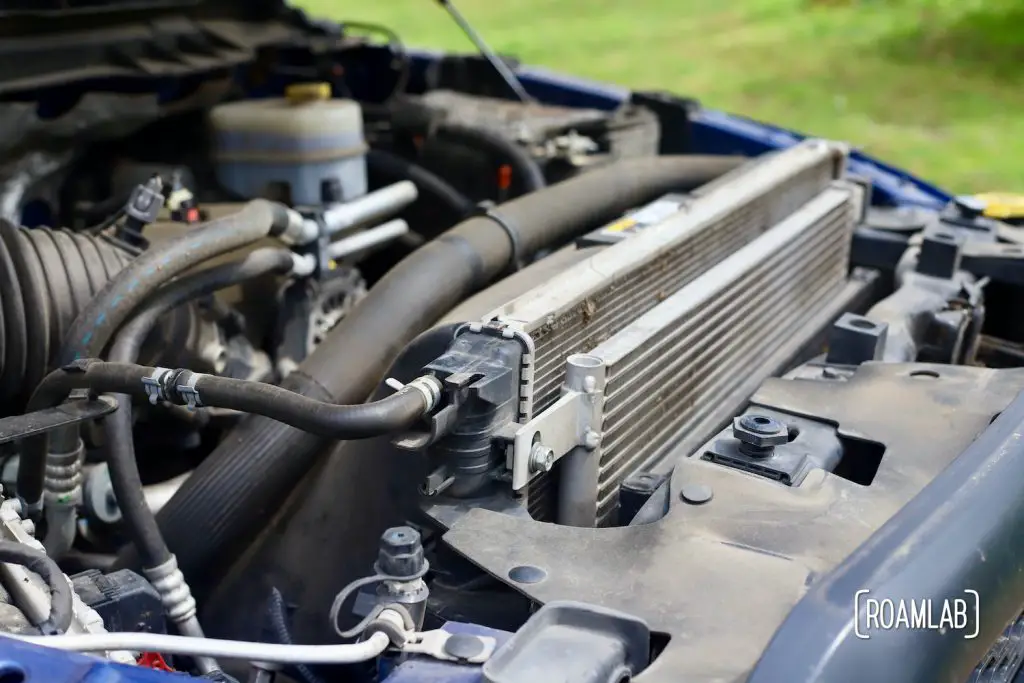
Step 2: Remove four panel clips to free the radiator fan cover.
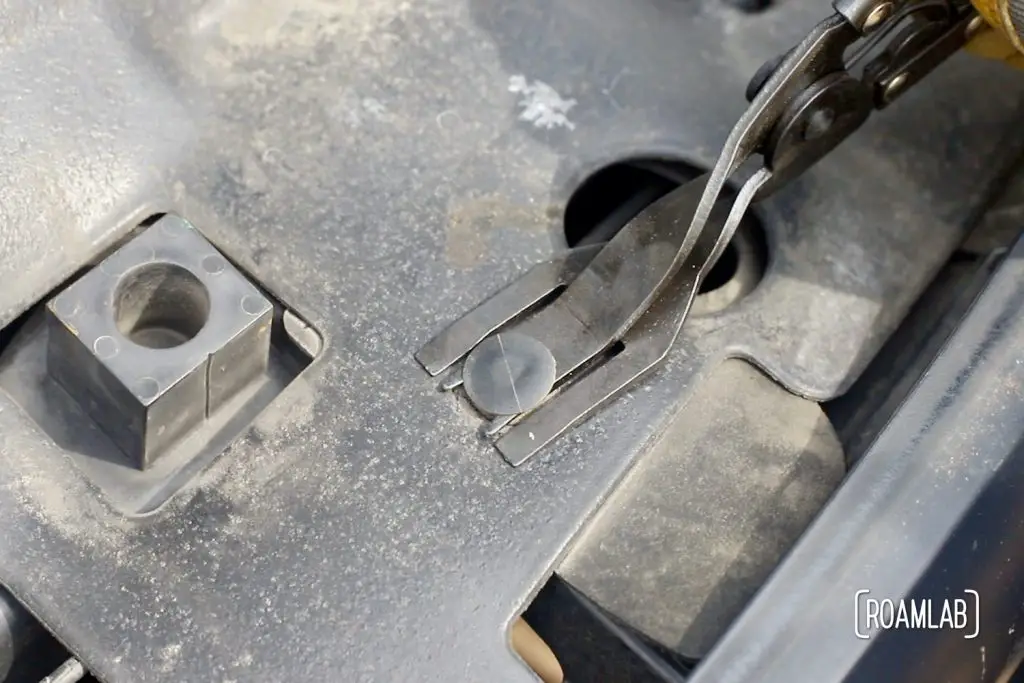
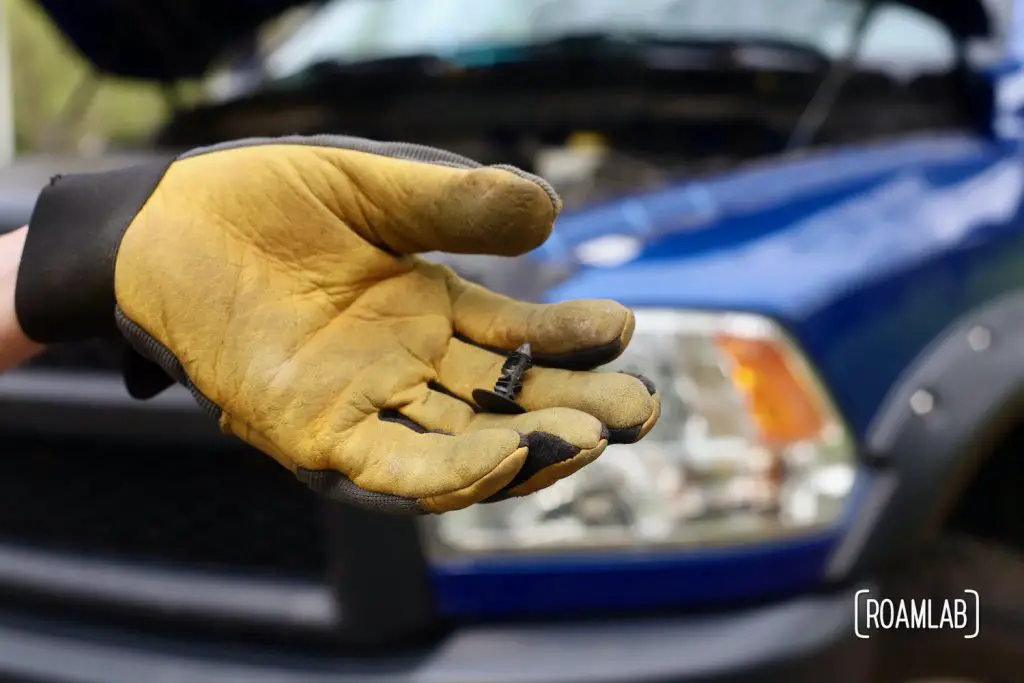
Step 3: Appears to be a diesel only step. You unclip the block heater plug harness from the bumper, found on the right side of the vehicle, near the tow hook. But we have a gasser. So we just move on to Step 4.
Step 4: Remove four flange head screws securing the grille.
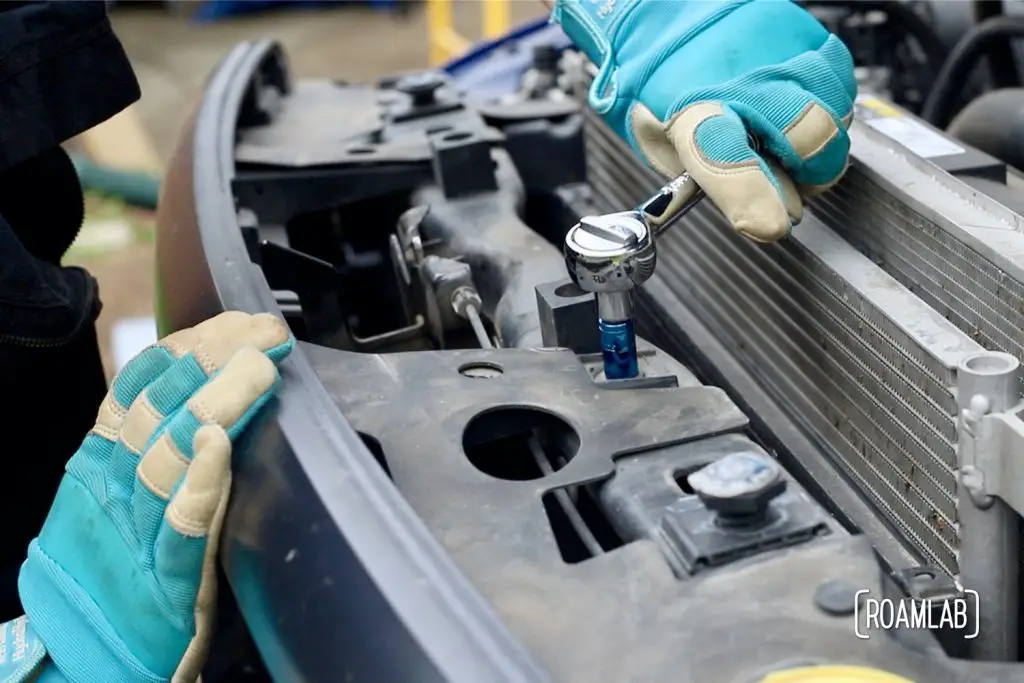
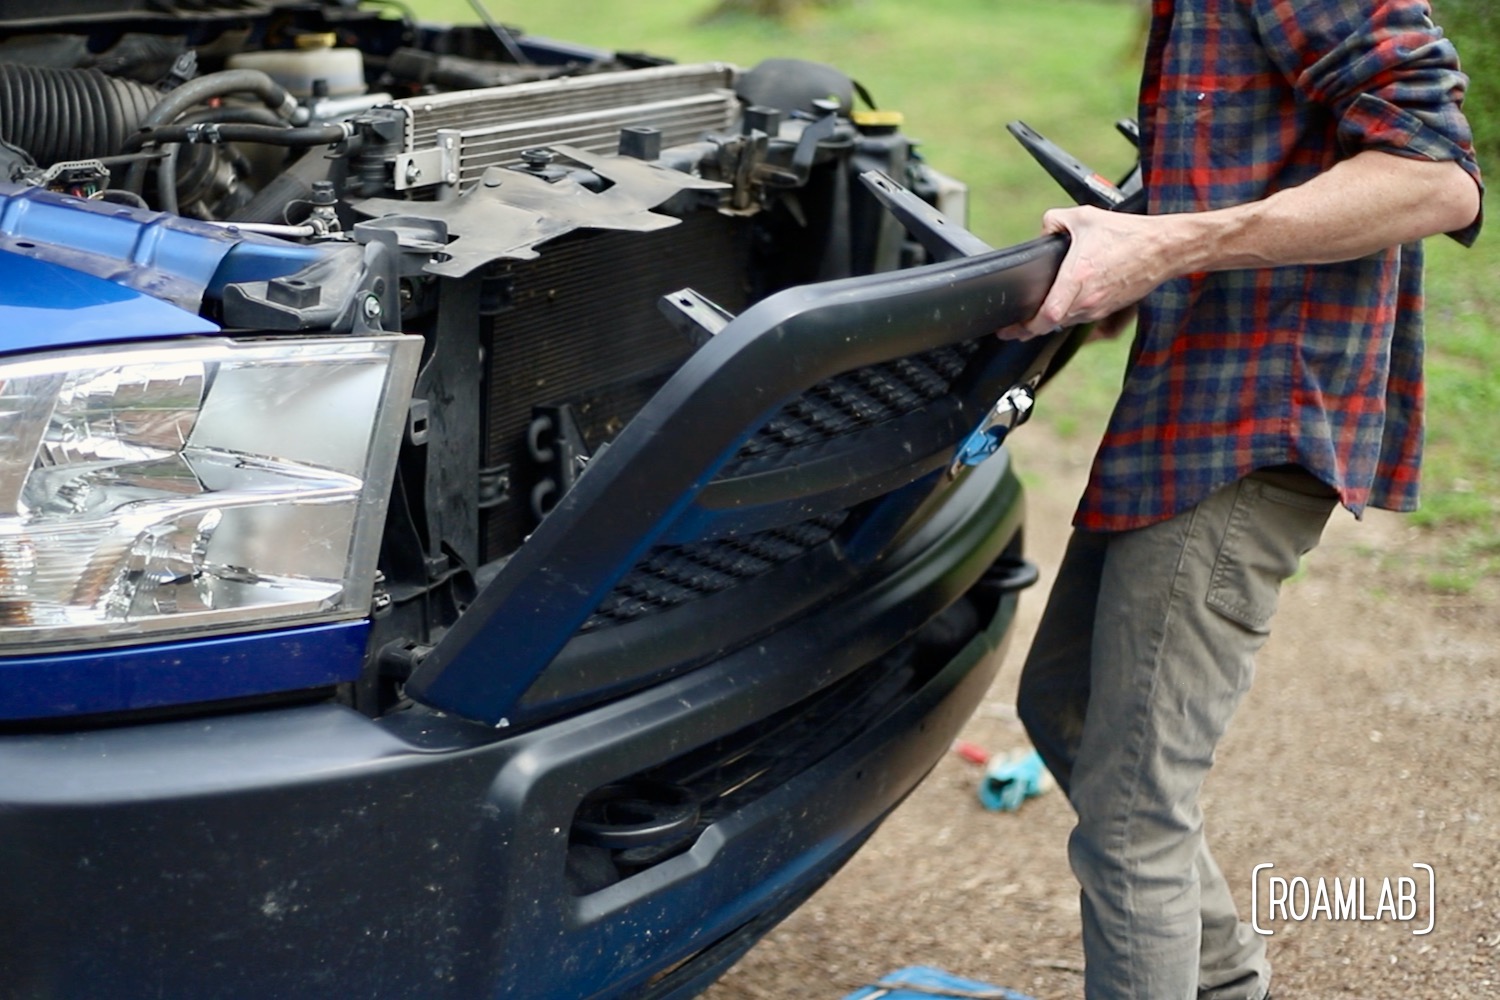
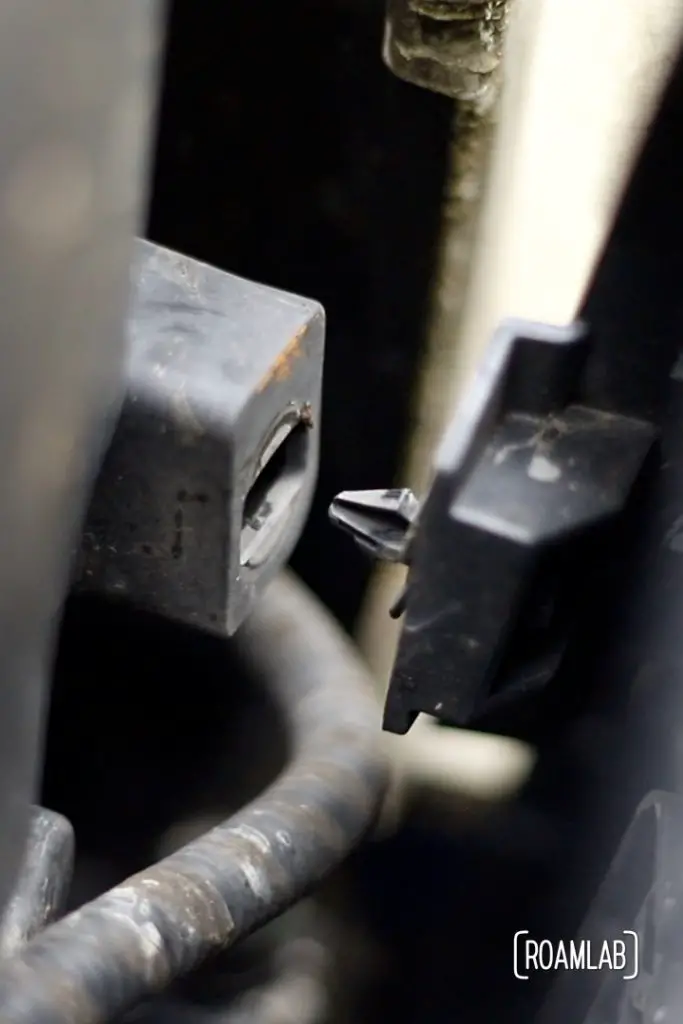
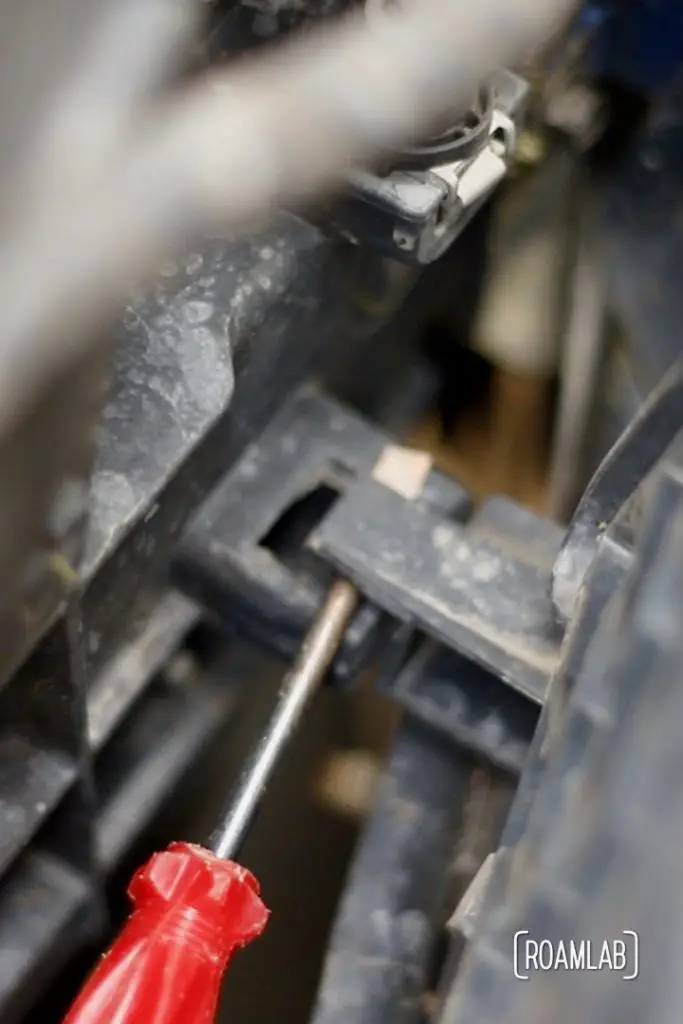
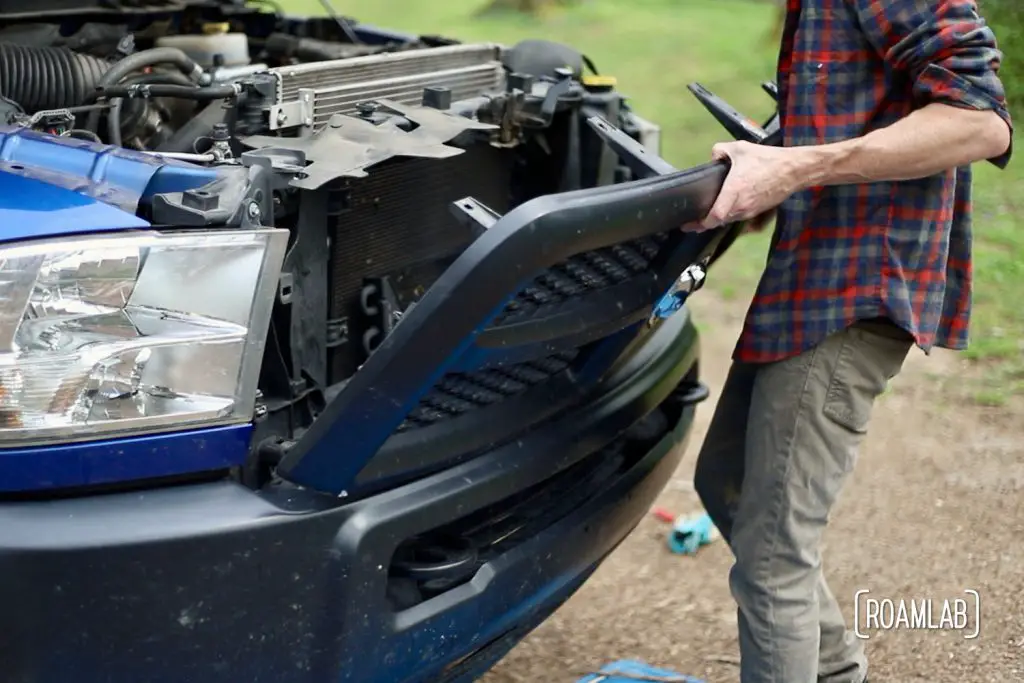
Step 5: Carefully pull the grille away from the truck body. Release two clips on each side. The top clip releases with gradual even pressure. The bottom clip is similar to the top clip with an additional tab that you pull up to release. I wedged a flat head screw driver to hold up the tab so that I could use both hands to carefully pull the grille free of the last clip.
Final Thoughts
This is a surprisingly simple process. I was particularly concerned about removing the clips in step 5 since I couldn’t see what I was doing and I’m always concerned about breaking old specialized plastic components. It can be such a headache to source replacements. All the same, a gentle but firm pull easily released the top set and a screw driver made quick work of the lower set.
There isn’t any special considerations when remounting the grille. Everything fits back in place very easily so long as you haven’t damaged any clips during the removal process. So, simply reverse the directions.
While the grille is unmounted, be sure to store the grille, radiator fan cover, and hardware together. It can be such a headache to replace a missing screw. I like to tape all the smaller pieces onto the larger pieces. This is also a point where it’s way too easy to scuff up your grille. So make sure it’s set aside some where safe and out of the way.
All the same, we are ready for our next step: Removing the bumper.
Next Steps
