It’s been over a year and a half since we replaced the truck camper floor. It was one of our first forays into the world of epoxy and fiberglass. At the time, we were not entirely clear on how to balance the use of fiberglass composite, epoxy, and fiberglass cloth. So, I sandwiched insulation in between a fiberglass composite and then sealed the flooring with a coat of epoxy. A year and a half later, and the floor, while very durable, is rather creaky.
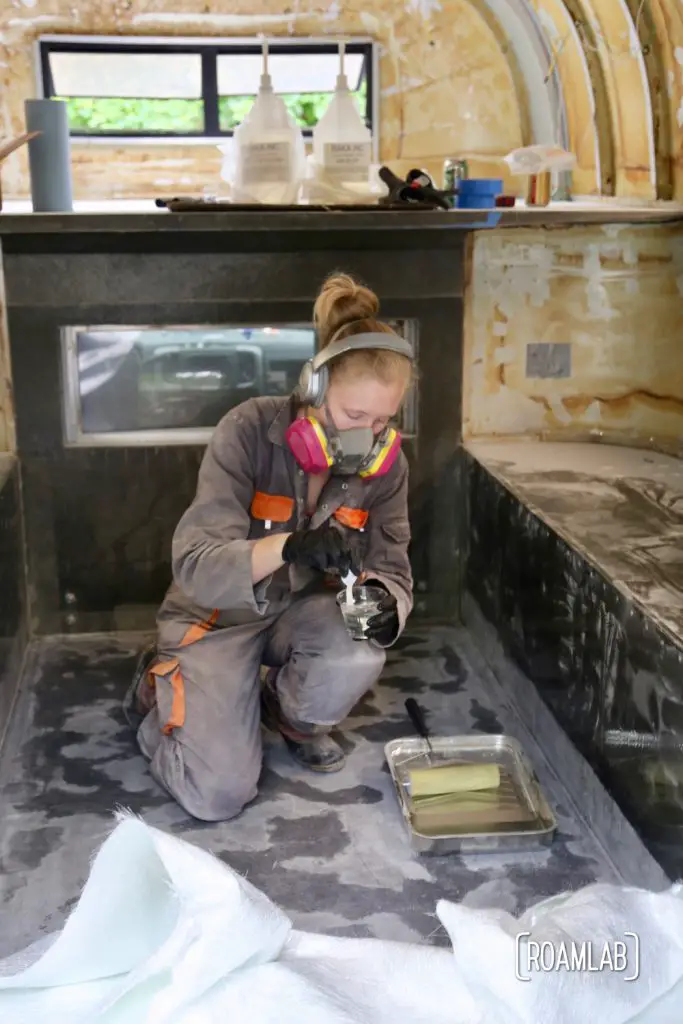
To minimize the creaking and reenforce the floor, we are finally getting around to coating the floor with fiberglass. We are taking this project very seriously. To us, that means employing the same heavy-duty biaxial 1708 fiberglass mat that we used when installing the truck bulwark.
Fiberglass Mat, Epoxy, & A Roller
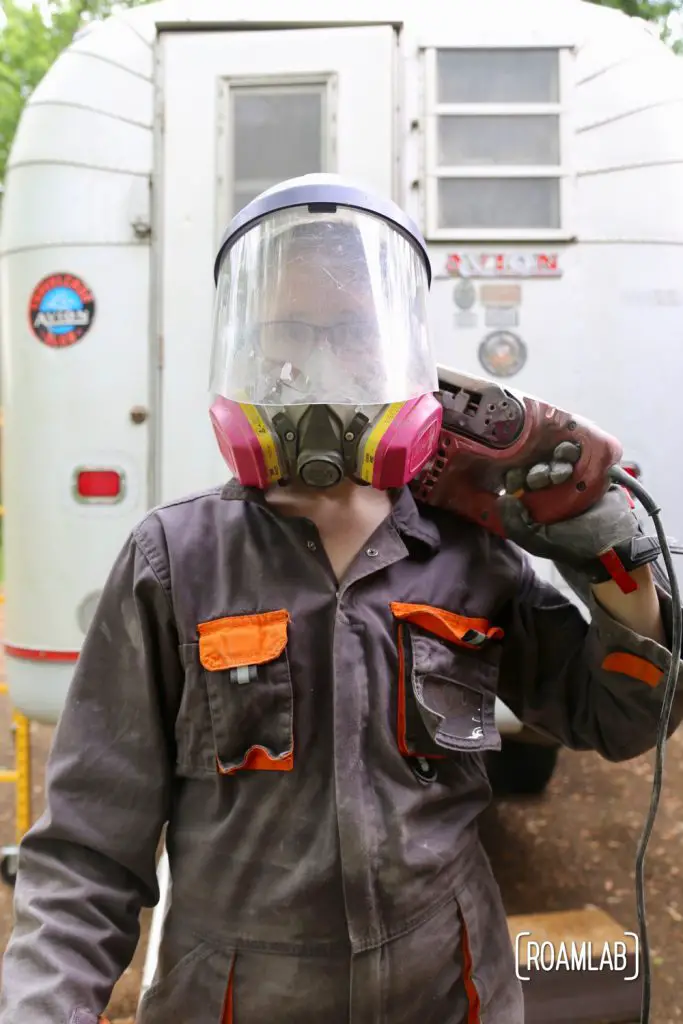
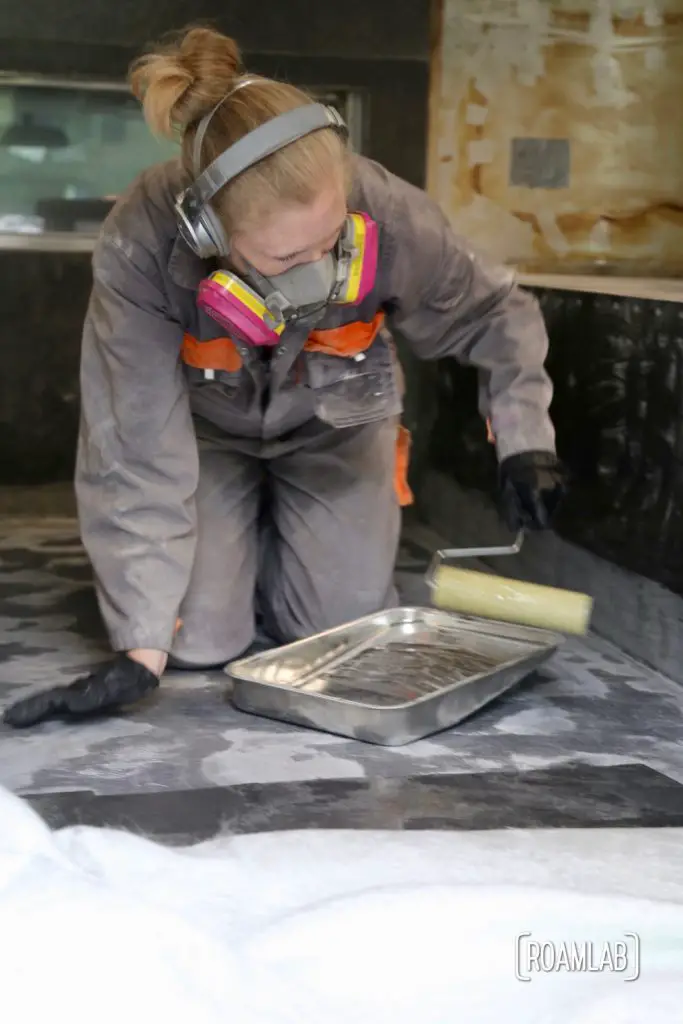
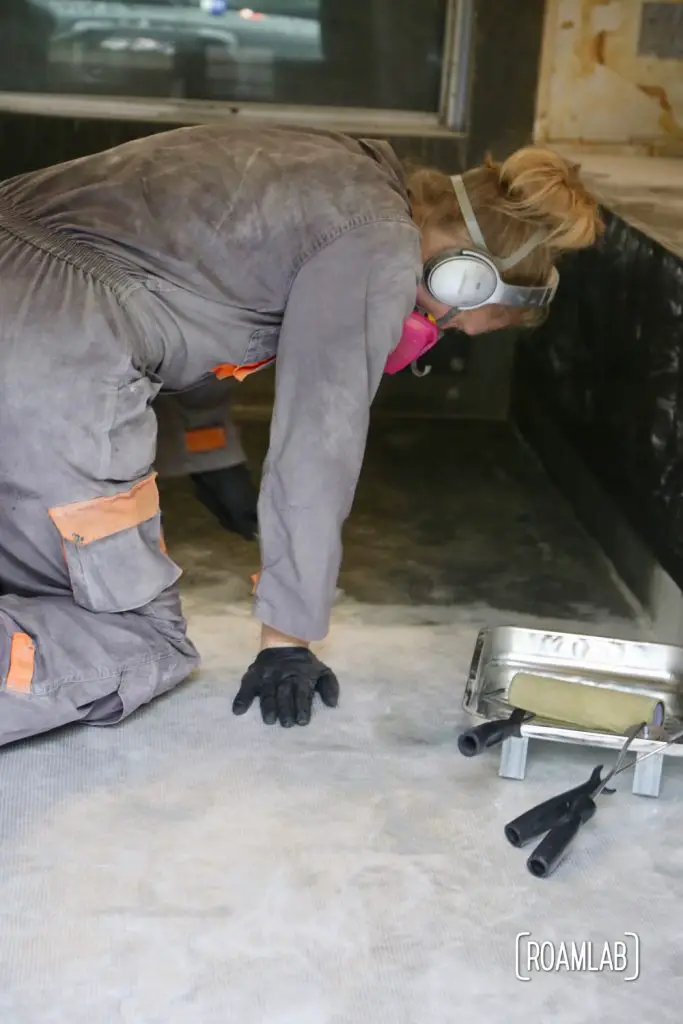
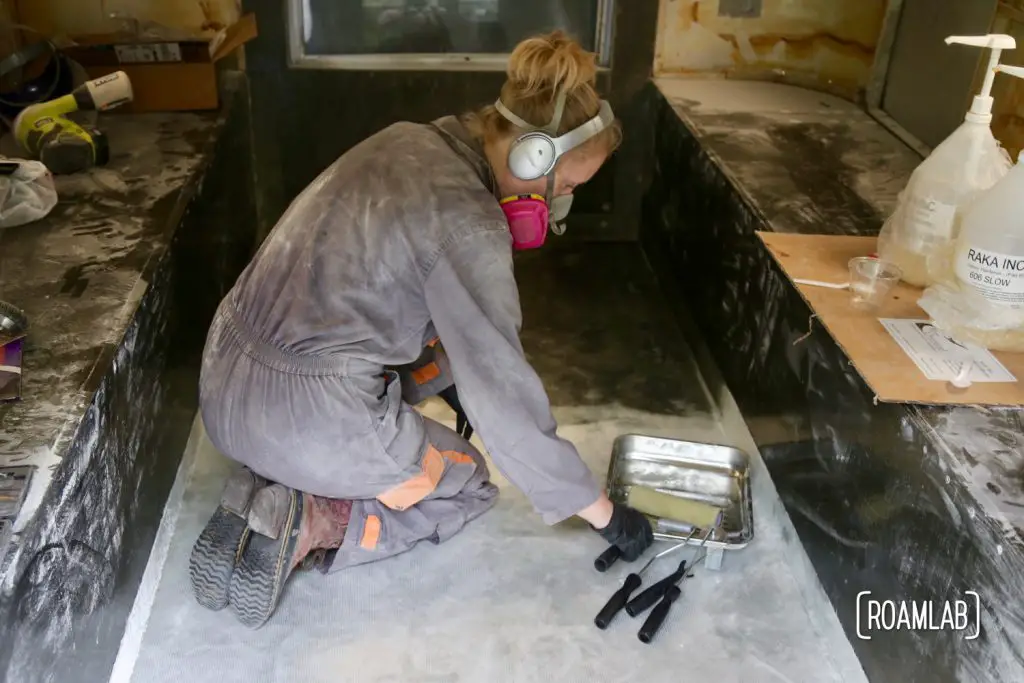
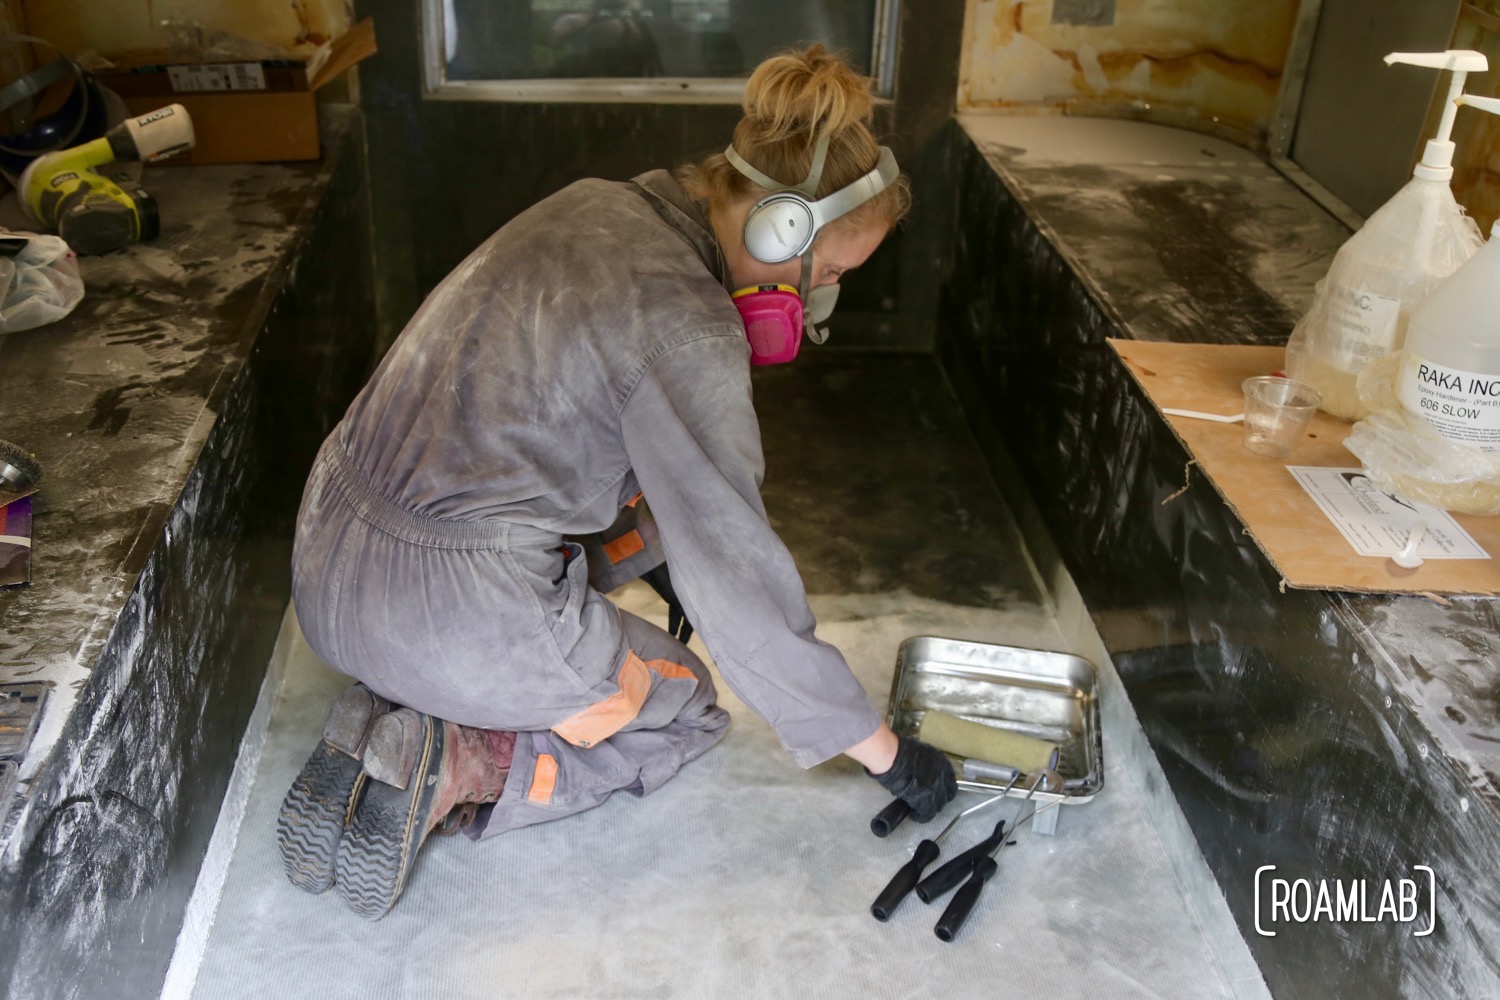
We prep this project by roughing up the original epoxy coat with a belt sander and 60 grit sandpaper. We make a point to thoroughly vacuum and wipe down the floor so that all the epoxy dust from sanding is collected. Now, we are ready to lay down the fiberglass mat. This is a very thirsty process and takes a lot of epoxy and arm muscle to wet down the mat and have it solidly connected to the floor. Once cured, the texture of this mat, is very rough. So, I follow it up with a lighter weight layer of fiberglass cloth for a smooth finish.
Our next step will be to lay down flooring. We are still torn between using planks or a sheet of marmoleum for flooring.


Great article hadn’t thought about using fiberglass. I have an Avion that has flooring under the hot water heater and the front that has bad decking. Just getting started on it. This was very helpful.
LT
Thank you, Lawrence!
Fiberglass has become one of our go-to solutions for something that is reasonably strong but flexible in our Avion. The structural Biaxial 1708 fiberglass mat is tough to work with and thirsty for epoxy, but it is ridiculously strong once it has cured.