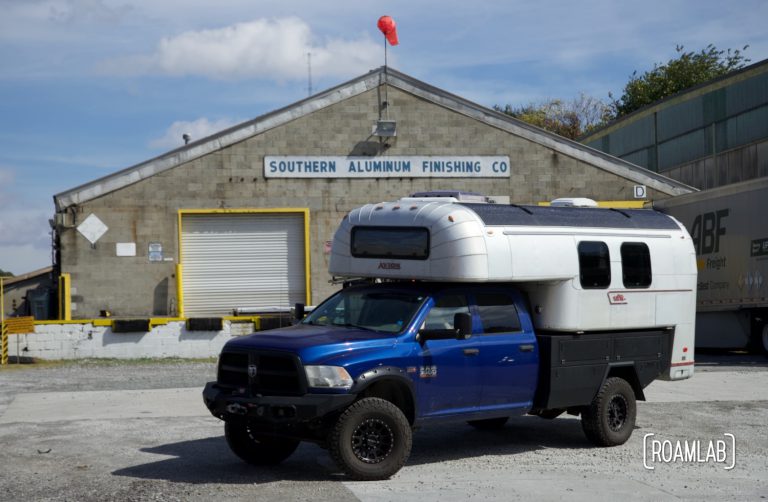
A winch without a line is like a wheel without tread: sure it will spin around but it isn’t going to do much. In order to pull our truck and camper out of mud, snow, sand, or whatever sticky situation has us spinning our wheels and going nowhere, we need a solid line that connects our winch to a suitable anchor point. In our case, it is a Spydura synthetic rope. While tying a rope to just about anything seems like a trivial affair, installing this specialized material properly is critical to get the most out of this rope.
The Build Thus Far
This synthetic rope is the last step in our series of posts on our Warn winch installation. To have a solid mount for our winch we removed the factory grille and front bumper and then installed a new Warn Ascent Front Bumper. This bumper is not only more heavy duty than the factory bumper but also has a tray for our new winch. With a solid base in place, we can finally install our Warn Zeon 12-S Winch. Now it’s time to finish this mod series with the final step: installing synthetic rope on our winch.
- Removing A Truck Grille
- Removing A Front Bumper
- Installing A Warn Ascent Front Bumper
- Installing A Warn Zeon Winch on an Ascent Bumper
- Installing A Spydura Synthetic Rope on a Winch
- Spooling Spydura Synthetic Rope on a Winch
Synthetic Rope vs. Cable
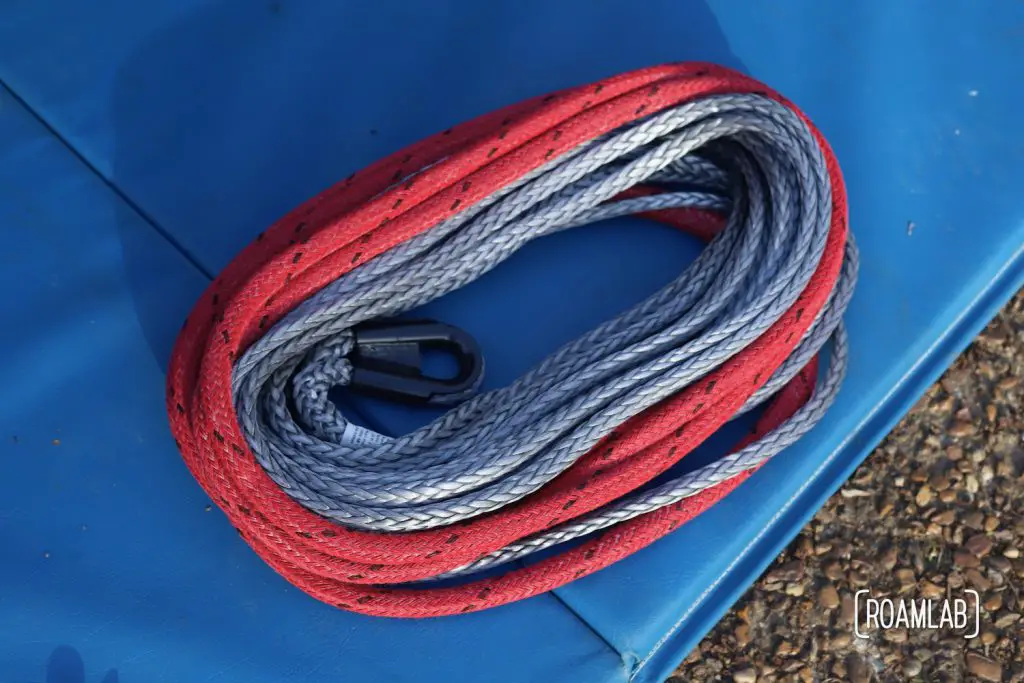
When shopping for winch systems there are many considerations to juggle not the least of which is the line used to connect the winch to whatever the winch will pull against. We have a choice between cable and synthetic rope. I originally assumed we would use cable. The material is strong and meant to withstand a lot of wear and tear. That said, it is also incredibly heavy. Instead, we opt for synthetic rope. The rope is surprisingly light while retaining impressive strength. The compromise is that it is more vulnerable to wear and tear. Even while installing the rope, it is important to avoid rubbing it against rough edges
Attaching The Rope
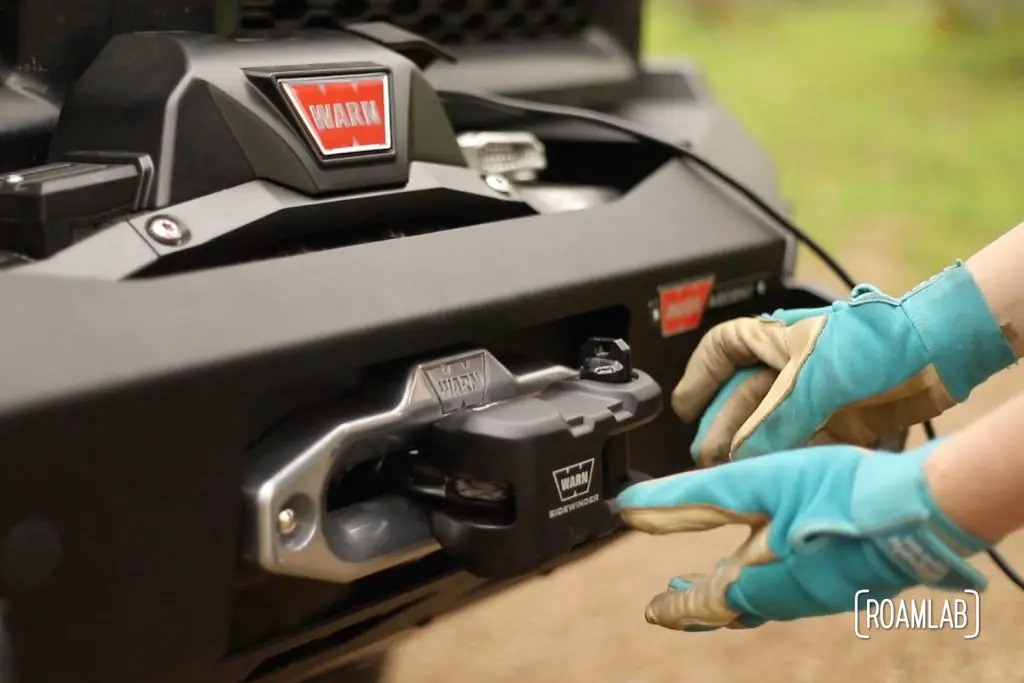
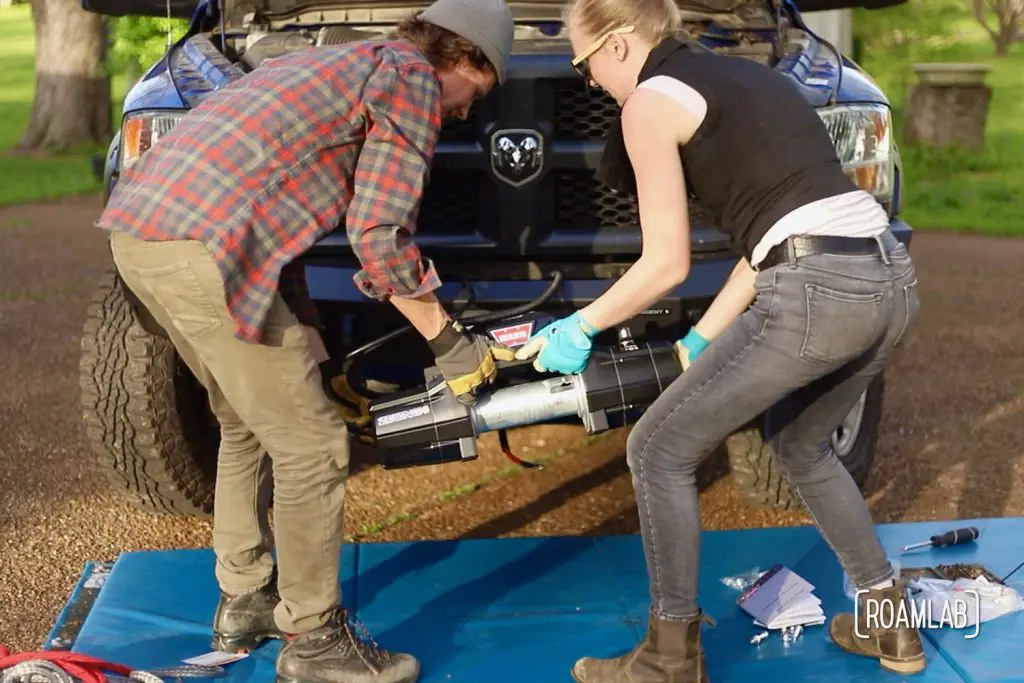
With the winch installed on our front bumper, we now need to secure the synthetic rope to the winch drum. The drum has an “anchor pocket” that the eyelet at the end of the rope feeds through. The eyelet is then locked in place with a rope puck. The end result is a solid mount while maintaining a smooth drum surface for spooling. An elegantly simple concept, but the fit is snug. So it takes a fair bit of muscle and leverage to ensure a solid fit.
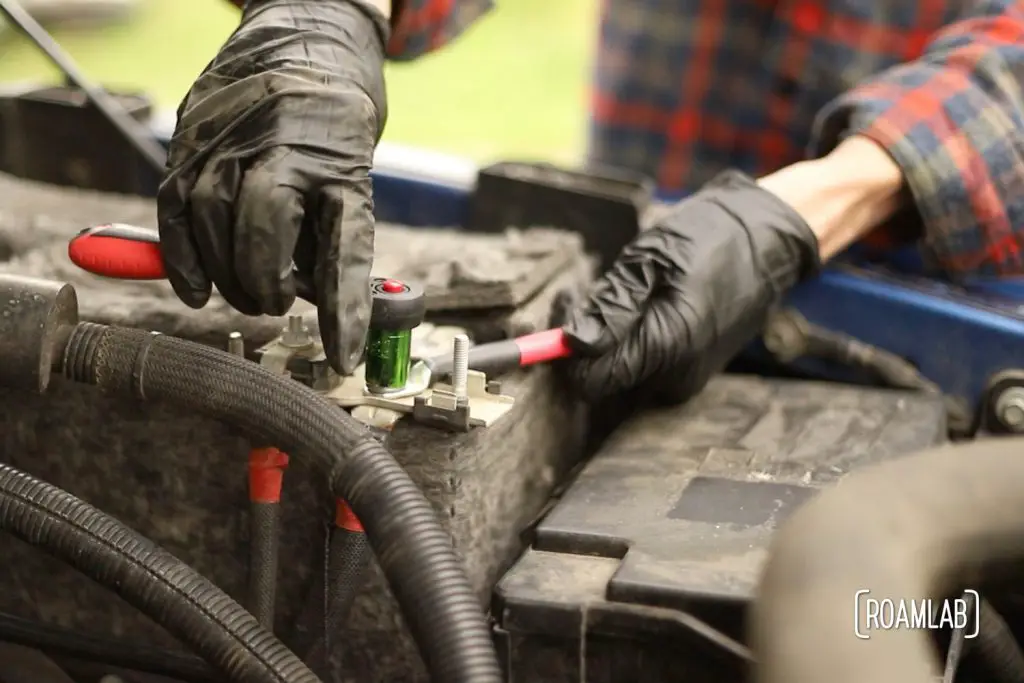
Step 1: Disconnect power to winch.
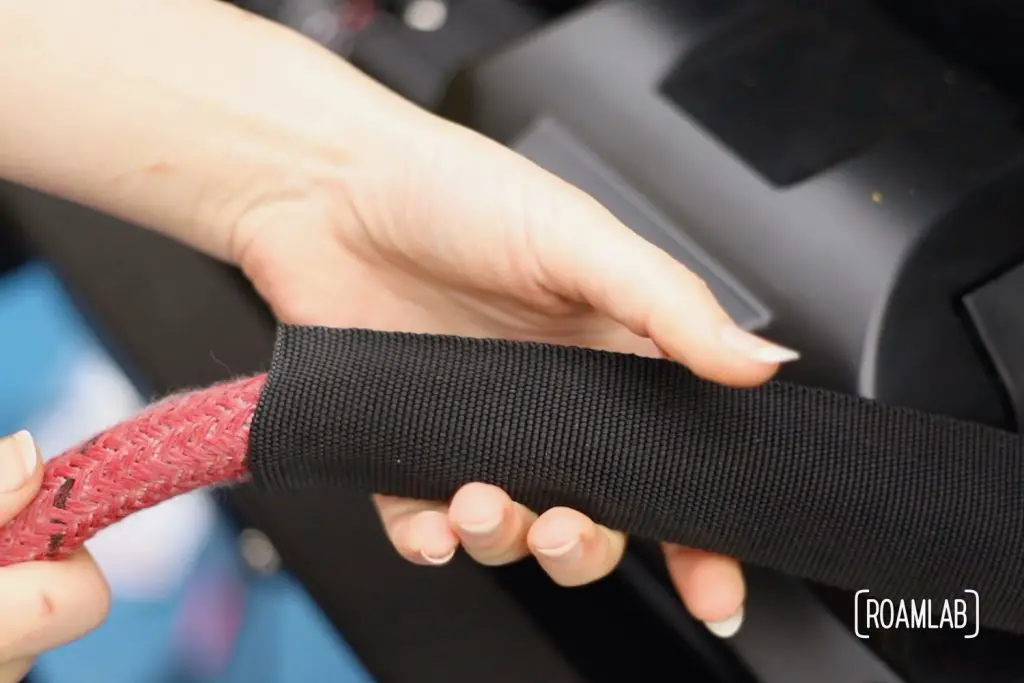
Step 2: Slide abrasion sleeve around the rope, down to the hook end.
The abrasion sleeve does not fit around the rope thimble—the end of the rope that will be attached to the hook. So you have to slide this on at the rope eyelet—the end of the rope that will be attached to the winch drum. I missed this step the first time we installed the rope. So, by the time we realized that we missed the sleeve step, we already had the rope eyelet attached to the drum. That meant we had to detach the rope from the winch drum, which is a headache. All the same, the sleeve is very important for extending the life of the rope. So just remember to do this step first.
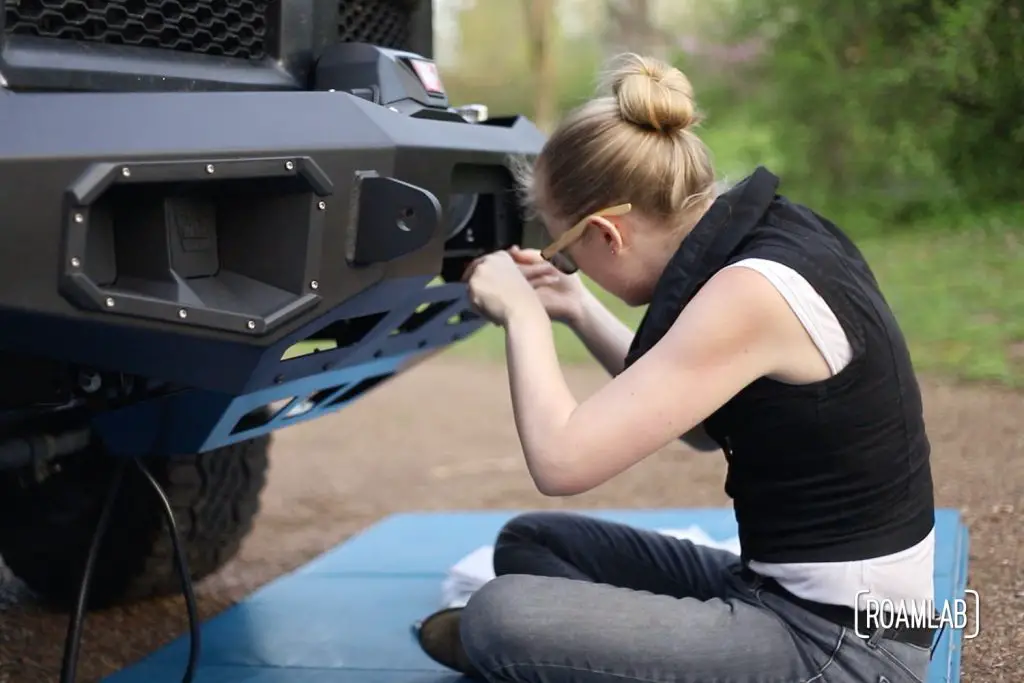
Step 3: Feed rope loop through bumper opening and around winch drum from the bottom.
The direction the rope is looped around matters, in order to properly secure the rope and operate the winch. The loops should enter below the drum and come out above the drum. As you can see in the pictures below.
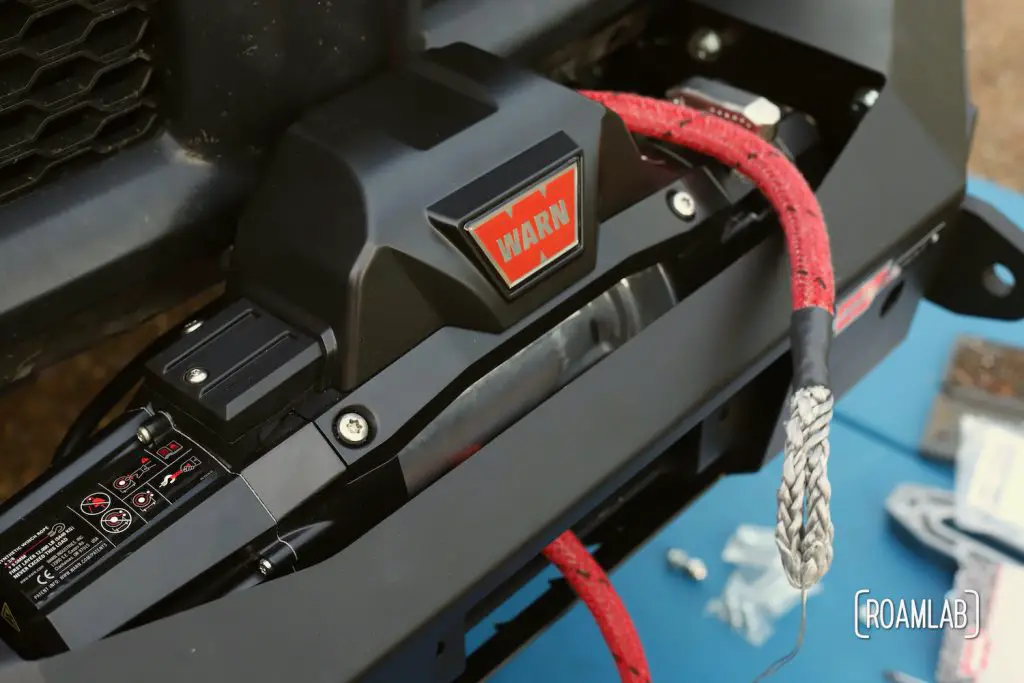
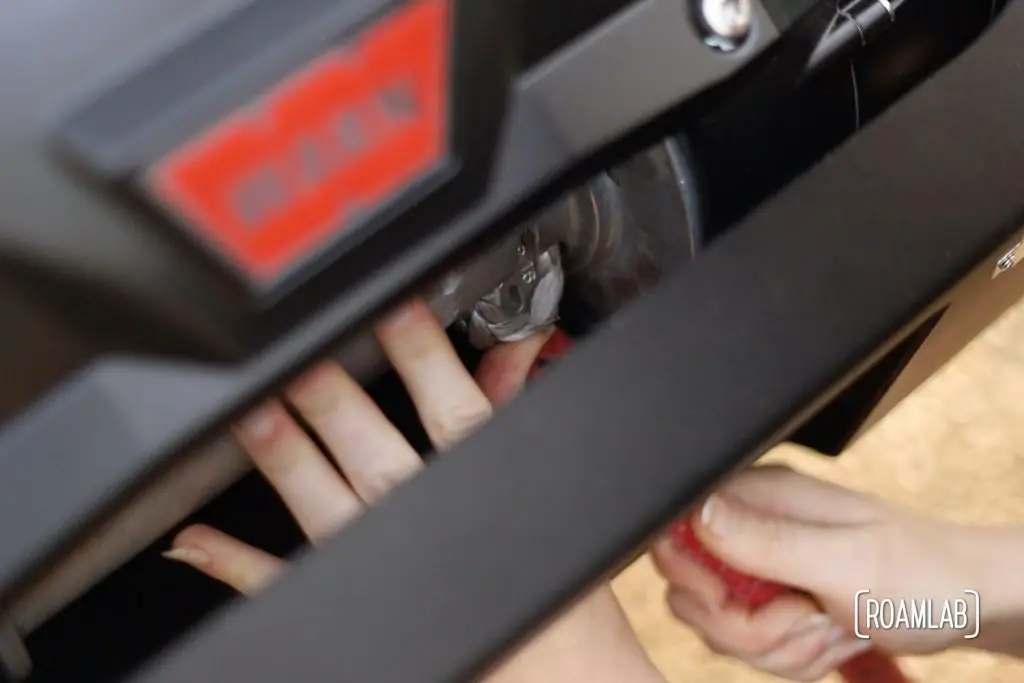
Step 4: Thread the provided installation wire through the rope eyelet and use the wire to feed the rope loop through the anchor pocket on the winch drum.
If something goes wrong and you snap the wire, you can buy some welding wire to replace the snapped piece. While the wire is very flexible, it is also rather brittle and will snap if you keep bending it back and forth like we did.
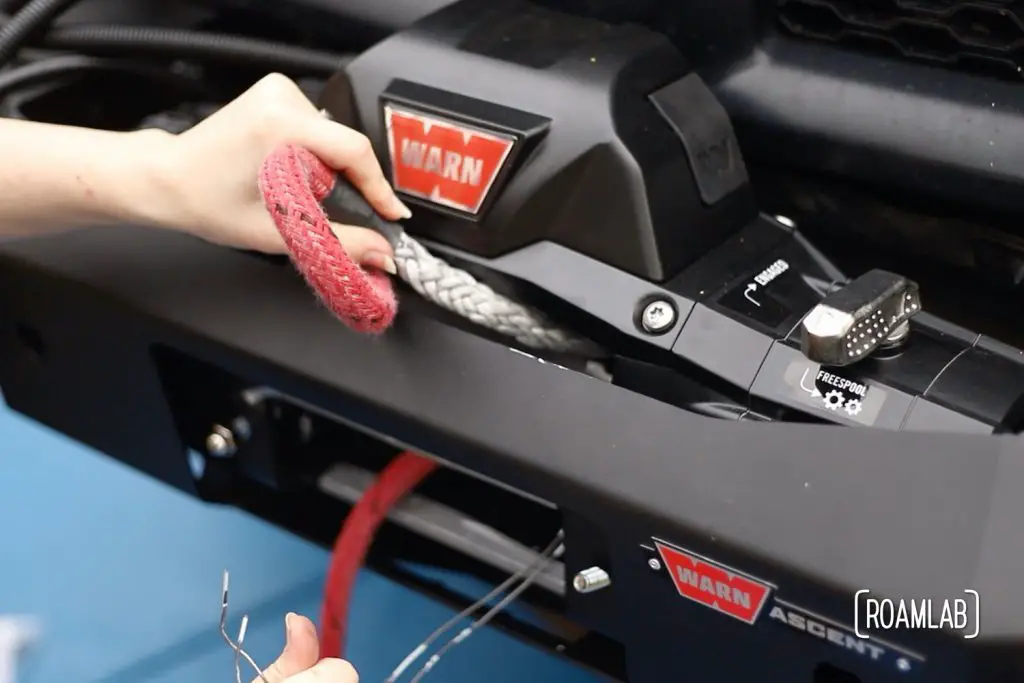
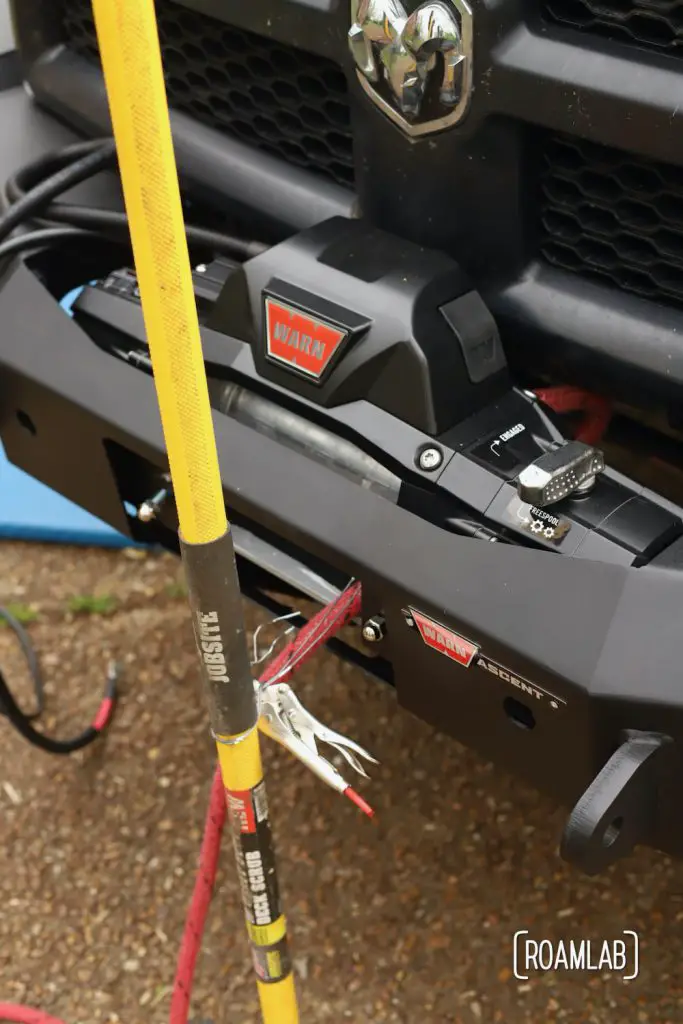
Step 5: Wrap the wire sticking through the anchor pocket around a set of pliers and use the pliers to help pull the rope loop through the anchor pocket.
The directions say “a set of pliers.” That’s what we started with. Even so, we struggled to pull the rope through that snug anchor pocket. Instead, we added a little more leverage by attaching the wire (pliers and all) to a broom handle.
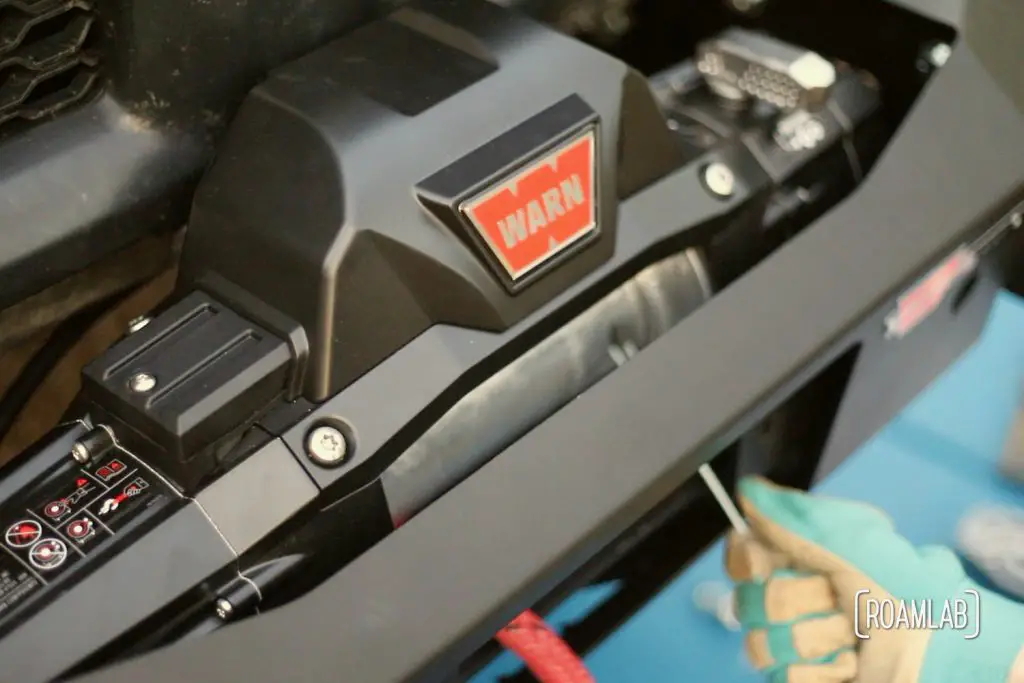
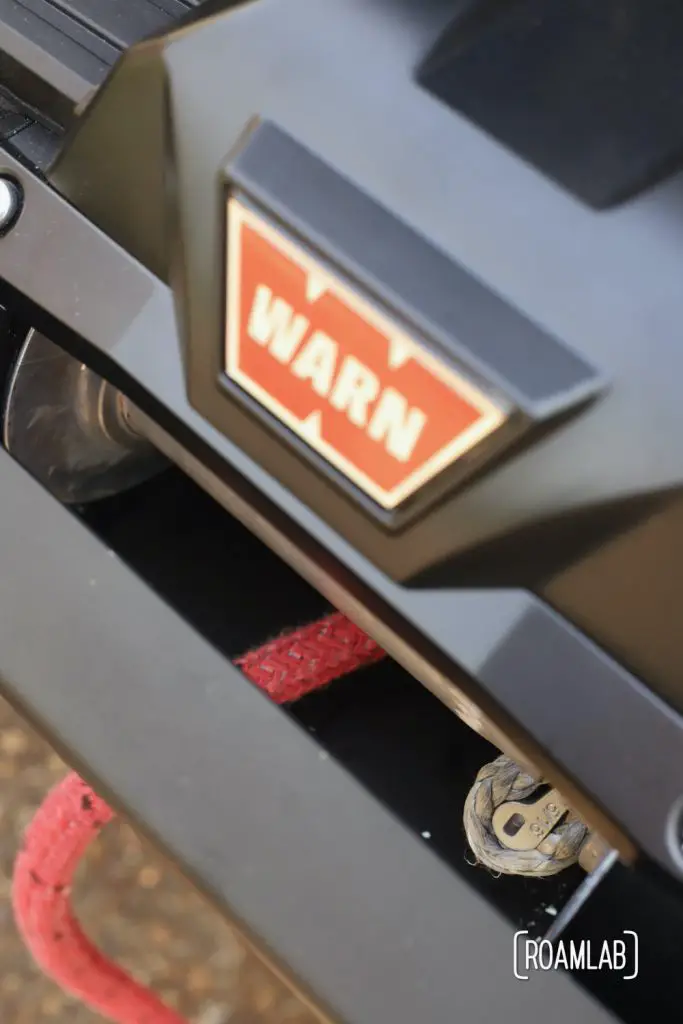
Step 6: Once the rope eyelet has been pulled through the anchor pocket, unwind and remove the installation wire.
If you are at all like us, you only want to pull the rope as far as is needed. In this case, you need enough of the rope to wrap around the 5/16″ rope puck in the following step. So we would occasionally take a break from pulling to check for fit.
Step 7: Insert 5/16″ rope puck into the center of the rope eyelet.
Make sure that the lettering and notch on the puck are facing up when you install it.
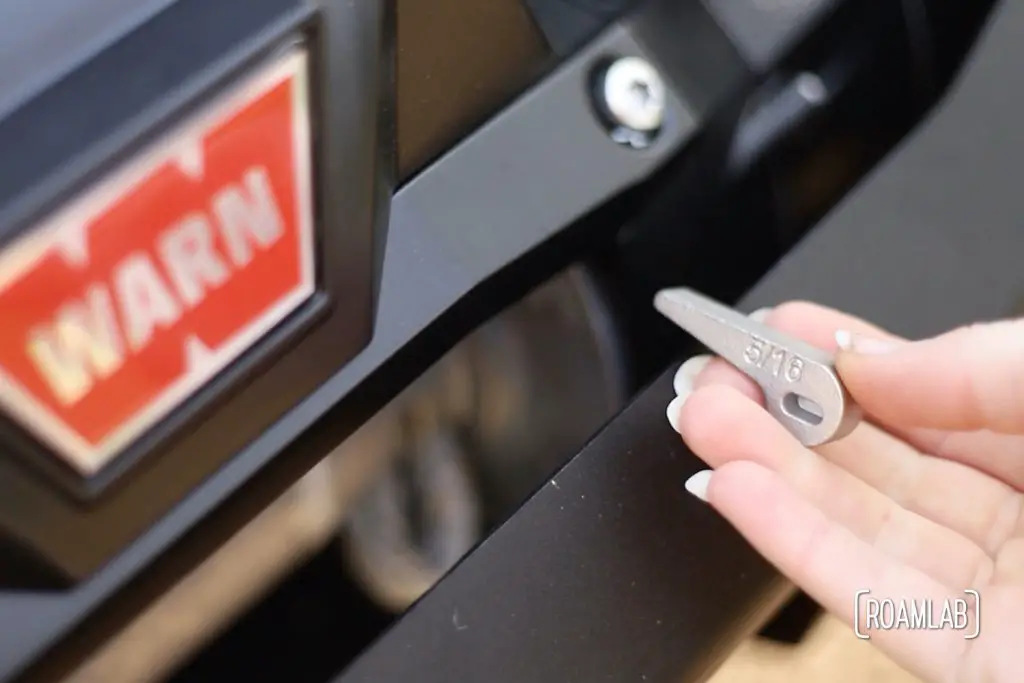
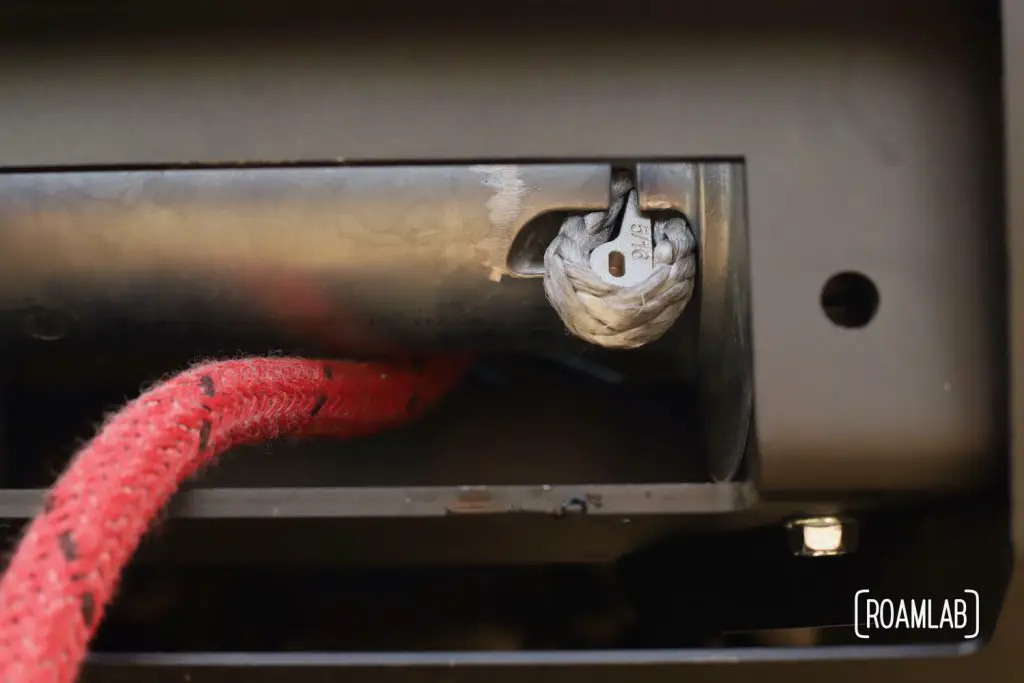
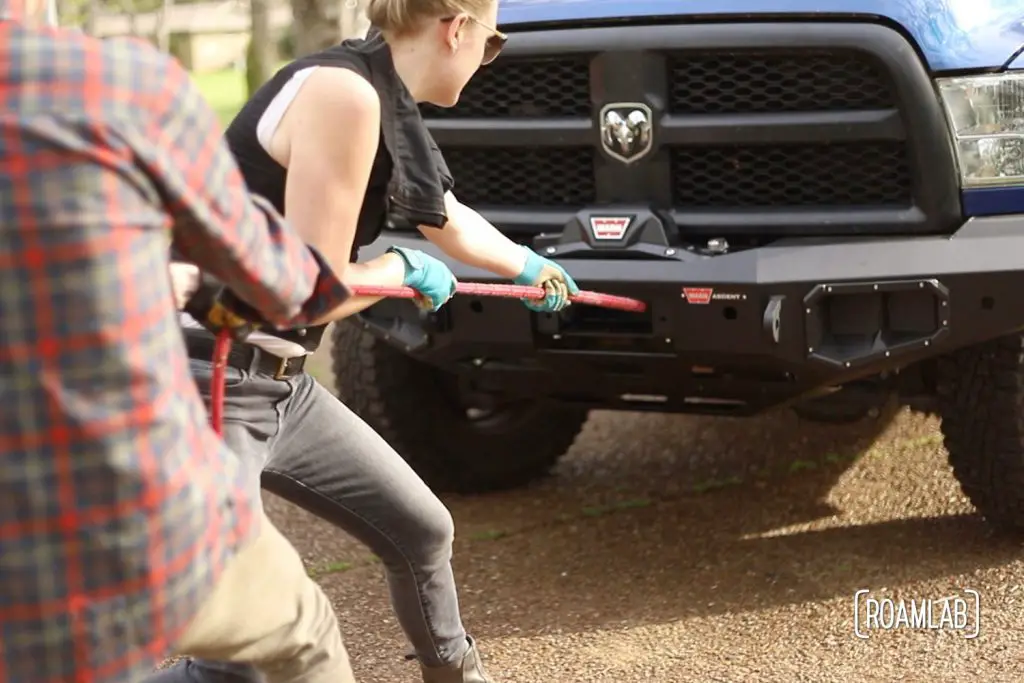
Step 8: Keep the puck centered in the rope eyelet while steadily pulling the long end of the rope away from the winch drum.
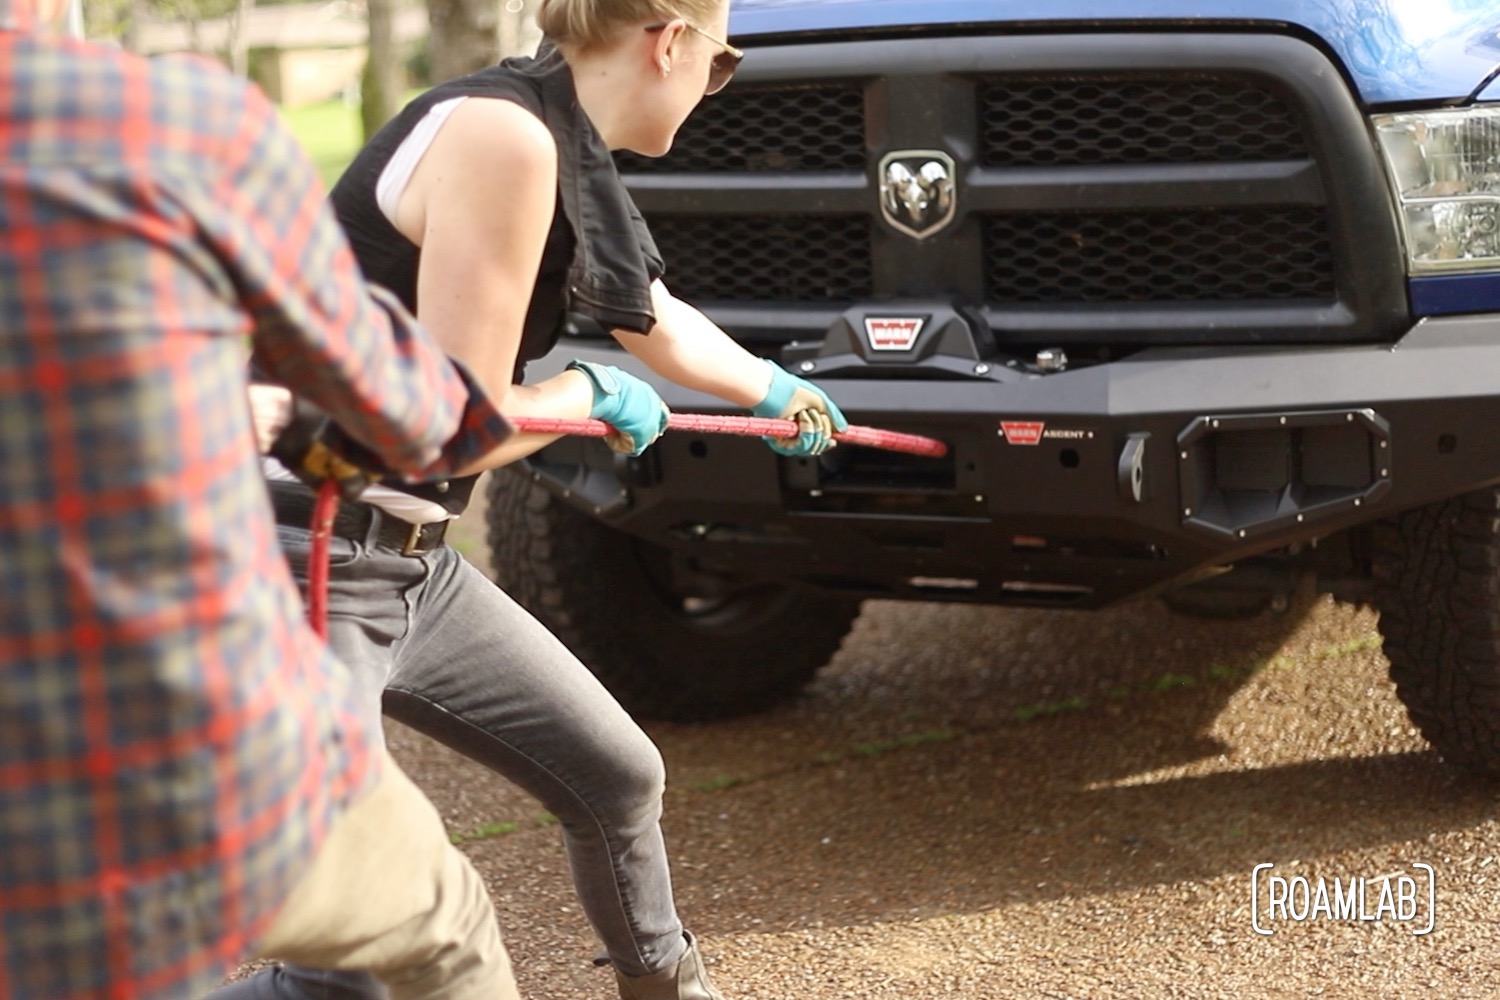
This also took a fair bit of force. Even the two of us together couldn’t fully seat the puck in a game of tug-of-war. Luckily, our manual efforts were enough to get the puck securely wedged before securing the other end of the rope to a tree and letting the truck do the rest of the work for us.
Step 9: Confirm that the puck is fully seated in the anchor pocket.
It should be flush with the rest of the winch drum.
Step 10: Reconnect winch to battery power
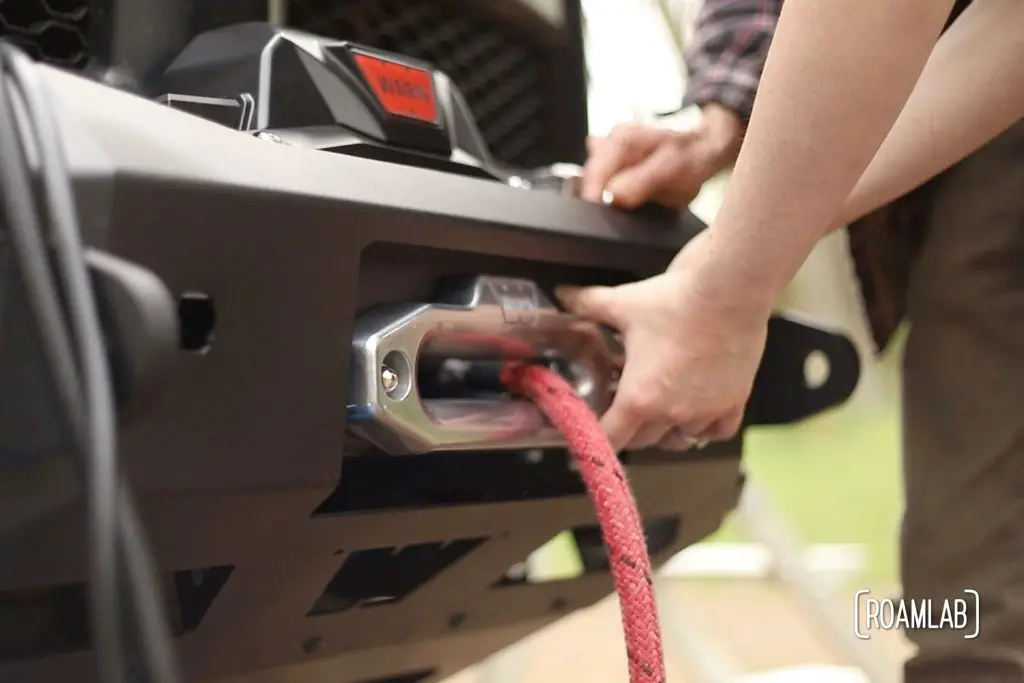
Mounting the Fairhead
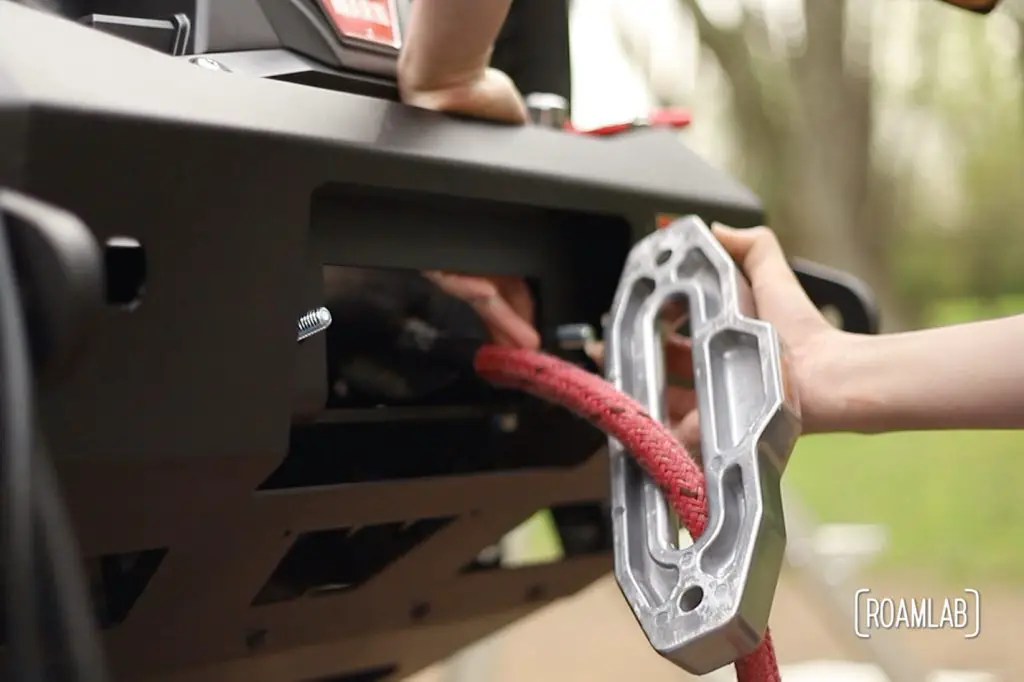
With the rope firmly attached to the winch drum, we are finally done with any installation work around the drum. This means we can finally install the fairlead. Not only that, but it is a necessary next step to ensure that we don’t risk damaging the synthetic rope when we move on to spooling the rope.
Step 1: Mount fairlead with nuts and bolts already attached at the beginning of our post on installing the Warn Zeon Winch.
Next Steps
With the winch in place and rope attached, we are nearly done with our process. We couldn’t help ourselves but go ahead and try winching in the rope and watching the drum fill up. But after appeasing our curiosity, there’s still one last step before our winch system is ready for the trail. To ensure the rope will work and wear properly in the future, it is important to start by spooling the rope under tension. So, our next post will break down our experience and lessons learned when spooling the rope.
