Vintage 1970 Avion C11 to Home on Wheels
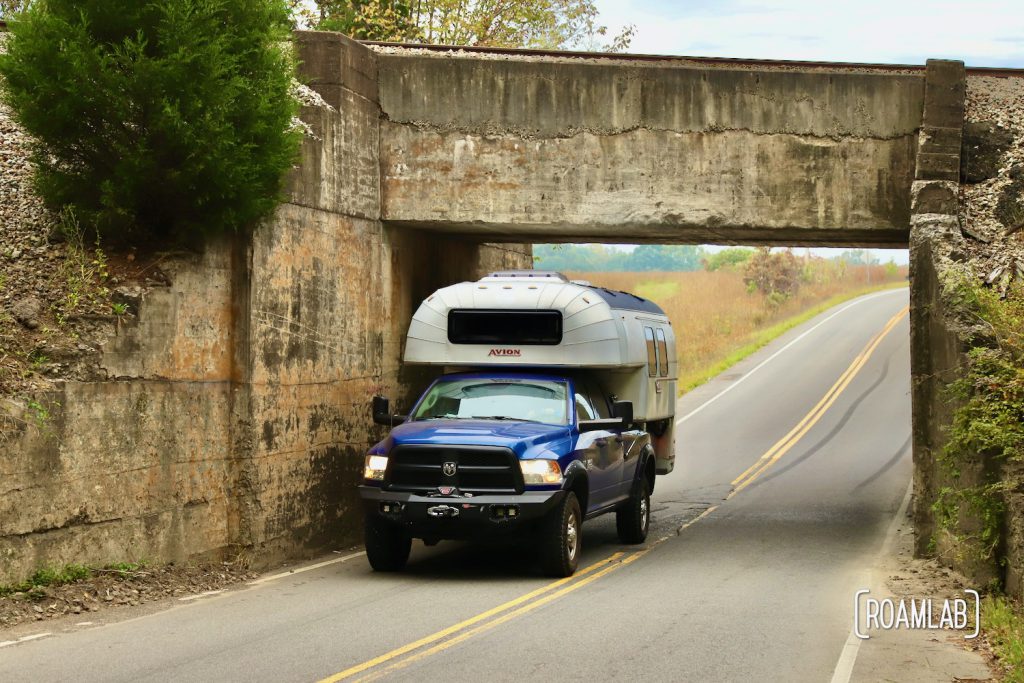
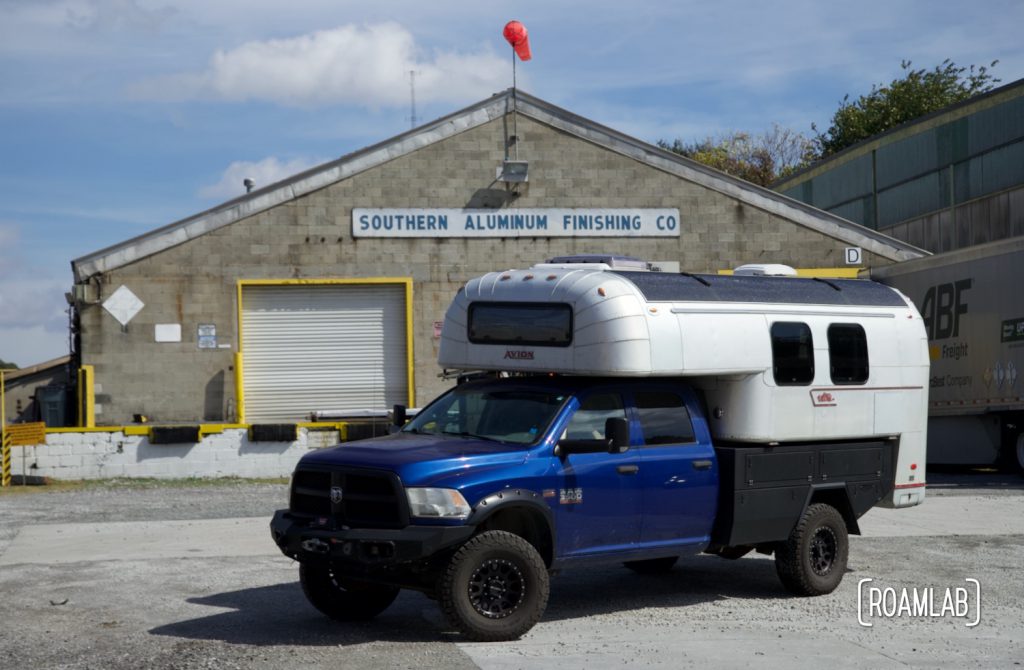
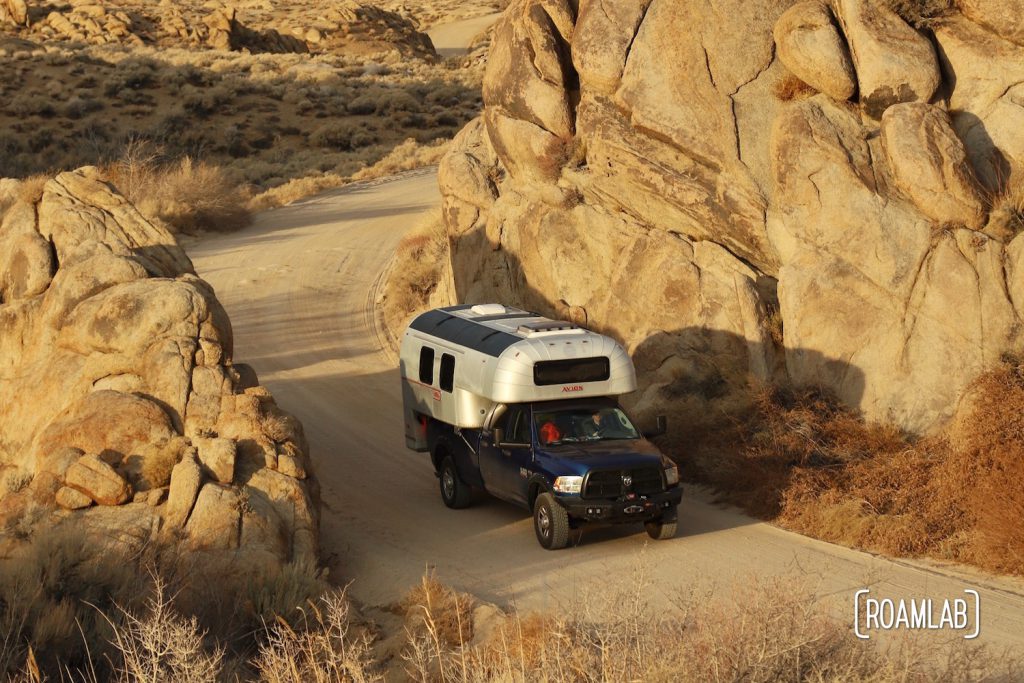
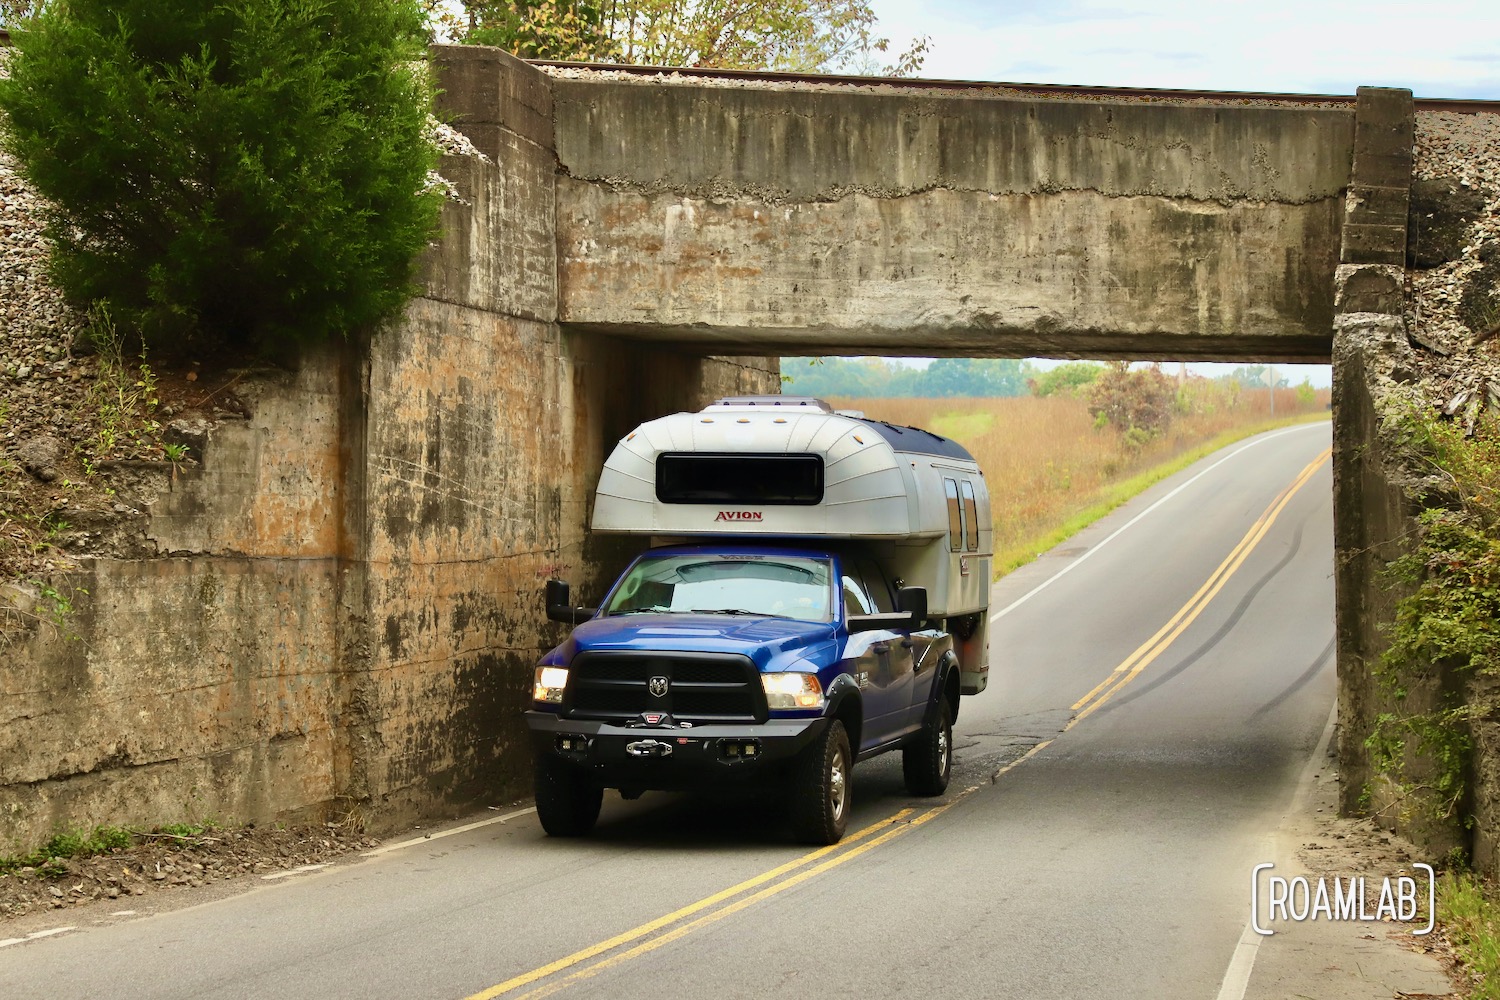
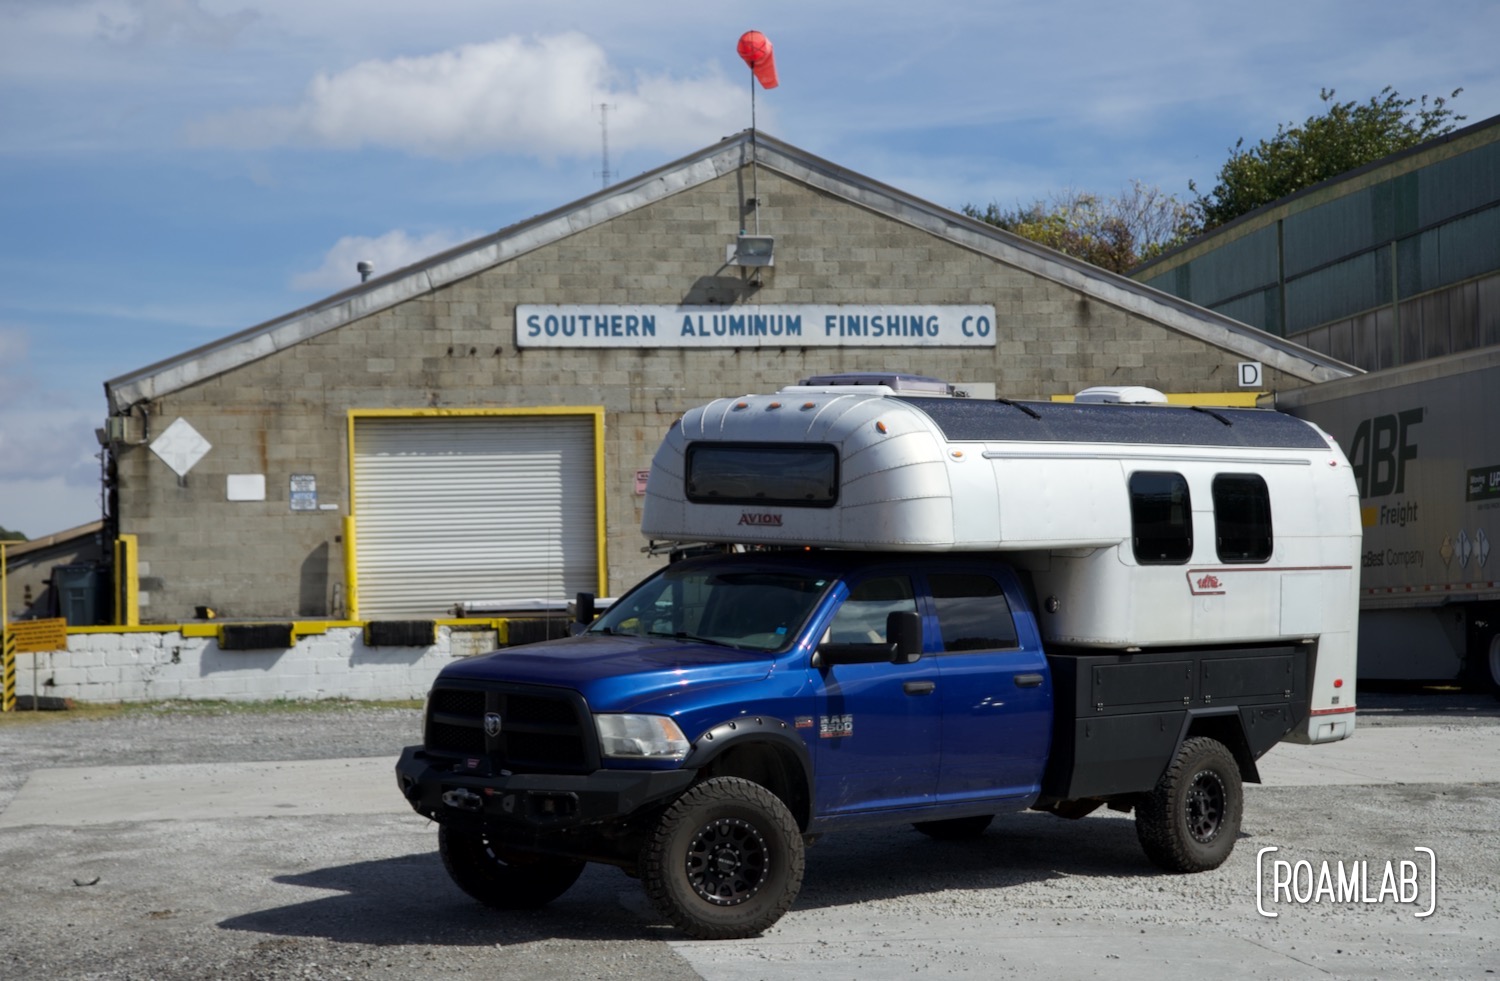
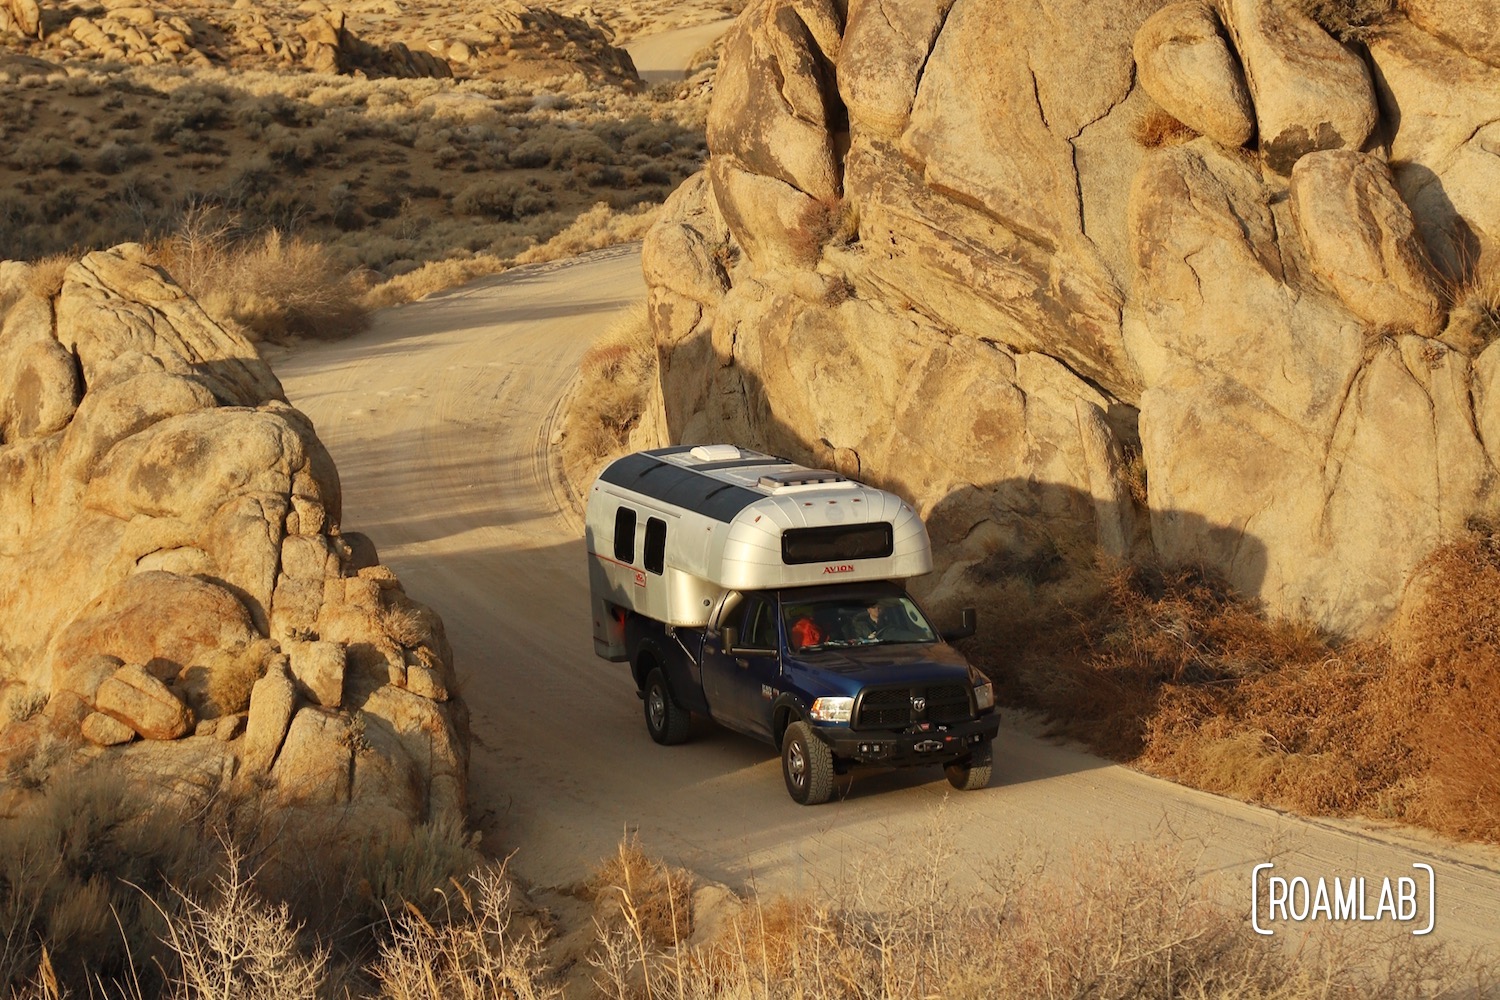
In the spring of 2017, we acquire a vintage 1970 Avion Ultra Truck Camper. While the exterior is in remarkably good condition after nearly half a century of use, the interior is full of bugs, rot, and an aesthetic ready for updating.
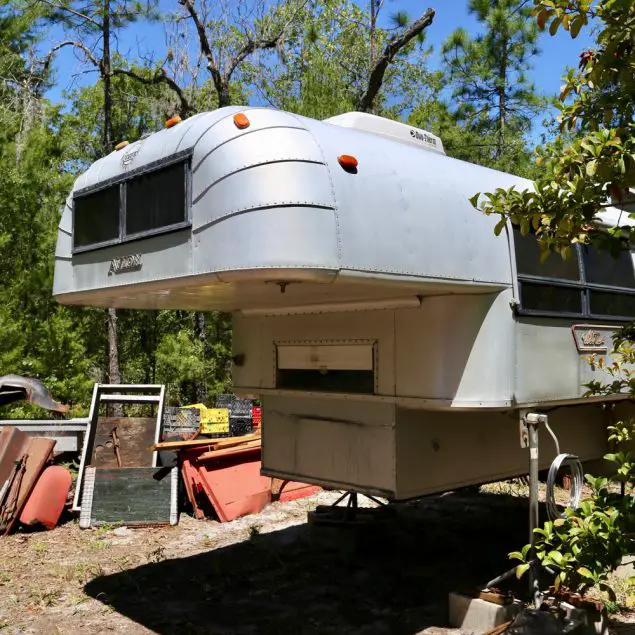
The Original Avion
Stepping into the 70s
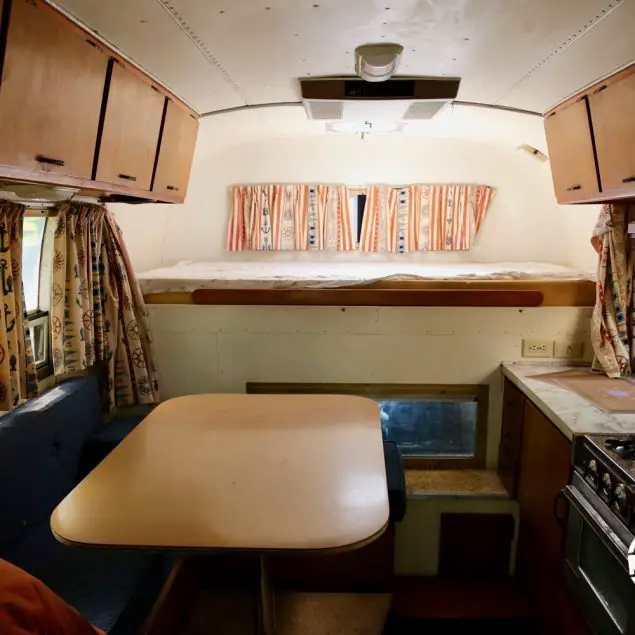
When we first acquire our 1970 Avion truck camper it is surprisingly similar to the original manufacturer’s specifications. It retains the original Coleman stove, the large dinette table, and the impressively roomy wet bath. (Impressive for a truck camper, that is). The layout is close to perfect as far as we are concerned. The problem is that years of wear and tear mean that this camper needs to be rebuild from the subfloor up. Before we do that, though, we make sure to document the arrangement of the camper meticulously.
Background Research
Rebuilding the Avion took a lot of preliminary research. As programmers, we brought little experience in building to the table but well-honed research skills. What materials to resource, what tools to acquire, and what techniques to use where all subject to what we learned from researching other people’s builds and related techniques. We weren’t interested in doing what everyone else had done but in understanding WHY certain choices were made to cross check against the benefits and limitations of alternate approaches. From this, we deviated from traditional plywood construction, AGM golf cart batteries, generators, and other common choices in favor of fiberglass-foam composite boards, lithium batteries, and focusing on solar and the truck alternator for power. We go into more detail with the following posts.
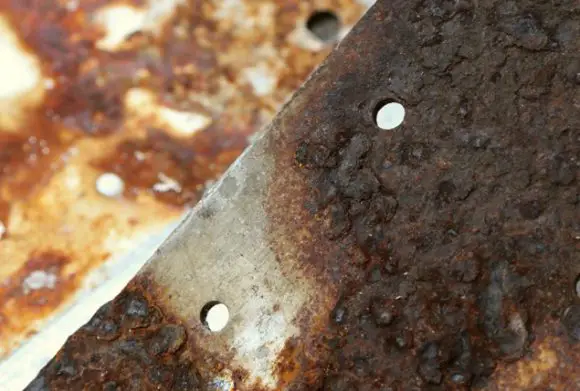
in vintage campers
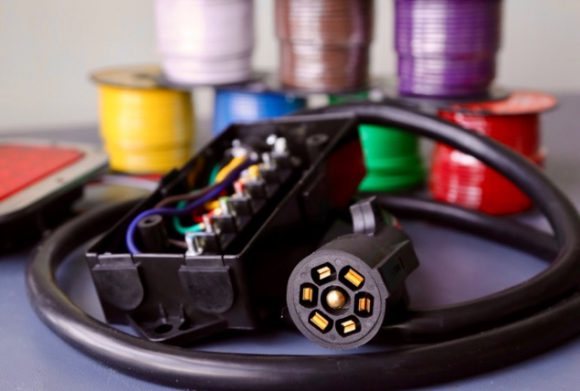
Rewiring brake, clearance, & license plate lights
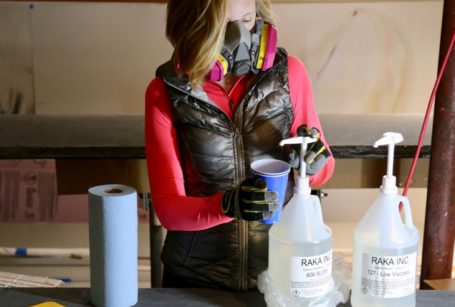
Resin, fabric, matt, & more
Remodeling The Avion
Gutting, Building, & Interior Design
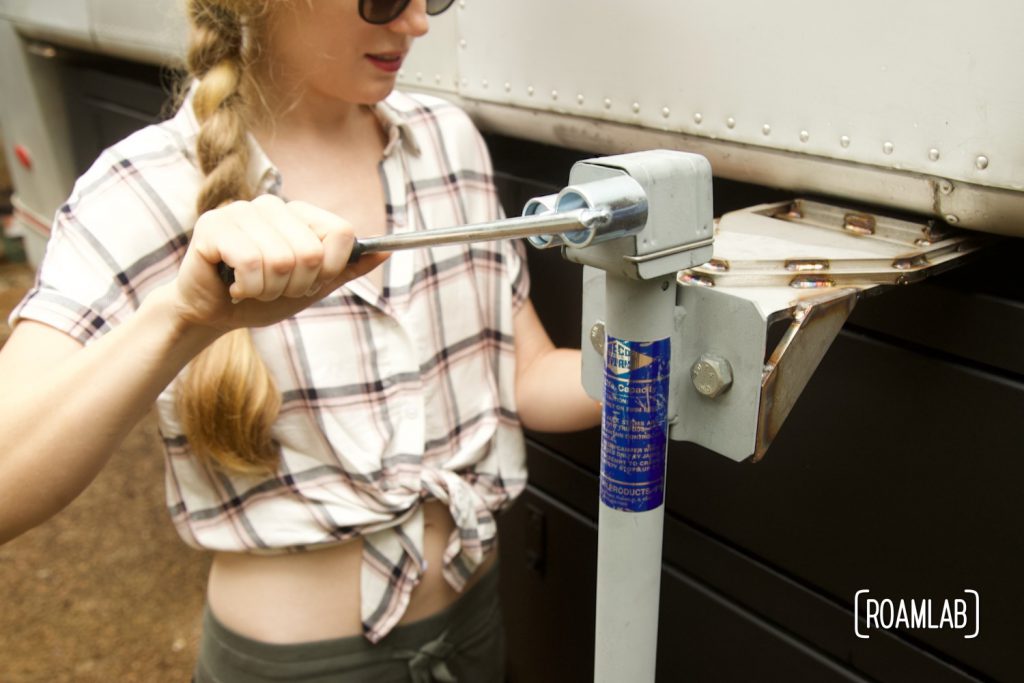
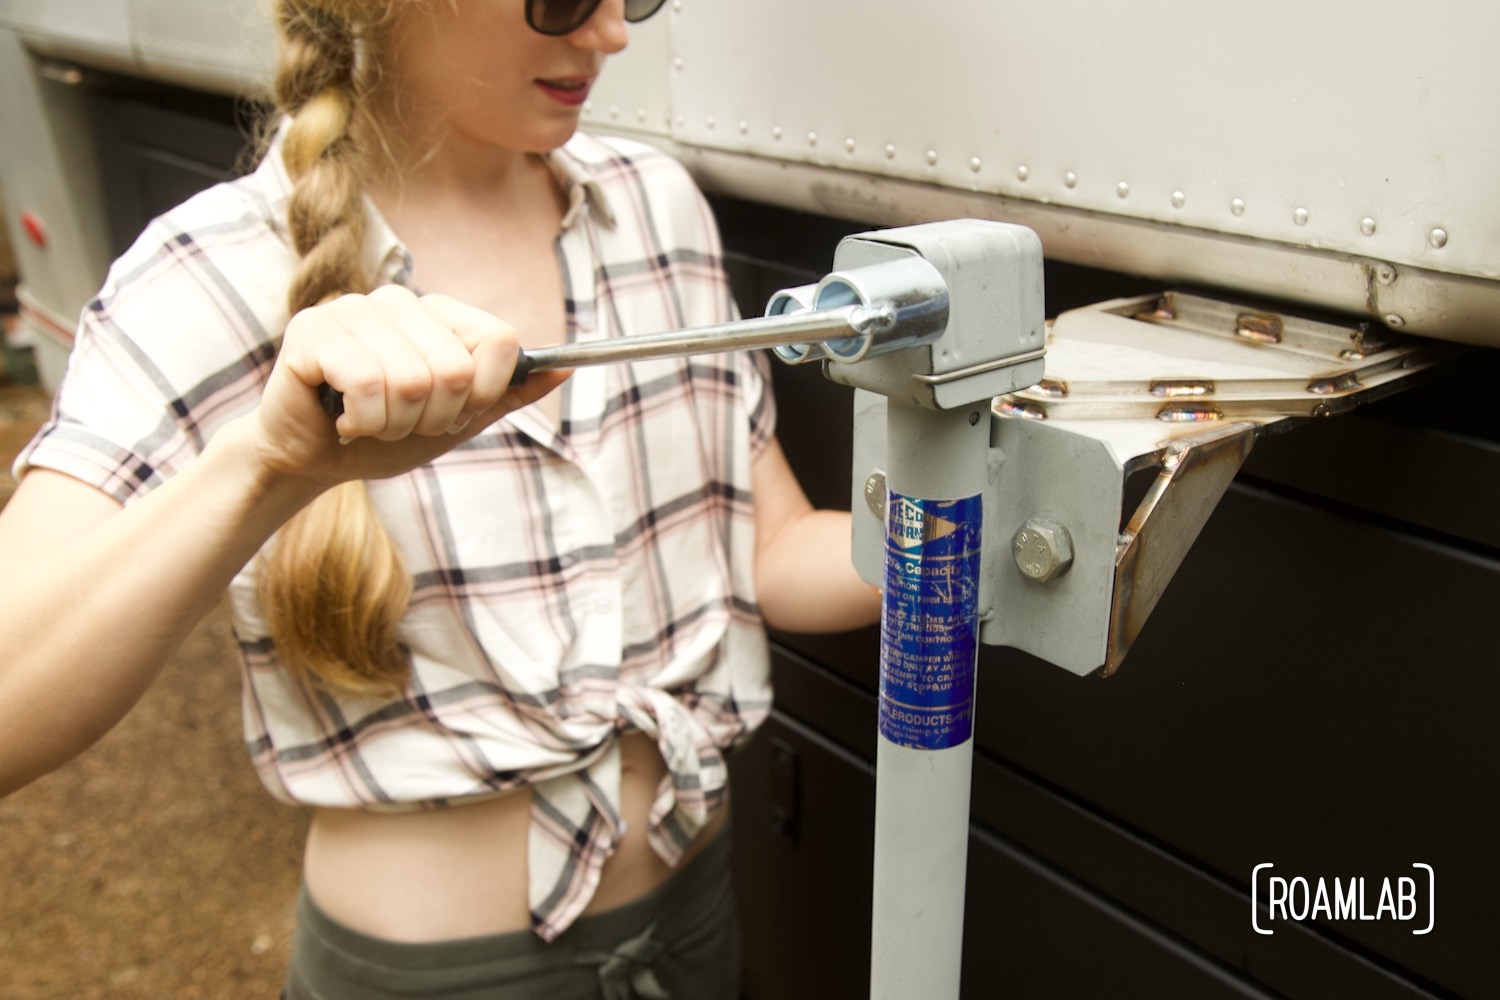
The Avion is a beautiful rig. Yet, despite the love of previous owners, our Avion is 47 years old when we purchase it and showing its age. The jacks are broken, structurally critical portions of plywood are rotted through, and the bed is so unstable that we are disinclined to put our weight onto it.
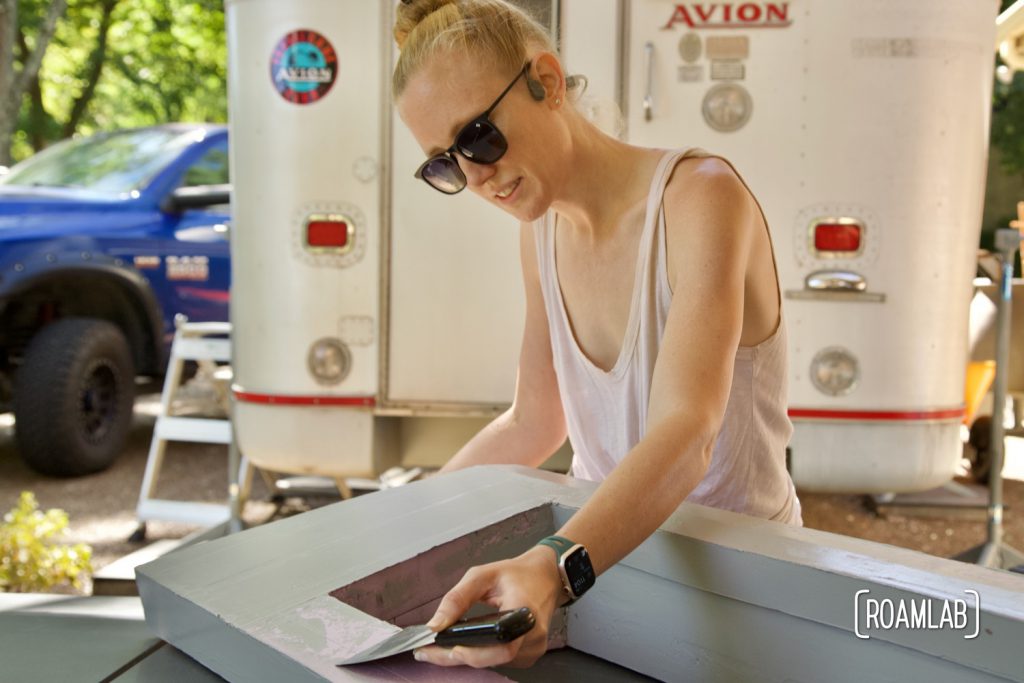
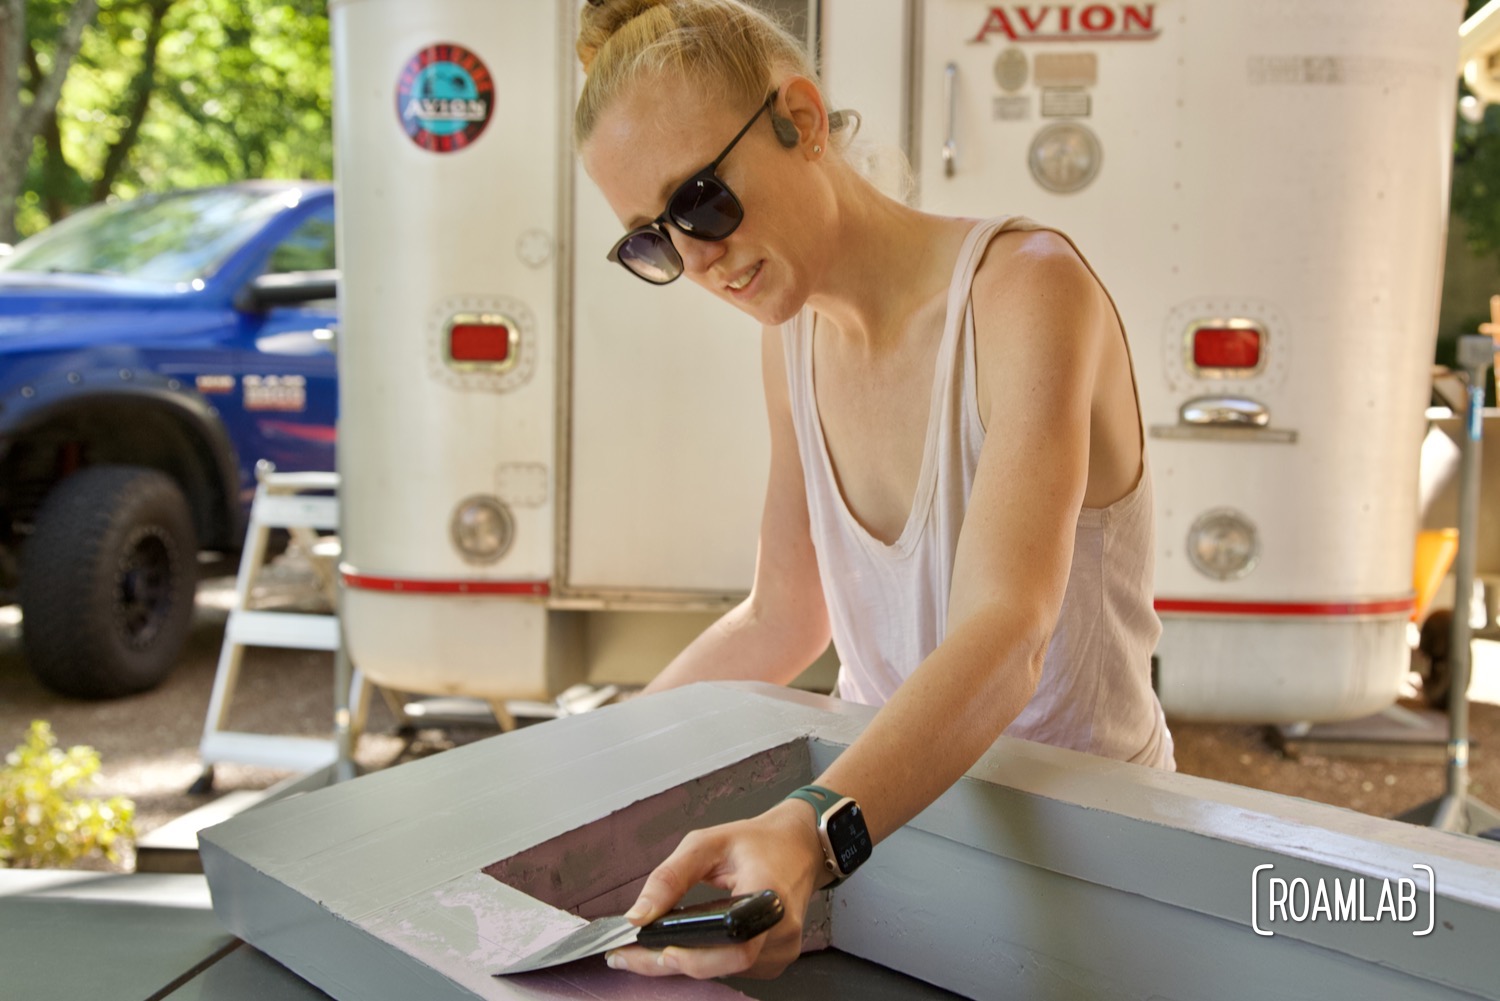
So, we strip and replace every piece of wood with a fiberglass foam composite. We tear out the inner walls, chip out the aging insulation, and reinforce the original camper ribs. We convert the sleeping area from an east-west full-sized bed to a north-south queen by extending the cabover by 18 inches. We introduce a roof hatch for light, ventilation, and roof access. And there is so much more in the works. Read on for detailed articles on each stage of our remodel. It is a long, extensively researched, and meticulous process. And we have documented every step.
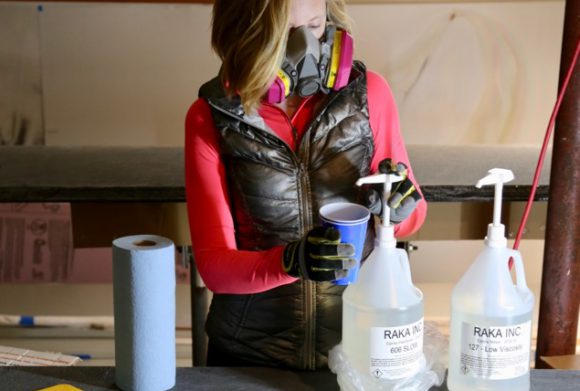
Fresh support for jack points and tie-downs
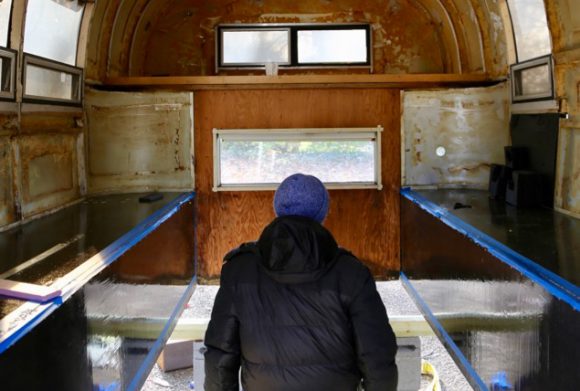
Taking the floor out from under us
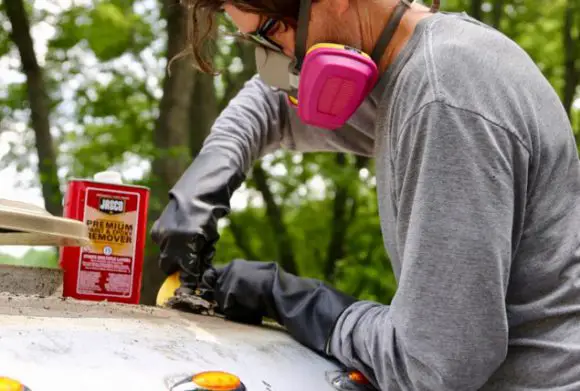
Venturing into uncharted territory

Arctic Tern Roof Hatch


